3cc Diesel - My first ICE

Home Model Engine Machinist Forum

Help Support Home Model Engine Machinist Forum:

This site may earn a commission from merchant affiliate links, including eBay, Amazon, and others.
Thanks jack for your support :)

No your correct - It's me

I was Fleet Manager, Marine Engineer, repairer restorer and anything nobody else wanted to do, which was most things involving my Spanish mate Manuel Labour.

Retired a year ago, (sort of), sold my yacht and the only boats I play with now are the one's in the bath. :p ;D

Regards
Bob
 
Actually my reply was to say the design looked as if it would work to me.

If you think my typed words are confusing, you should talk to me in person.
Especially if I'm running a machine tool.
I often use words that haven't even been invented yet! :D

Rick
 
Maryak said:
sold my yacht and the only boats I play with now are the one's in the bath. :p ;D

Please, no video. LOL ;D :big:

Bob, your project is coming along very nicely! Many many cuddos for taking us along on the journey!
 
Don't worry, the camera would break and I'm a tweezers and magnifying glass kind of guy so your safe. ;)

And thanks to all for your support :)

Bob
 
No worries Bob

Thank you and to your Mrs for Dinner and the advice ;)

went to afghanistan not long after that and got a bit banged up while there, in Sydney now and back banging tools about, going to expand on Sterling and Lamina engines now i have the time.

its a small world..

looking forward to see how your final design ends up

cheers eh

jack
 
Small world :eek:

Go make some swarf ::)

Hope you get Tatiana here soon ;)

Bob :)
 
George,

Thanks for the info on needle valves - your not just a pretty face are you - Darning No 12. :bow:

Regards
Bob
 
Now that's a good idea! I will remember that when it comes time for me to build up my carb.
 
Just make sure to take a micrometer along to make sure you have the right size. It'll be an adventure to find your "darning."

(yes, you will probably be the only guy in the sewing store!)

George
 
As long as I don't get stitched up while I'm there ;D

Regards
Bob
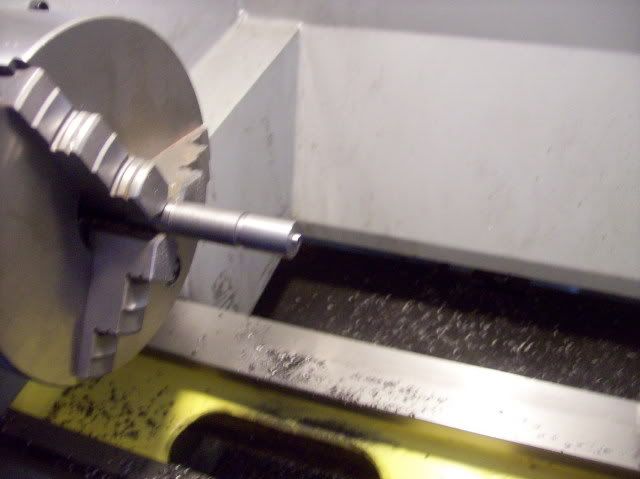
 
With the long weekend behind me and a release from home duties, back to the shop and engine.

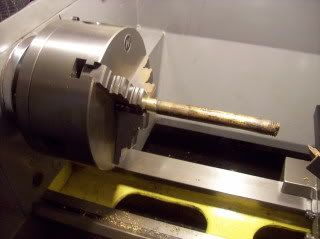
Found an old brass bolt which was de-zincing so useless as a bolt but good enough to make an expanding lap as suggested by LH Sparey in his book 'The Amateurs Lathe"

100_0412.jpg


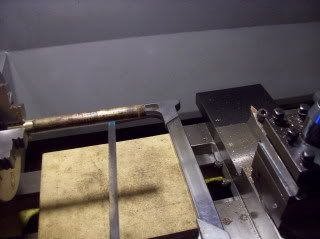
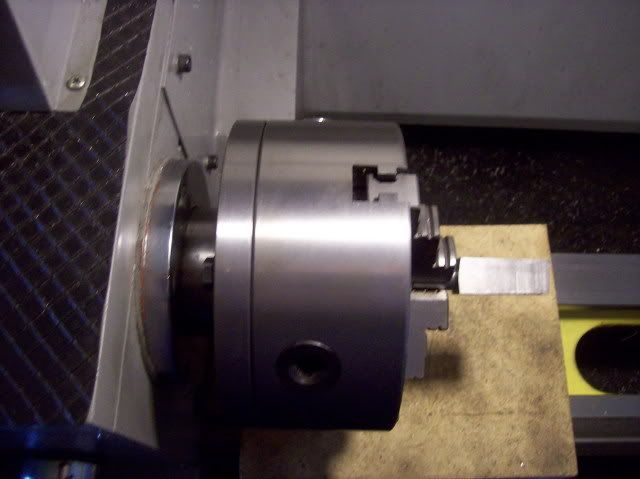
I'm not trying to teach anyone to suck eggs - but for those starting out in machining. The core of the shop is, (in my opinion), the lathe. Big Bucks :eek: :eek: and a simple thing like a chuck board will protect your investment when changing chucks or parting off with a hacksaw. :D

100_0413.jpg


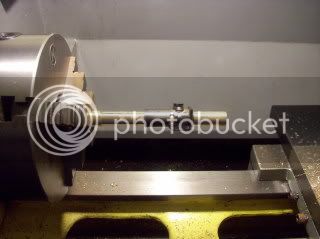
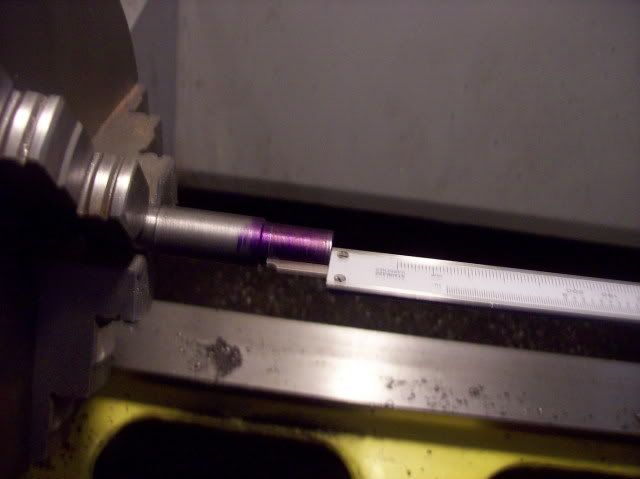
Test fit of the cylinder on the lap.

100_0414.jpg


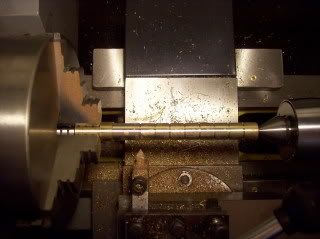
Grooving the lap for abrasive retention.

100_0415.jpg


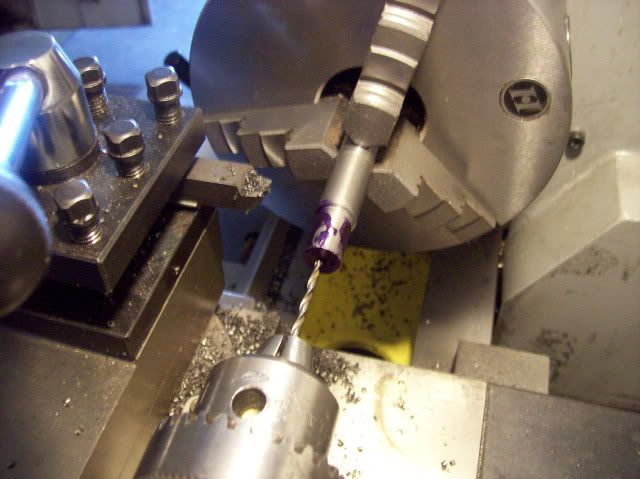
Drilling the lap half its length for the wedge.

100_0416.jpg


Drilling the slot start and finish holes after transfer to the mill.

100_0418.jpg


Milling the slot between the drilled holes.

100_0419.jpg


The completed Lap with the steel wedge in place.

100_0420.jpg


Progress interruptus - a bore casing from an irrigation bore which needed considerable persuasion to part from the pump. It had been 250ft down for the last 40 years.

100_0421.jpg


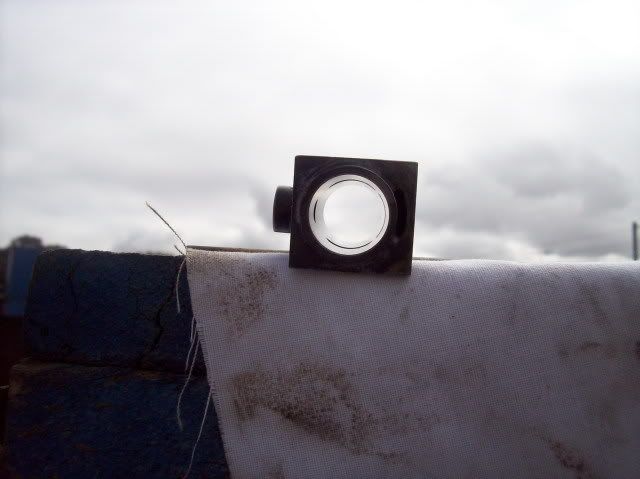
Back to the cylinder an attempt to see inside after lapping.

100_0422.jpg


Time now to go and find some cast iron for the piston.

Avag'day
Bob
 
Bob,

Looks like you've had an easy time with the lapping. Could you help me understand how the Sparey lap design works? I don't see how that pin or wedge will expand the lap? What am I missing here?

And, did you check to see if your lapping produced a .001 taper from the top of the cylindeer to the bottom? (The top of the the cylinder being smaller to produce a tight "pinch" at top dead center for better compression.)

George
 
I like this armchair machining. Make a pot of coffee, read the paper, watch the newborn while SWMBO sleeps in (I'm on paternity leave), and follow along with Bob as he progresses on the little diesel engine.

Thanks for your efforts!

George
 
George,

Thanks for your input and support.

Your no orphan when it came to this expanding lap; but Lawrence Sparey was a pioneer in the field of small IC engines so I figured he knows what he's on about.

See the attached PDF for my attempt at explaining the laps expansion ;D

Regards
Bob
View attachment Lap.pdf
 
Thanks, I get it now. So, how do you advance and keep the pin/wedge in place inside the lap?

I take it that your lapping compounds worked. The inside of the cylinder looks pretty good from here in Seattle.

George
 
Maryak,

Nice lapping job! :bow: You are cooking on your little thumper!

W/E
 
Thanks W/E and Serceflyer for your kind words about my lapping - NOW Read on :wall:

The day started out with my mate asking how the honing of the cylinder was progressing.

“Done!” says I. “Well gimme a look then?” he said.

I reverently unwrapped the cylinder from its oil soaked rag and handed it to him. ::)

“I hate to say this but there are still some marks in the bore,” was his comment. :eek:

“Show me!” I replied, which he did.

“S@#t, you’re right,” I said, :-[ (along with many other adjectives which vividly describe various bodily functions and activities).

Thus past a couple of hours lapping and polishing to both his and my satisfaction.

I reckon it’s so smooth now that if you fell inside it you would probably slip into the next world. ;)

100_0430.jpg


Onto the Main Piston

Obtaining a suitable piece, (well 3 actually), of Cast Iron

100_0425.jpg


100_0427.jpg


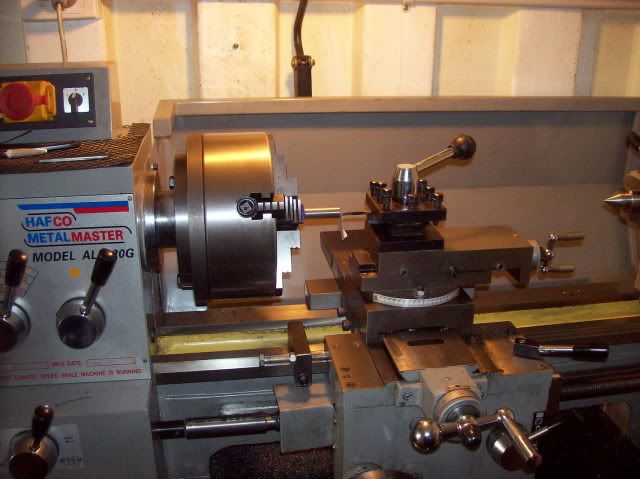
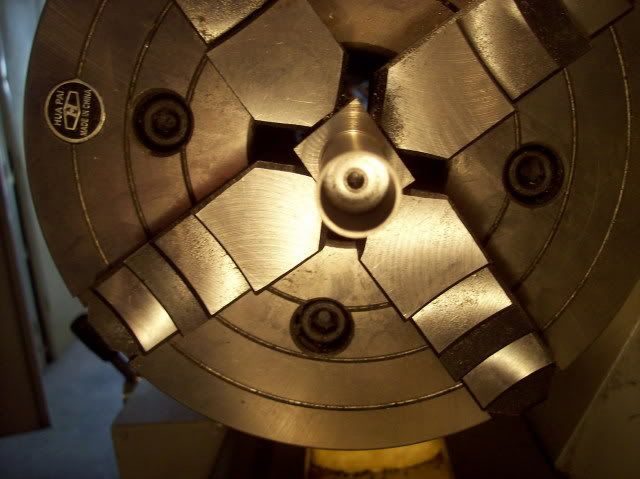
Centreing the best bit in the 4 jaw

100_0428.jpg


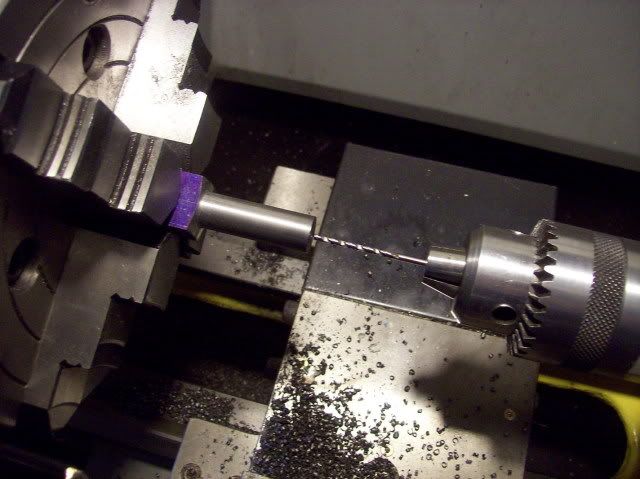
Drilling through 1/8" - This design has a separate wrist pin dummy piston inside the main piston - held in place with a 1/8" CS bolt.

100_0429.jpg


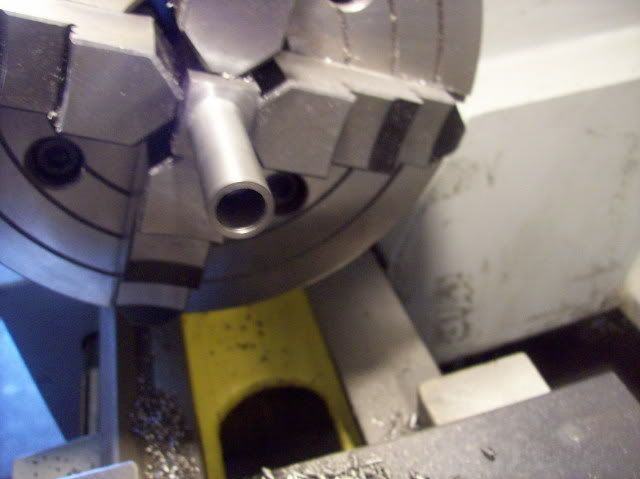
The main piston ready for counter-boring.

100_0431.jpg


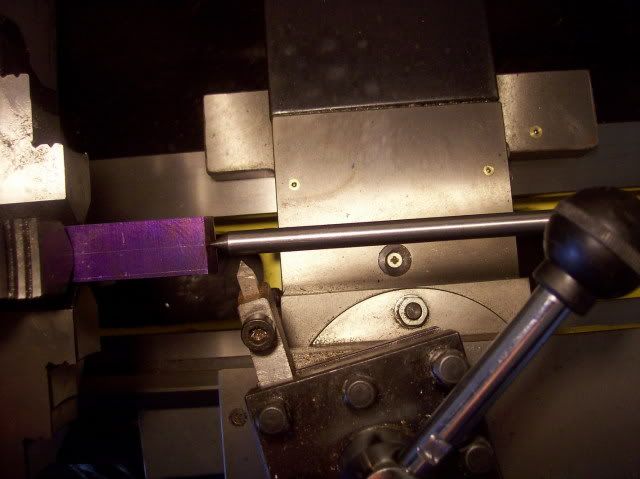
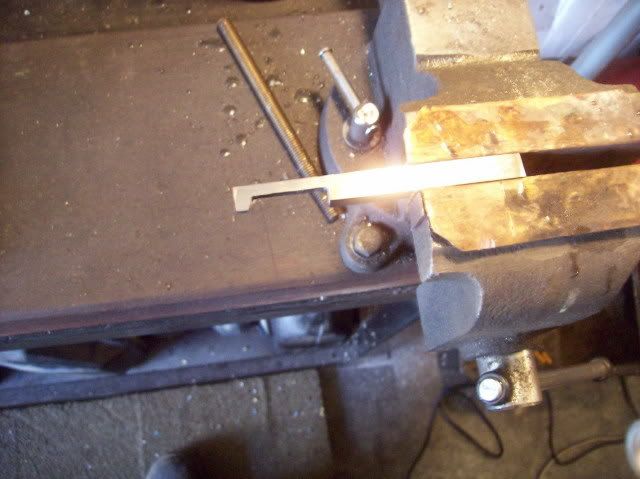
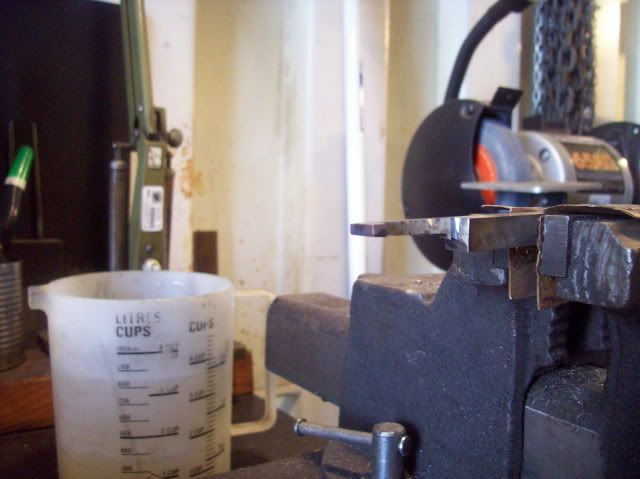
I did not have a suitable boring bar for this job - so make one ;D Rough hack out of a piece of 3/8" HSS with an Angle Grinder, (4" NOT 9", Them's Widow Makers them is), and ready for grinding.

100_0433.jpg


100_0436.jpg


Further progress was deferred whilst I deferred to my better half. :bow:

More tomorrow, (I hope) ;D


To S/F,

George my apologies for not attempting to answer your question :-[

Yes, I had the problem of the wedge slipping back out after tapping it home with a hammer.

My solution was a piece of 1/2" round brass, held in the drill chuck, mounted in the tailstock.

With the lathe stopped and the cylinder on the lap, using the tailstock handwheel, adjust the tailstock, against the wedge until you feel the cylinder begin to bite. Lock the tailstock and lap until all is free running. Repeat as necessary. I had a butchers after 2 adjustments to observe progress and add polish as necessary. Running time at 600rpm was about 2 mins per lap.

Hope this helps ;D

Regards
Bob
 
What is it about Thursdays at the moment ???

Half a day lost to the wineries. :-\

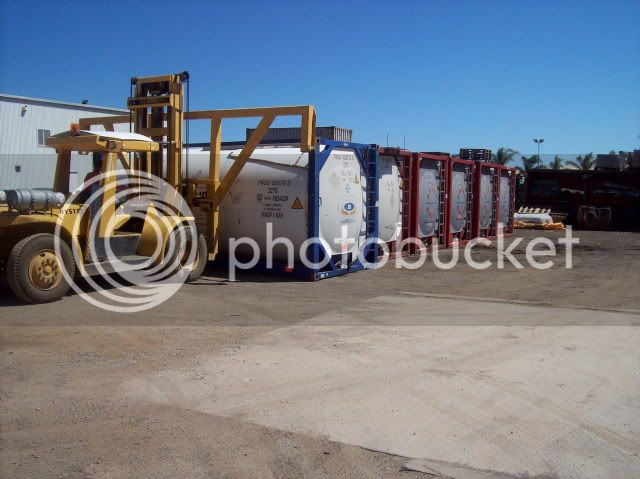
A few headaches here 6 x 26000L tanks waiting to be filled with bulk wine or Ethanol and had to be certified clean dry and free of contamination.

100_0446.jpg


Back to the important things like model engines :p

Setup to counter bore the main piston - this must be pretty accurate as the position of the dummy inside it locates the conrod and hence affects the timing. Don't know why I'm worrying already had a play about with the port positions ::)

100_0437.jpg


The counter bore

100_0438.jpg


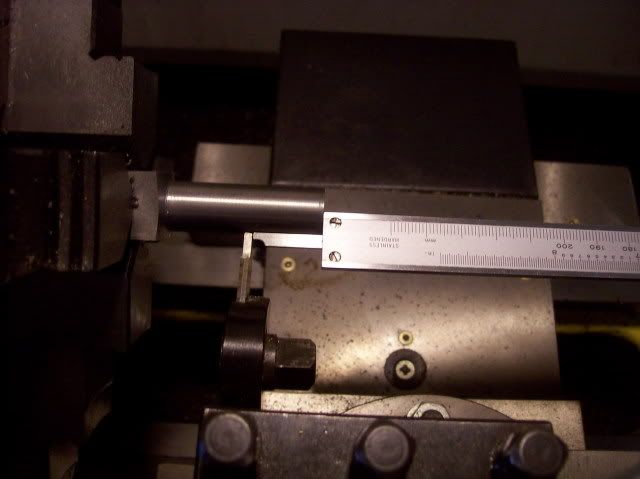
Setting the parting off tool to allow a little clean up and sizing of the main piston.

100_0439.jpg


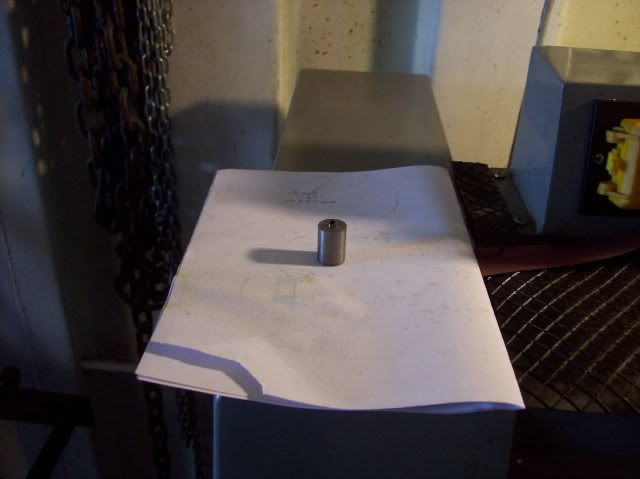
The main piston ready for clean up sizing to length then lapping to the cylinder.

100_0440.jpg


The chunk of cast iron transferred to the 3 jaw for the dummy piston and the contra piston - Why? - because my 4 jaw is to big for my rotary table ;D

100_0442.jpg


The main piston on the dummy piston.

100_0443.jpg


Checking that the dummy piston bottoms fully inside the main piston.

100_0444.jpg


Drilling through No. 38, (1/8" tapping drill) - Ready for transfer to the mill cross drilling for the wrist pin and milling the conrod slot.

100_0445.jpg


That's it for today and don't know how much will be achieved tomorrow.


Back
Top