3cc Diesel - My first ICE

Home Model Engine Machinist Forum

Help Support Home Model Engine Machinist Forum:

This site may earn a commission from merchant affiliate links, including eBay, Amazon, and others.
Progress Report,

SWMBO had no plans for me today, she and our credit card are recovering from another city trip. I almost managed a full day on the engine but stopped at a point where if I had continued I would still be in the shop. I'm sure you know what I mean.

On with the saga - I managed to make and fit the Crankcase end cover and make a start on the Cylinder.

Slide show follows

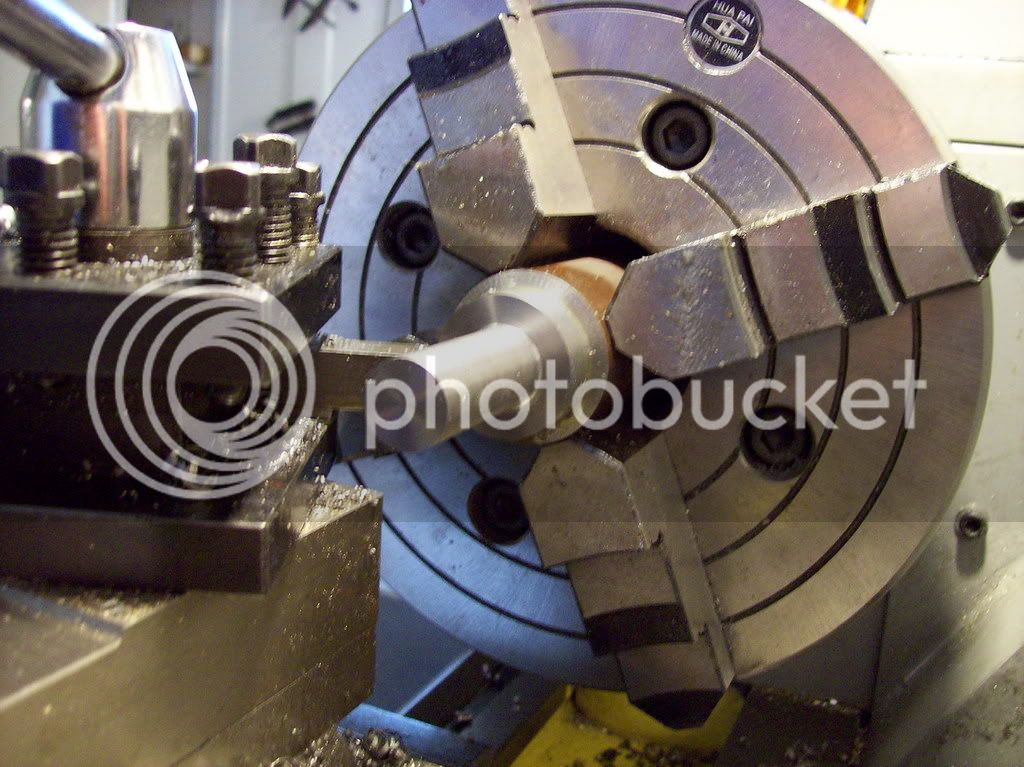
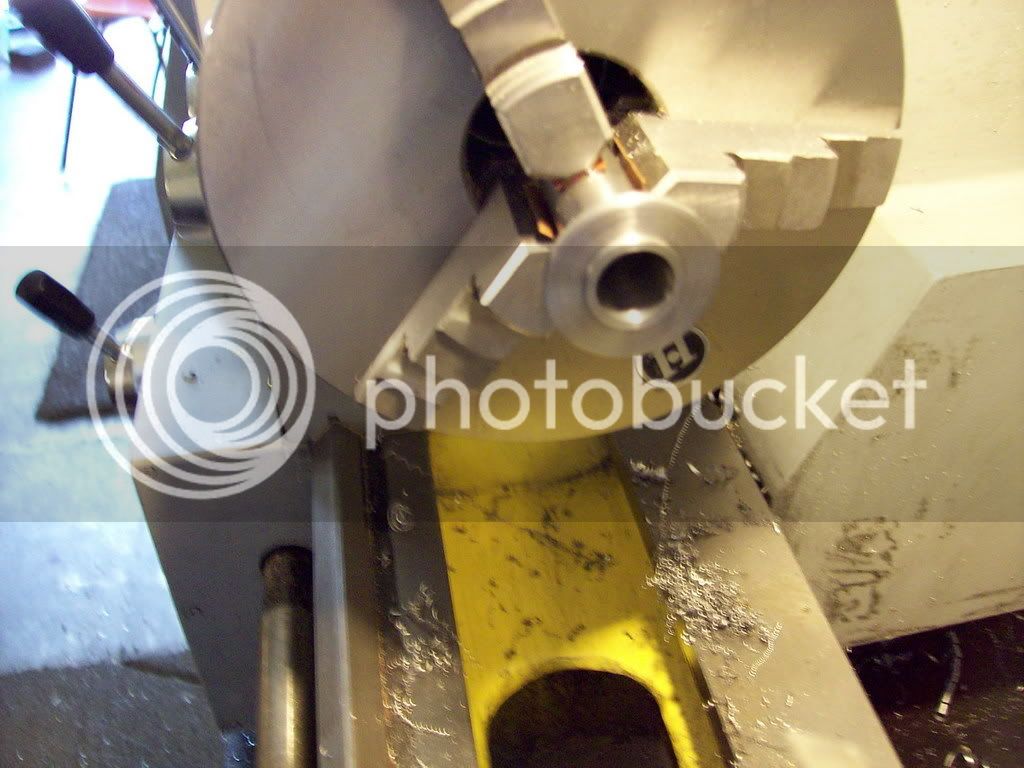
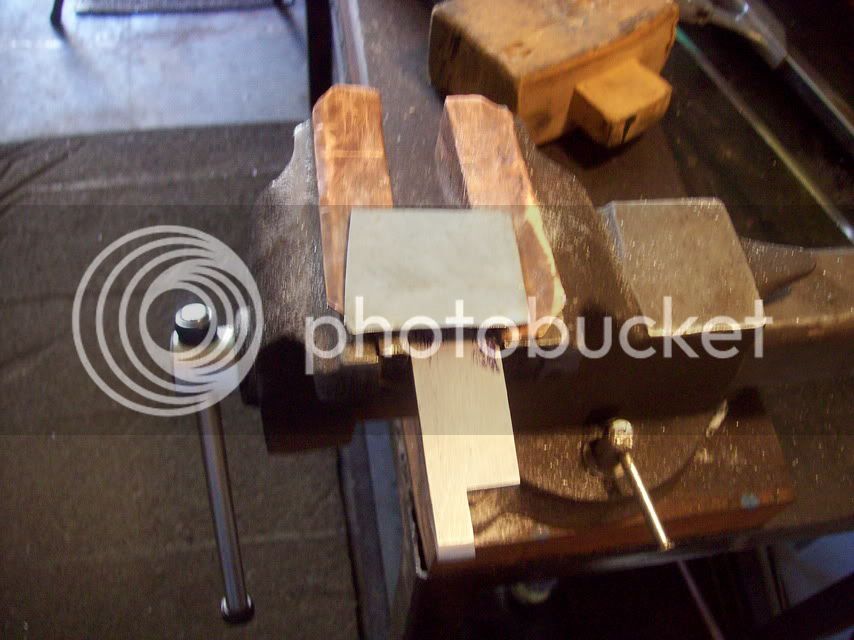
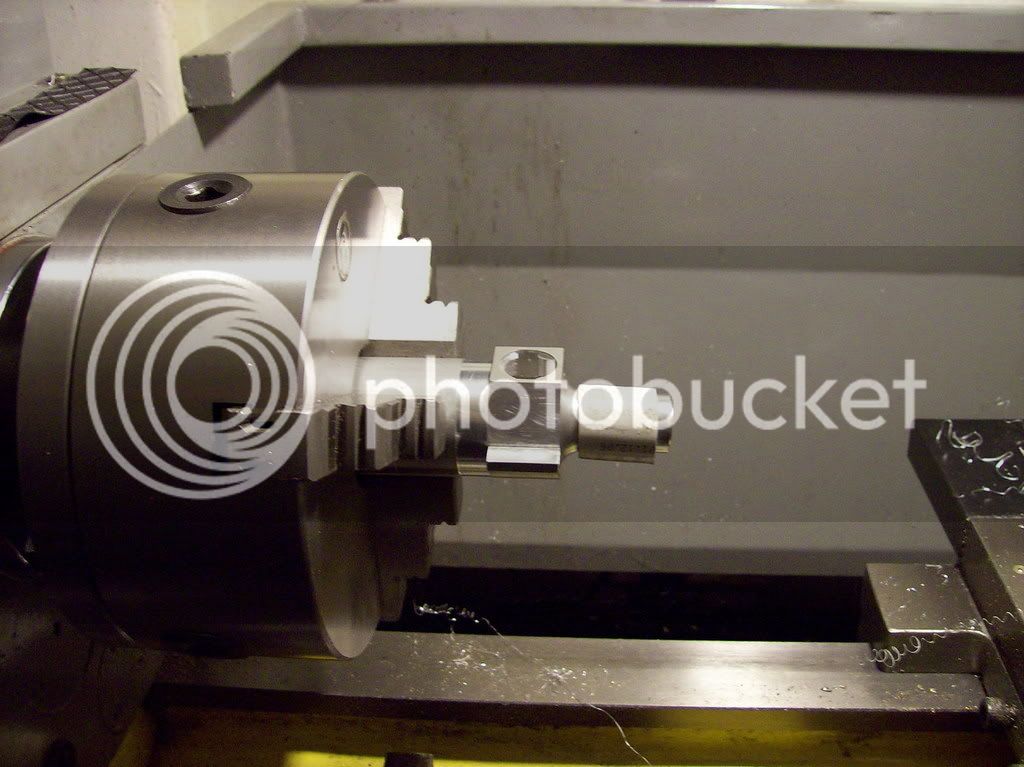
After the initial machining - checking the fit of the crankcase on the end cover.

100_0333.jpg


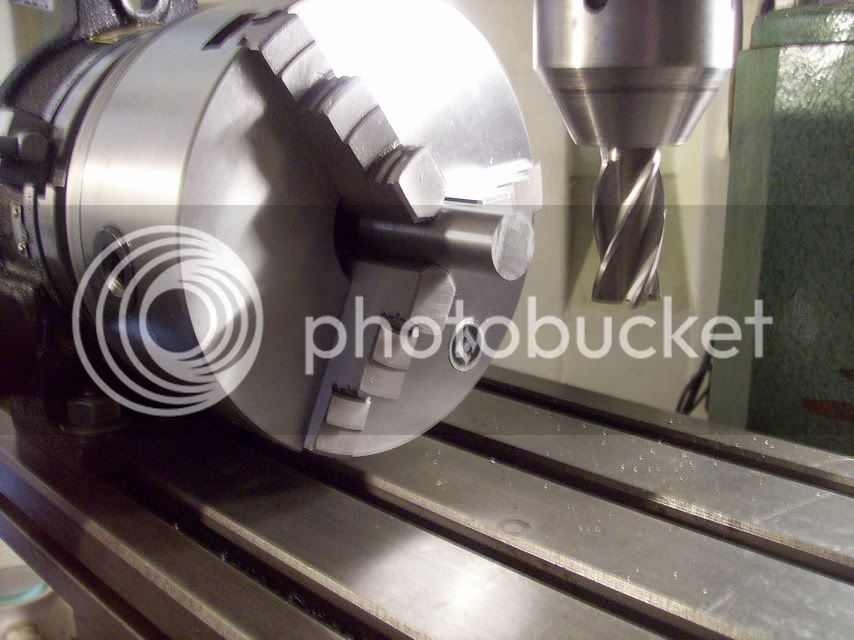
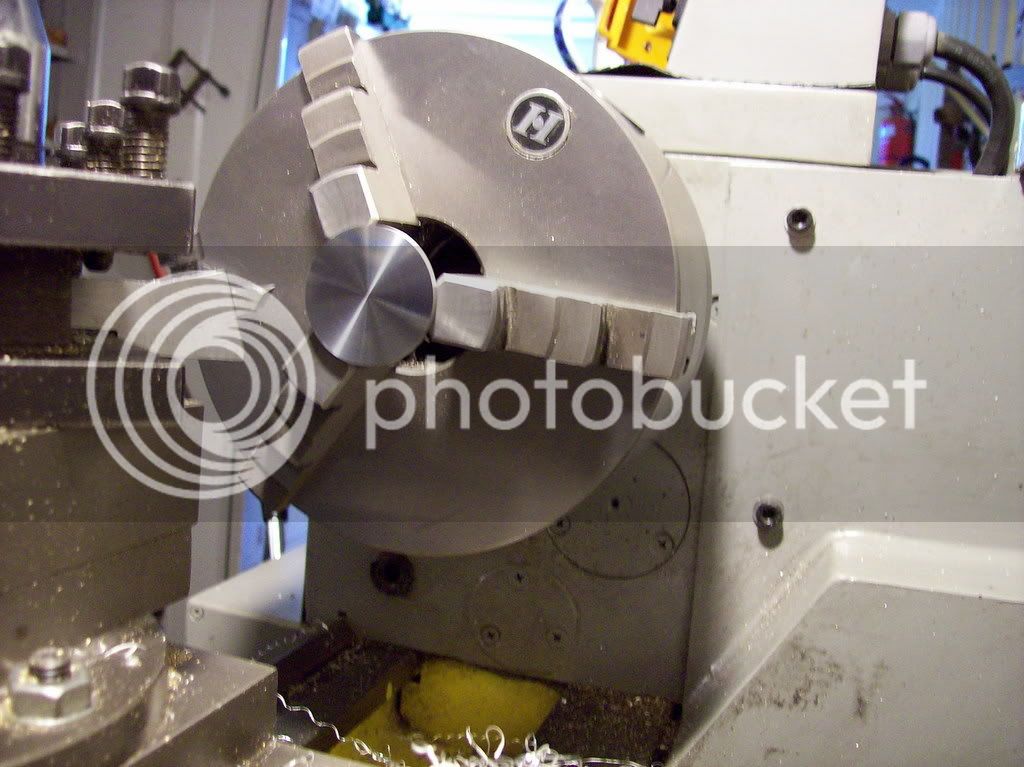
Machining the outer face

100_0337.jpg


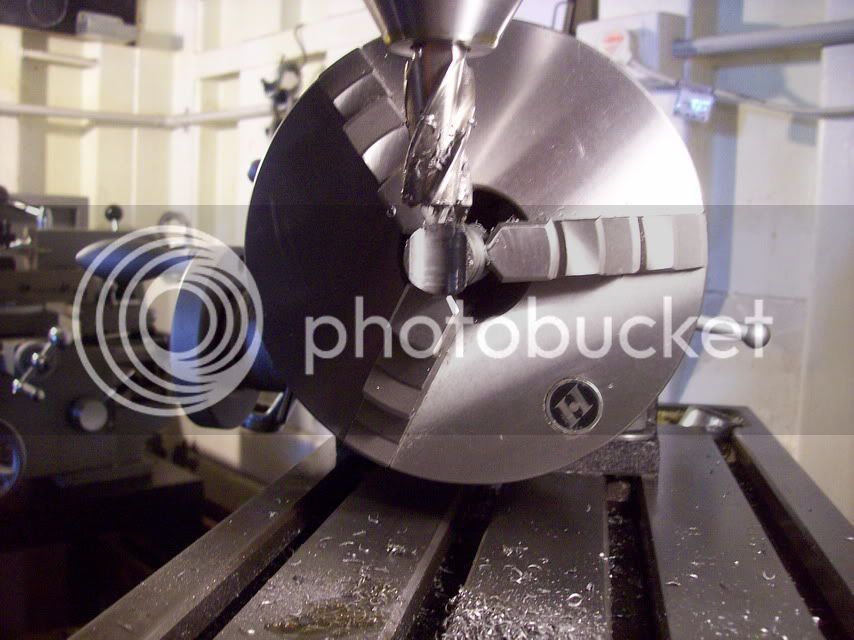
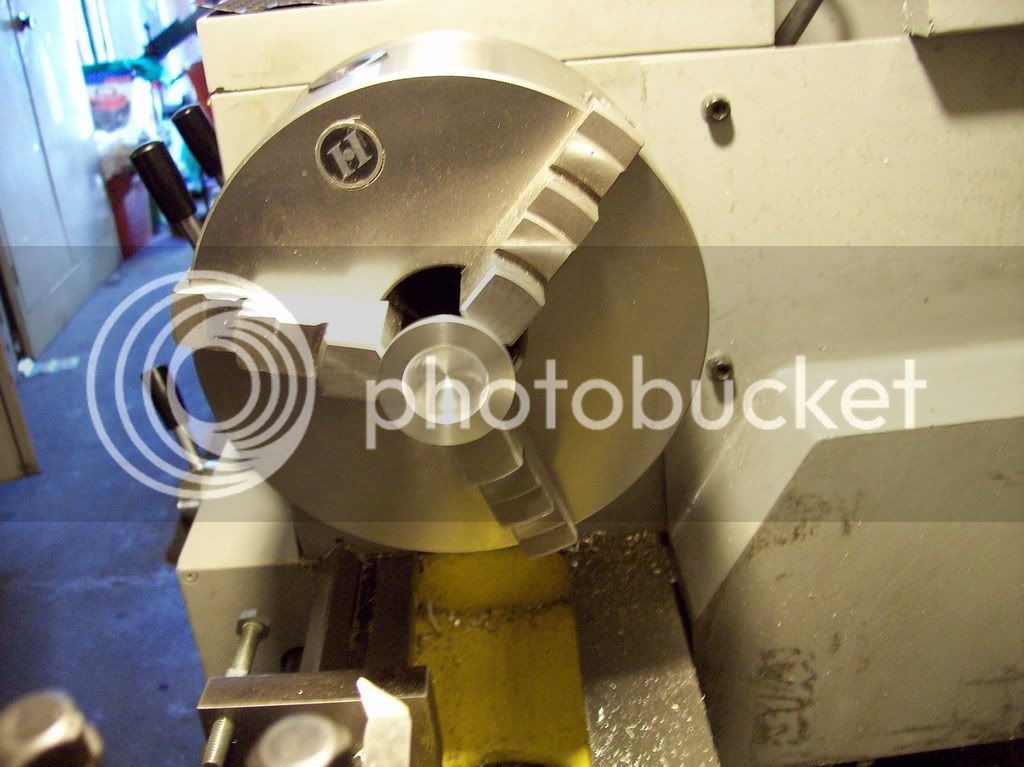
The outer face counter bored

100_0340.jpg


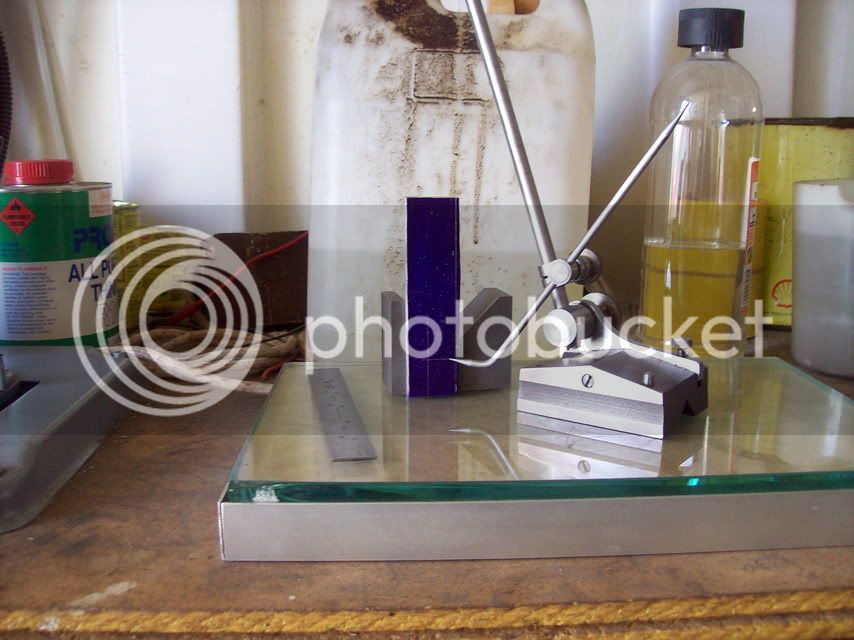
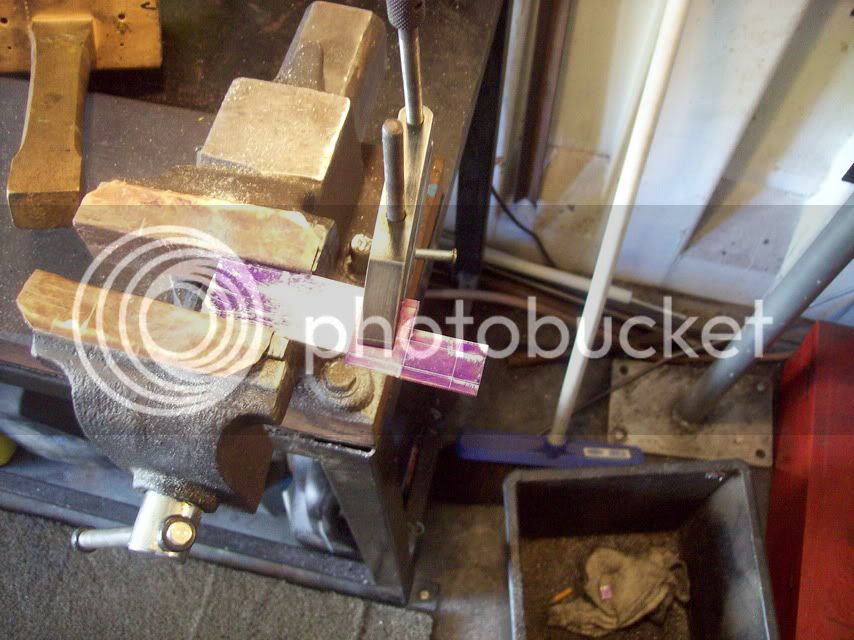
Marking out the end cover for the stud holes

100_0341.jpg


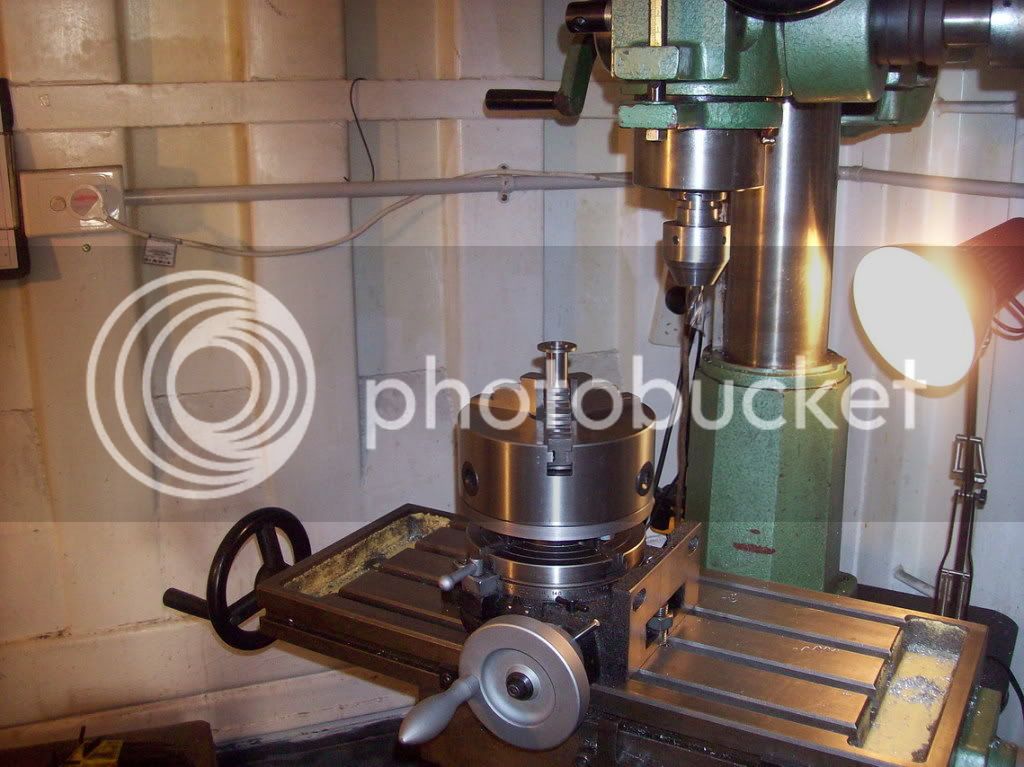
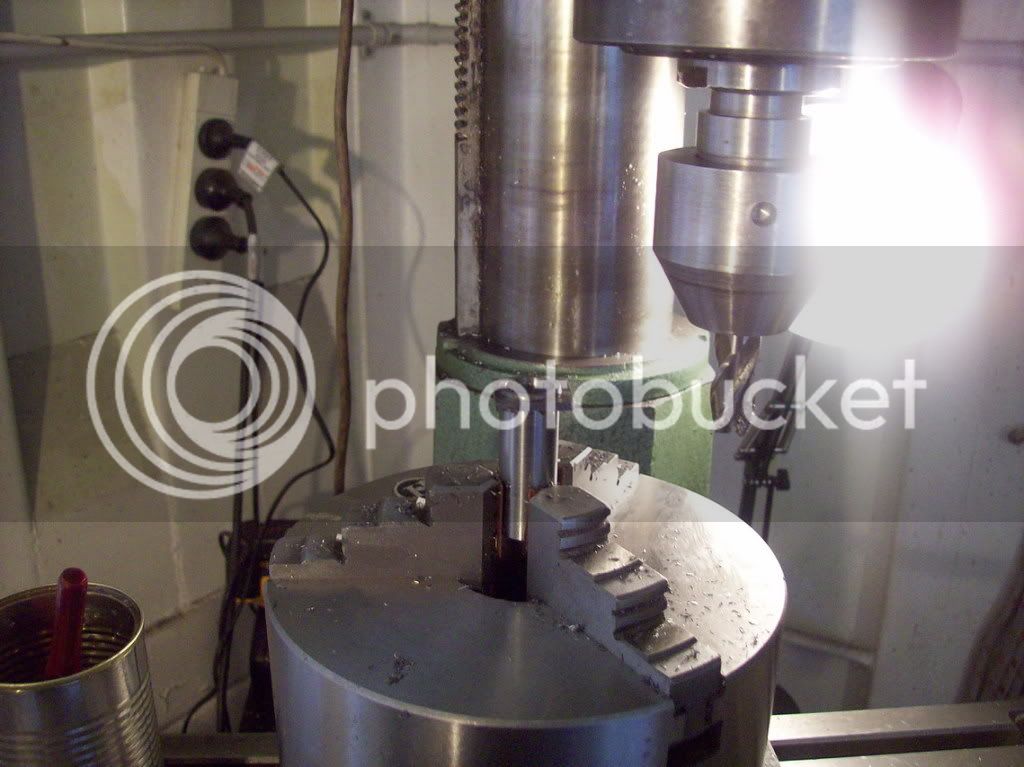
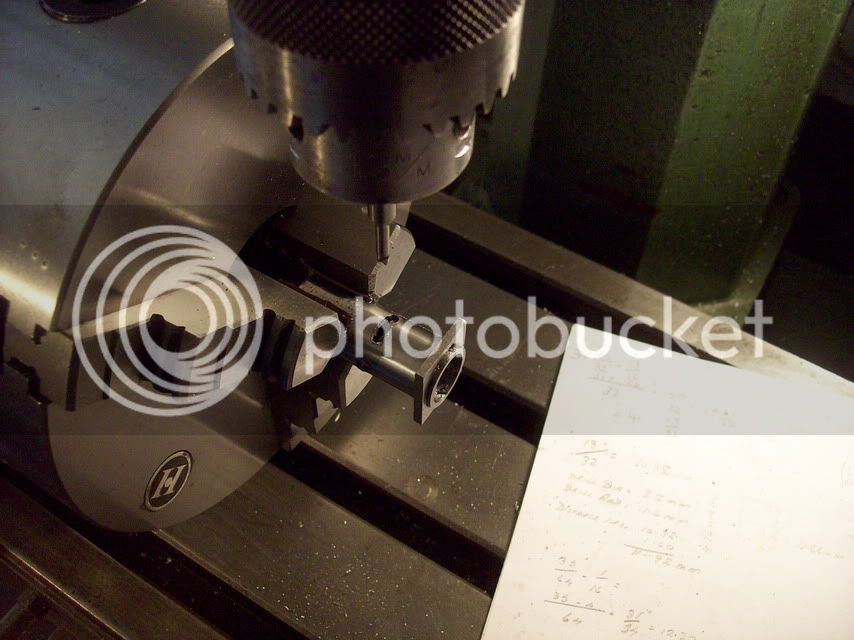
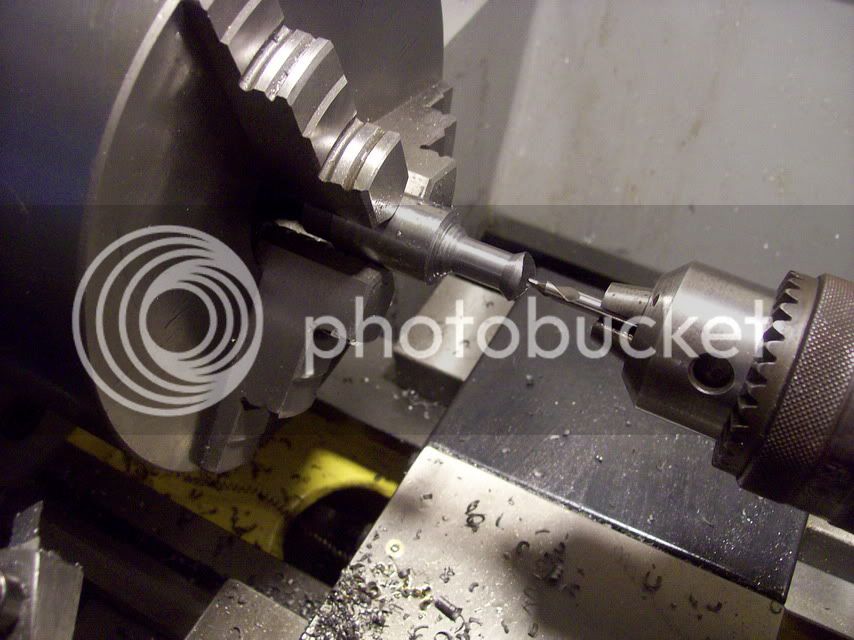
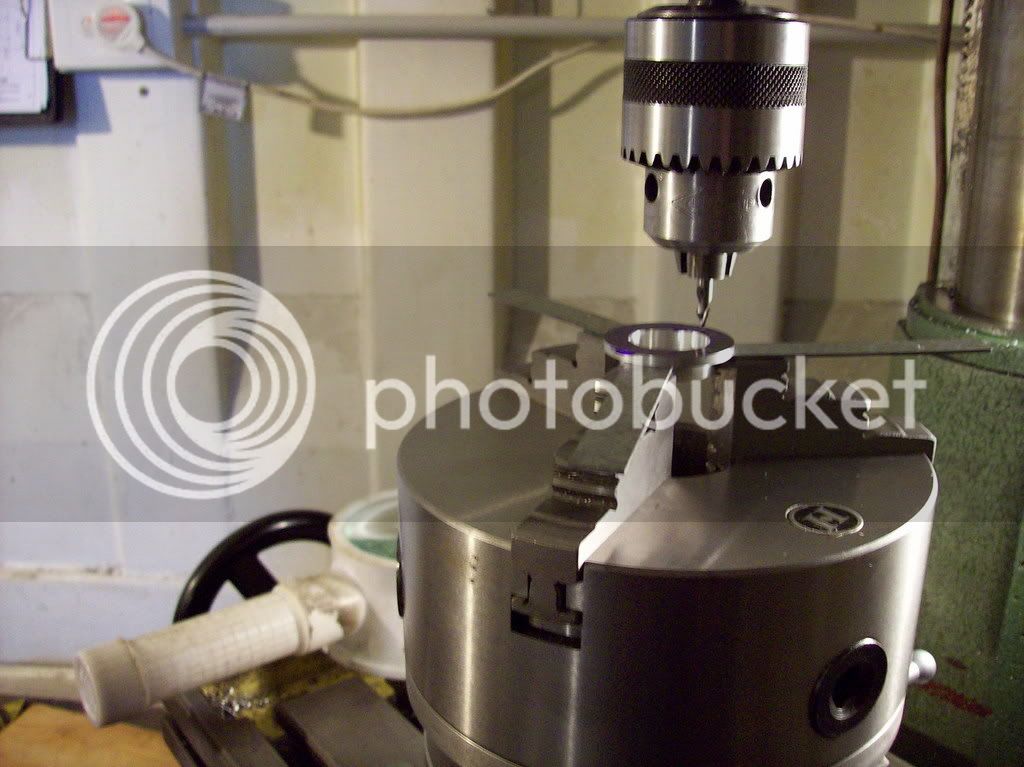
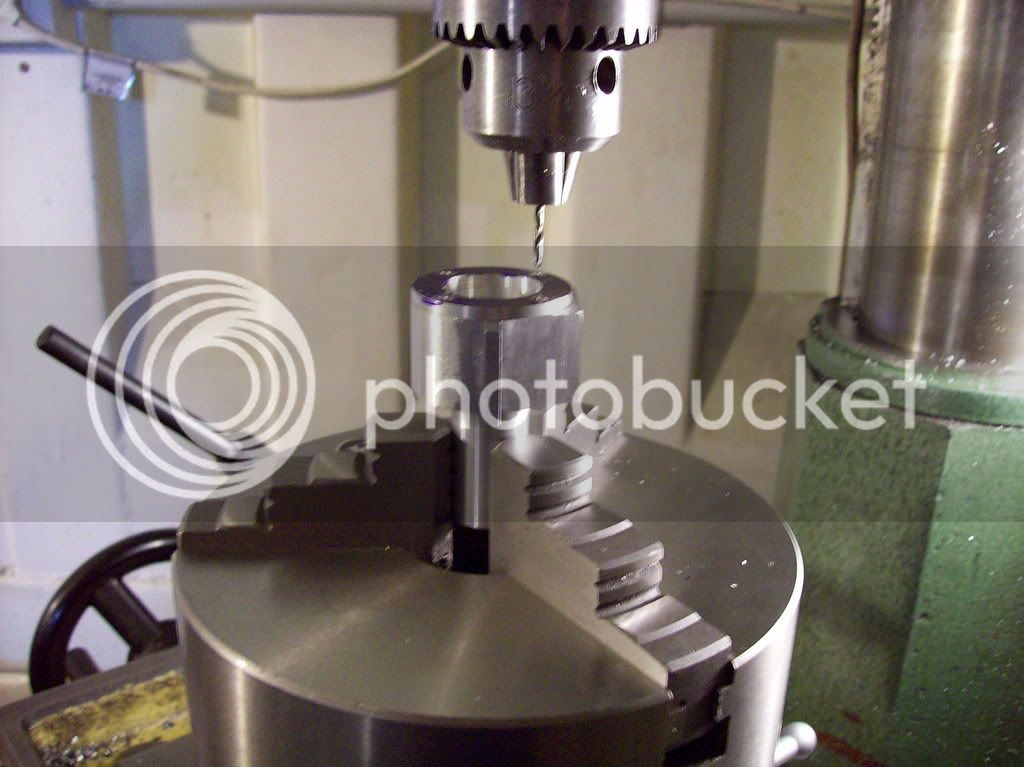
Drilling the stud holes

100_0344.jpg


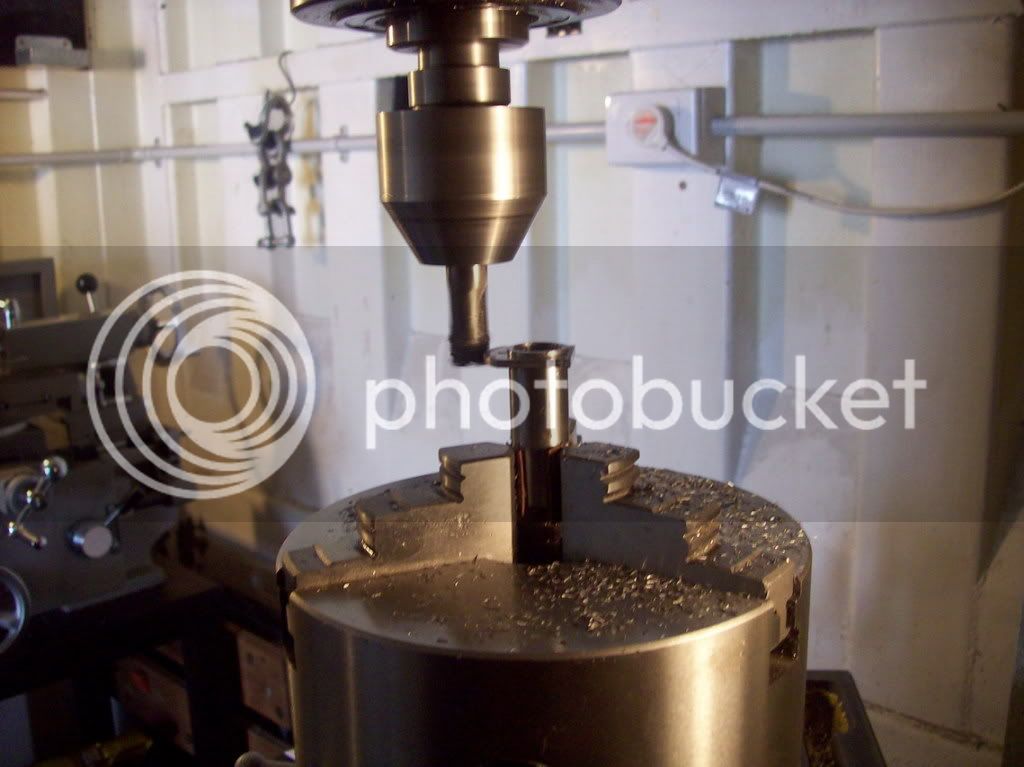
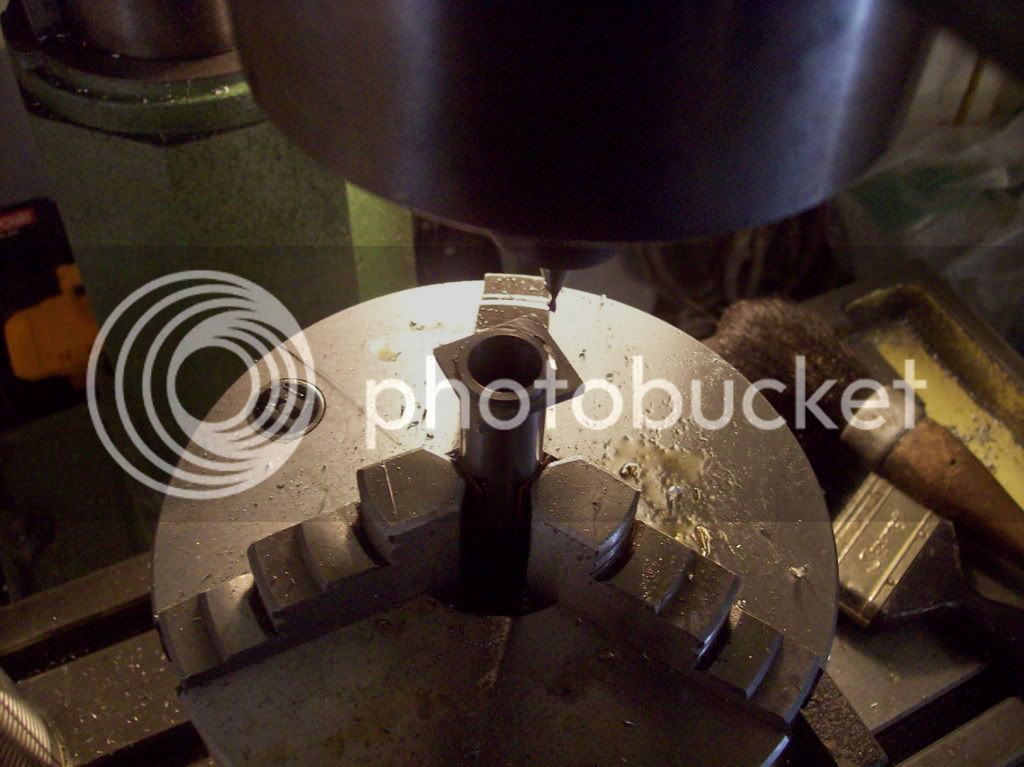
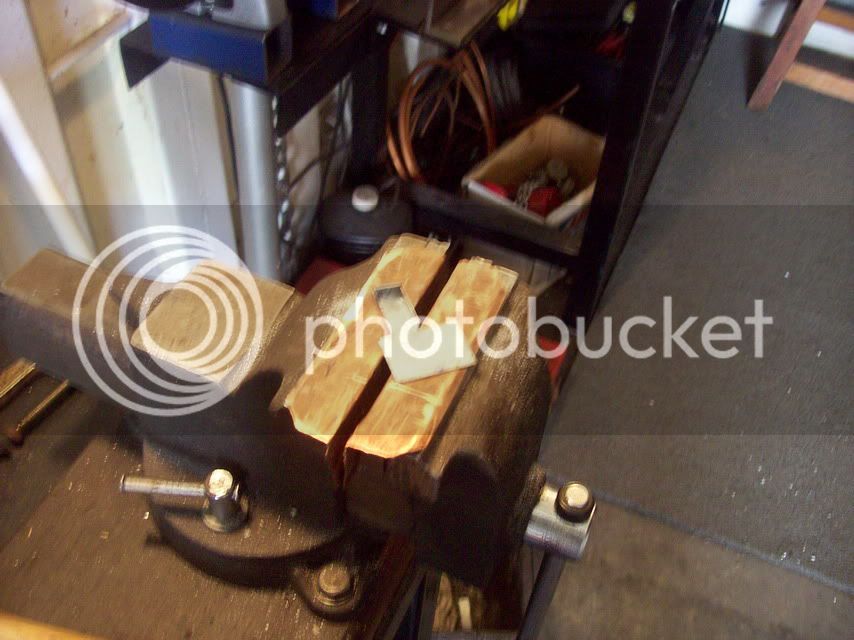
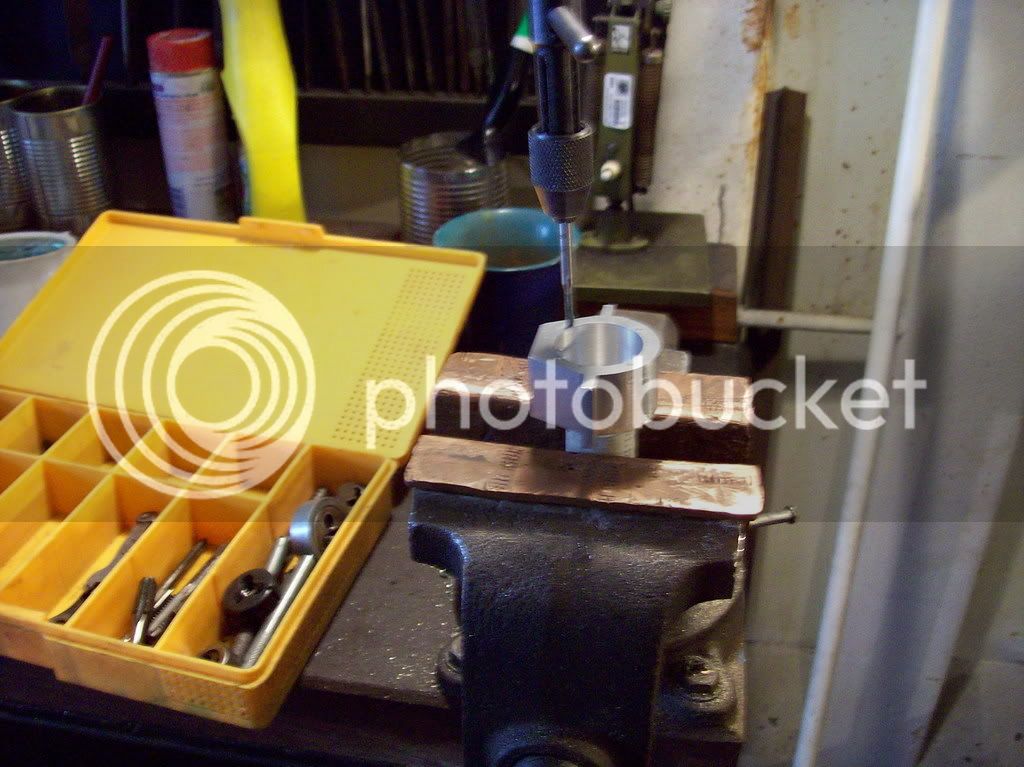
Using the end cover as a template for the stud threads in the crankcase

100_0345.jpg


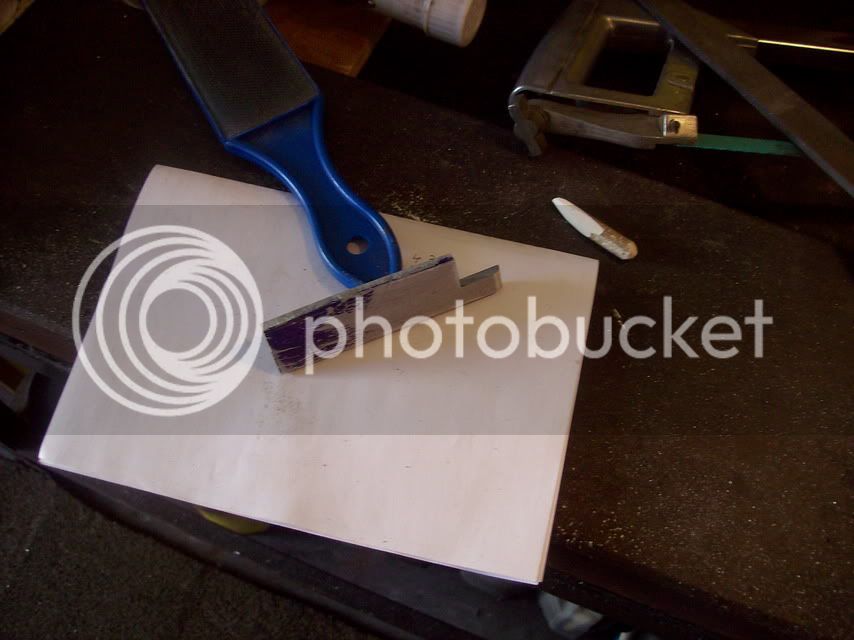
Tapping the crankcase 6BA and Oh so easy to tear a thread out in Alu!!

100_0346.jpg


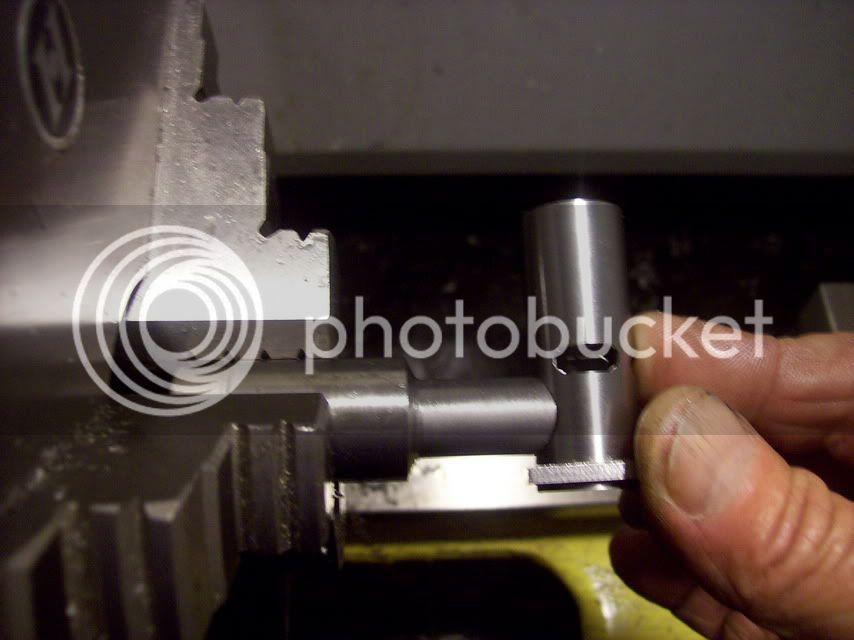
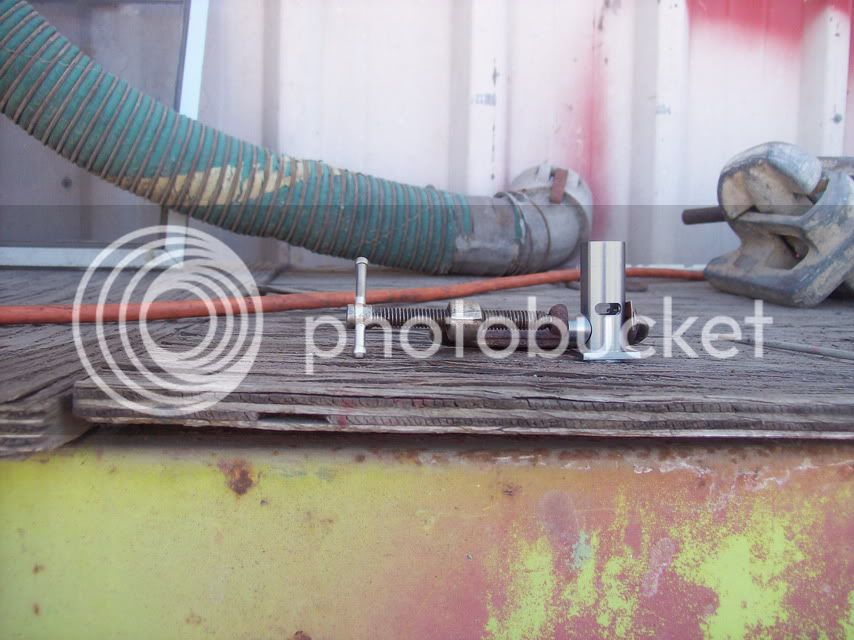
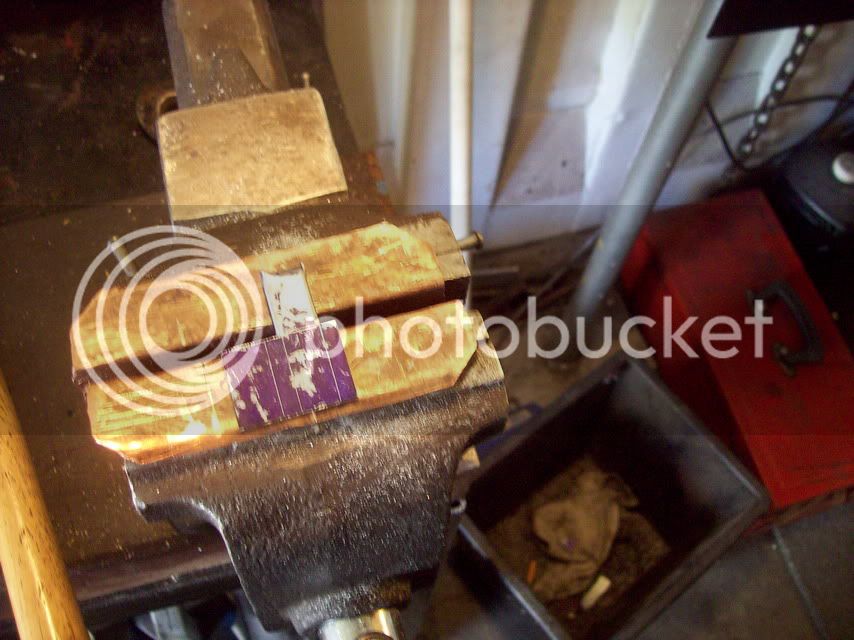
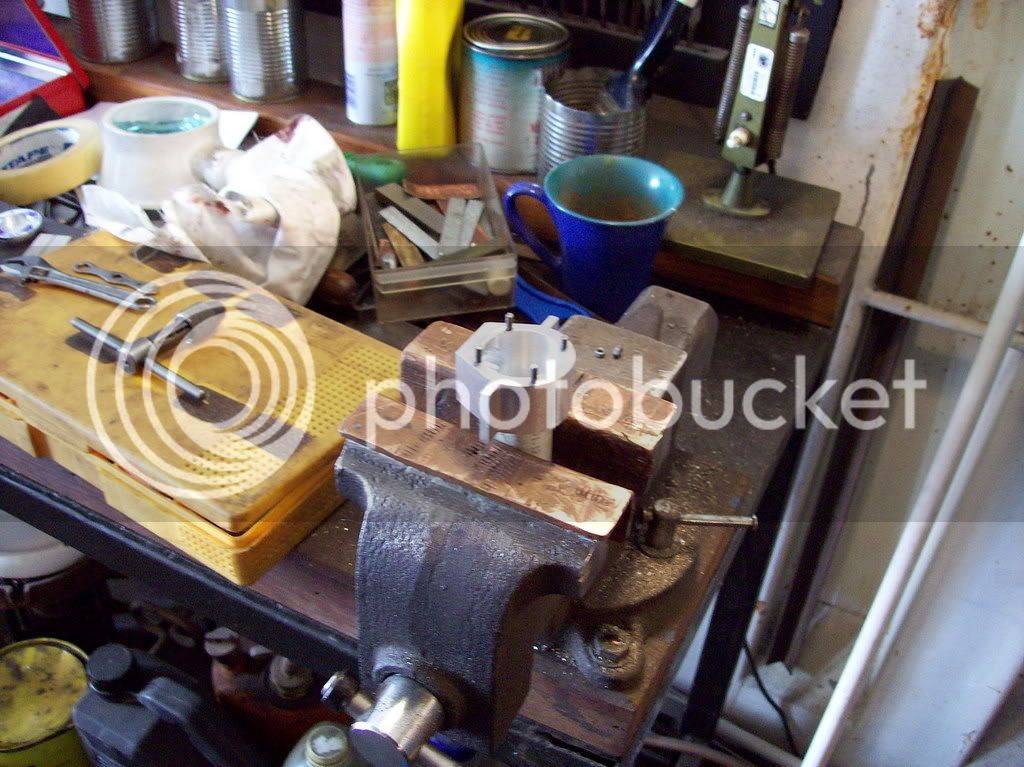
Phew the studs are fitted

100_0347.jpg


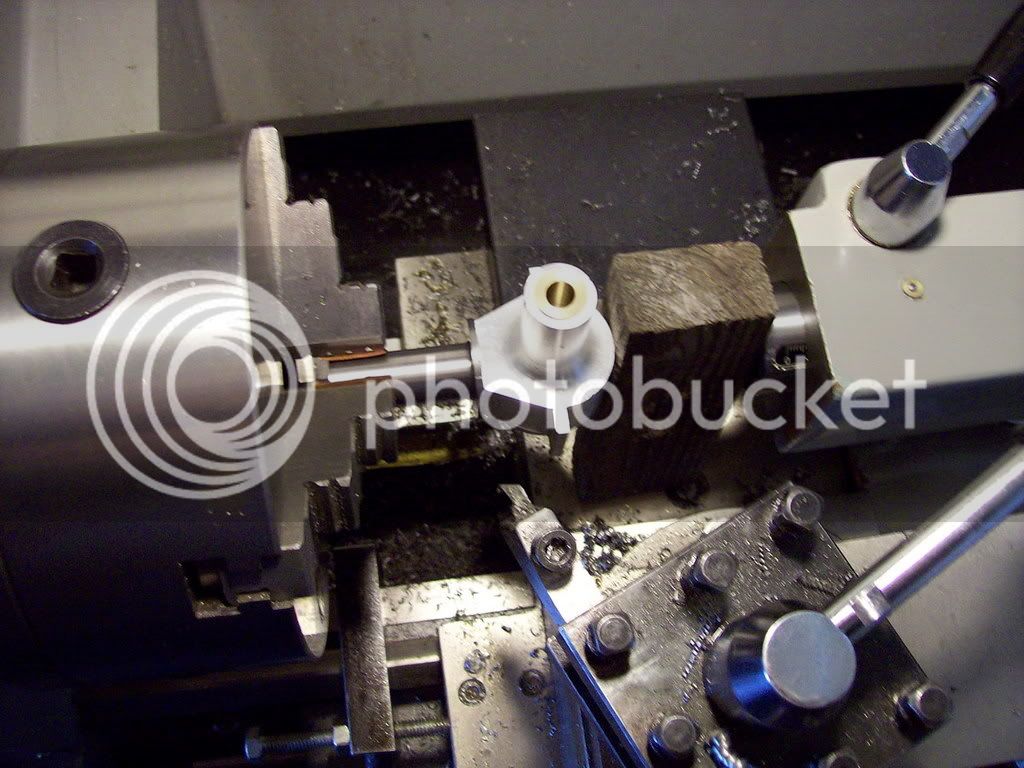
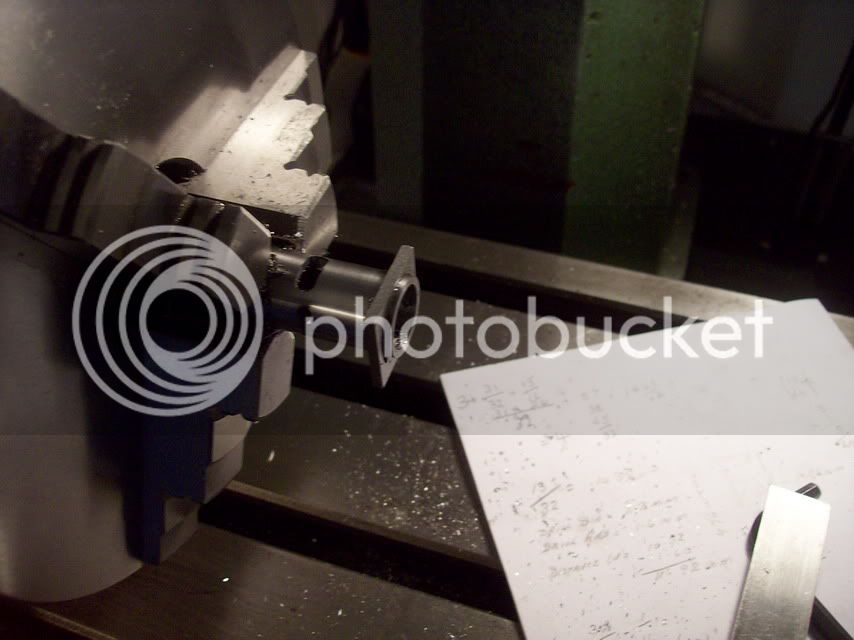
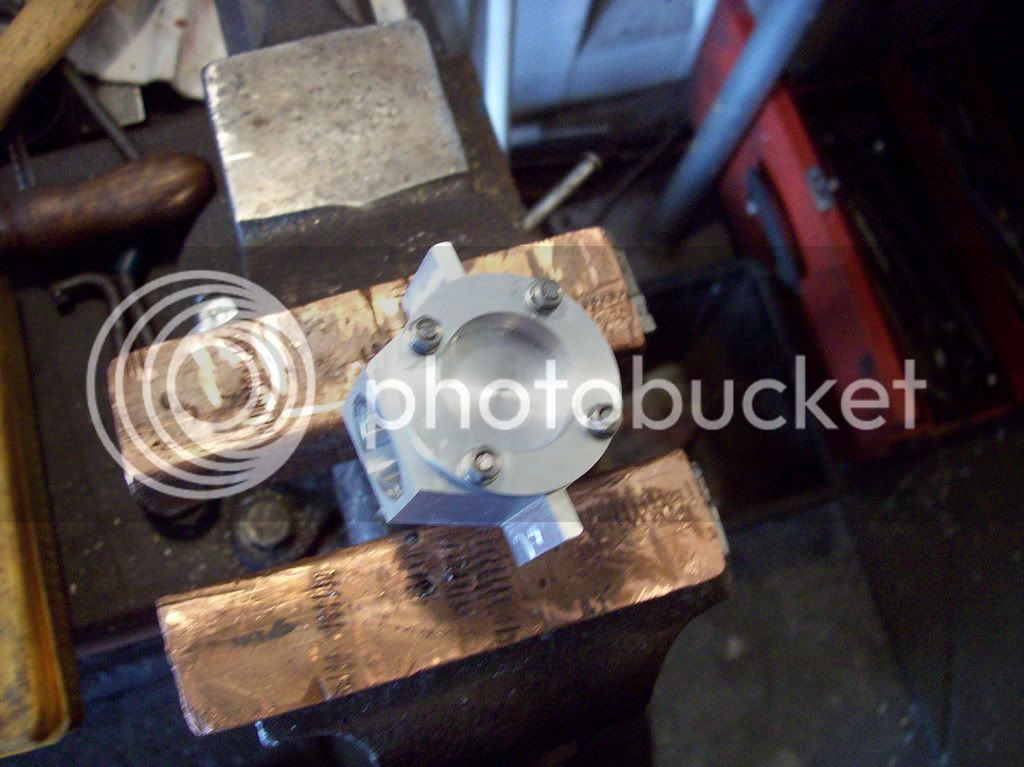
The crankcase with the end cover in place.

100_0349.jpg


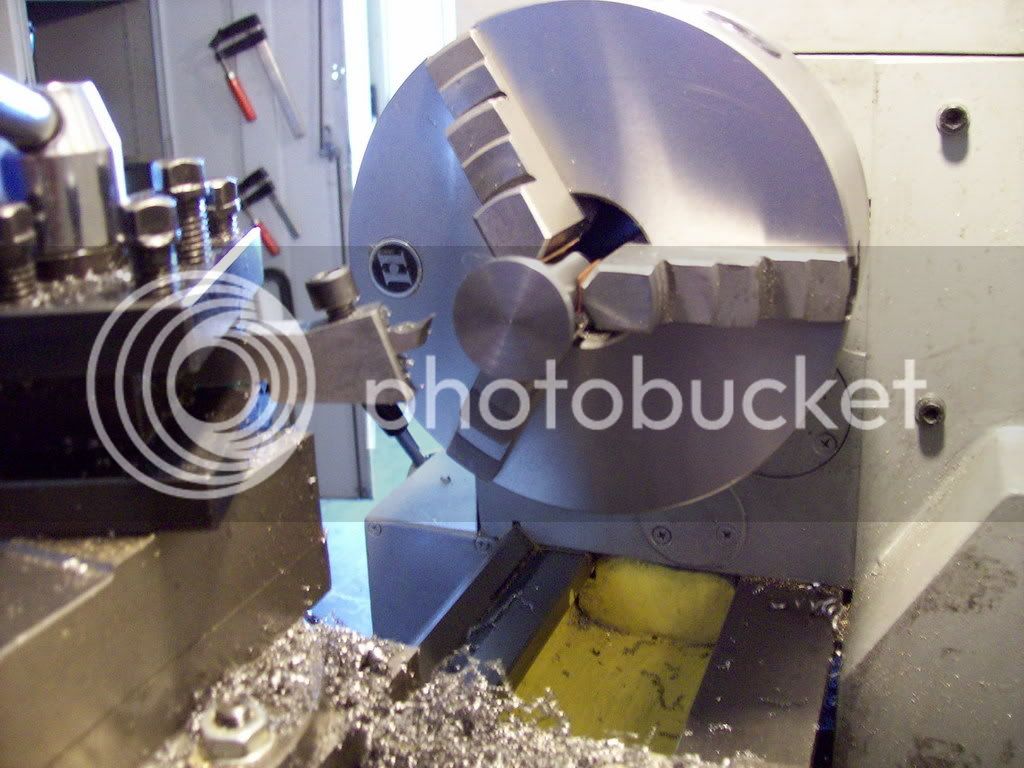
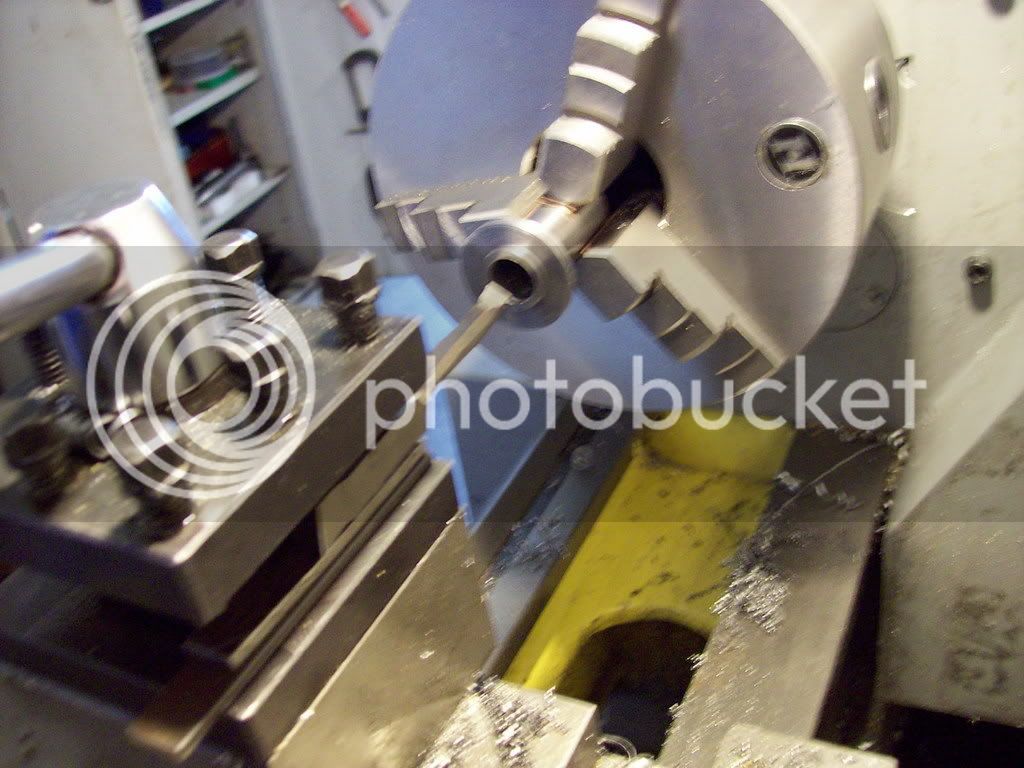
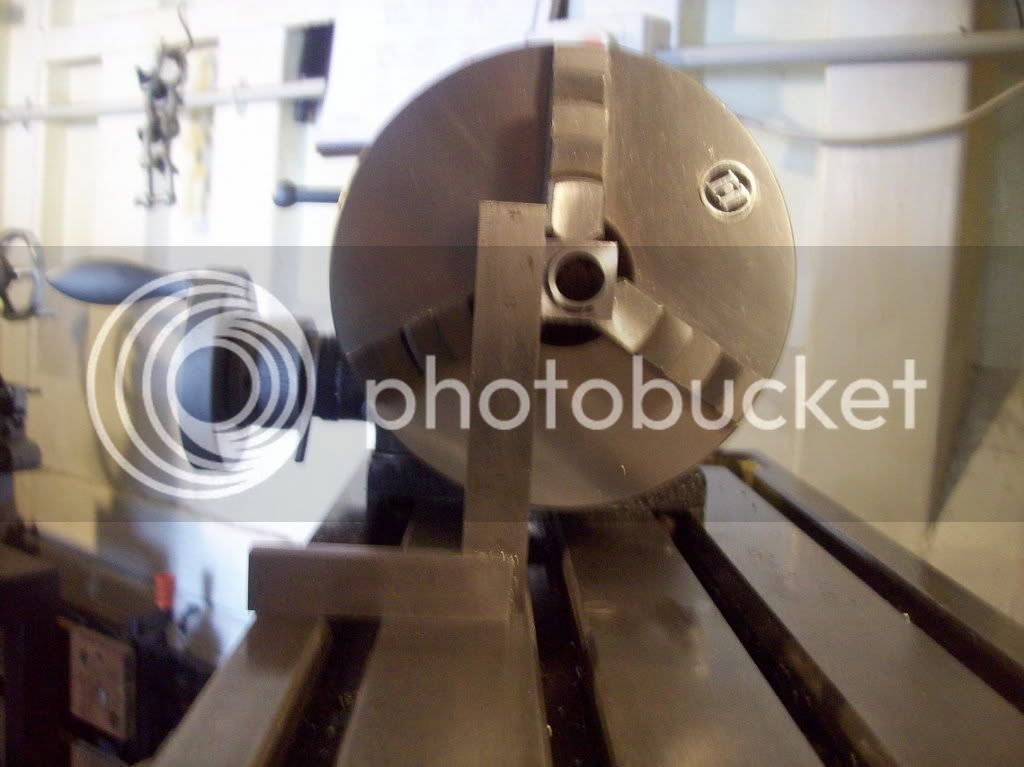
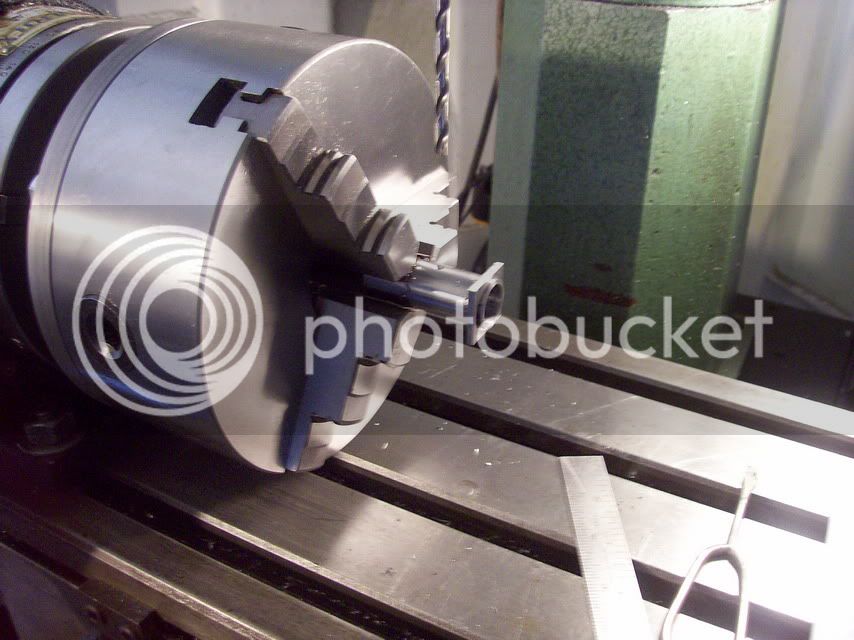
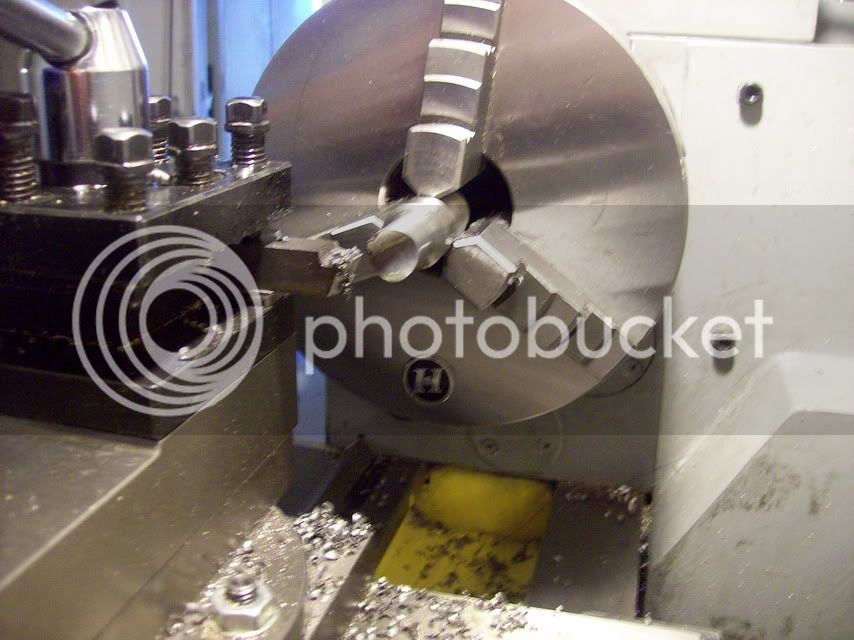
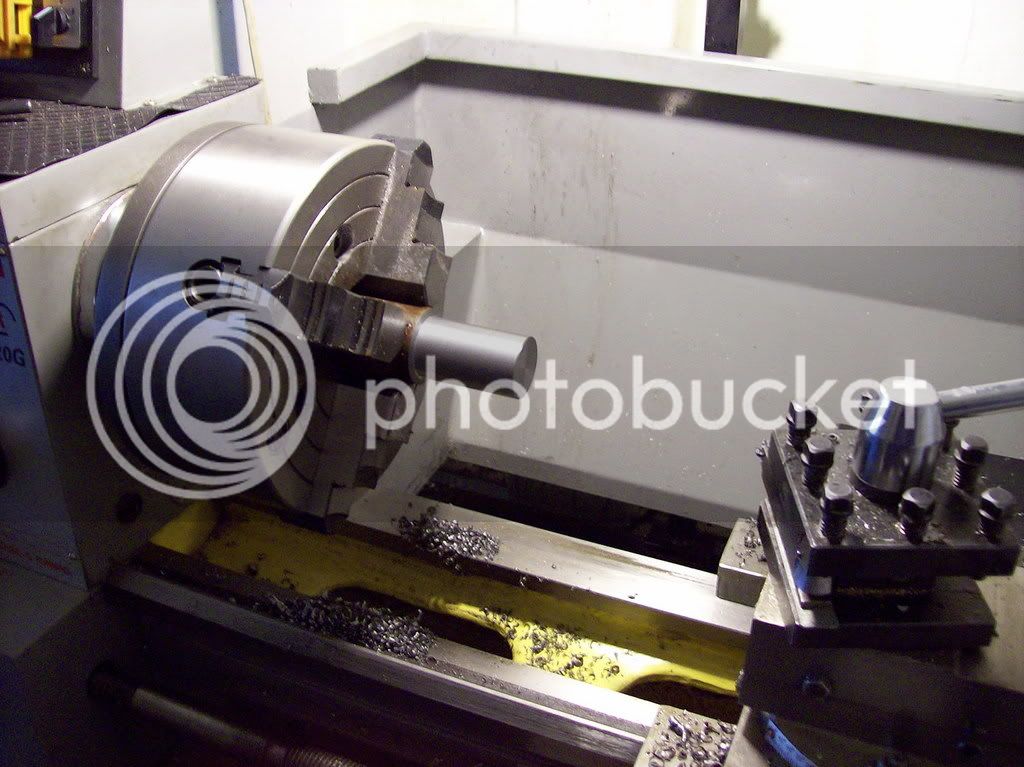
The MS Cylinder chucked and machined down to a known dia, (1-1/4"), - makes it easier to centralise the rectangular cylinder base which sits on the rectangular top of the crankcase.

100_0351.jpg


If I'd kept going I would have wanted to finish the cylinder OD but that tomorrow's job.
 
John,

Thanks for your continued encouragement, I was just looking at your quickie turbine seems to want to go like hell - 35K rpm!!!!

Must be top class workmanship for it to stay in one piece at those speeds :bow:

Bob
 
Well, I was hoping to show an almost completed cylinder but it was not to be.

Arrived at my shop bright and early with fully charged batteries in the digicam and coffee and a fag under my belt.

Didn't even get the door unlocked when my mate came rushing up."Thank Ch&&*t your here we have a panic on. There are 3 ISO tanks which need to be on a ship by 2:30 (1430) today and they're out of date. Bureau Veritas want em surveyed yesterday."

We were in such a rush that we arrived without our documentation, "No problem," says my mate, "You keep working and I'll go back and get the docos." Off he went , only problem was the test fitting I needed was in the back of the Jeep and not in the trailer. So another fag and a cup of TEA waiting for his return.

The whole day went pretty much along those lines, although we did make the cut off time for loading.

Hence this is my progress

Cylinder OD ready for a polish up with some crocus and oil.

100_0352.jpg


Hope your day was better than mine. :D
 
It's me again,

Managed to spend the morning in the shop on my engine, and I managed to finish the lathe work on the cylinder.

Ready for parting off

000_0002-1.jpg


Accuracy when parting off are not my strong suits, so I always leave a bit to play with.

000_0003.jpg


Machining the base and spigot

000_0006.jpg


Trial fit on the crankcase

000_0007.jpg


Boring the cylinder slightly, (0.001), undersize to allow for honing.

000_0008.jpg


The cylinder ready for transfer to the mill - the reason it's sticking out of the chuck so far, is to allow all the drilling of ports etc without altering the setup in the chuck.

000_0010.jpg


If all goes according to Hoyle tomorrow, maybe I can start the honing process next week ::)
 
Being Friday, (TGIF), (Poets Day) I stopped early and went and had a hair cut, it was that, buy a violin, or enter the sheep dog trials ;D

Things went pretty well; all be it at a much slower pace than I anticipated. I was ever so gentle with my 1/16" slot drill. Speed 1600 rpm, depth of cut 1/64," feed rate approx 3/16" per min. Any advise was I too slow and blunting the tool etc?

Set up for milling the rectangular base

100_0353.jpg


Milling the base

100_0354.jpg


Base wrecked angle complete

100_0355.jpg


Milling the transfer slot

100_0357.jpg


Set up to drill and mill the ports in the barrel

100_0358.jpg


I must say I will be glad when this task is successfully completed - Have a great weekend guys
 
Maryak,

Your little engine is coming along nicely. I've been watching this unfold and it is inspiring me to put my work work aside and go make some pieces for mine! Might just do that!! :big:

Keep up the great work!
 
W/E

Thanks for your continued interest. Next week should see the basic cylinder complete. I am pondering which is the best way to finalise this.

There is a snout to be silver soldered onto the inlet port for carby attachment and a cover plate to be soldered over the transfer slot and port. (Not my strongest suit).

I feel that if I get that far, I should make and solder on these bits for 2 reasons:

1. The heat applied particularly with the silver solder may distort the cylinder a little.

2. It seems a bit pointless to do any honing when 1 above may be correct and I may well stuff up the process with both soldering jobs and have to start all over again with the cylinder.

Comments/suggestions?
Bob ???
 
great progress pics, and descriptions. work looks great!
 
Thanks Kustomkb,

I am enjoying both making the model and posting my progress warts and all

Bob
 
Maryak, I think the silver soldering will be a trick, and I am facing the same issues myself. For a remedy to a potential issue, I think that I will heat the whole thing prior to soldering. My thought is it would reduce the temperature differential and hopefully reduce the warpage from soldering.

I am still thinking about this problem, so if anyone has any other suggestions, I am all ears!!!
 
W/E,

Thanks for your continued support and positive input to my project.

Regards
Bob ;D
 
This post is gunna be bigger than Ben Hur by the time I finish the engine :eek: :eek:

Today saw the machining of the cylinder completed and the nervous Nellie port cutting under the belt :p

The Chariot Race continues.

Sharpening the drills that will be used for the ports - to try for accurate sizing.

100_0363.jpg


Drilling the Inlet Port.

100_0364.jpg


Milling the Transfer Port.

100_0365.jpg


And the Exhaust Ports.

100_0366.jpg


Oh for a Geared Head. :mad:

100_0367.jpg


Set up to Profile the Inlet Port Stub.

100_0368.jpg


Profiling the Inlet Port Stub.

100_0369.jpg


Machining the Inlet Port Stub body.

100_0370.jpg


Test fit of the Stub on the Cylinder.

100_0371.jpg


Drilling and Tapping the Stub.

100_0374.jpg


The Stub and the Cylinder.

100_0377.jpg


Well "That's All Folks" - (for today anyway ;))

 
Hi Guys,

A little more progress today but not as much as I would have liked. SWMBO needed transport to the city, (sometimes I wished she'd learn to drive, most times I'm glad she doesn't ;)).

The beat goes on.

Marking out a Former for the Transfer Cover.

100_0379.jpg


The completed Former.

100_0380.jpg


Small piece of 0.025" steel sheet for the Transfer Cover.

100_0381.jpg


Ready to Form the Transfer Cover.

100_0383.jpg


The inside of the formed Transfer Cover

100_0384.jpg


And the Outside.

100_0385.jpg


Thanks must be given to Ron at: http://www.modelenginenews.org/ - there are some great tips and ideas for the building and running of small IC Engines; some of which I have used to good effect on this project.

The inside of this cover now needs silver soldering, but on checking I found I only have plumbers grade, so as well as the city I went to BOC Gases and bought a stick suitable for steel, (bloody expensive because of the amount of silver it contains :mad:).

 
Maryak,
I've been watching your build with great interest.
Thank you for such detailed documentation of you project.

Great work indeed.
 
Ksouers,

Thanks again for your kind words and continued support. :) :bow:

Bob
 
Bob,
Judging by the number of hits this thread has received in the last week and a half since you started it (858 at the last count) methinks lot's of people are very interested 8) ............... me for sure ;)

Like Kevin said, thanks for taking the time to document the individual steps and share them :bow:


Oh, and by the way ............. you seem to be slacking a bit today ...... :eek: ;D :big: ;D


;) CC

 
Oh, and by the way ............. you seem to be slacking a bit today ...... Shocked Grin big laugh Grin


Wink CC

Ha! I was just thining the same thing!! Seriously though I am learning so much from this thread, not to mention the inspiration...

Thanks Maryak..
 
Crewcab - Twinsquirrel,

Thanks guys for your support and encouragement.

One of my better decisions was joining this forum, (It's the GREATEST), and the help and support I have received from members just fantastic.

Sorry about slacking off yesterday :eek: ::) ;) :-*

Progress seems to be related to confidence and this soldering and metal forming at such a small, (to me), scale is lower down my list. Up until the mill engine and this ICE, I've been a 12" to the foot modeler :p

Regards to All
Bob
 
Maryak said:
Sorry about slacking off yesterday :eek: ::) ;) :-*

That's the good thing about a hobby mind ............ you could do that every day if you really wanted ;D

atb Bob, good luck with the small sheet metal work, ............. I know what you mean though, most of my earlier creations have always been at 25.4mm to the inch ;) .................. errrrr ........... +/- 5% ::)

CC
 

Latest posts

Back
Top