- Joined
- Jan 17, 2009
- Messages
- 887
- Reaction score
- 81
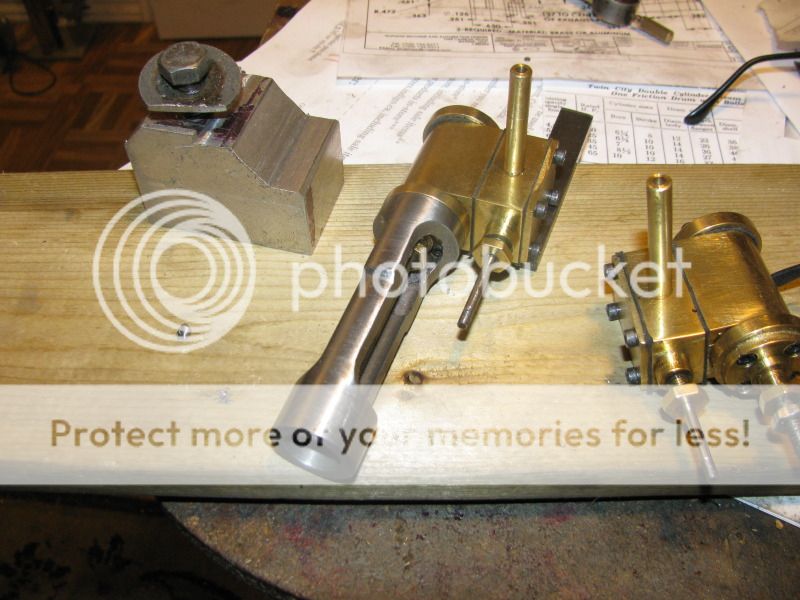
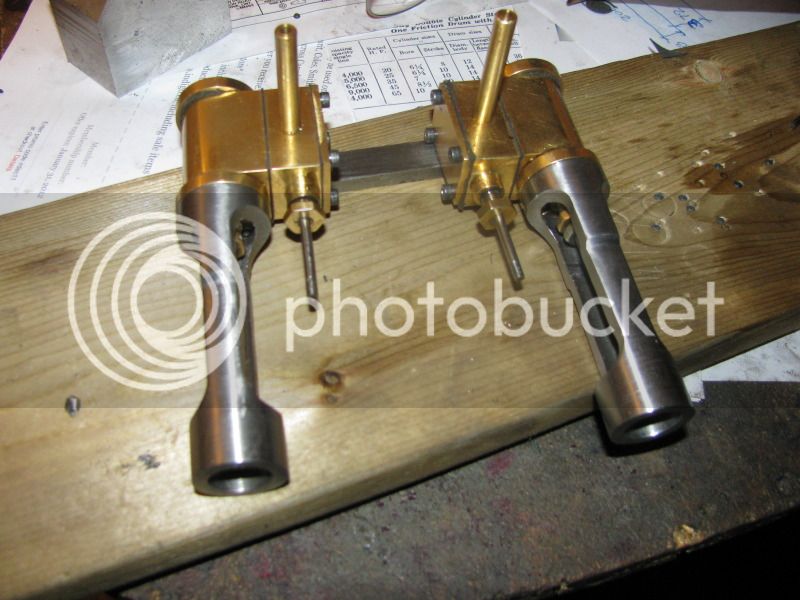
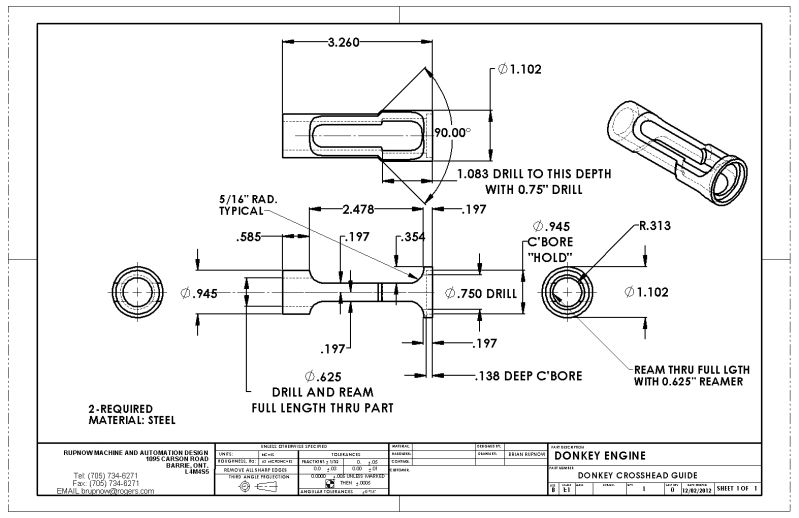
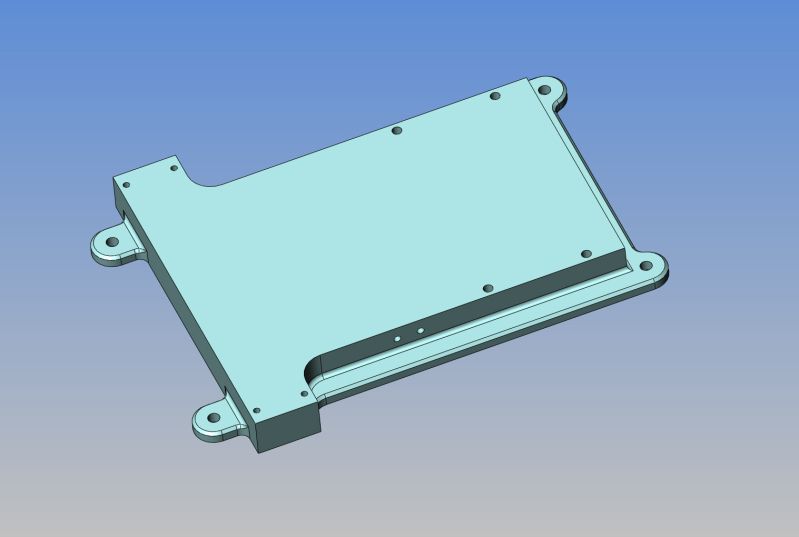
Jasonb said:The large size Benson that I have just got running uses 1/8" & 3/16" ports at the same spacing as your 0.282".
But the cavity under the puck is 0.423" long, total length of puck 0.75" and the eccentric throw 0.117" and it runs fine on 10psi and thats a much bigger piston & stroke.
I got very close to these sizes when i ran it through my maths (.438 and .748) for 1/8 and 3/16 ports.
If you've done the cad simulation and and it looks OK it probably is OK Brian, we can keep our fingers crossed and hope the black cat comes up trick.
There is more than one way to skin a black cat, and these engines have a fair bit of tolerance for air running its not as though we're running a pumping station with them where ever bit of effieciency matteres.
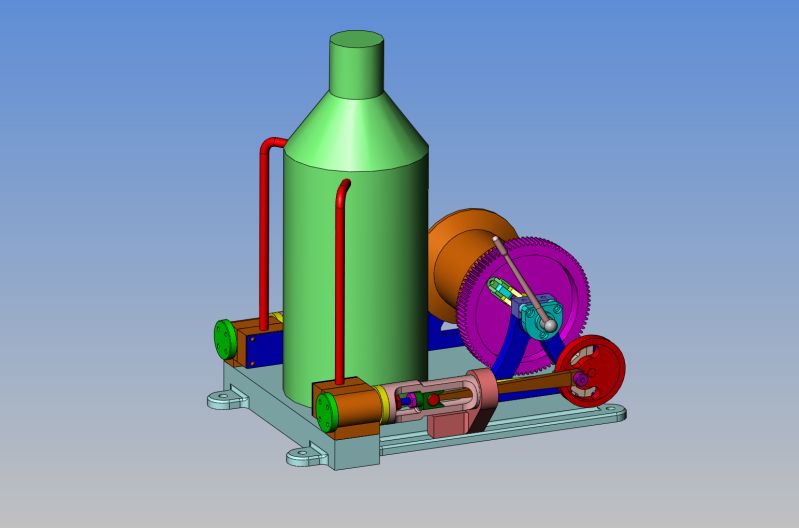
Its a great project Brian and very interesting.
Stew