A Table Engine Tale

Home Model Engine Machinist Forum

Help Support Home Model Engine Machinist Forum:

This site may earn a commission from merchant affiliate links, including eBay, Amazon, and others.
Hi Guys, Thanks as always for the comments, it is good to receive this feedback and hear that it is proving beneficial.

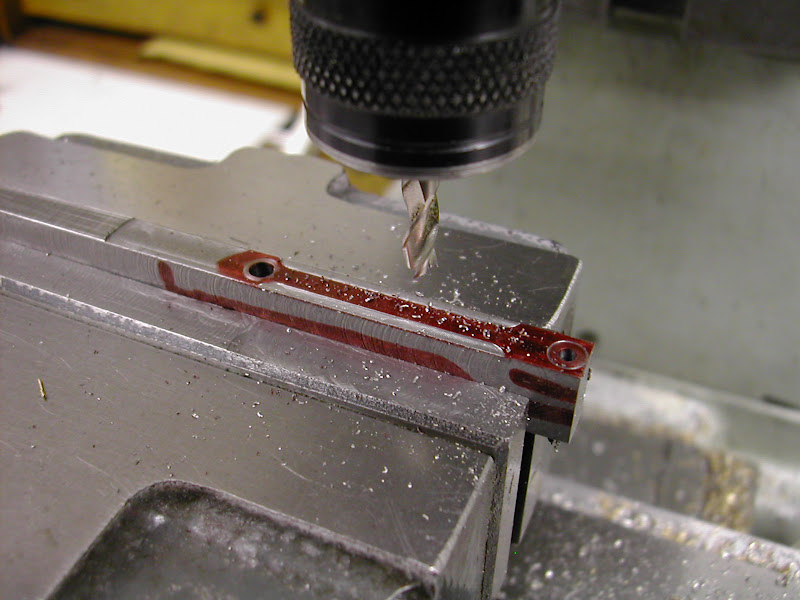
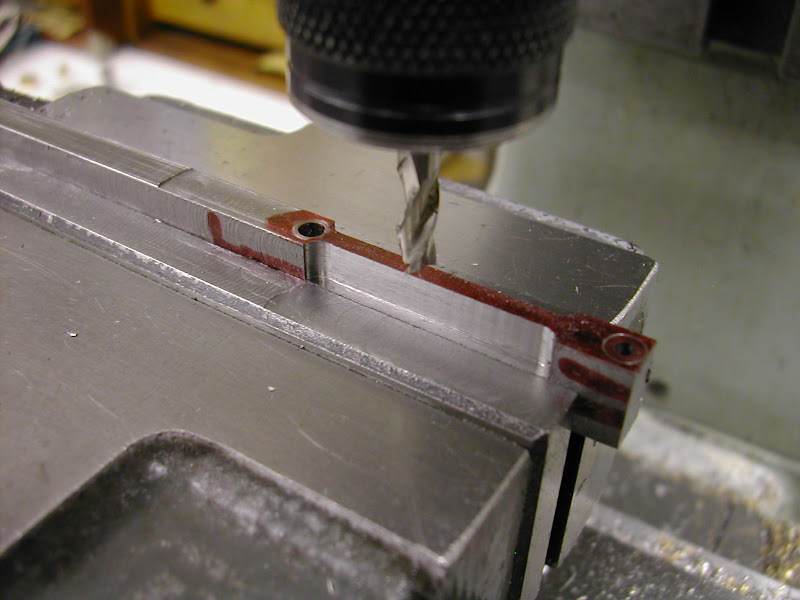
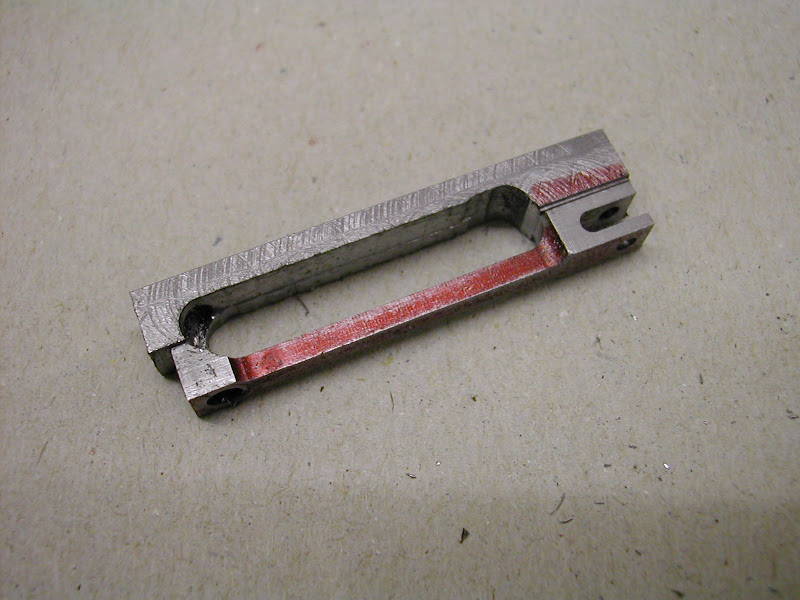
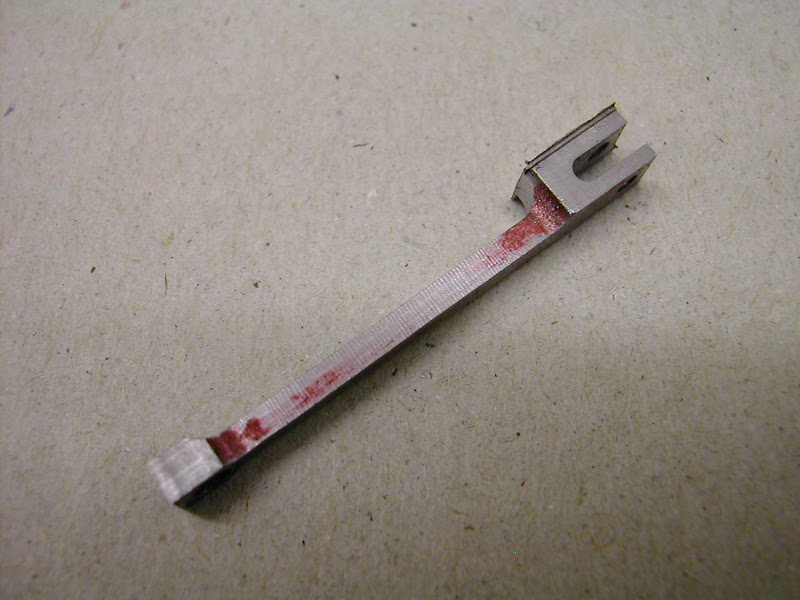
I confess I hadn't considered the possibility of how Pete (Doubletop) first saw it (or indeed others) with reference to the JB Weld. I know some of us can be very unprepared to accept the use of modern materials - Loctite, epoxies etc - in what are after all replicas of a bygone age but I look at it from the perspective in that were those materials available in those days they probably would have been used. I wouldn't personally advocate JBW from a structural point of view (though I'm sure it would surprise us if it were) but to use it for cosmetic reasons to simulate a cast effect seems - to me - to be a fair use. After all, once that coat of paint goes on the surface beneath could be made of anything. It's a good point though Pete and I'm pleased you raised it (but even more pleased that you appear won over ;))

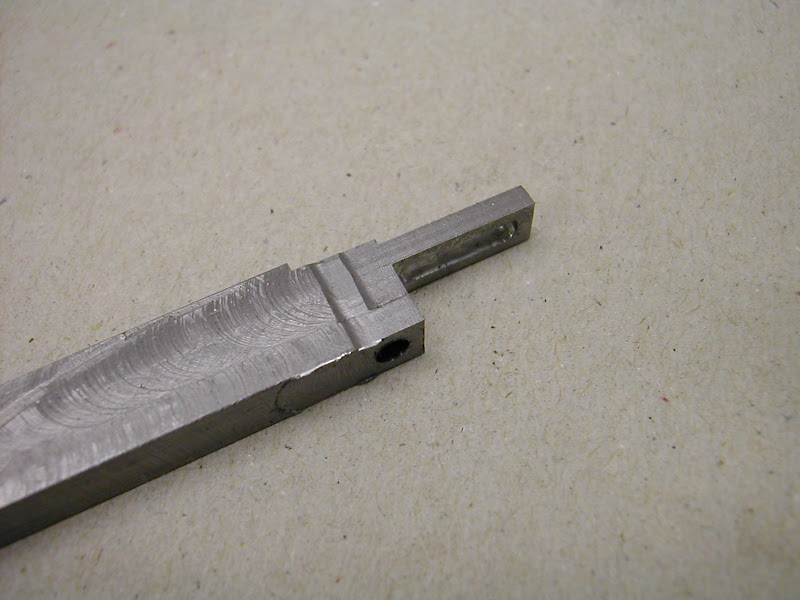
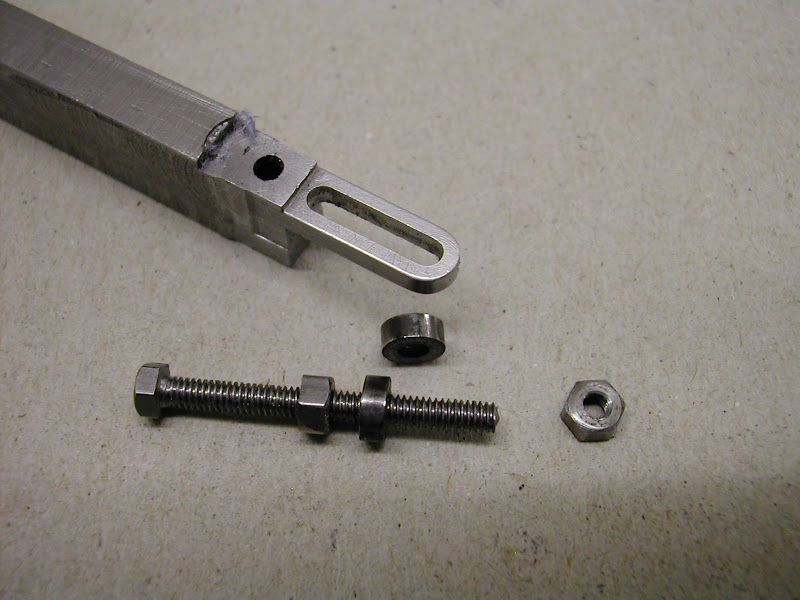
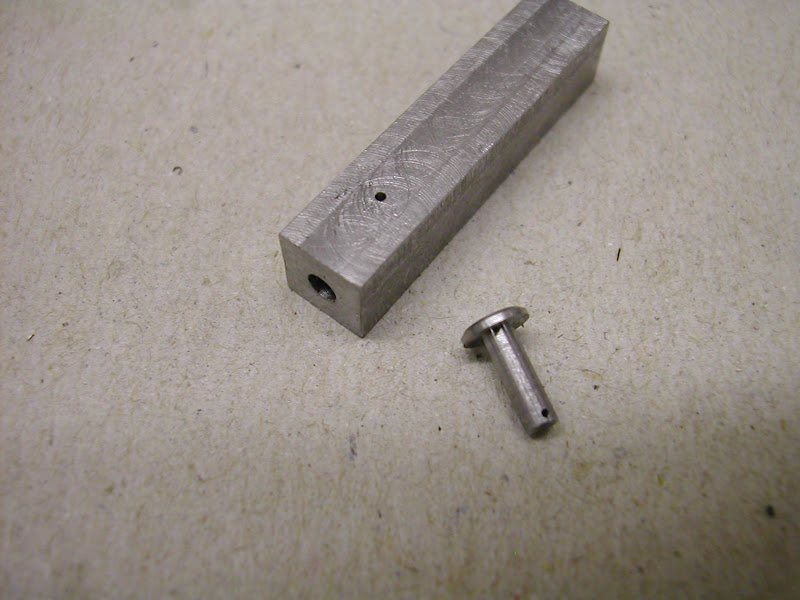
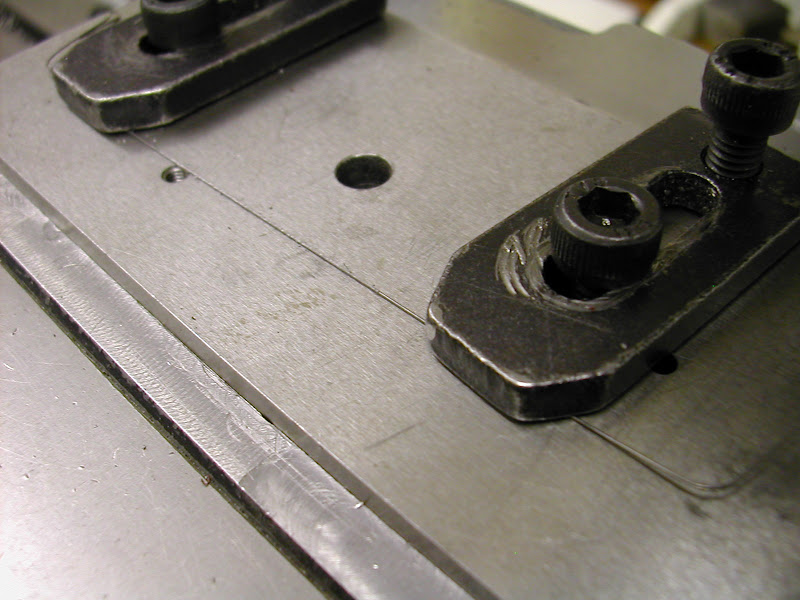
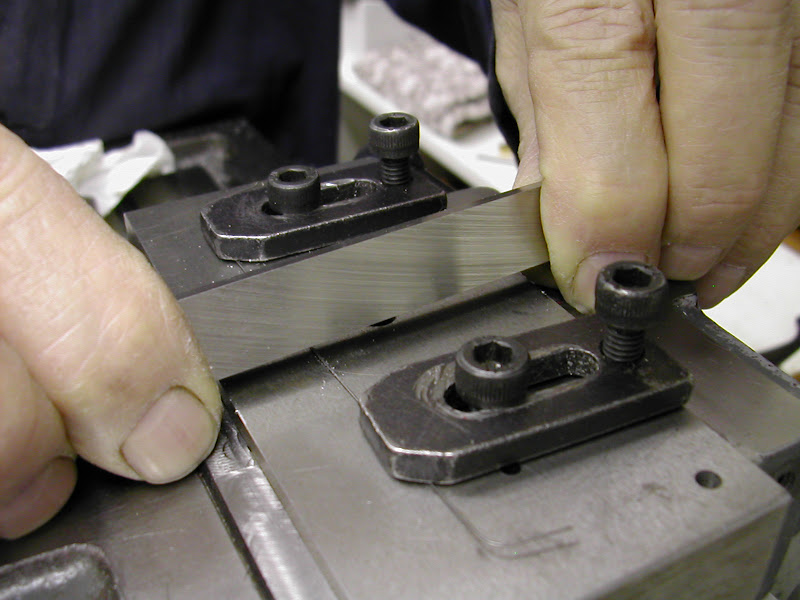
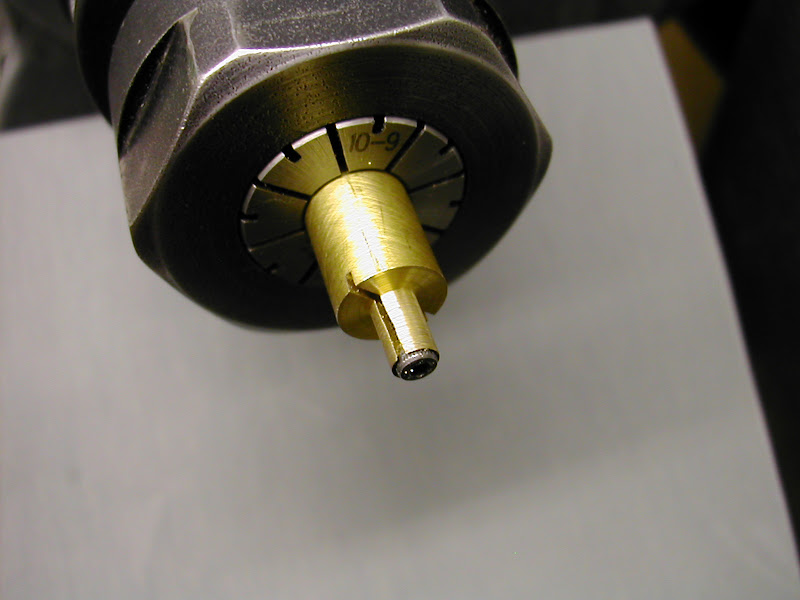
Peter (Peatoluser) the expanding mandrel was home made and featured back when doing the rocker shaft bearings. I now have quite a collection of these from 4mm upwards. All are expanded by a 60 degree tapered caphead bolt - this one uses 8BA - and exert considerable pressure on the workpiece with very little torque on the screw. These smaller ones are used in collets which makes them in most part re-useable but the larger ones, normally held in the three jaw are turned each time to suit in order to ensure concentricity. I find this easier than using a four jaw as even then they can be difficult to get exactly right, radially and axially. They are so quick to make it's easier to reduce them slightly each time, occasionally making a new one when nothing is suitable.

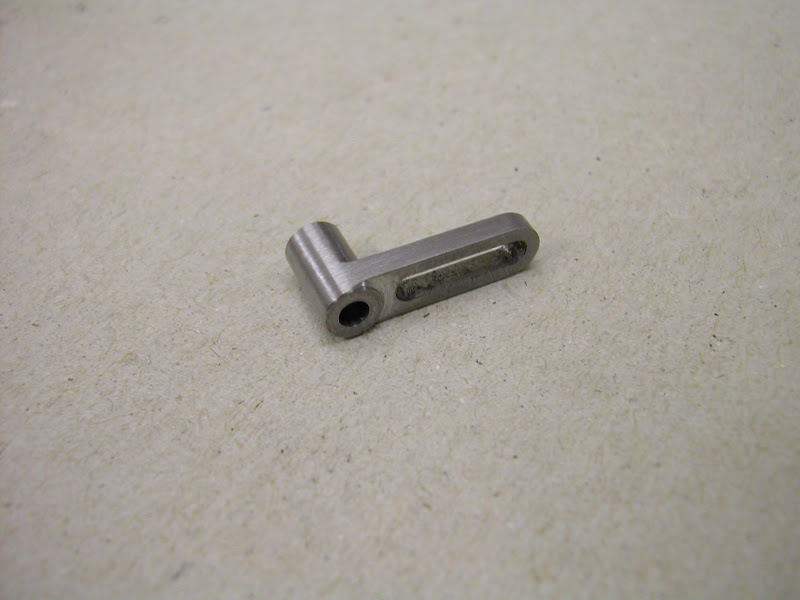
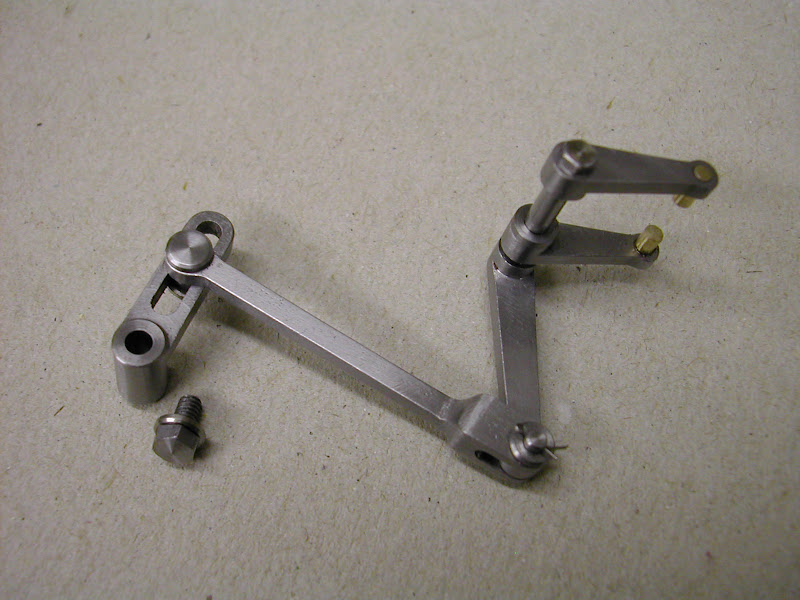
This is the one used above.
DSCN3756.JPG


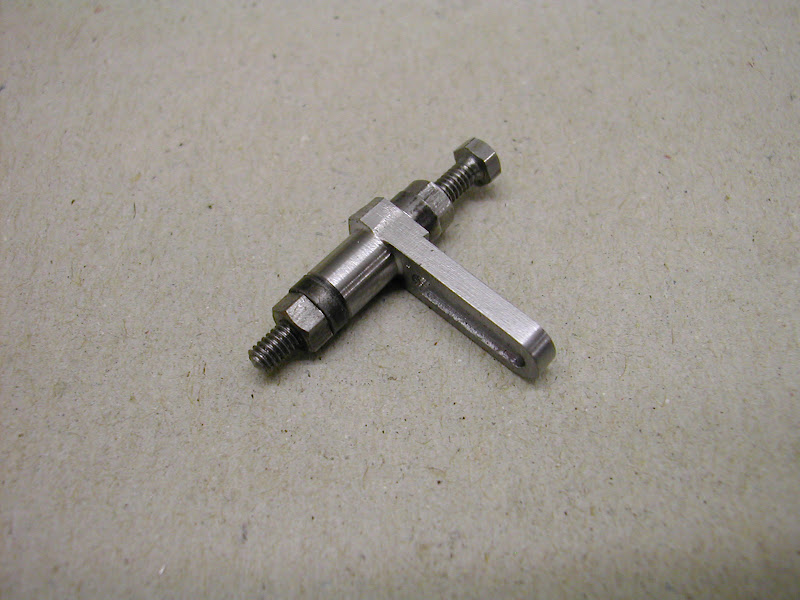
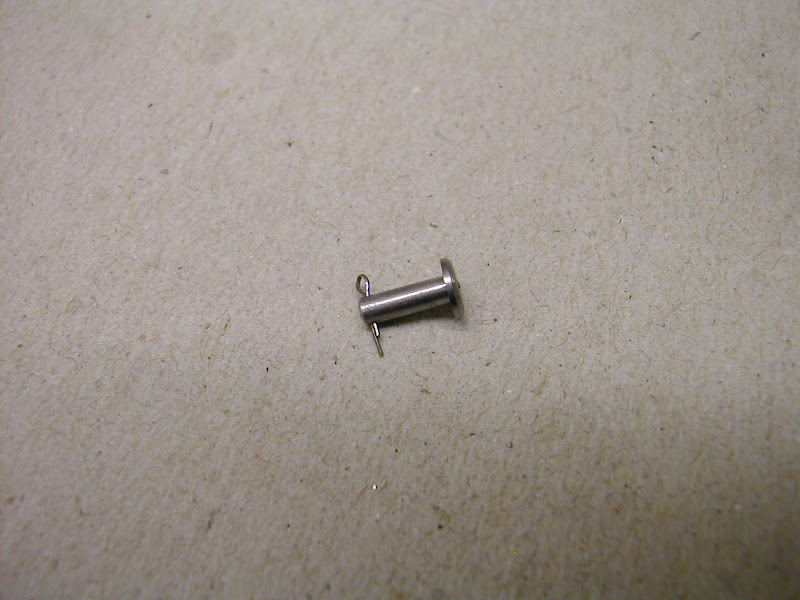
This one was used on the eccentric, the screw in this case 2BA
DSCN3828.JPG


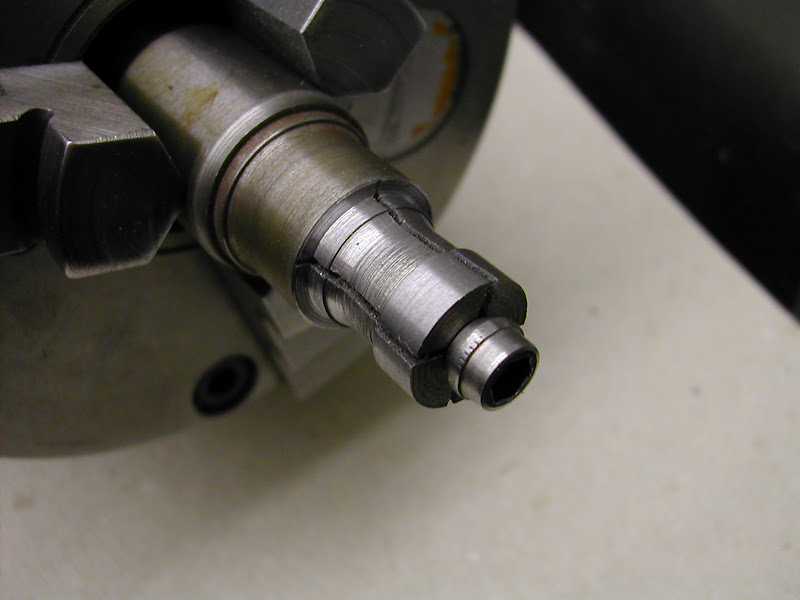
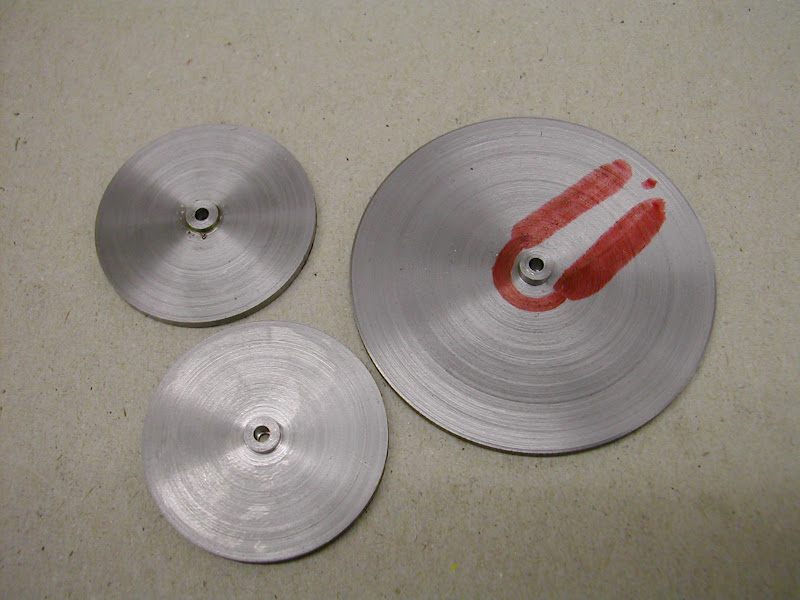
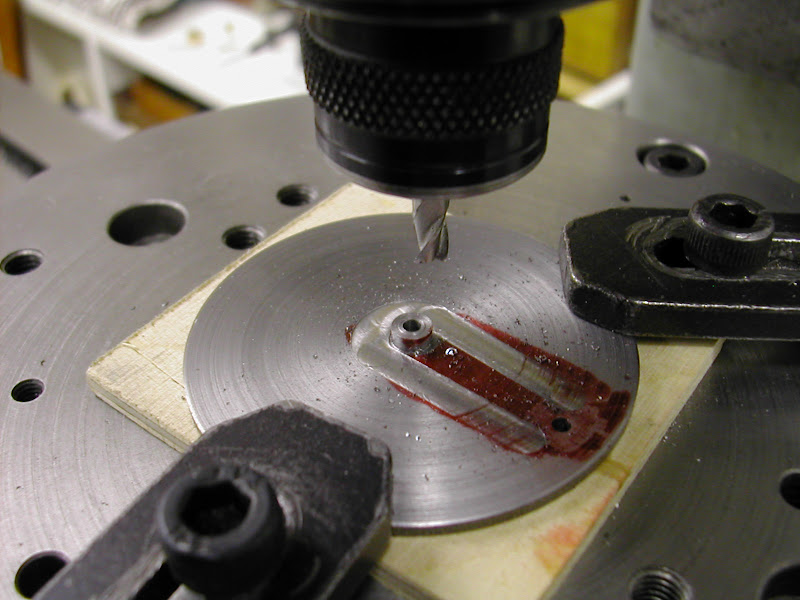
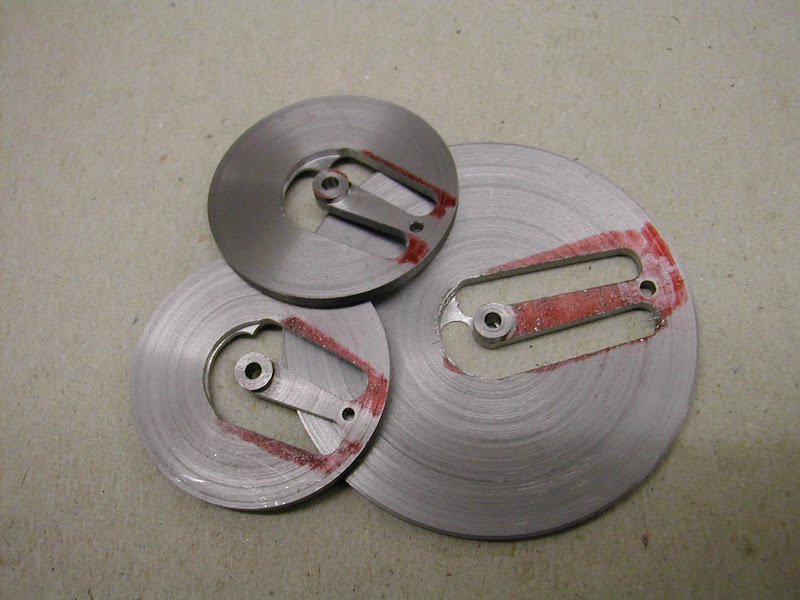
Just to recap - the hole is tapped and deeply centred with a centre drill and the OD roughed to within .5mm or so before slots are put in. Insert the screw and just nip up before turning the OD to a good fit in the workpiece.


I have had a day of distractions today so very little progress on those last few parts ::) - "Maybe tomorrow Jack" ;)


Regards for now - Ramon


Hi again guy's, thought you would like to know that as of about an hour ago the engine is now 'constructionally' finished :big:

There is still some fitting out to do after painting - ie the odd few studs and nuts and a few oilers to make plus the proper base of course but there is nothing left to make for the actual engine itself :big: :big:

These last few parts for the governor linkage are not difficult things to make but can be a bit awkward to hold. Here's a few pics of the process - nothing new but someone might gain something.

First off was the link rod and this was kept on the parent block as long as possible
DSCN4305.JPG


DSCN4307.JPG


DSCN4311.JPG


DSCN4315.JPG


DSCN4317.JPG


DSCN4319.JPG


DSCN4322.JPG


The sliding rocker arm was dealt with the same way.
DSCN4325.JPG


The filing buttons were hardened as they were unable to roll. I have a few used needle files kept specially for this purpose as they do eventually suffer a bit on the hard surface
DSCN4329.JPG


The boss was held on a small (3mm) mandrel for turning before filing the bottom end with more buttons
DSCN4332.JPG


Ready to fit - the slot is about 12mm long
DSCN4339.JPG


The rocker arms were even smaller and tapered. After some consideration I decide to make these from slices of round bar turning the bosses and finishing the bores on the lathe first then milling the profile using the rotary table to attain the angles. A bit wasteful of material but they were only thin slices and did provide excellent workholding ..........

More pics then (well you did say you like 'em ;))

DSCN4344.JPG


DSCN4345.JPG


DSCN4348.JPG


DSCN4353.JPG


I'm not certain if there's a limit on a posting/images so as theres a few more will break this here and continue on another. I'd like to finish this off tonight if I can.

Regards - Ramon
 
Hi again, To follow on then....

To prevent any likely nipping on the link arm I decided to use a split pin .

First off was to make a small jig to cross drill the .5mm hole (Pin is 2mm dia.)
DSCN4354.JPG


Next was to make the split pin. I used some 1/64 silver steel - yes, you are reading that right - and reduced the section to half round by clamping to a block of mild steel, pulling it as tight as possible, then scraping it with a piece of HSS before finishing it with a file. It was bent round a drill shank and nipped up with some small pliers - it's about 4mm long.
DSCN4355.JPG


DSCN4357.JPG


DSCN4361.JPG


At last, with some guide pins turned from a piece of hardish bronze welding rod and Loctited into the arms it could all be brought together
DSCN4368.JPG


And finally, quickly assembled on the engine to see if it all worked freely enough.
DSCN4370.JPG


First thoughts are that a spring may have to be fitted to help return the governor as the balls don't appear heavy enough but that I'm afraid is now going to have to wait quite a while...........

Within a few days I'm off to hospital for some surgery which, I'm told, will not allow me back into the workshop for several weeks, possiby longer. I wanted to get the engine finished before this happened and I have managed to acheive that with a few days to spare but the finishing is going to have to wait now for quite some time.

I would just like to thank all those who have taken an interest in this 'tale' so far and for your kind words and encouragement over the journey. 'All things being equal' I will be back for that 'final chapter' as soon as I can.

Regards - Ramon


Extremely well done. :bow: :bow: :bow:

I really liked your' way of making those links. Came just in time as I am making various rods and links for my "Simplex" loco and as you say they are difficult to hold. Thanks for showing it.

Will be praying for a quick recovery from your' surgery and that all goes well.

Ron
 
Get well soon Ramon. I'm dying to see it working.
 
Best wishes Mate
Get well soon
Pete
 
It's been a great build to watch with lots of interesting pictures. Thank you for including us in the build. Best wishes for a quick recovery.

Ray
 
Excelent thread Ramon I think we have all learnt something from it,

All the best with the hospital job hope all goes well and you make a swift recovery

Stew
 
Thank you so very much for taking us on this ride Ramon, and know that I am wishing you a speedy and uneventful recovery. Your work is inspirational and the photo coverage has been priceless. Cheers my friend and may the good Lord watch over you in your journeys. :bow:


BC1
Jim
 
Ramon,
Good luck with the surgery, A speedy recovery, And I'll second everyone elses comments also.

Pete
 
Nice job Ramon! This thread will be re-read and referred to many times. The bar of excellence, always high on this forum, has just been kicked up a few notches. Your great photos and clear descriptions make it seem within the reach of anyone and will encourage all of us to try more and to aim a bit higher. Thanks for that. Seriously!

Good luck with the surgery. Don't let the shop absence clutter your mind. Recovery is a process that takes time and is much easier if you avoid frustration.

Jerry
 
Thank you Ramon, your work is a real inspiration. You are a class act.

May I add my best wishes for successful surgery and a speedy recovery.

Jim
 
Great job Ramon, Having made 0.5mm split pins myself it't good to see you used similar methods to hold the work, another source for 0.5mm stock is the stitching wire (staples) from the sunday suppliments.

Hope all goes well and you can get back in the shop soon, expect it wont stop you mentally going through the machining processes of the next project though.

J
 
Lovely engine thread with a high level of finishing.

I like the valve you made a lot. Are there drawings of the valve?

Many thanks,

Chris
 
Best wishes on a swift recovery and little discomfort!

The engine is looking beautiful and it'll still be there when you get back.

Dave
 
Best wishes on a speedy recovery Ramon.

If there is anything I can do just shout.

Andy
 
Within a few days I'm off to hospital for some surgery which, I'm told, will not allow me back into the workshop for several weeks, possiby longer. I wanted to get the engine finished before this happened and I have managed to acheive that with a few days to spare but the finishing is going to have to wait now for quite some time.

:( I had six weeks out in '03 with heart surgery - very frustrating. Get better soon!
 
Here I am. Late for the party as usual. I am learning that this hobby is all about work holding and you have demonstrated some fine techniques.
Gods speed with your recovery.

Alan
 
Well it has all been said, and I applaud every word, you not only have an exceptional talent, but the patience and ability to impart your techniques to others. Here’s wishing you well and looking forward to your speedy return.

Les :bow: :bow:
 

Latest posts

Back
Top