- Joined
- May 27, 2010
- Messages
- 2,999
- Reaction score
- 1,171
About time I put in a DRO on to my Sakai Min Watch Maker's Lathe. Will look around for one.
Hi Gurus.Your expert advice is seeked.
Hi Gurus.Your expert advice is seeked.


Space saving is one of the biggest issues i have in my shed or sheds i have in had. I seem to be adding more bench and storage space frequently!
About time I put in a DRO on to my Sakai Min Watch Maker's Lathe. Will look around for one.
Hi Gurus.Your expert advice is seeked.


.G'day Rod,
I reckon the DRO will be a welcomed addition to the mill.
How has the SX3 treating you?
The bench for the lathe came up well, I have been following this whole thread hiding the background with interest.
.
Baz.
Howdy Rod w i am not too far from you and would like to hear from you some time and see your shed...my shed is a little on the large side for a hobby..but it is what i have.....5hp turret mill..1mt precision grinder..1.5 mt centre lathe...1 mt centre lathe...bolt making lathe and small coventry die head...hare and forbes mill drill...small horizontal mill set up to do small gears..small surface grinder...air float mill drill...tig welder..mig welder power hacksaw...large band saw..small valve refacer...cylinder boring machine...i think i could produce full size if i cared to do so......Wayne


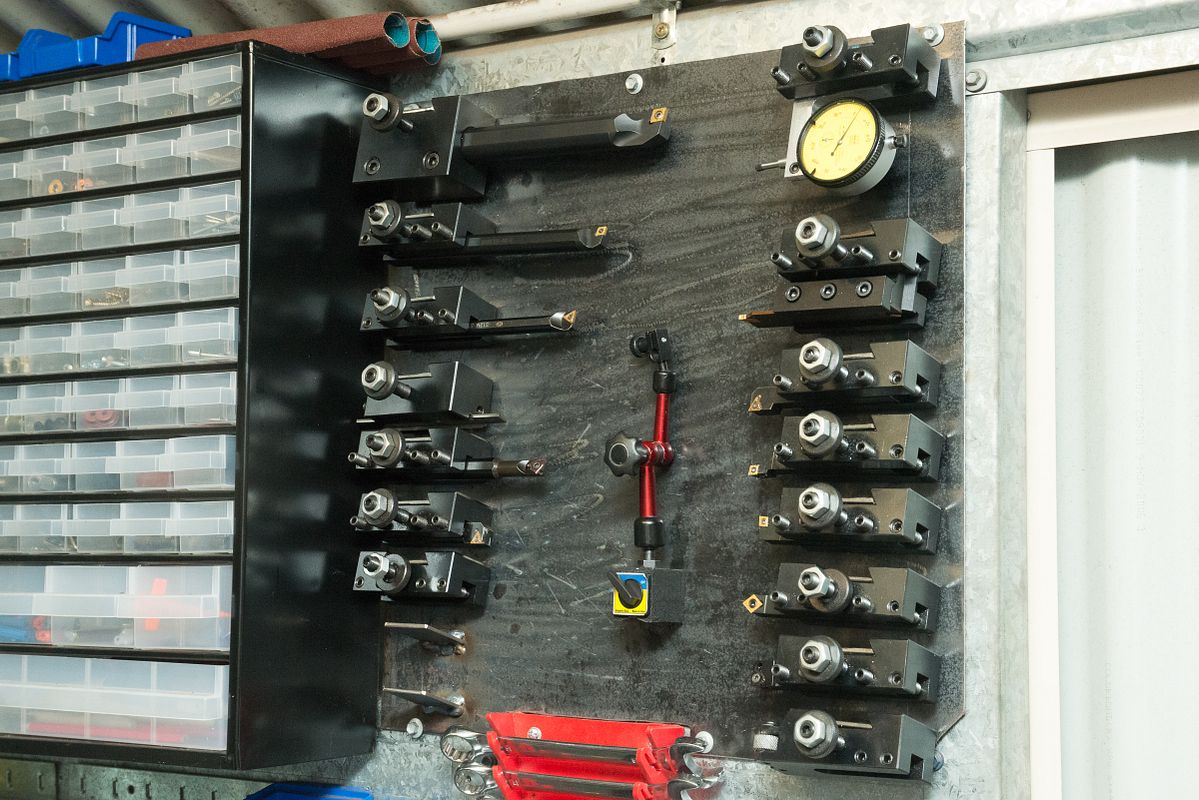
nice clean work looks good,Once this is all tidied up, it will almost look like a factory install. I would not mind getting rid of the cable ties on the arm and securing the wires in a different way so it looks neater from the operators side. Any ideas?

nice clean work looks good,
this is what I used on mine, wire loom
http://www.princessauto.com/pal/en/Wire-Loom/1-in-x-25-ft-Split-Flex-Wire-Loom/8218844.p


You've done a great job with it all Rod, love the new lathe stand!


Some people are fortunate enough to have a man cave. You have your own house! Very cool!


 (if that makes sense)
I have been very busy and the electrical stuff is still sitting there to be installed as I have barely been in my shed for moths.
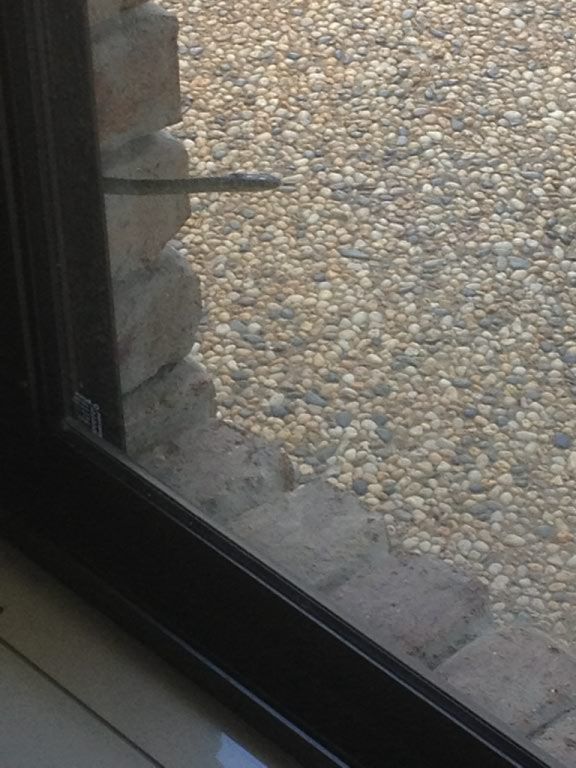
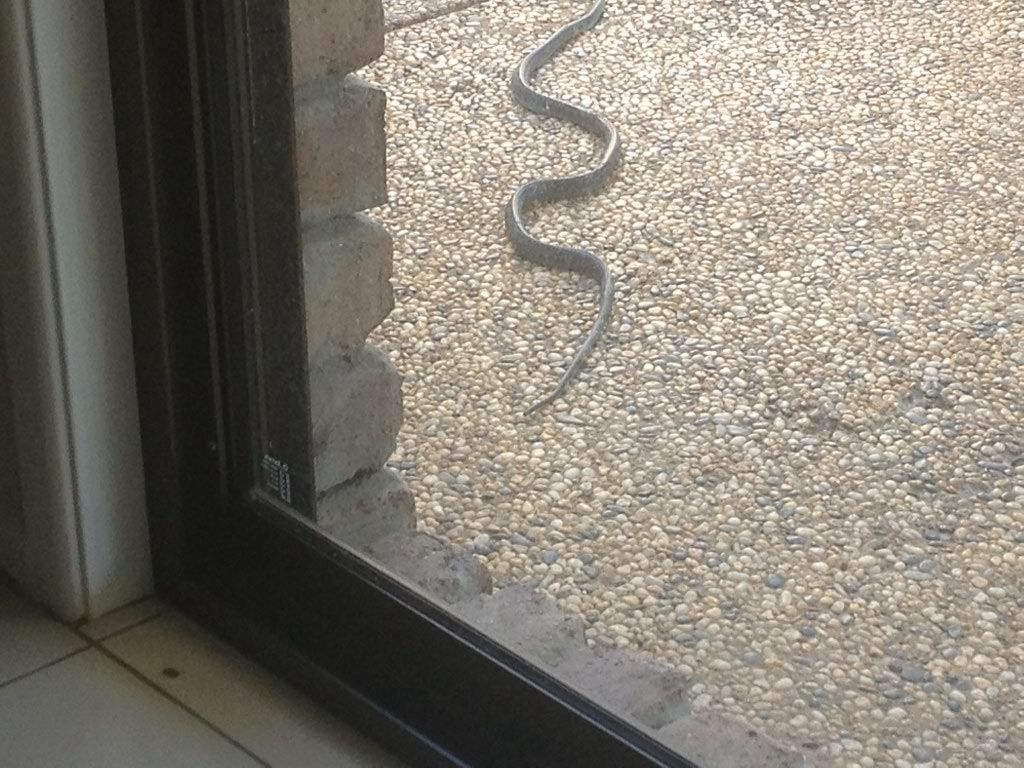
. I told my wife I wanted a snake or a ferret - she let me get a ferret but the bugger just wouldn't stop biting lumps out of me and the kids so I had to get rid of it. So now I'm on the lookout for a nice, gentle Stimpsons, or a mild mannered Gwadar...Enter your email address to join: