Time for a Radial

Home Model Engine Machinist Forum

Help Support Home Model Engine Machinist Forum:

This site may earn a commission from merchant affiliate links, including eBay, Amazon, and others.
After a bit of a hiatus while I worked on another project, finishing my latest telescope in time to view Saturn which is now appearing in the late evening sky, I've gotten back to work on the radial. Here are some pictures of work being done on the push rod assemblies. The push rods are 3/32" drill rod, but I didn't have a 3-48 die, so I turned the ends of the push rods down to .081" so I could thread the ends 2-56. Here is the beginning of the 3 clevises which will attach the push rods to the outboard end of the rocker arm. These are made from 3/16" square steel and I used a 3/32" slotting saw to cut the slot in the end.

7f599e11.jpg


And here are the (almost) finished clevises threaded on to the end of the push rods with the 2-56 lock nuts in place:

96ce17e6.jpg


Still have to drill the holes in the ends of the clevises to accept the clevis pin.

I'm getting pretty close to having this engine running. I still have to complete the pistons, exhaust manifolds, and the rest of the valve assemblies. Also gotta figure out what I'm going to do for a prop. I would like to make another steel prop for it's flywheel attributes. Still noodling around what I want to do.

Chuck
 
Lookin good Chuck!

I can totally understand your desire to see Saturn. It is an absolutely beautiful sight to see through a telescope. It puts the solar system in perspective, to actually see what is indeed an enormous object and not just a spec of light, amazing.

BTW, are the rings at an easily viewable angle? I should really dig out my scope.

Kel
 
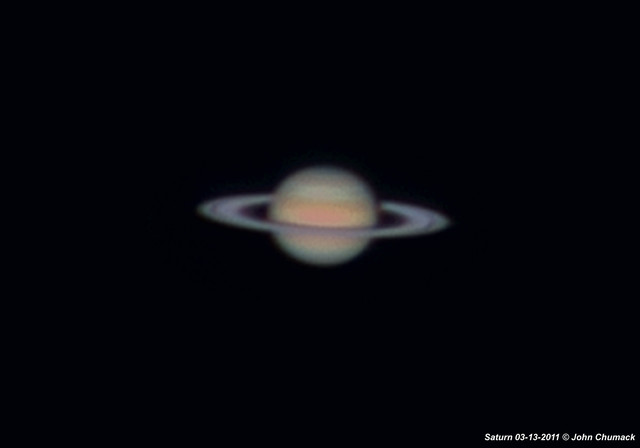
Thanks, Kel. Here is a link to a picture of Saturn taken about a month ago. The angle of the rings are pretty good. The scope I just built is a 10" F6 which is great for planetary viewing. The largest scope I ever built was a 16" F4.5, but the city lights just create too much light noise for a scope that size.

Saturn031311_Chumackcloseup.preview.jpg


Chuck
 
Here's a picture of the roughed out flywheel. Looks suspiciously like a propeller, huh? It's made from 3/16" thick steel and is about 10" long. I wanted the look of the old wooden propellers, but also needed the weight of the steel. Still got some shaping to do, but don't want to remove too much of the weight. Also want to keep it nice and rounded on the ends and edges so if a finger gets in the way, it won't remove said digit.

d8defad9.jpg


I'm getting close now. Got the pistons and the exhaust manifolds done. As soon as I can sort out the air inlet manifold assembly, I'll be ready for a test run.

Chuck
 
Looking good chuck, When you say it will be a four stroke does that mean it will induct on a downward stroke, compress on an upward stroke, "fire" by admission of air on a downward stroke, and finally exhaust on an upward stroke? is this more efficient than just a simple two stroke design where air is admited on the downstroke and exhausted on the up stroke? cant wait to see a video of this bad boy running! keep up the excellent engineering.
 
Chaffe said:
Looking good chuck, When you say it will be a four stroke does that mean it will induct on a downward stroke, compress on an upward stroke, "fire" by admission of air on a downward stroke, and finally exhaust on an upward stroke? is this more efficient than just a simple two stroke design where air is admited on the downstroke and exhausted on the up stroke? cant wait to see a video of this bad boy running! keep up the excellent engineering.

Thanks for the kind words.

The four stroke operation merely means that it has one power stroke followed by 3 freewheeling strokes ("fire", up, down, up, "fire", etc.). It isn't more efficient than a 2 stroke, but my goal isn't efficiency, it's to make an engine that runs on compressed air but sounds like a 4 stroke internal combustion engine.

Chuck
 
Here's a few pictures of the engine assembled. Still noodling around with the air supply manifold. I did finish up shaping and smoothing the propeller. Everything else is operational at this point. Soon as I get the air supply figured out and built, she'll be ready to run. Then I have to figure out a stand and add a few finishing touches.

59fe7598.jpg


5c7b48ad.jpg


d2f5e699.jpg


f6e21014.jpg


Chuck
 
Chuck, this has really come together beautifully!! Can't wait to see it all mounted up and running....bet its gonna sound as good as it looks!!!

Bill
 
It's got the great "Monosaupe" look with the lone valve.....it looks awesome!

Dave
 
It's finished! Watch for more photos and a video in the finished projects section later tonight.

bd0591b0.jpg


Chuck
 
Congratulations, Chuck - looking forward to seeing the video.
 
Chuck,

Looking great I cant wait to see it run.

:bow: :bow: :bow:

Dave
 
Wow, excellent work Chuck, a fine addition to any collection. Thm:

Kudos too to your presentation, I'm still trying to figure out 1. Remember the camera, 2. Remember batteries for the camera, 3. Remember to take pics, and 4. Trying to figure out what pics should be taken\posted. :-\

Cheers,
Chazz
 

Latest posts

Back
Top