PMR BLR-2 Horizontal Boiler

Home Model Engine Machinist Forum

Help Support Home Model Engine Machinist Forum:

This site may earn a commission from merchant affiliate links, including eBay, Amazon, and others.
Hello All,

GW, thanks that should work well.

Tony, have you started construction yet?

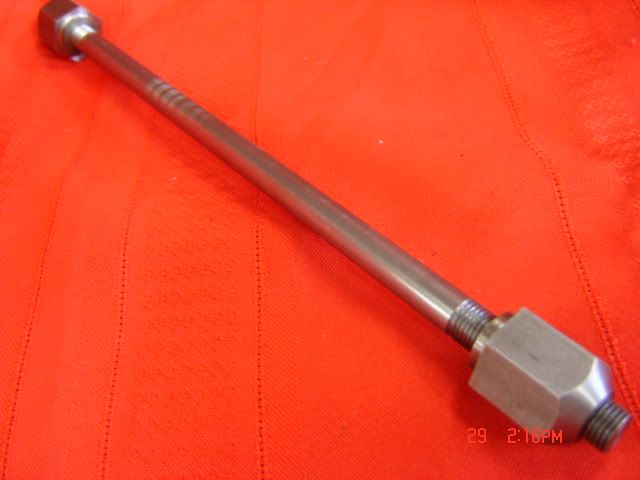
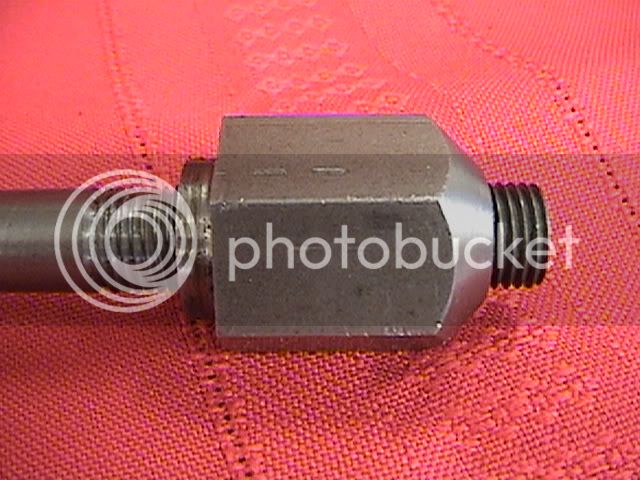
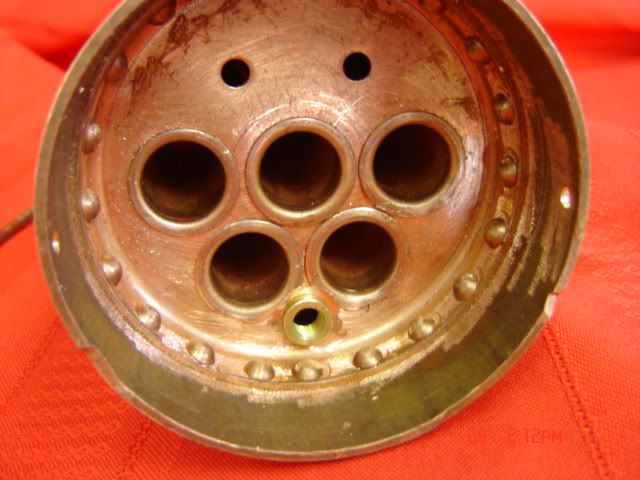
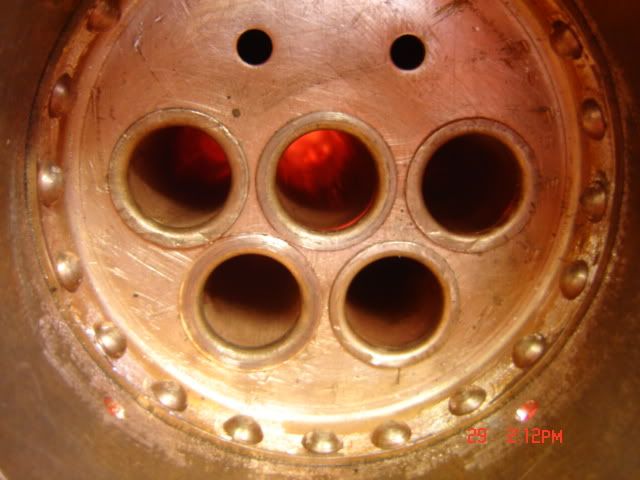
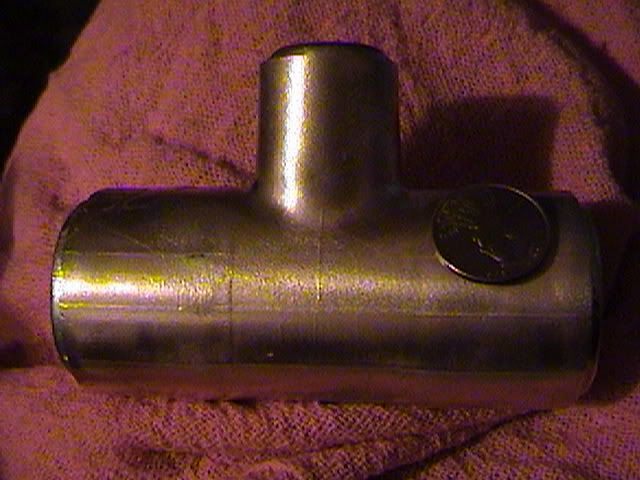
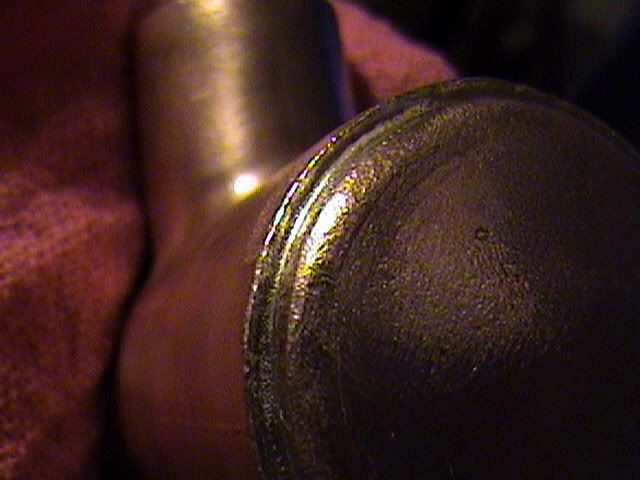
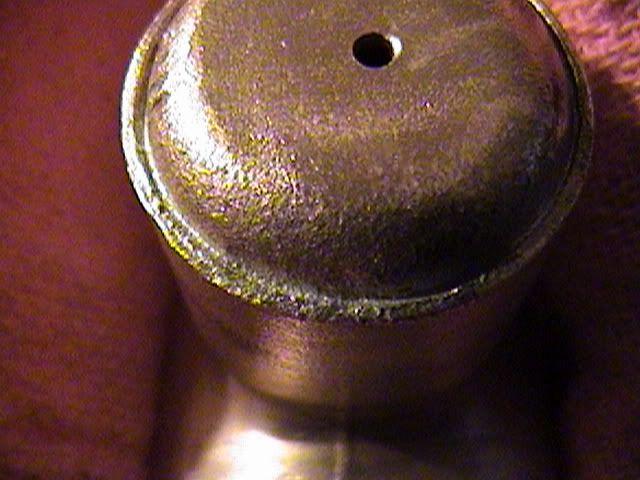
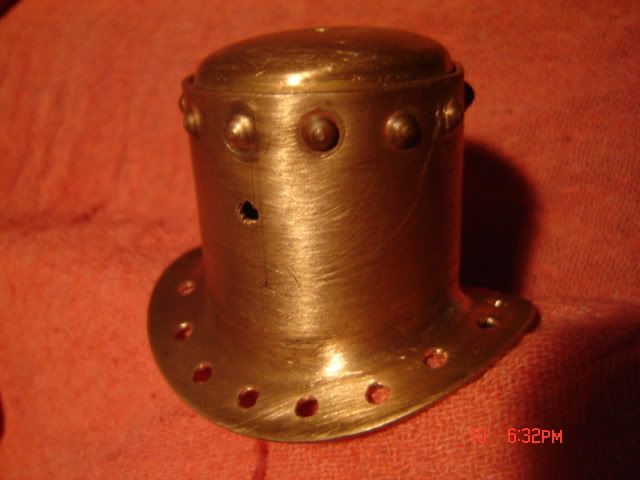
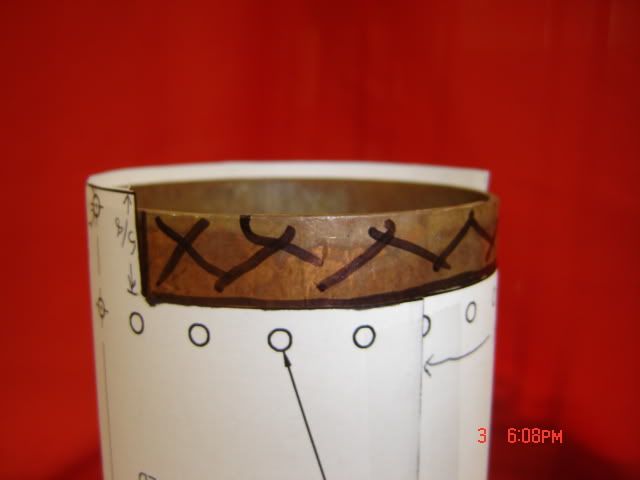
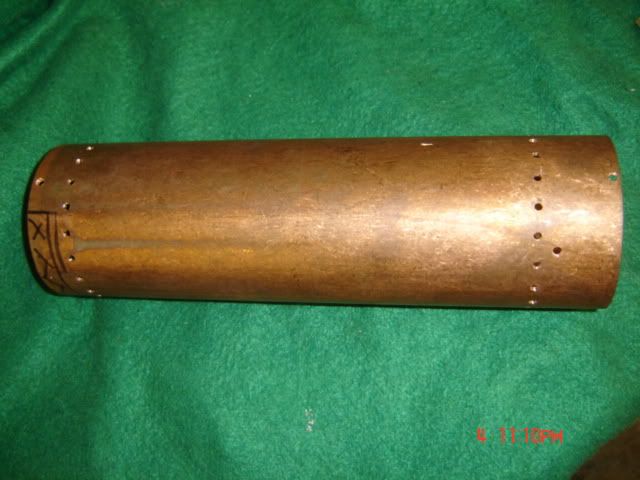
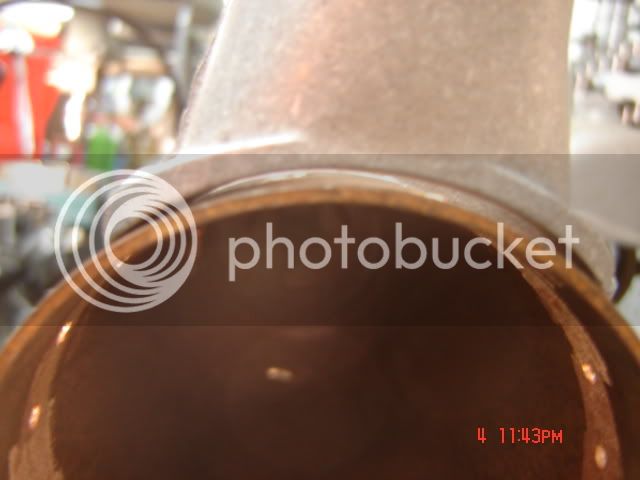
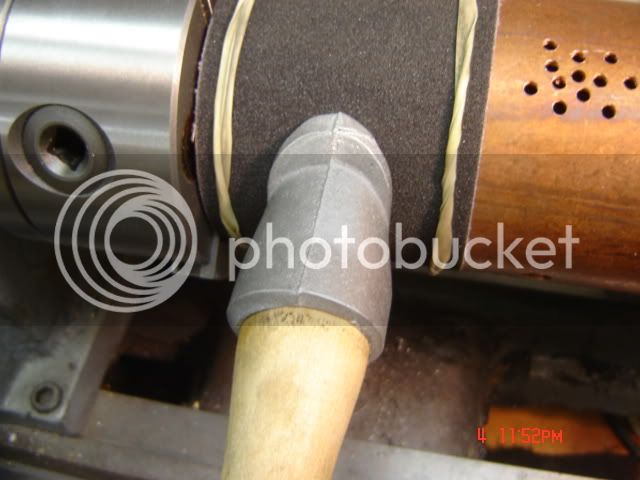
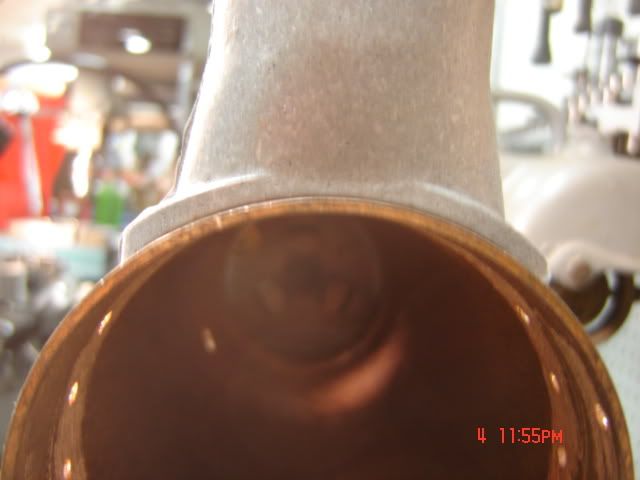
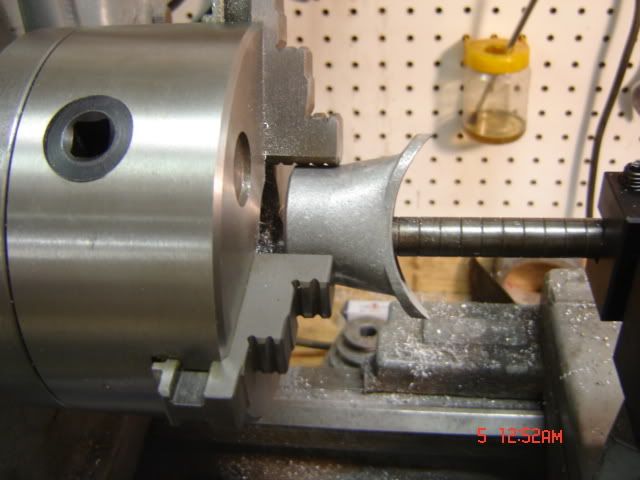
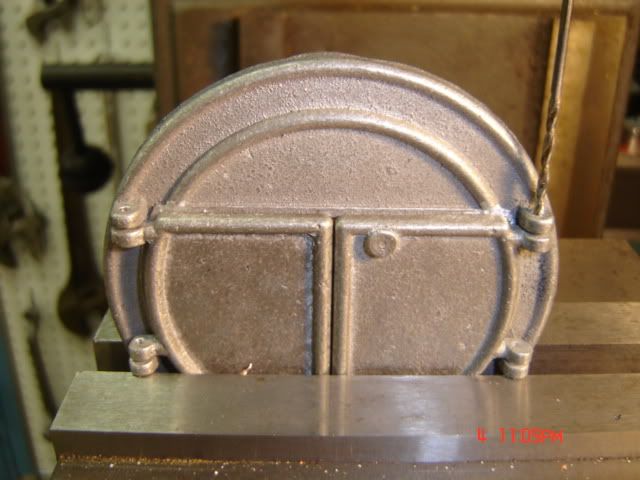
I have been practicing Silver soldering & Copper forming. I bought a few fittings, Tee & couplings. I split the couplings then annealed & flattened them for heads. Turned two quick formers out of aluminum. The heat required using 45% Safety-Silv was a lot more than I expected, for what I considered a small part entrapped between a V of bricks. With two propane torches and some help from the oxy/ac set, success. I used spa/pool Ph down
(Sodium bisulfate) for the pickle, it worked very well, cost was $8.00 ½ cup in three gallons of water.

DSC00070.jpg


DSC00067.jpg


DSC00068.jpg


DSC00069.jpg


Paul
 
Hello All,

Well, I have been goofing off a lot, not getting much accomplished. So, this is it. I made the rivet setting tools and finally got them dialed in on the steam dome, not a good place to practice, tool marks are visible. I am able to install them now, without leaving marks. I annealed them after the first one, helped a lot.

DSC02983.jpg


The shell was a little shorter than the template, I just cut it in half and moved it down a little. Center punched all hole locations & drilled.

DSC02958.jpg


DSC02959.jpg


DSC02966.jpg


I am getting lazy, didn’t feel like setting up to cut the radius on the stack base, did the same thing with the firebox casting. Then bored the base.

DSC02968.jpg


DSC02972.jpg


Ran at 30RPM, around three minutes to complete.

DSC02973.jpg


DSC02974.jpg


I set the smoke box door clearances & drilled the pin holes.

DSC02965.jpg


Paul
 
Paul,
I REALLY like the look of your steam dome, particulary the bottom flange. Can you share a little on how you formed it?
Dennis
 
Zee, Dennis, Jim Thanks

Dennis, the dome comes flanged in the kit. I will need to form one for the six inch boiler at a later date, looks like fun!!!

Jim, thanks for posting Kens link, I ran across it sometime ago, then lost the bookmark. Ken does nice build logs.

Paul
 
Hello All

I took a little break to go toy shopping. Bought this to double stack Quads & Snowmobiles in the garage and move machines in the shop.

DSC02986.jpg


I finally got around to installing the steam dome and the tube sheets. The rivets are all in, tubes & stays next, then solder.

DSC02993.jpg


DSC02997.jpg


Paul
 
Hey Paul,

How is the Boiler Build going? I just purchased the same and following along on your build was my inspiration. :)

Jeff
 
Hi Jeff

Not much progress on my part, yard work... I did manage to make the flaring tools and install the tubes without cracking any. The tubes were annealed first. I am going on a little road trip, seven western states. I hope to resume construction around late May.

Paul

DSC03016.jpg


DSC00072.jpg


DSC03014.jpg


DSC03015.jpg
 
Gee, those look really good, Paul.
Did you use both ends of the flaring tool to get the tubes formed like that? The beveled end first, then the flat end to press them down?
However you did it, I want to know. It's neat!

Dean
 
Thanks for the update Paul,

I'm with Dean, the flared tubes came out real nice...how to do that? ???

Have a great trip and look forward to your continued build progress...

Jeff
 
I thought I had it figured out. (How he flared and flattened the tube). With the threaded rod and shaped nuts. Flared one end and right angled press on the other. Now that you ask the question. I have to question my perceptions of his process as well.

??? What?

Kermit :bow:
 
Dean, Jeff & Kermit

Thanks for your comments. Your both right. I flared both end at the same time with the bevels facing in, then reversed the nuts & rolled them flat.

Paul
 
Thanks Paul. That really is something for me to write down.
Handy tool you made, and maybe good for other stuff, too.

Dean
 
Back
Top