New to this forum

Home Model Engine Machinist Forum

Help Support Home Model Engine Machinist Forum:

This site may earn a commission from merchant affiliate links, including eBay, Amazon, and others.

Jos360

Member
Joined
Mar 23, 2014
Messages
8
Reaction score
2
I'm new to the forum (as a member) so here's a little introduction.

I'm Jos from the Netherlands. I've been reading this forum for a while now and decided to become a member because I'm interested in machining and everything that has got to do with that subject.

I started about 8 years ago at an internship, working in a toolroom of a large manufacturing plant. I had never operated a lathe or mill and got started on making tooling with the help of a very skilled mentor who had a lot of patience with me.
After half a year the internship was done and I hadn't touched a machine for about 4 years until I bought a lathe myself. It was worn down to almost scrap but what did I care, I had something to be busy.

I made a lot of rough stuff on that machine, bushings etc that didn't really require precision. It had about 0,050 runout anywhere so you didn't want precision anyway.

About half a year ago I decided I needed an upgrade so I bought a used but as-new Weiler Matador lathe and a Deckel FP1 mill with as much tools as one would want. Collets, drills, taps, dies, cutters, etc etc.
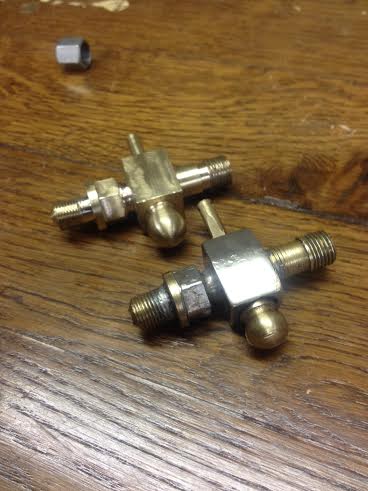
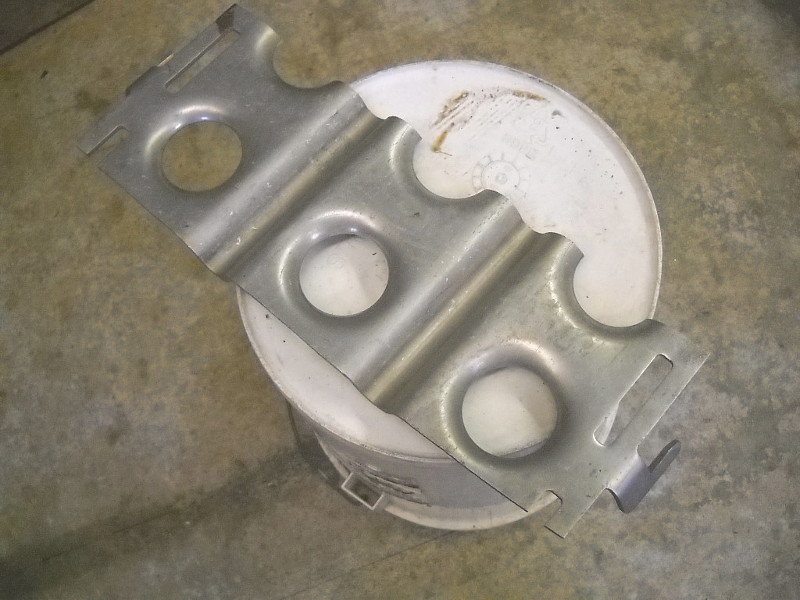
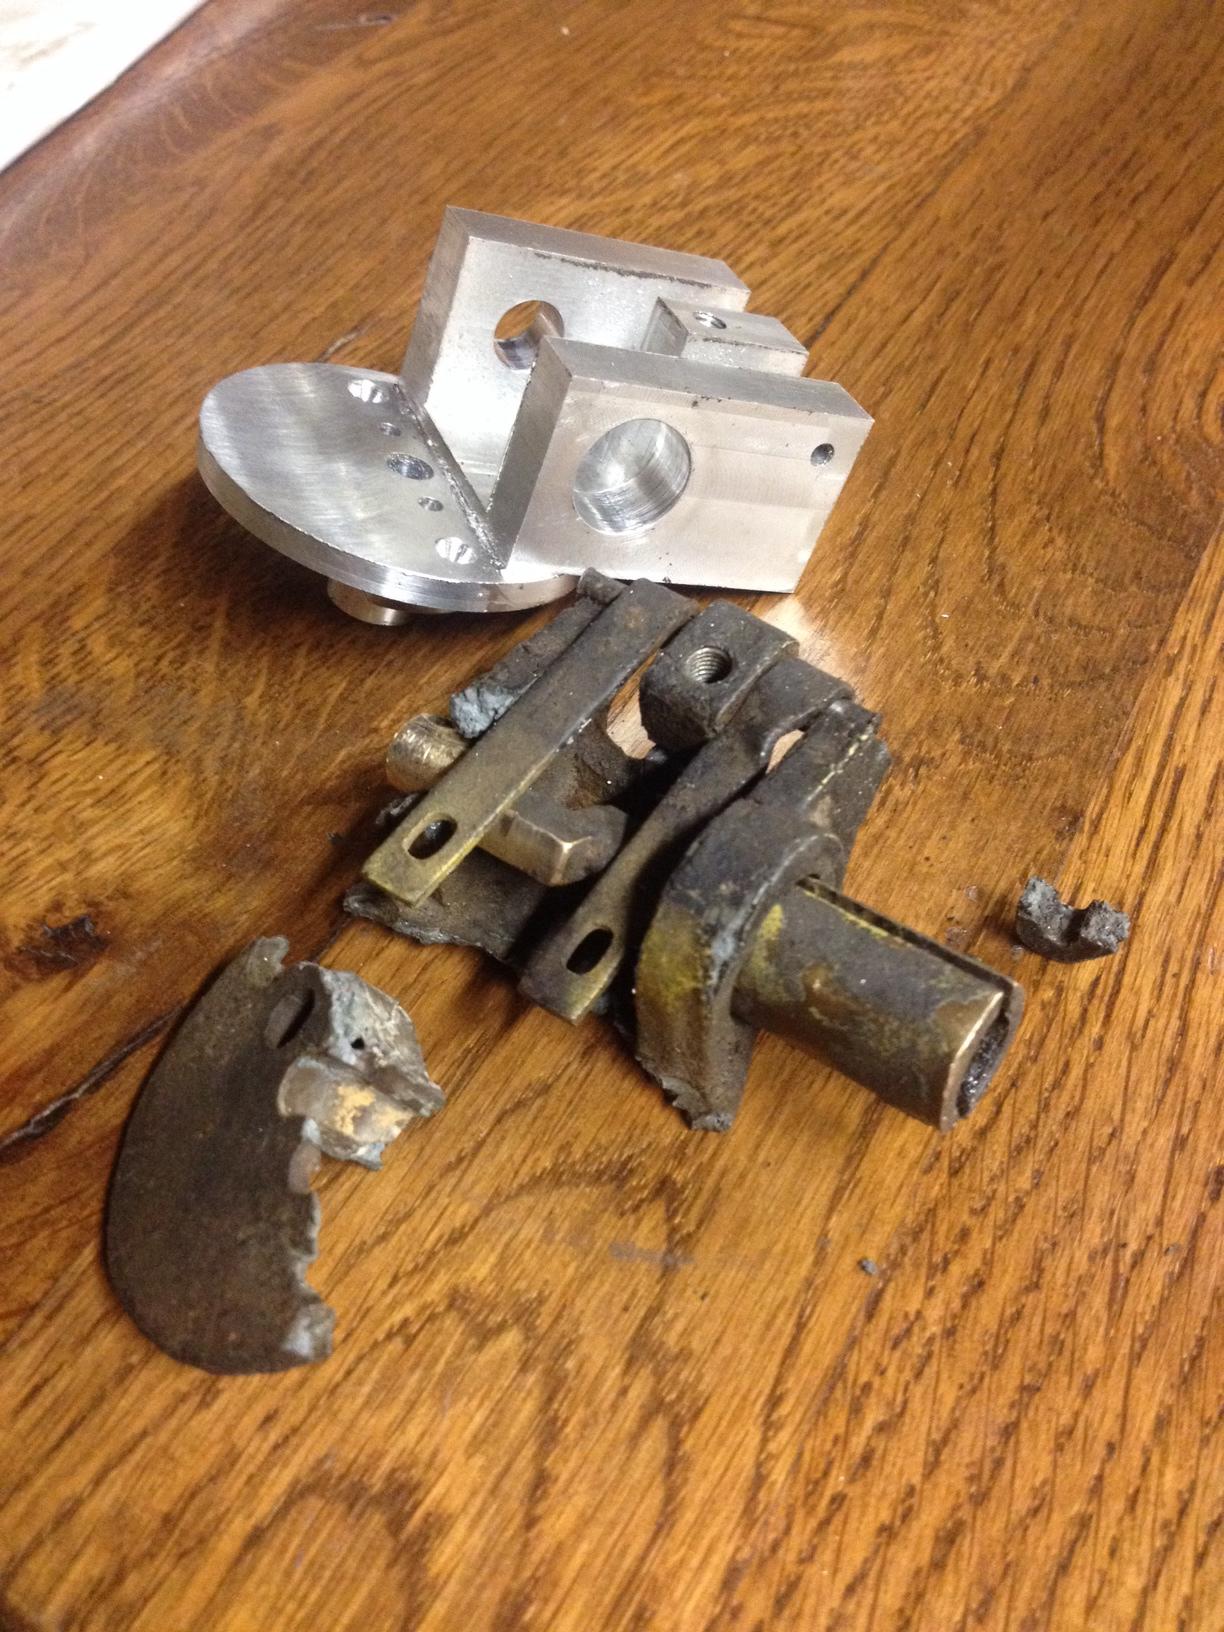
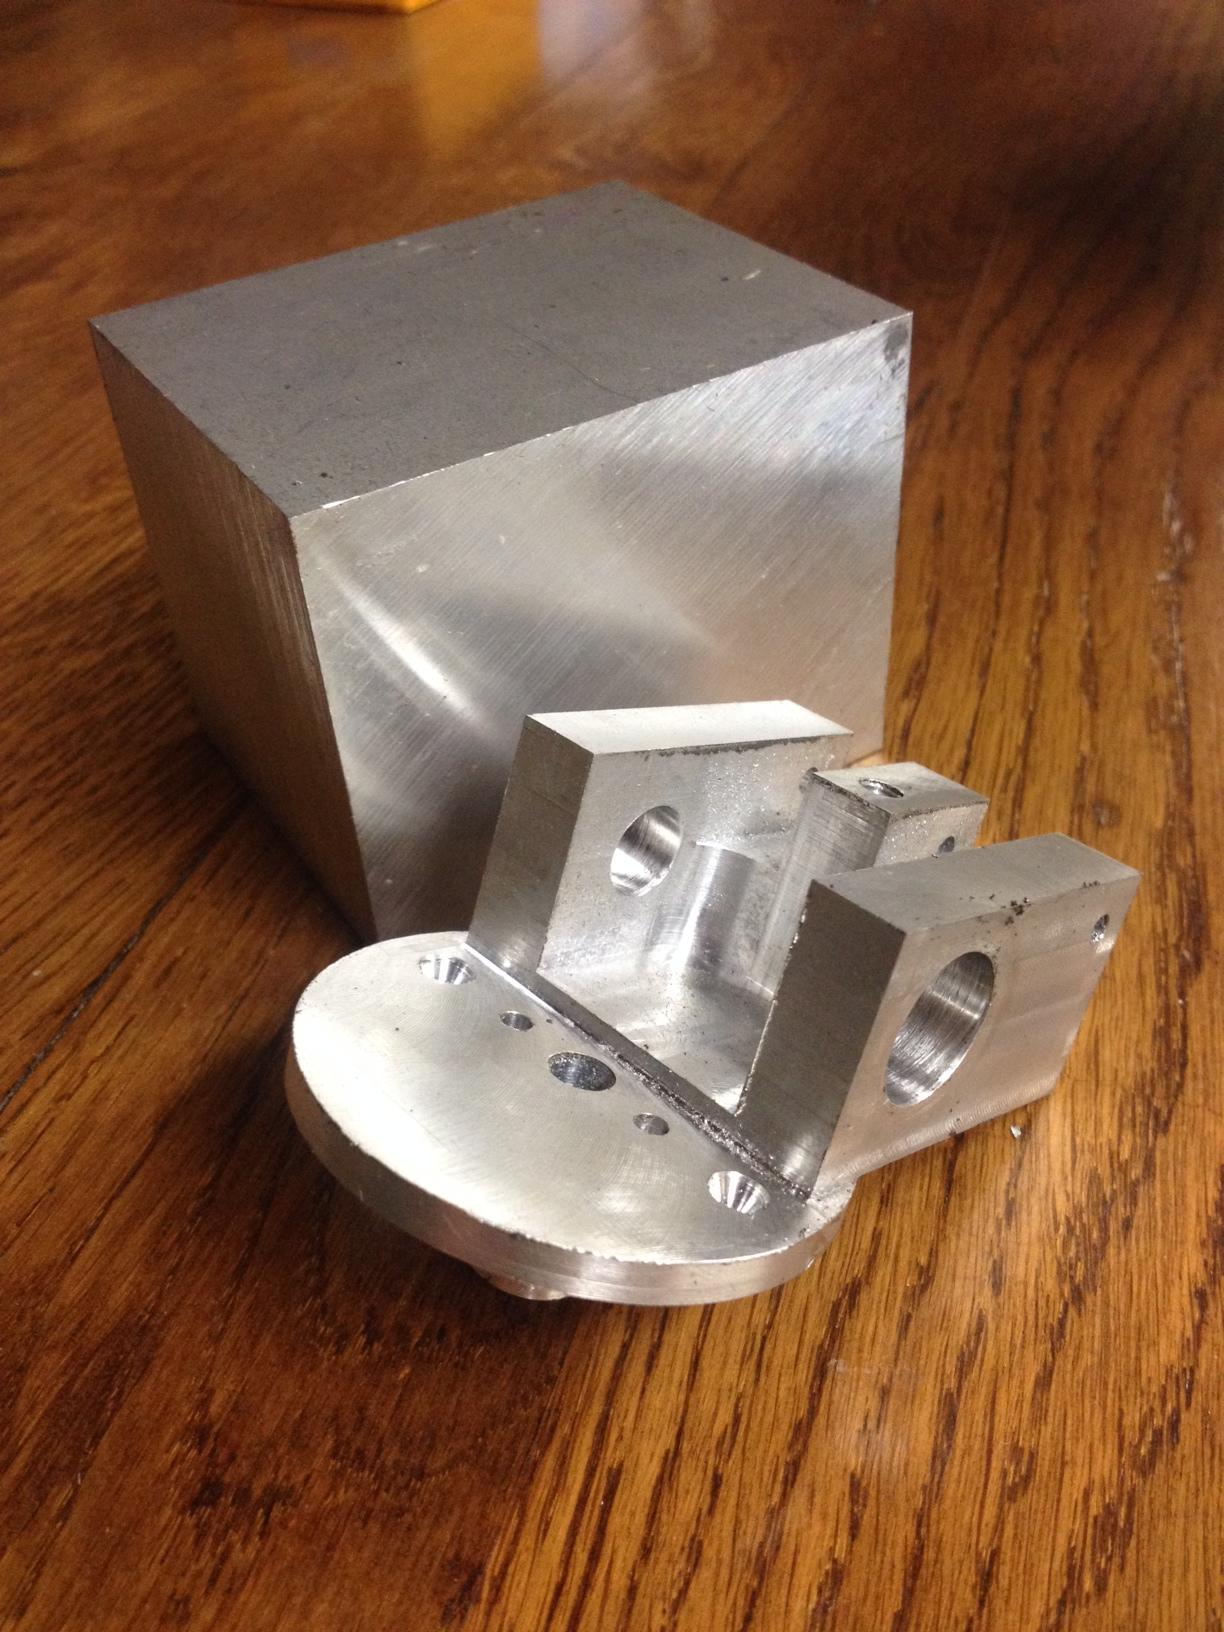
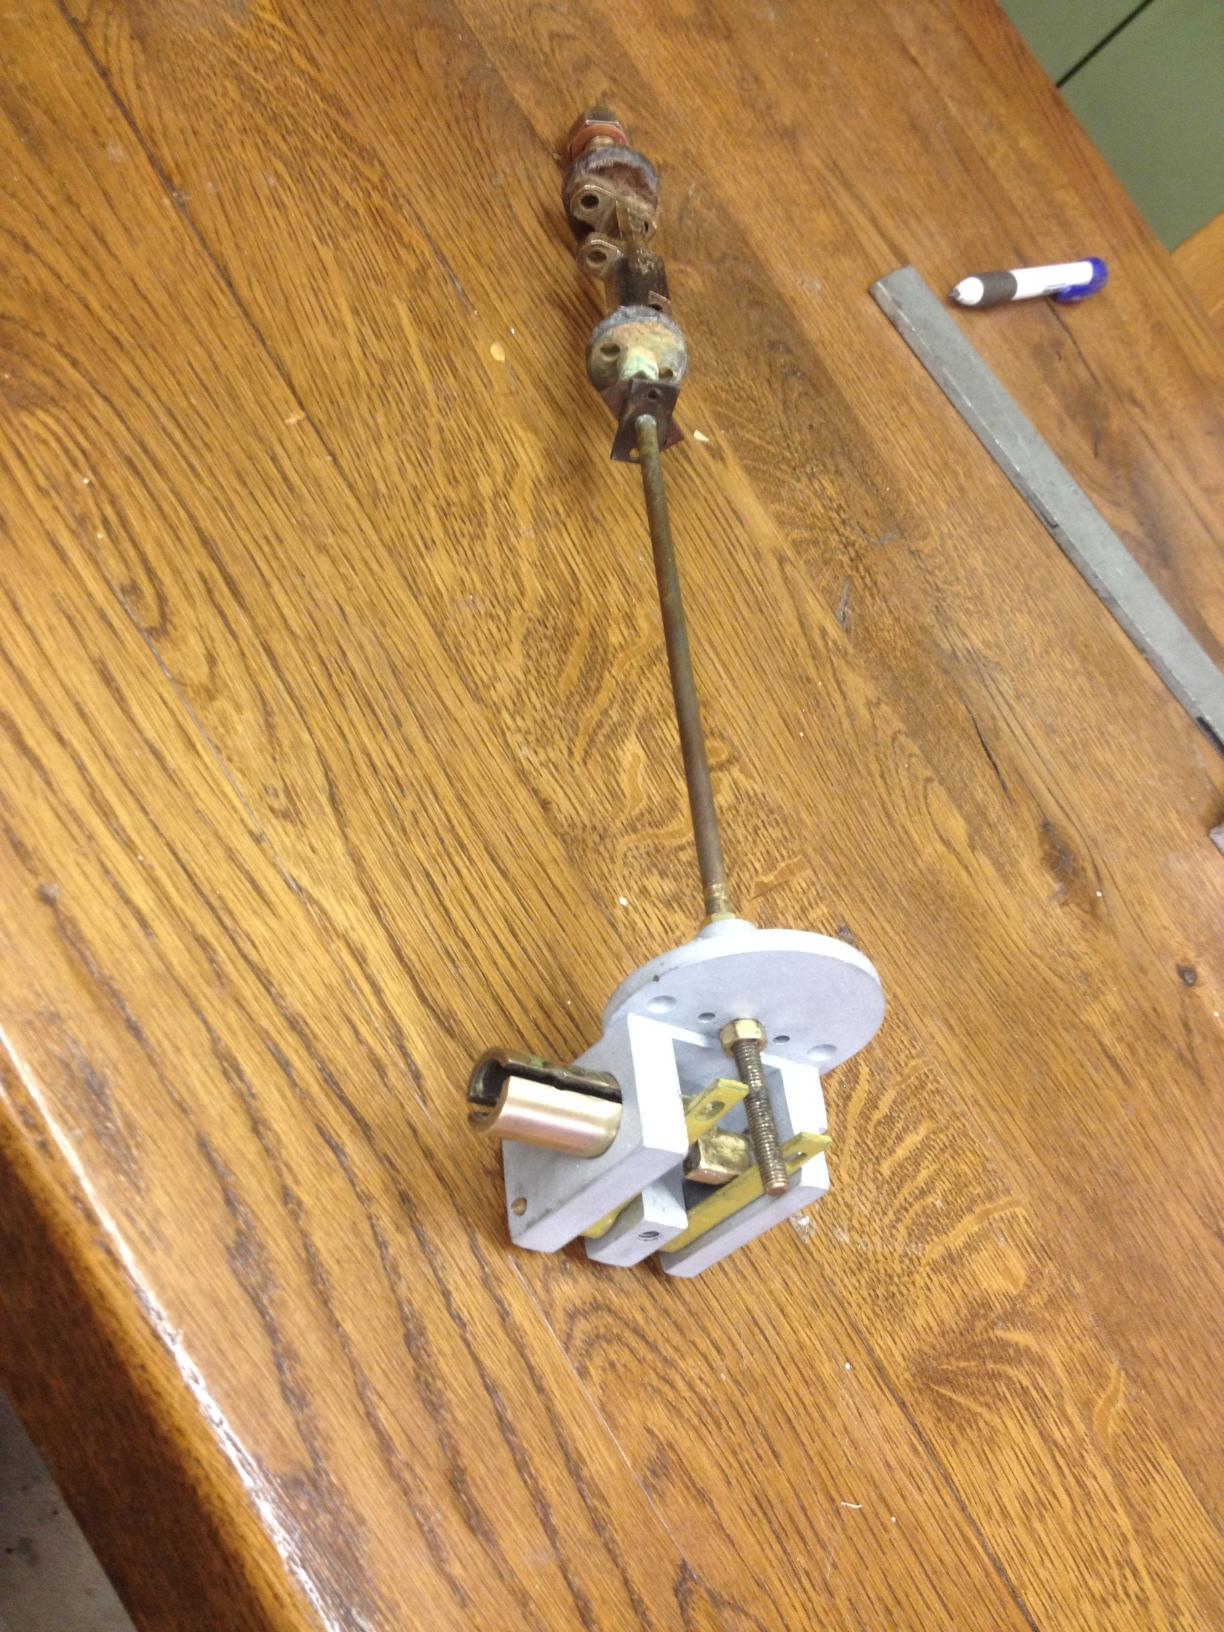
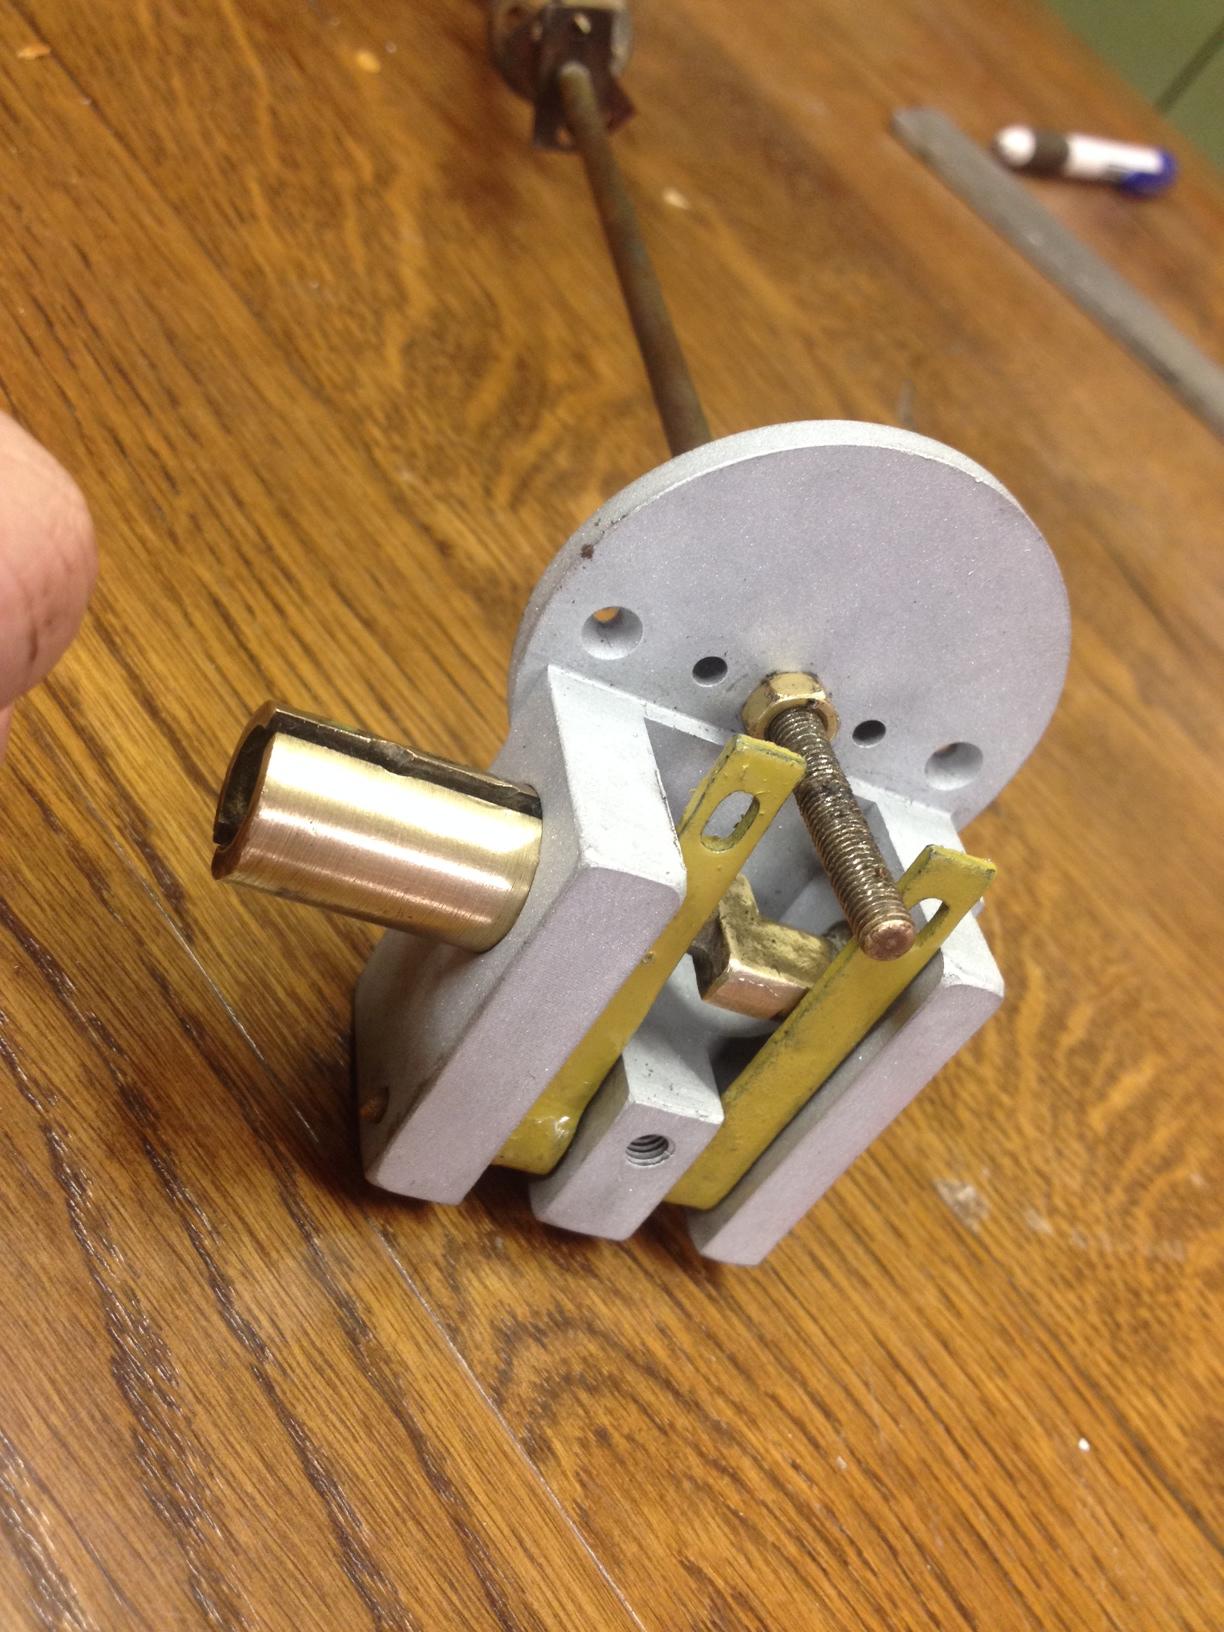
With a lot of help from this forum I started making parts for old cars which I help to restore. It's not exactly model engine making but much similar. I'll try to upload photo's of the parts I've made so far.
 
I've got 1 picture so far:
nchpKxG.jpg


It's a fuel tap I'm making. The taper on the tap itself has worn so much it started leaking a lot. After that the solder on the threads broke on one end. I decided to try and make a new one. It's not finished yet but it's a half-way pic.

The far side is the new one.
 
Very nice work! There is always difficulty in copying faithfully a part originally produced by casting. You did a beautiful job!

Here in America, it is typical for a newcomer to machining work, in employment, to enter a tradesman's Apprenticeship. The Apprentice follows an experienced machinist, and might also be required to take some courses in machine drawing, as well as Math. The skilled machinist, often progressing to "Tool & Die Maker", will eventually reside at or near the top of his trade if he is able to work with Trigonometry, as my Uncle, my Father's youngest brother, was. My own Father went to work after the 8th. grade, took drawing courses, became a Tool & Die Maker, and his brother, my Uncle, was apprenticed to him. They worked together many years.

As WW-II became heavily-fought, and the Jeep vehicle introduced, my father built the first die-set capable of blanking out the entire Jeep dashboard panel in one piece, eliminating the original design's multiple-piece construction.

Below is a picture of a portion of one of the war-produced metal stampings for which my Father built dies. This part was made in a progressive die, the finished part being 8 or 10 feet long, and the width being seen in the picture. Material was 1/4" aluminum sheet, later replaced by steel, as aluminum supplies became scarcer. Can you guess what this part's function was? jack


big_di11.jpg
 
  • Like
Reactions: gus
It looks like some sort of steel planking for wheel grip in rough terrain, linking those sections together should produce a long assembly. Am I right?
 
Another project: the fuel selector of an old car. It was an aluminum part which has rotted so much it fell apart from brittleness. Machined out of a solid piece of aluminum, not 100% original regarding the casting details but fully functional and measures up perfectly.

Old and new
xq1oX01.jpg


Beginning and end
oq0vFvE.jpg


Assembled
VkgM6Ka.jpg


Detail
DNuD4wF.jpg


It has 2 long rods that extend down in the fuel tank. The camshaft lifts up one and drops the other, selecting the main-fuel and reserve.
 
Very nice work! There is always difficulty in copying faithfully a part originally produced by casting. You did a beautiful job!

Here in America, it is typical for a newcomer to machining work, in employment, to enter a tradesman's Apprenticeship. The Apprentice follows an experienced machinist, and might also be required to take some courses in machine drawing, as well as Math. The skilled machinist, often progressing to "Tool & Die Maker", will eventually reside at or near the top of his trade if he is able to work with Trigonometry, as my Uncle, my Father's youngest brother, was. My own Father went to work after the 8th. grade, took drawing courses, became a Tool & Die Maker, and his brother, my Uncle, was apprenticed to him. They worked together many years.

As WW-II became heavily-fought, and the Jeep vehicle introduced, my father built the first die-set capable of blanking out the entire Jeep dashboard panel in one piece, eliminating the original design's multiple-piece construction.

Below is a picture of a portion of one of the war-produced metal stampings for which my Father built dies. This part was made in a progressive die, the finished part being 8 or 10 feet long, and the width being seen in the picture. Material was 1/4" aluminum sheet, later replaced by steel, as aluminum supplies became scarcer. Can you guess what this part's function was? jack


big_di11.jpg

Hi Jack,

As a young lad ,I saw this stamping sold as war surplus by the British Army
based in Singapore. Was always wondering how it was done. It wasn't till I did my trade school and later into engineering then realised it was done on
progressive stamping dies. Was in done on a 500----1000 ton press?
 
It looks like some sort of steel planking for wheel grip in rough terrain, linking those sections together should produce a long assembly. Am I right?

Machine Tom got it on the button! The 2-foot wide by 10-foot long pieces were hooked together by the ears at either end, to form what was then (1940s) called "landing mat". The Island of Tinian in the Pacific was virtually covered with landing mat, to the extent that the big B-29s took off 5-abreast, 5 runways operating in parallel. As many as 500 missions were flown daily!

The landing mat actually supported the large aircraft's weight despite the underlayment being beach sand. The sample piece still in my possession hung on the wall in the garage of the home we lived in, where I was born during that War, and has followed me in all of my lifetime's moves! My Dad said he had to have the die-set transported to a large punching facility, actually the Ford Plant on South Cicero Avenue, in Chicago, to test it by making a few sample pieces. The Ford Plant was originally a Dodge Brothers auto plant before the War, Ford then being called upon to manufacture aircraft engines there. It was affectionately called "The Ford Plant", when I was growing up, and later became a shopping mall called "Ford City".

If any recall the movie film "Tucker", starring Jeff Bridges, scenes depicting Preston Tucker's manufacturing plant were actually shot in part at the Ford Plant. Tucker in reality had leased the plant following the War's end, it being then vacant, hoping to build his cars there. I believe only 51 were made. My Dad and our neighbor both deposited $200 in advance to buy Tucker's new creation. They got their money back in full! An amazing history! Thanks for reading. jack
 
Back
Top