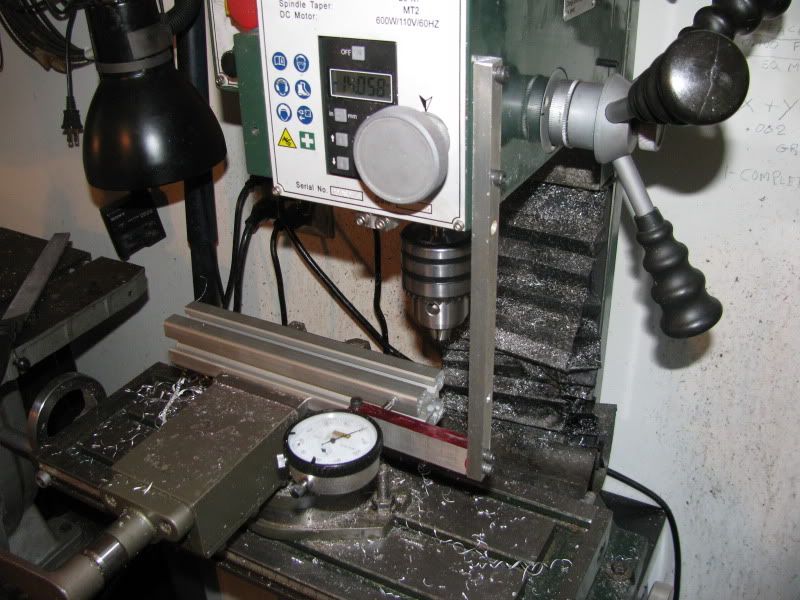
One of the things that has always made me a bit crazy is making sure that my milling vice is set up with its jaws perfectly parallel to the travel of the mill table. Even though I have keyed the bottom of the vice to fit into the T slots in the mil table, there is still enough "play" to allow a total runout of about 0.025" over the 11 inch travel of my milling table. Today I decided I was going to come up with a way to set things up easier. I took a good look at my craftex mill and discovered a couple of M5 tapped holes in the head just between the quill downfeed handle and the side of the head. I found a peice of 2" square Bosch aluminum extrusion x about 12" long that I could clamp in my milling vice. I drilled a couple of clearance holes in a peice of 1/2" x 3/8" aluminum bar x10" long to correspond with the tapped holes in the head of the mill. Then I bolted a peice of 1/2" x 3/4" aluminum bar to this vertical peice (it has red layout dye on it in the picture) and drilled a 3/8" hole though it to hold my dial indicator. I drilled and tapped a hole at the end for a #10-24 socket head cap screw and put a sawcut from the end of this horizontal peice thru to the 3/8" hole to let me clamp the shank of the dial indicator. Now I can set it up as shown in the picture, with about 3/4" of the extrusion sticking up above the top of the vice to provide a nice smooth flat surface for the end of the dial indicator to run on. By cranking the mill table back and forth over its full 11" of travel, I can quickly verify that the vice jaws are parallel to the mill table travel, and make any adjustments I need to the vice. When not in use I remove the two M5 bolts and hang my set-up tool on the wall behind the mill. this could have been done with a magnetic base and stand, but on my little Craftex mill there is nowhere on the head to stick the magnetic base.---Brian