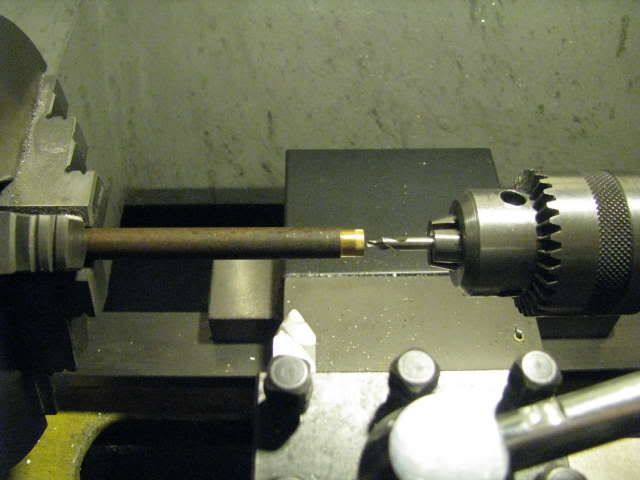
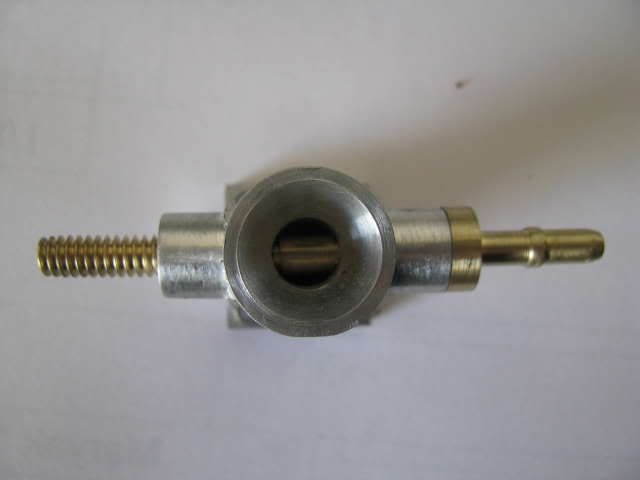
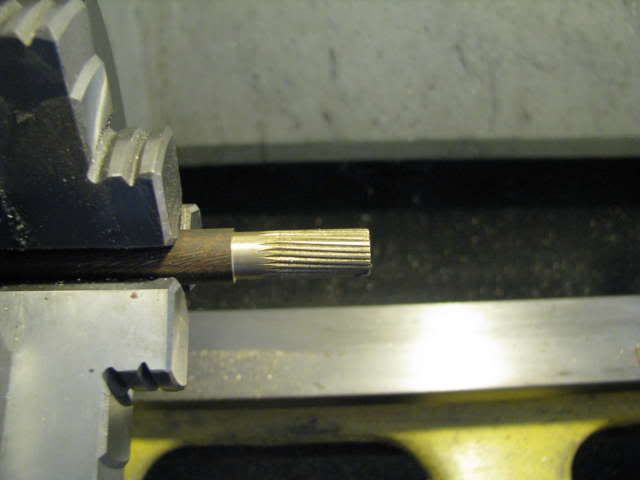
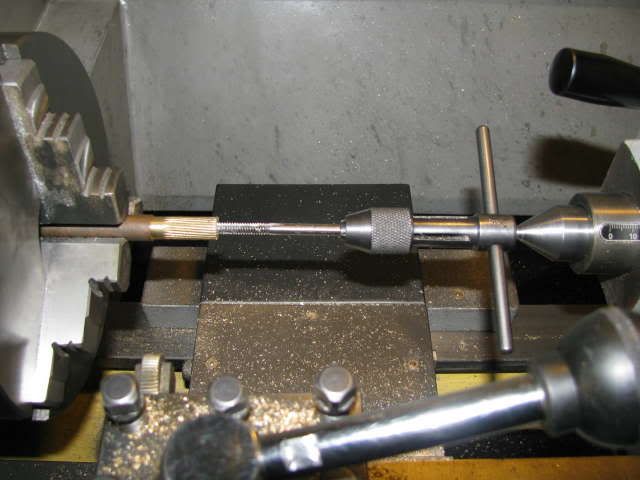
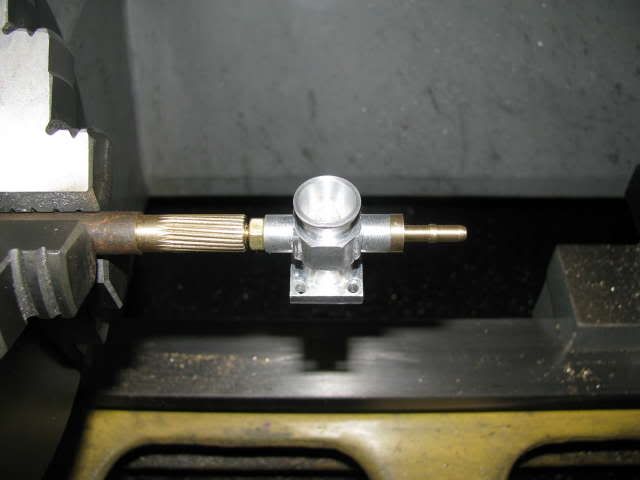
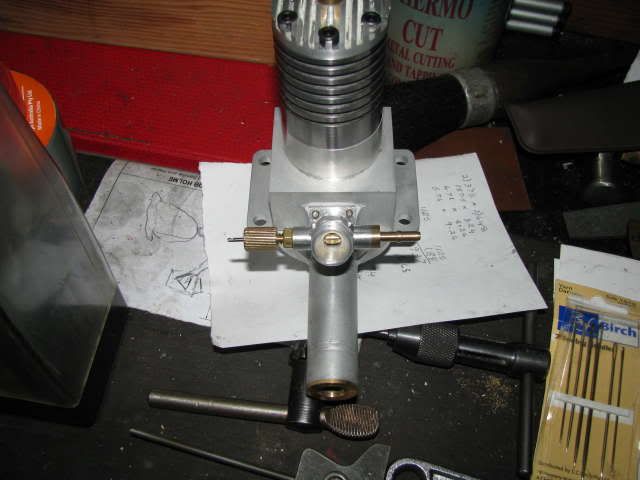
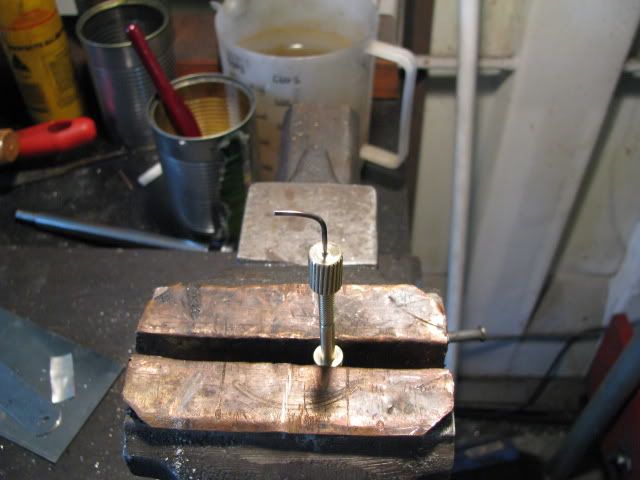
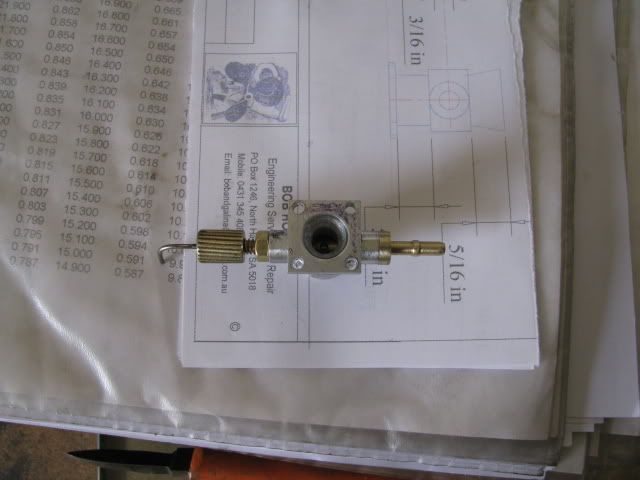
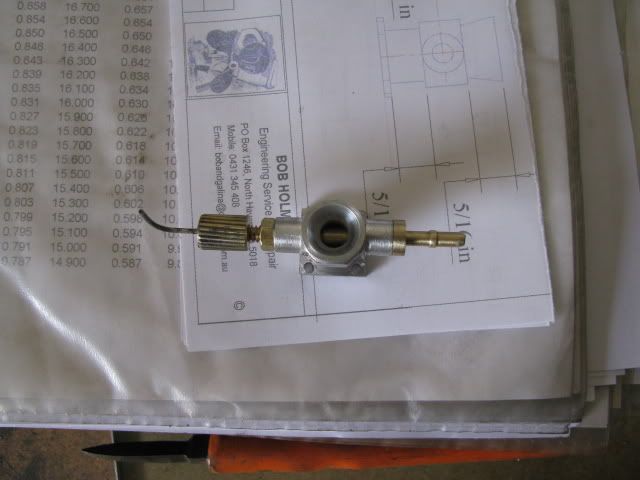
Maryak 10

Home Model Engine Machinist Forum

Help Support Home Model Engine Machinist Forum:

This site may earn a commission from merchant affiliate links, including eBay, Amazon, and others.
This is one nice engine that you are building. I love the step by step pics that you are posting have learned a lot from your posts.
 
BC1 and bronson,

Thanks for your support and kind words. :bow: :bow:

Best Regards
Bob
 
Hi Bob,
I haven't looked in for a while as life got in my way. Mighty fine progress and great pictures as always. :bow: :bow: :bow: :bow:

Cheers,
Phil
 
Phil,

Welcome back from your real life ::) and thanks for your support and interest. :bow:

A little more progress as another week commences. Made a start on the spray bar as follows.

Some brass for the spray bar.

IMG_0414.jpg


Fiddling with the change wheels to gash the thread before running the die over it.

IMG_0415.jpg


The thread gashed.

IMG_0416.jpg


Trial fit of the bar and venturi.

IMG_0417.jpg


Enough excitement driiling the needle hole I've postponed until tomorrow.
mgdopey.gif
 
Hi All,

Managed to finish the spray bar today now all that is left is the throttle.
wow.gif


Here's what went down.........

Reaming the needle guide using an old needle as the reamer.

IMG_0418.jpg


Setting up to X drill the fuel outlet hole.

IMG_0419.jpg


X drilling the outlet hole - As the bar is pretty fragile now, I tried to support it as much as possible.

IMG_0420.jpg


Seeing is believing - the hole came out in the right place.

IMG_0421.jpg


Reversed in the lathe and forming the hose tail.

IMG_0422.jpg


Drilling the needle seat.

IMG_0423.jpg


Opening out the fuel inlet pipe.

IMG_0424.jpg


A couple of views of the spray bar assembled in the venturi.

IMG_0426.jpg


IMG_0427.jpg


And that's it from him.

Best Regards
Bob


It's looking really good, can't wait to see it run - there's an engine run down at the aircraft museum on Sunday - perhaps you could start yours up in competition......

Sorry if it's a dumb question but is there a reason you started the thread on the lathe then finished it with a die?
 
Hi Gavin,

Thanks for your support and interest. :bow: :bow:

No dumb questions - only dumb answers, (hopefully not this time). ::)

3. reasons:

1. As a metric lathe the change gears I have don't allow for accurate cutting of some imperial threads. e.g. 24 tpi.

2. Because this is a pretty small dia I could not get the threading tool deep enough without removing the dead centre - A risk I didn't want to take and I don't have a half centre, (on my roundtoit list).

3. By gashing the thread I was much more confident that the die would run true.

Hope that solves Bob's convoluted thinking for you. ???

Best Regards
Bob
 
Bob

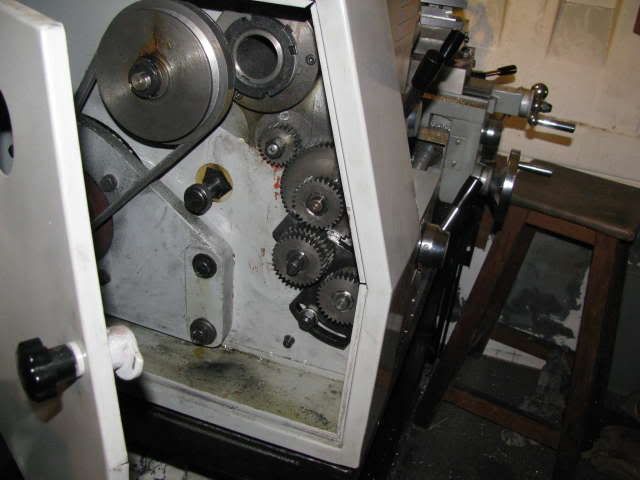
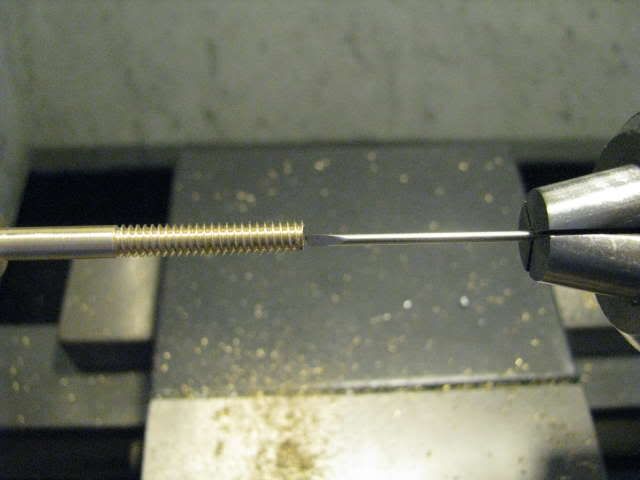
Makes perfect sense, I'll remember that if I need to cut a similar thread, I have the AL320G as well, thus far I've only cut metric threads on it. Off topic slightly if I may - what oil do you use when you change the oil in the gearbox of your AL320G?

Rgds - Gavin
 
Gavin,

I used Shell Tellus 68 which is on of their hydraulic oils and is SAE 20. Main reasons are SAE 20 is the correct viscosity, reasonable demulse characteristics, mild EP pack and I obtained it for free, (the true reason :eek: ::)).

I also use it as straight cutting oil.

smiley-laughing025.gif

Best Regards
Bob

 
I like the trick with the two squares. Now I need to get a second myself.

Any reason you couldn't drill the cross hole before turning it down?
 
kvom,

Thanks for your support and interest. :bow:

My main worry was that the shaft would be too weak to handle the threading, whichever way it was done and with the axial hole drilled 1st you know exactly when to stop X drilling.

smiley-greet013.gif

Best Regards
Bob
 
Hi Guys,

Not much went down today. :eek:

We are off to Harvey Bay Qld in the morning for our 50th re-union of my intake into the RAN, (Jan 1959).

Should be a good bash with lots of tall stories and many many anecdotes. Will be back next Tuesday.

Small amount as follows:-

The needle valve holder knurled.

IMG_0428.jpg


Tapping the holder.

IMG_0429.jpg


Trial fit on the spraybar.

IMG_0430.jpg


See yu'all later
Bob
 
Gavin,

Thanks, we just returned - Had a ball told lots of lies and drank more than was good for me. Ah well my normal life awaits me tomorrow.

Best Regards
Bob
 
Hi All,

Finished the spray bar/throttle assembly and drilled the inlet valve hole in the crankshaft. :eek:

The spray bar with throttle reamer offered to the engine.

IMG_0493.jpg


Setting the needle valve prior to soft soldering in position.

IMG_0509.jpg


The completed carburettor/throttle/spraybar, can anybody think of any more names. ???

IMG_0510.jpg


IMG_0511.jpg


Setup for drilling the inlet valve hole in the crankshaft.

IMG_0512.jpg


Have a great day
Bob
 
I hope Mrs Maryak is not looking in vain for that pack of needles? ;D

Looking good Bob! I can almost hear it running!

Dave
 
steamer said:
I hope Mrs Maryak is not looking in vain for that pack of needles? ;D

Looking good Bob! I can almost hear it running!

Dave

Thanks Dave for your continued support :bow: It almost never pays to needle SWMDBO
happyhappy.gif


stevehuckss396 said:
Gizmo
Gizmatic
Gizmatron

Bill Mc said:
vaporizer, atomizer,fuel mixing valve

Thanks Steve and Bill :bow:

I Really like GIZMATRON or БЕНЗОКОЛОНКА.

Best Regards
Bob
 
Back
Top