Maryak 10

Home Model Engine Machinist Forum

Help Support Home Model Engine Machinist Forum:

This site may earn a commission from merchant affiliate links, including eBay, Amazon, and others.
Sean,

First up - Welcome to our forum.
icon_welcome.gif


Thank you for your kind words. :bow: This is only my 3rd model so compared to many members here I am a newcomer. I am glad you are getting value from this work in progress, if you get half as much out of it as I do that's really great.

What do you plan on starting with ??? If you are new to machining then the general consensus seems to be start simple with a wobbler. If it's only the model part that's new then I would recommend something in the larger sizes to get your head around working with small parts.

ENJOY

Best Regards
Bob
 
Hi Again,
xyzwave.gif


Today saw a start on the venturi. I did a drawing but didn't like the proportions so this part is draw as you machine as you draw.......

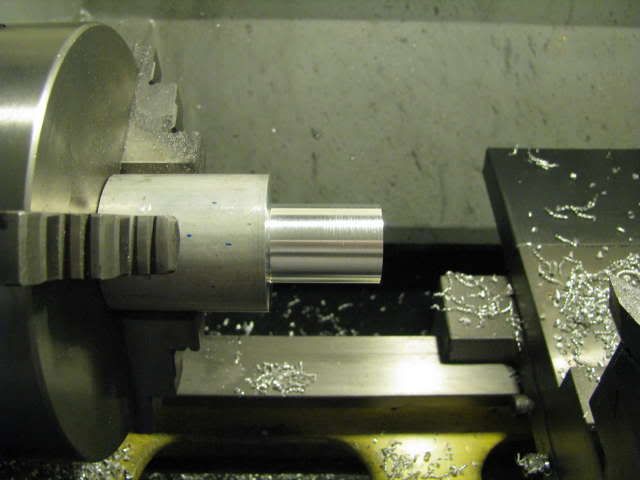
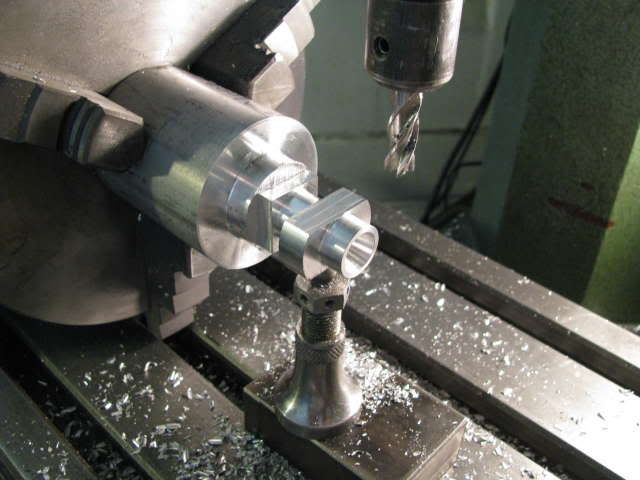
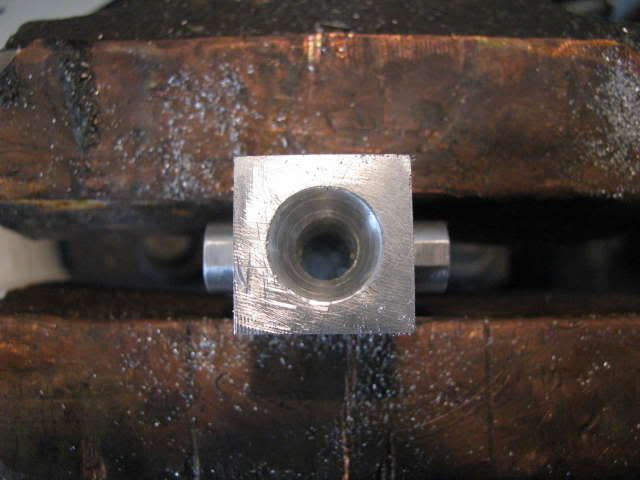
A lump of Aluminium for the venturi.

IMG_0372.jpg


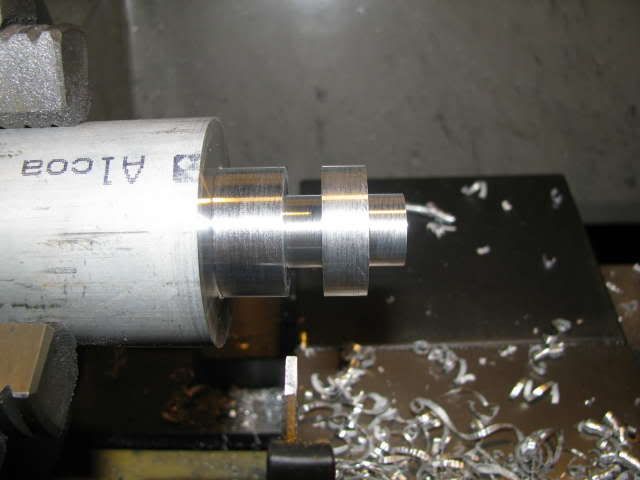
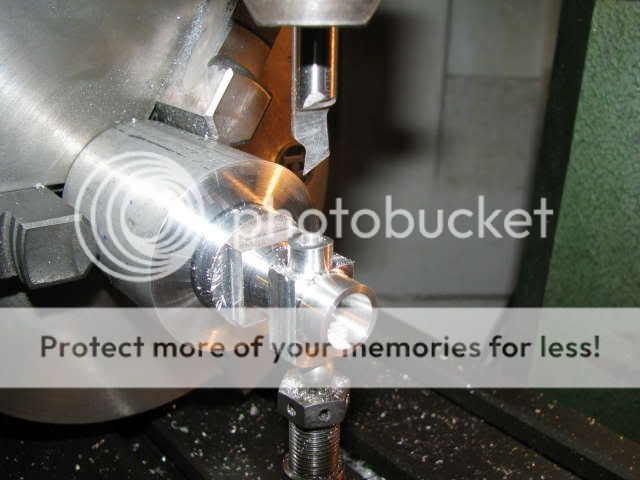
Turning up/down the venturi body outside.

IMG_0373.jpg


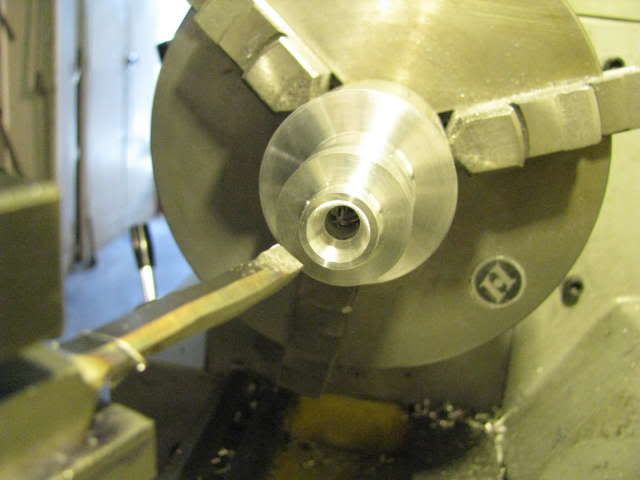
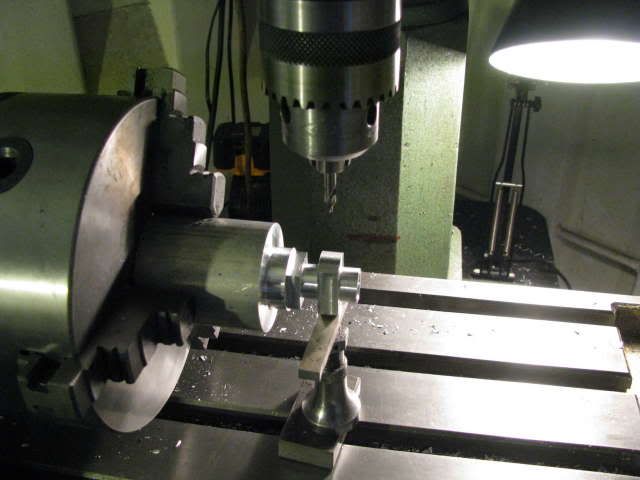
Machining the inlet throat of the venturi.

IMG_0375.jpg


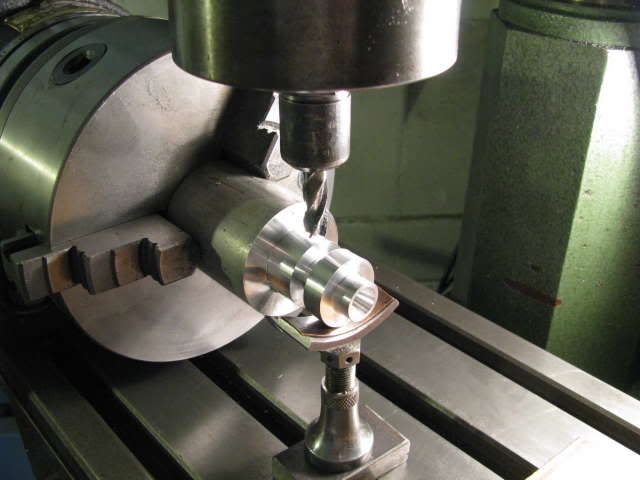
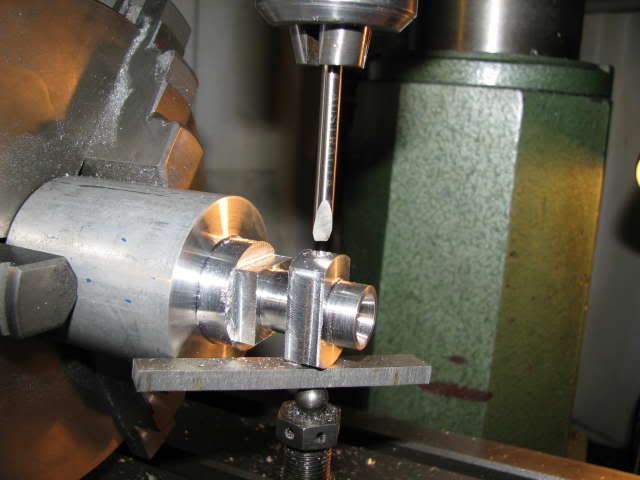
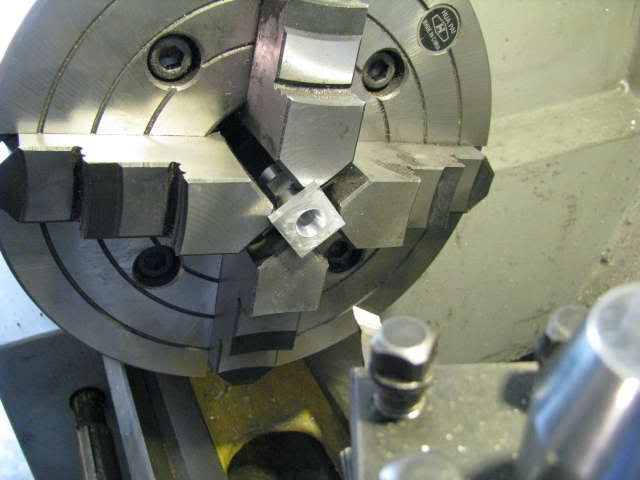
Set up for milling the mating flange and the cross piece for the spray bar.

IMG_0376.jpg


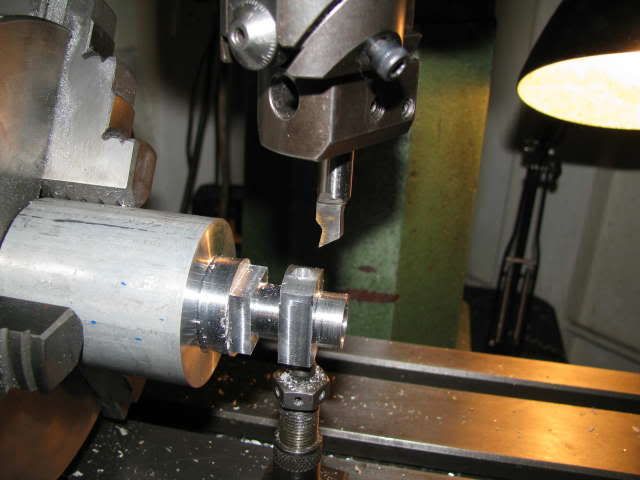
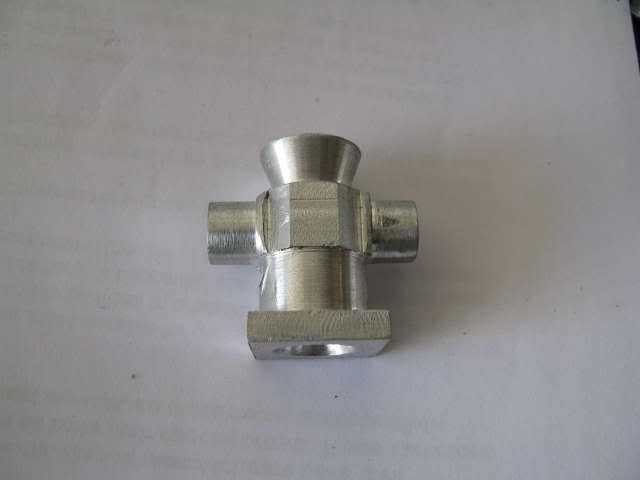
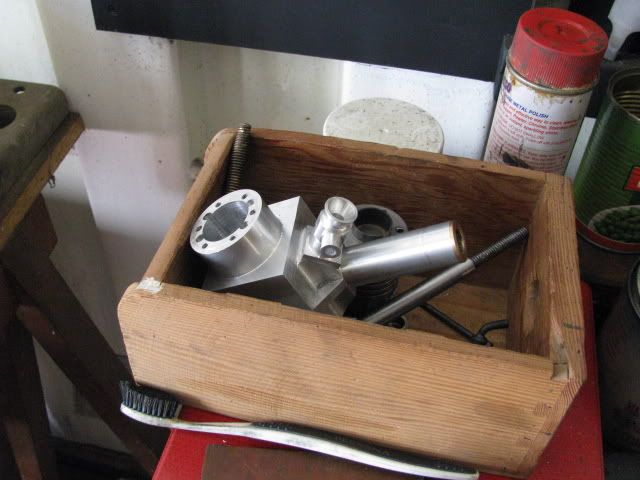
The mating flange and cross piece milled.

IMG_0377.jpg


After this I had my bone density test and I am pleased to report I'm normal ??? (not too dense and not porous) ::) ::)

Best Regards
Bob
 
congratulations for your good healt!

but I wish add congratulations for this great thread, that is particularly useful for us newbies

when I have completed my second steam engine, I wish try to realize an IC engine, but I don't plan to make plane models on which mount the engine...
it will be only an exercise work :)

 
Bob,

So glad to hear your well!....hope that chopper is squared too also!

Nice looking carb!.....What is the plan for fuel? ether?.....

Dave
 
Looking good , Bob.
I am very glad that you are able to get back in the shop some. I know I get very unhappy when I can't get in some play time for health reasons.
Gail in NM,USA
 
ariz, Dave, Gail and Steve,

Thanks guys for your kind words, support and concern. :bow: :bow: :bow: :bow:

Fuel ether this or ether that ;) - seriously ether, kero and castor oil.

Made a little more progress with the venturi today.

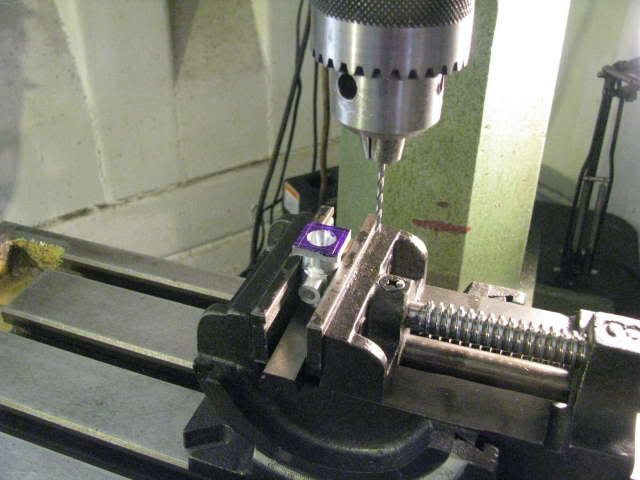
Cross drilling for the spray bar.

IMG_0378.jpg


Reaming the plain section of the spray bar location.

IMG_0379.jpg


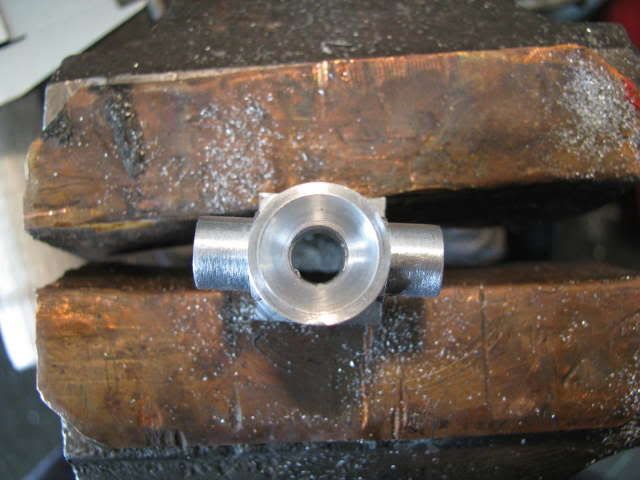
Set up for rounding the cross section.

IMG_0382.jpg


Rounding the cross section.

IMG_0383.jpg


Big post Easter sales so we're off to see if there is cheap floating floor planks ;D

Best Regards
Bob
 
Great work Bob and nice to see the set up for everything. Good shot of your reamer. I notice the angle on it doesn't seem as shallow as the others you showed. Do I take it that the deeper you need to ream the more you need to grind off?

Peter.

 
Peter,

I would say yes to your question if it was a blind hole otherwise it doesn't seem to matter all that much on a through hole.

Thanks for your support and interest. :bow:

Best Regards
Bob
 
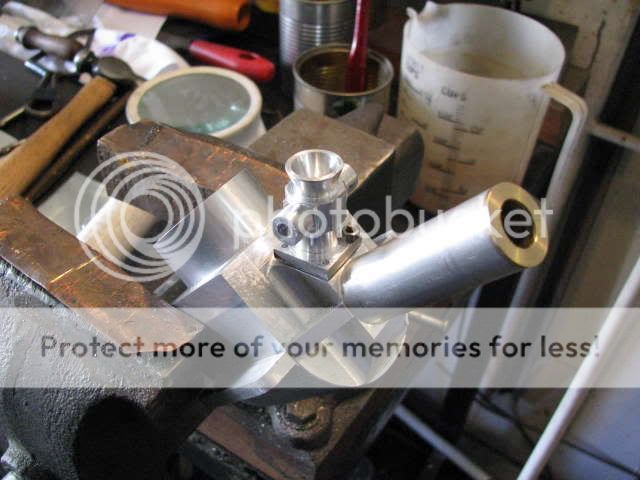
Another week slips by - ah well that's life ;D

The venturi is almost finished only the bolt holes to drill.

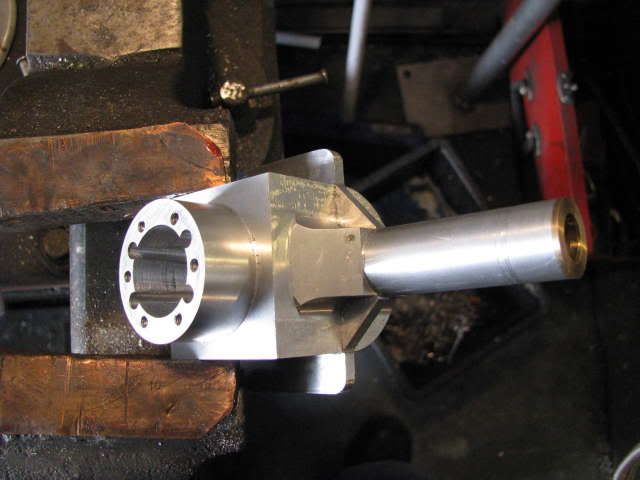
Machining the taper on the flanged end.

IMG_0389.jpg


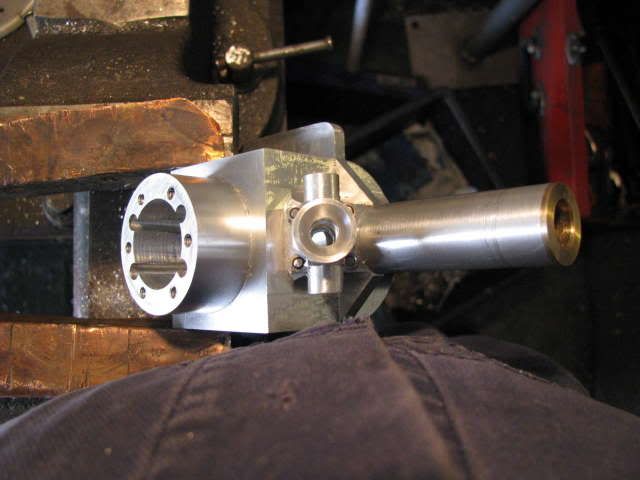
Various views of the venturi.

IMG_0390.jpg


IMG_0393.jpg


IMG_0394.jpg


Where it's supposed to end up on the engine.

IMG_0395.jpg


And now to rest my weary bones. :eek:

Best Regards
Bob
 
ohhhhhh yessss you have to!!!! :big: :big:
Nice job... :bow:
cheers
Paolo
 
Thanks Paolo - for your support and encouragement. :bow:

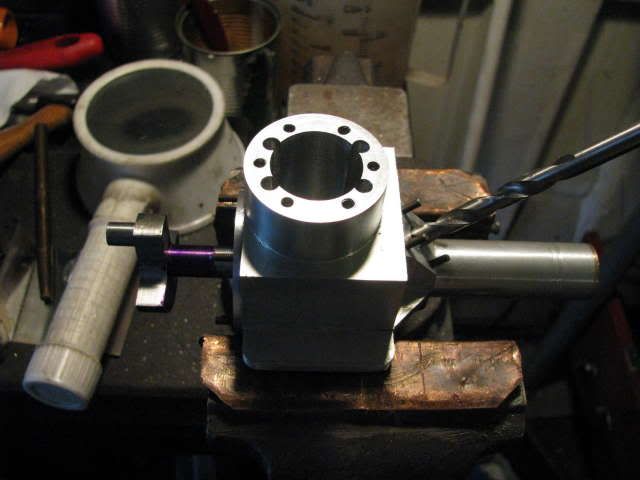
Managed to finish the venturi and fit it to the crankcase.

Drilling the holding down holes for the venturi.

IMG_0396.jpg


Next came how to hold it in place on the crankcase whilst I drilled the stud holes......... Messed about with various clamps and various ways of holding said venturi all to no avail. Tea and a fag later I ended up holding it in place with my hands and giving the tapping drill a judicious tap with a hammer to locate hole 1.

IMG_0397.jpg


This was tapped and stud one fitted.

Guess what the bloody nuts wouldn't fit
wow.gif
so the venturi went back in the lathe and the diameter above the flange was reduced to cater for the nuts.

This secured things whilst I drilled the diagonally opposite hole.

IMG_0398.jpg


Again tapped and studded.

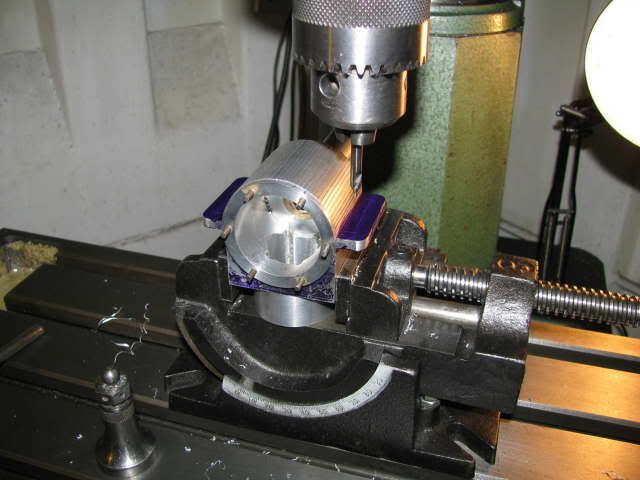
Back to the drill and drill the last 2 holes and the centre hole into the crankcase for the inlet valve.

The completed fit of venturi and crankcase.

IMG_0399.jpg


Nice shot of my middle age spread ??? ??? ???

Enough brain drain for one day, well for me anyway ::)

Best Regards
Bob


middle aged spread :big: :big: the way i like to loke at this is it took me 40+ years togrow the darn thing so im good. :big: ;D :bow:
 
itowbig said:
middle aged spread :big: :big: the way i like to loke at this is it took me 40+ years togrow the darn thing so im good. :big: ;D :bow:

Thanks Sid,

Good one. :bow: I must remember this for future smart alec comments.

Best Regards
Bob
 
Dave,

Thanks for your compliments - although I'm not sure which you like more. ::)

Tried my model makers glass bead blaster today. What a P.I.T.A. probably more due to operator ineptitude rather than the tool. :eek:

Marking out the crankshaft for X drilling the inlet valve hole.

IMG_0400.jpg


Drilling the holes for the holding down bolts.

IMG_0401.jpg


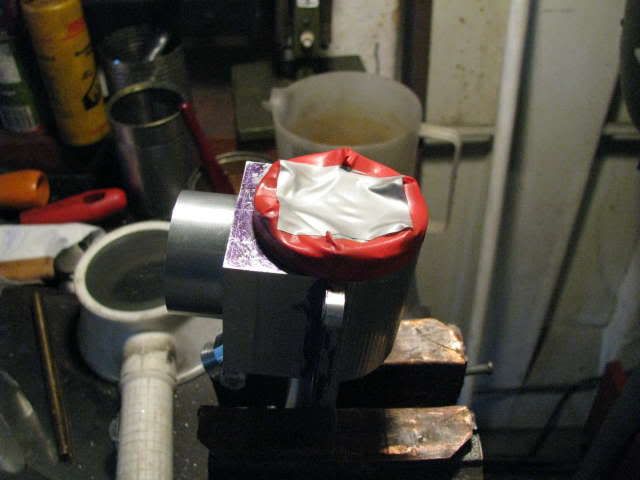
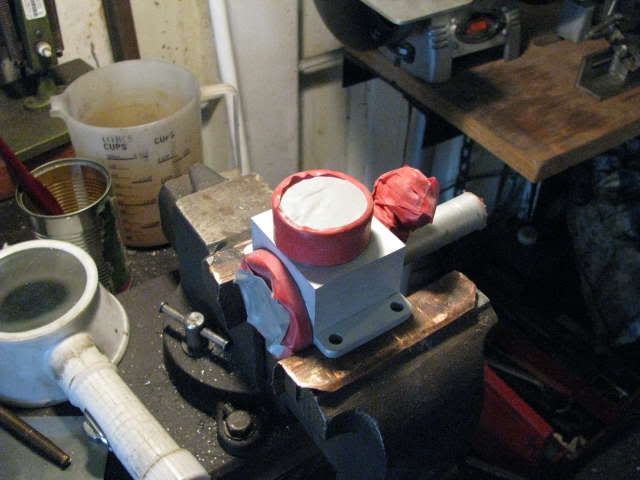
Masking up for the blasting.

IMG_0402.jpg


The blasted crankcase.

IMG_0403.jpg


Have a great day, well at least better than me, (suffering from FIM disease).

Best Regards
Bob
 
itowbig said:
middle aged spread :big: :big: the way i like to loke at this is it took me 40+ years togrow the darn thing so im good. :big: ;D :bow:

I AM in shape - round is a shape!
 
Superb work Bob. Its getting closer........wacth for the kick back on starting it may flip the world over! Austalia could be the new North and the UK could get some sunshine!!!!! :big:
 
Tel,

Thanks for your input - pleased to note your impeccable taste has not deserted you. ;D :bow:

Mike,

Thanks for your continuing support and kind words. :bow:

Best Regards
Bob
 
Most impressive I must say. Most impressive indeed. :bow:

BC1
 
Back
Top