Kel Builds Bill's V-Twin Steamer

Home Model Engine Machinist Forum

Help Support Home Model Engine Machinist Forum:

This site may earn a commission from merchant affiliate links, including eBay, Amazon, and others.

kcmillin

Project of the Month Winner!!!
Project of the Month Winner
Joined
Jan 19, 2010
Messages
1,193
Reaction score
41
I Got these plans about 5 years ago from Littlemachineshop.com shortly after purchasing my Mini Lathe at the cummins tool show. I had an attempt at it back then and failed miserably, Ill blame lack of experience, and the plans have been sitting in my bottom drawer ever since. So I got a wild hair up my A@# this morning and decided it was time to give it another go.

I am just building the engine for now, maybee the boiler later, and I plan on putting it on something with wheels instead of a boat.

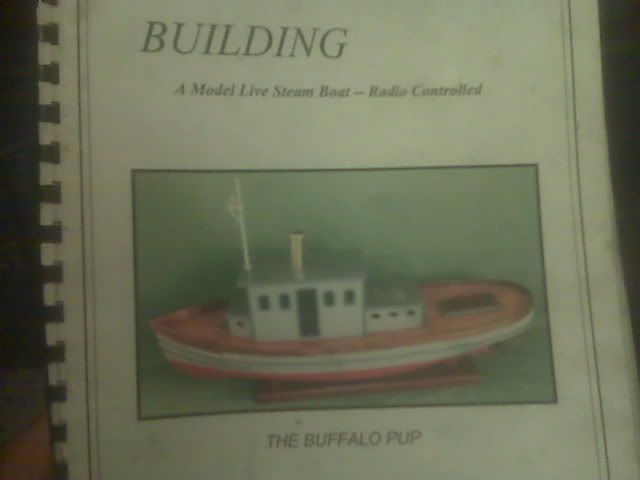
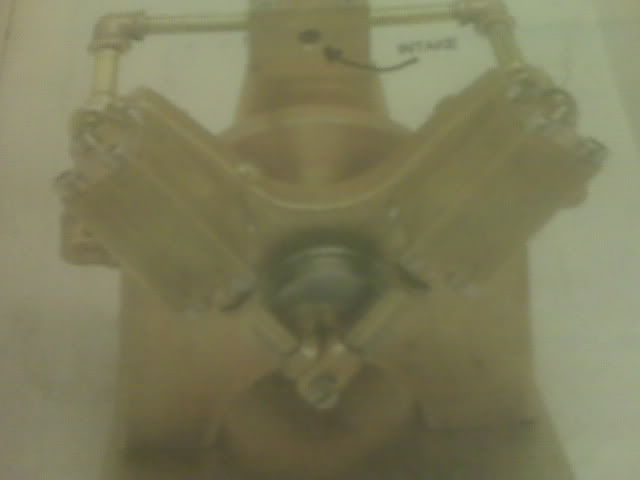
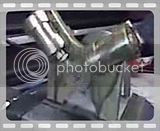
Here is a pic of the plans cover page and what the engine should look like. (Sorry for the crappy pics, a new camera just aint in the budget right now)
1-1.jpg

2-1.jpg


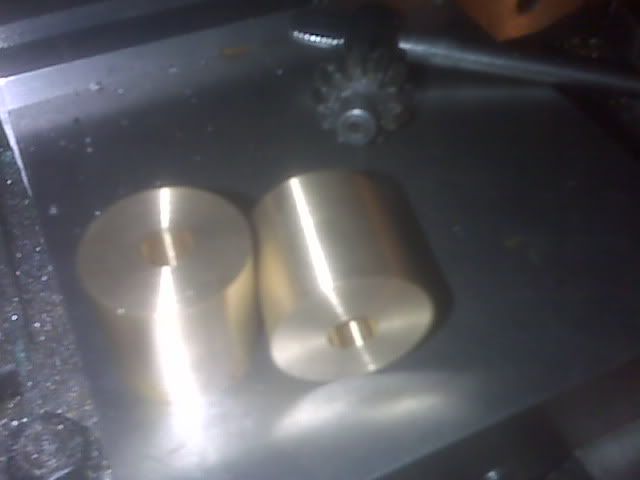
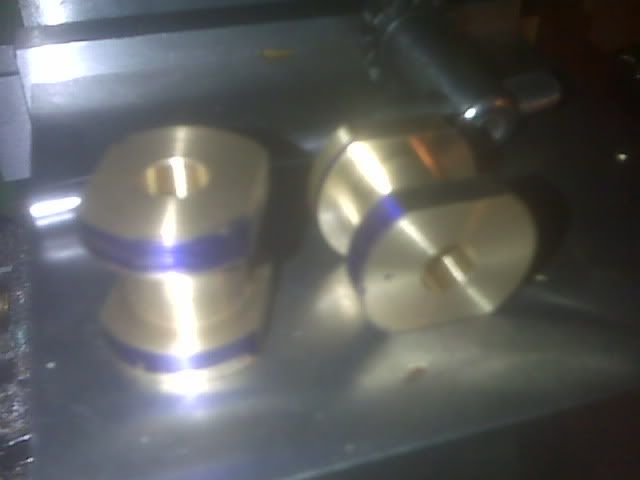
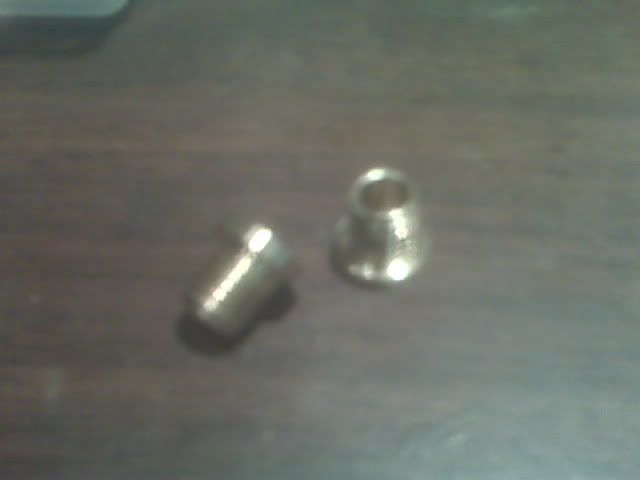
I started by making the Cylinders. I am using 1 inch brass instead of the 1/2 x 3/4 the plans call for. I will be taking off most of the material.

3-1.jpg

4-1.jpg


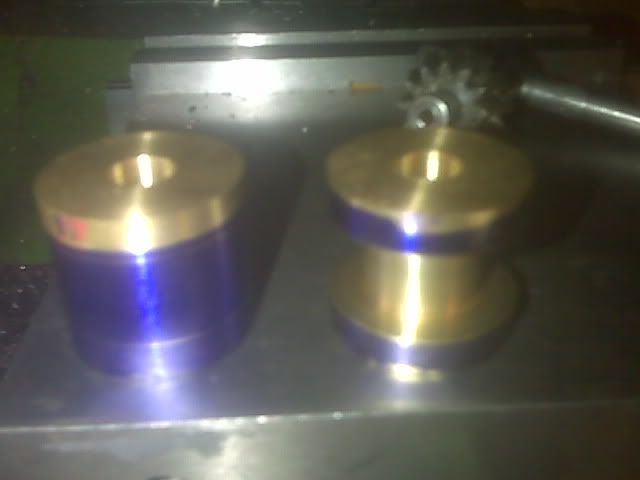
I turned the middle down to 5/8"
5-1.jpg


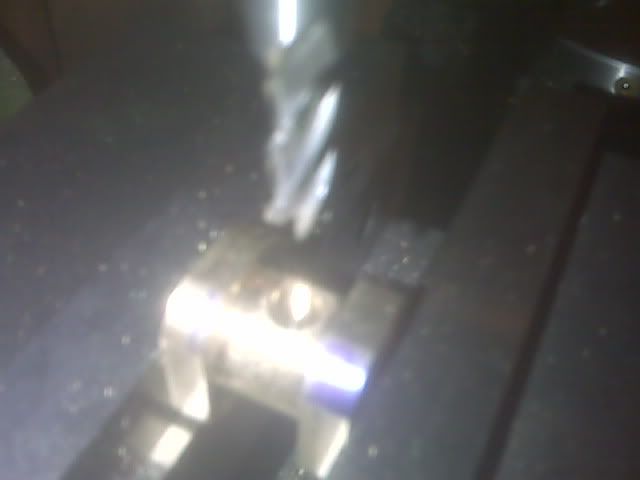
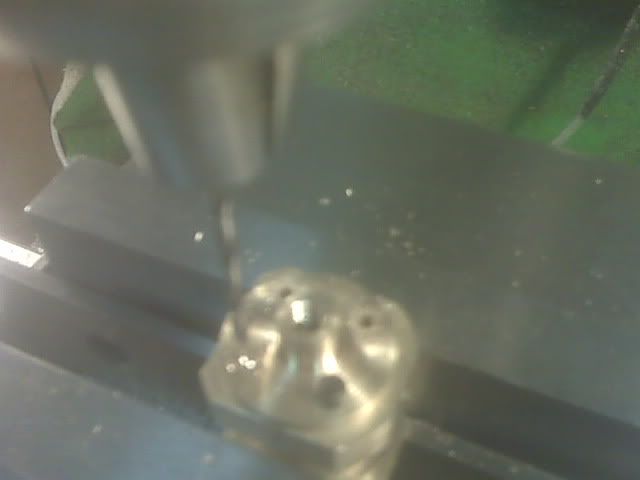
Then it was time to mill a little material down and make some flat spots for the steam ports.
6-1.jpg

7-1.jpg


Since there was not much material left over to thread a hole I decided to impliment a trick that Steve is doing on his build of the Tandem.

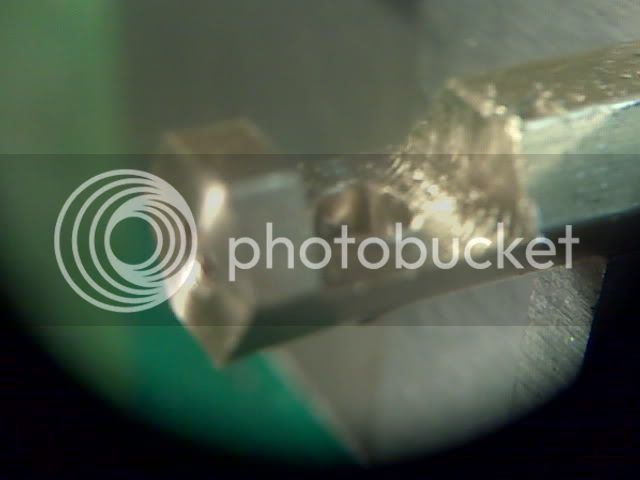
By first using an end mill to make a 1/4" pocket
8-1.jpg


I then soldered in a 1/4 inch piece of brass.
9-1.jpg


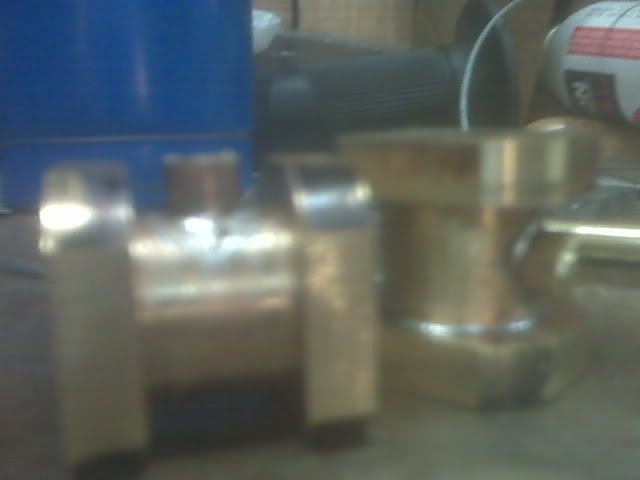
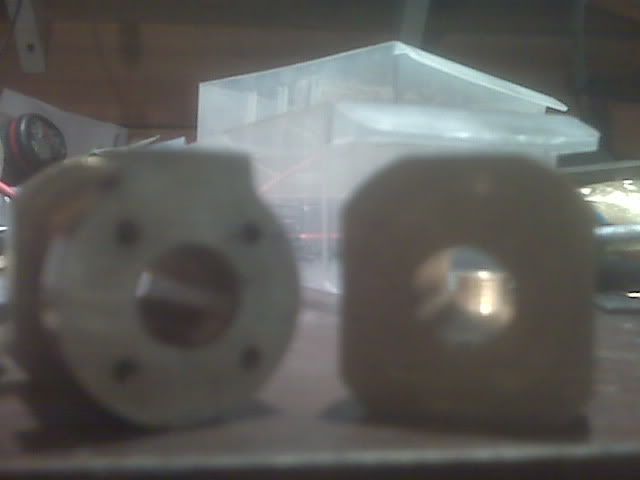
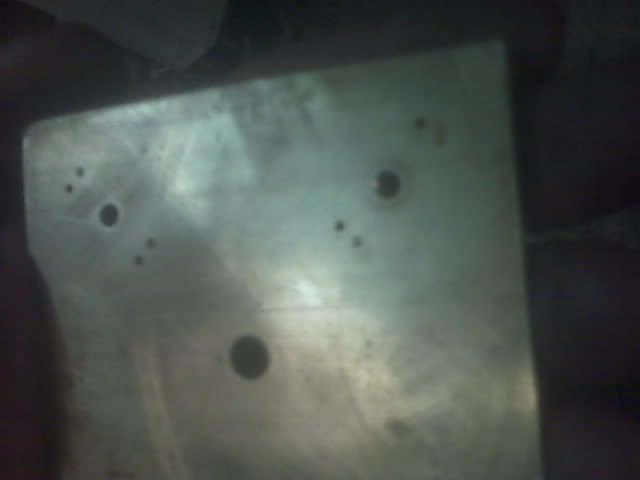
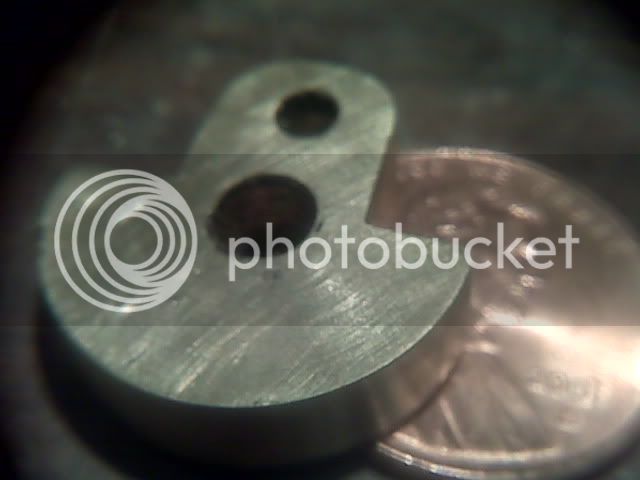
Here they are after milling the 1/4" stub down and drilling and tapping the holes.
10-1.jpg


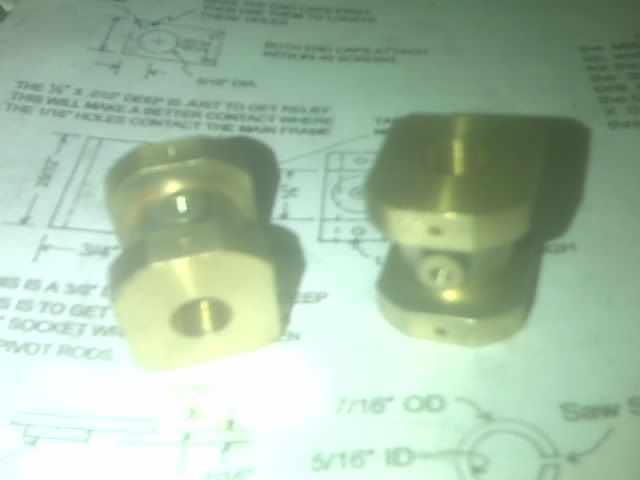
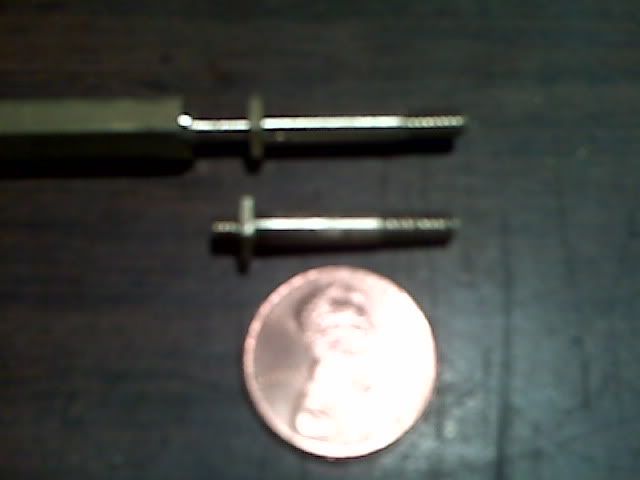
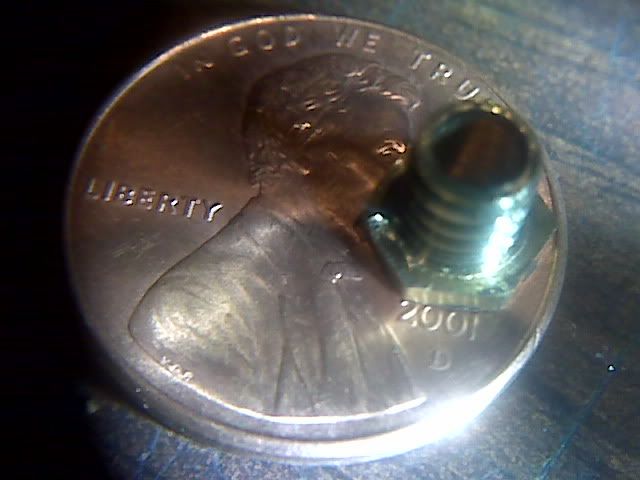
Drilling the holes through the caps and into the cylinder. These will be for 2-56 screws. (sorry no pics of the end caps)
12-1.jpg


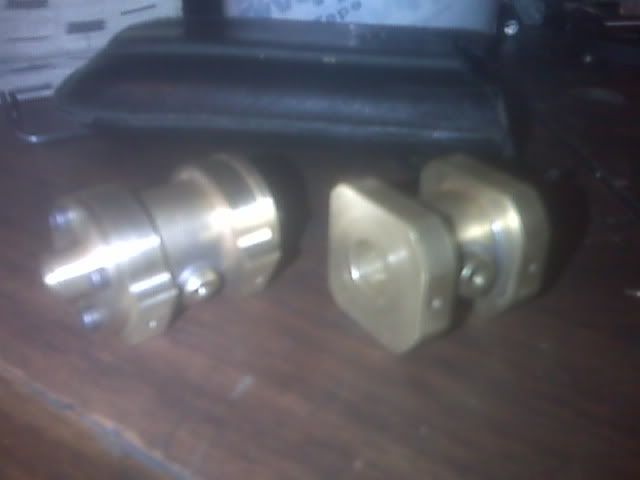
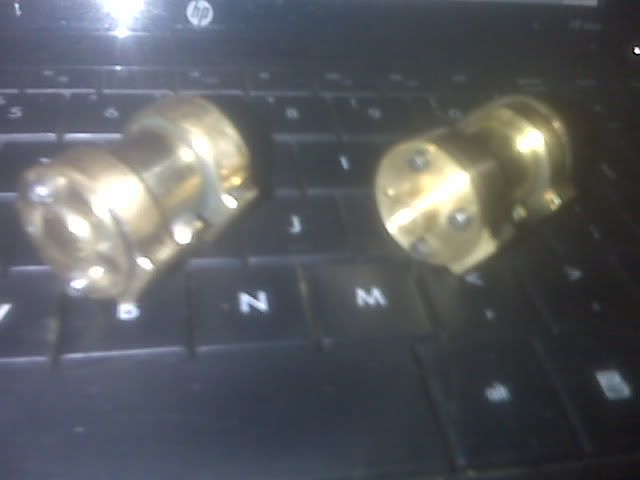
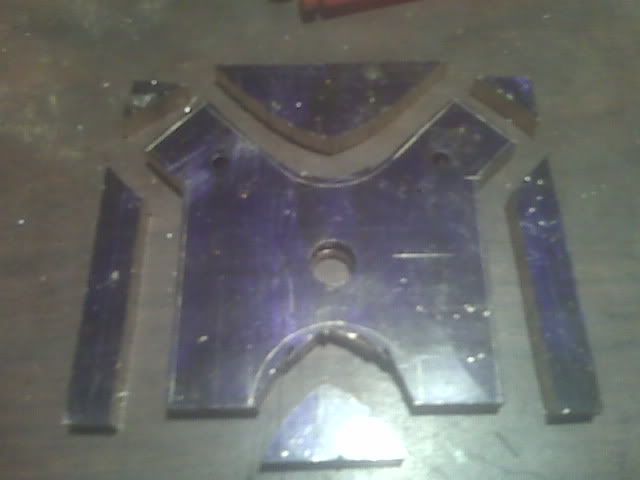
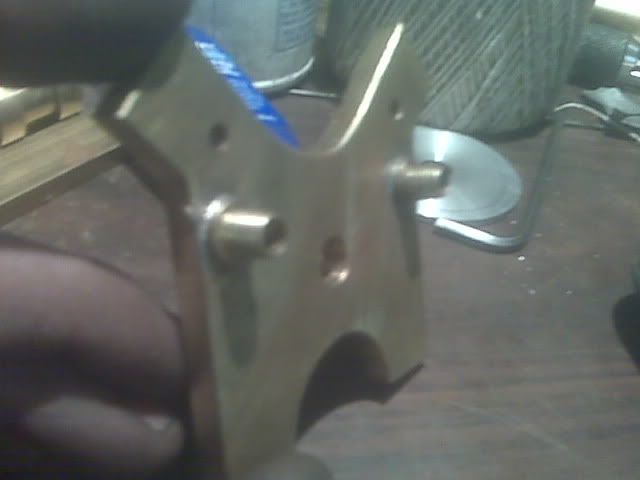
It was then time to mill it down to look good. Off the the rotary table I go.
13-1.jpg


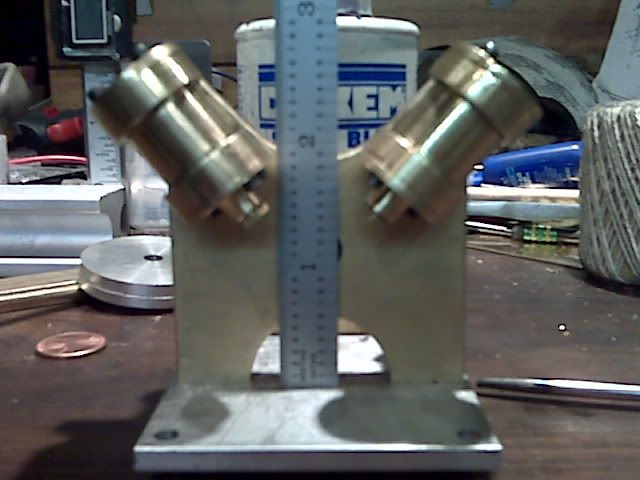
Here is the before and after.
14-1.jpg

15-1.jpg


Thats it for now fellas.


Kel
 
LMS still sells those plans.
I'd thought about it myself.
I'll be watching your build...I'm sure it'll be interesting.
 
Hi Kel,
I'm looking forward to following along with your build. Looks like you've got a good start.
Dennis
 
Hi Zee and Dennis, thank you for showing interest.

Zee, these plans are full of good info, plenty of little notes from the designer, makes it easy to understand. He seems take advantage of the opportunity to "Pimp" a set of plans he made for this device known as a "Rike Vise". Named so after the designer, Bill Reichert. It seems like it could have some uses, pretty simple device, but I probobly should not go into great detail about it.

Anyway, tomorrow looks like it might be a little to windy to put siding on the wall, so I might get some more work done on the little steamer.

Kel

 
Well I got the Glands made this morning, finished just before I call a call into work. We werent there for very long though. Darn Wind.

Anyway here are some pics.

I did not have any M&M's but I do have an 'M' and 'N'
16-1.jpg

17-1.jpg


on to more mill'n

Kel
 
Kel,

Looks like you are making steady progress.

Keep up the good work.

SAM
 
Thanks Sam, there has been a bit of crappy weather so I got a few days off to get some milli'n done.

I decided to make the frame today. I did not have any 3/8 thick brass plate, but I did have 1/4". This poses a slight problem. There is 6 deep holes the pass each other to connect the steam ports with the intake and exhaust holes. Its a real mess of holes. I found I have enough room in a 1/4 inch piece if I drop the drill size by from .096 -.086. This only leaves .020 between the outside of the frame and a 2 inch deep hole .086 wide. Needless to say I was a little worried about drilling through. So with a peck drill method taking only .025 off at a time I managed to make all 6 holes ranging from 1.375 to 2 inch deep. It took a long time.

Here are the steam ports and frame. (the deep holes are from the side and top, you cannot see them in the picture)
19-1.jpg


and after cutting to shape.
18-1.jpg


There was yet another problem with the 1/4 inch thick plate. The plans cal for there to be 1/4 inch threaded holes on either side for the intake and exhaust plumbing. Well with only .020 between my .086 hole and the side of the frame there was some planning to do.

I drilled two 1/4 inch holes in the back of the frame with and endmill so I could connect to the steam holes. I now made two threaded bungs to solder over those holes.

21-1.jpg

20-1.jpg


all there is left to do is plug the six holes that are used to connect all the steam ports and then a little polishing and the frame/complex manifold will be done.

Thanks for lookin in.

Kel
 
Kel,

It sounds like you were able to overcome quit a challenge in drilling accurate, deep holes. 3 dimensional thinking at its best.

Regards,

SAM
 
Good going so far, Kel. I don't know how the wind affects your paycheck, but it sure seems to work out well for your shop time. Some guys have all the luck.
; )

Good thread. Keep it up!

Dean
 
Deanofid said:
Good going so far, Kel. I don't know how the wind affects your paycheck, but it sure seems to work out well for your shop time. Some guys have all the luck.
; )

Good thread. Keep it up!

Dean

My paycheck feels the wind indeed, but milli'n helps me forget about that, until I need a new tool that is.

Funny, the one thing that helps me forget about money is the biggest money sucker I have. Sweet Sweet Irony.

Kel
 
Had a little bit of time today to get some small parts made.

I decided to make the little rods that hold the cylinders to the 'block' with a spring.

I made them out of 1/4 inch brass hex. The first thing I did was turn the long side down to the required dimention, then put some 6-32 threads on the end. After than was done I turned the other side of the 'nut' down to .105 for the 4-40 threads in the cylinders.
22-1.jpg


After that was done I had to cut it off the parent bar and put the threads on the other end. This posed a problem, I did not want to chuck it in the 3 jaw and ruin my shaft, so I went with a 'tap wrench' approach to uding a die.

While holding the die in my hand I used a 1/4 inch socket to turn the part into the die....like so.
23-1.jpg


thanks for lookin in.

Kel
 
Kel,

Looking good.

Clever how you threaded the small end of the rod.

SAM
 
Got the rest of the small bits done today. Sorry for lack of pictures, I had it all together before I could take any more.

24-1.jpg

28-1.jpg

31-1.jpg


35-1.jpg


And I got some trials done with it. It runs really smooth right away, very little leakage without packing in the pistons or glands. Ill let her run for a few hours checking on it and adding oil as needed.

Here is the Vid.


Ill get more pics when I tare it apart to clean it.

Kel
 
Congratulations Kel.
Nice.
Are you still thinking of making a boiler?
 
zeeprogrammer said:
Are you still thinking of making a boiler?

Yes, I think Ime gonna give it a proper go at it this time too. I just gotta get some material for it first.

Kel
 
Here I got it runnin a little better, I used teflon tape as packing for the piston and the glands. I have run oil straight through the air line into the engine, this gives it a good rinse every time I give her a squirt. after a couple times of that the oil comes out clean. but what a mess it makes.

I have it running prety slow on 7 psi. I know I say 2 psi in the video, I read the guage wrong, :hDe: *club*


Currently it is running, and has been for about 4 hours.

Kel
 
Kel,

Very nice :bow: - even at 7psi ;)

Best Regards
Bob
 
Very nice, Kel.
Very smooth and even power. Excellent!

You are really cranking out the projects. You don't drag your feet at all, do you?
 
Done already, Kel? You're a real mover, mister.
It runs down slow very well. Maybe it's a characteristic of this engine type. I made a 90° V-2 oscillator about 10 years back. Mine was not pretty at all, but ran nice at low psi. Yours ticks over just great!

I hope when you get your new camera, you'll do some more vids of all your engines. I'd like to see them better, (meaning I like your stuff!).

Nice one you have here!
I guess someone has to ask... what's next?

Dean
 

Latest posts

Back
Top