Hoglet started (and running!)

Home Model Engine Machinist Forum

Help Support Home Model Engine Machinist Forum:

This site may earn a commission from merchant affiliate links, including eBay, Amazon, and others.

Thanks alot fellows!

I managed to get a fair bit of work done on the shop, so I may be able to get some more work done on the frame hopefully soon.

Cheers,

Kevin.
 

Cleaned 'er up alittle and tried to take some "fancy" photo's;

hoglet%20390.jpg
hoglet%20402.jpg


-Kevin.
 
Kevin,

That's look'n real good...nice pictures too.

Philly
 
Who are you trying to fool?
Those pics look like something gbritnell did. :big:

Very very nice. I mean, very very nice.
 
Gosh that's a beautiful engine!

Chuck
 

Thanks alot fellows, I hope to get going on the frame soon,

Should I run it with a drop of 2-stroke oil in the gas, or white gas/oil mix or something, since it is not lubricated?

Or just give it a few drops now and then.

Thanks,

Kevin.


A friend came by with an electric mini bike, wondering if I could use the parts. I was pretty excited for the tires but when I stood them up;

PUG%20045.jpg


These are about the right diameter;

PUG%20047.jpg


But It looks like I am going to have to make my own molds and vulcanize some rubber!! ::)

So for now I should just focus on a nice frame and not get side tracked by fancy slicks.

PUG%20050.jpg
PUG%20056.jpg


Thanks!

Here we have an approximation of a scale bike;

hoglet%20419.jpg


Mocked up a back-bone;

hoglet%20422.jpg


hoglet%20421.jpg


hoglet%20423.jpg


hoglet%20427.jpg


The balancing man on the back rail was my first metalwork project in grade 8 metalshop class 21 years ago.

man, does time fly.

hoglet%20428.jpg


hoglet%20430.jpg


...Looks like the partridge logo. :p

hoglet%20431.jpg


a little better...

Have fun!
 
Nice going Kevin, looks a treat Thm:
Regards, Arnold
 
kustomkb, not only you have made a superb engine, but you are going to make a bike around it!
these is IMHO the greatest expression of our hobby: to bild a model that is something more than a model, a real engine that works and is useful for some purpose
can't explain better in english, but you have all my admiration :bow: :bow: :bow: :bow:


Looking good, although the frame looks a bit too deep to me. I your last picture where you have mocked up the downtube I would be tempted to move this up about 1" and do away with the two square lengths of alloy and replace these with the frame tubes.

Jason
 
great job, great build. and thanks for all the photos along the way. Just ordered the two back issues , i just have to start on this asap.

:bow: :bow: :bow:
 

Thanks very much for all the kind words.

Keiffers model is truly amazing. Thanks for the link.

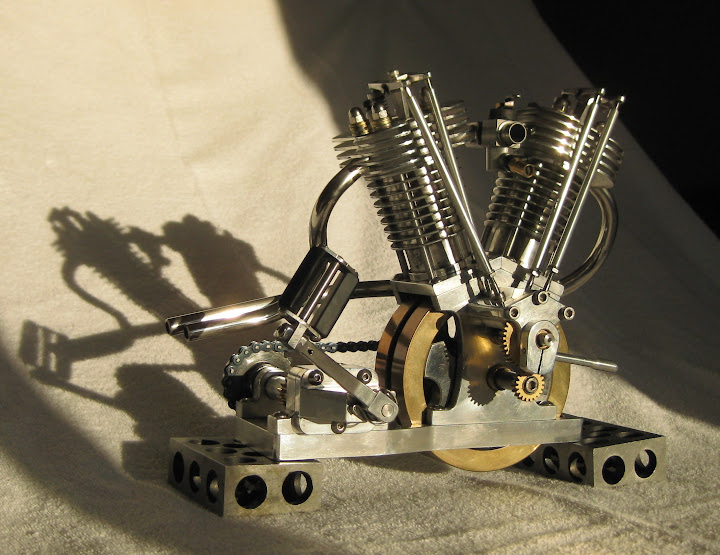
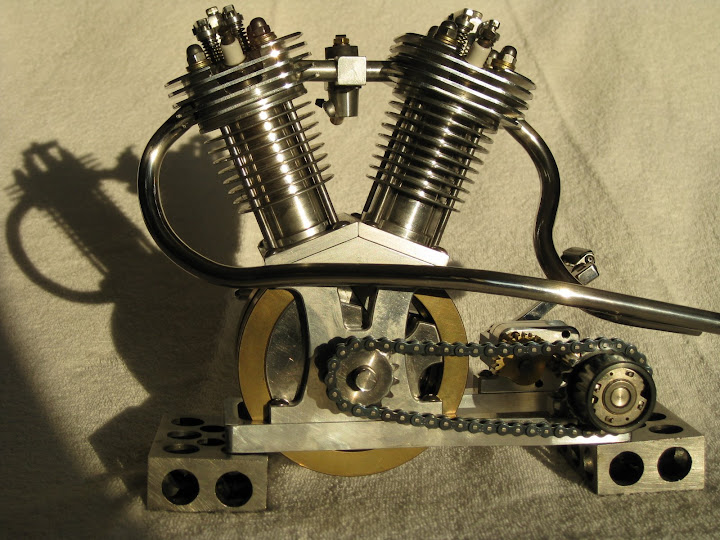
Im not sure what kind of power comes from this engine. Maybe a dyno could be next...

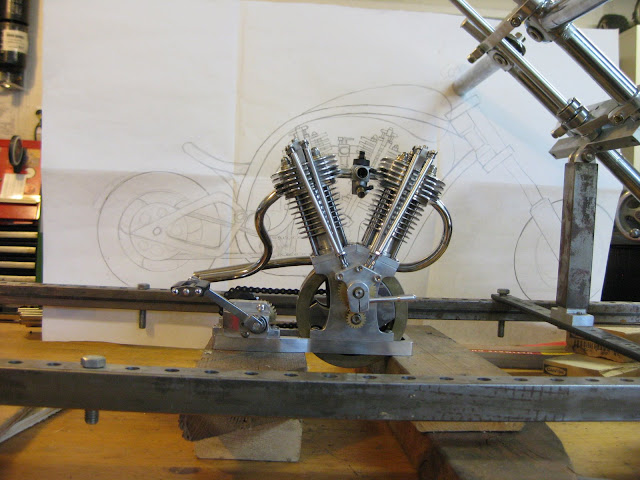
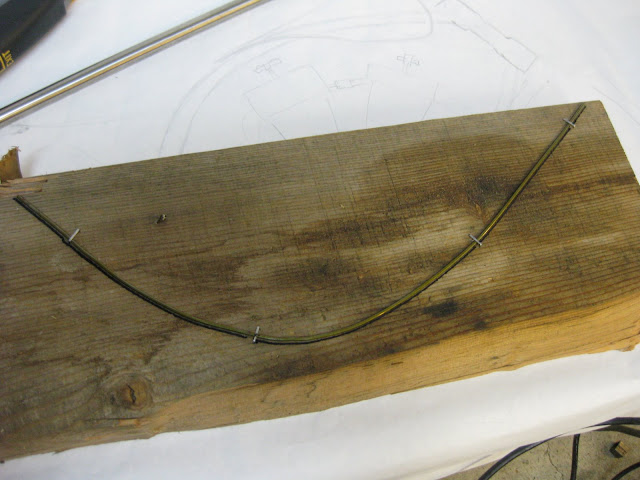
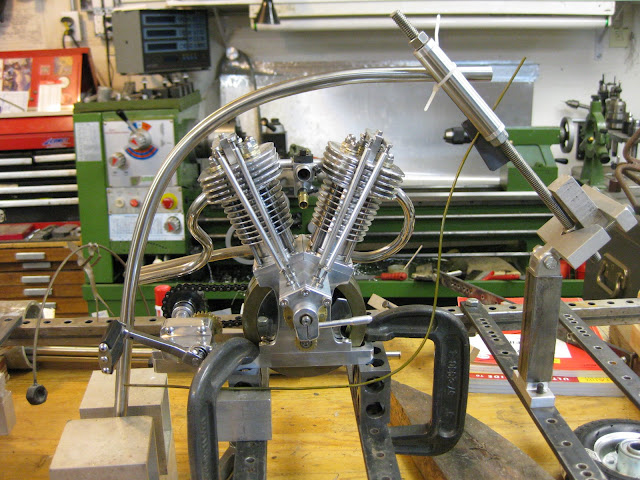
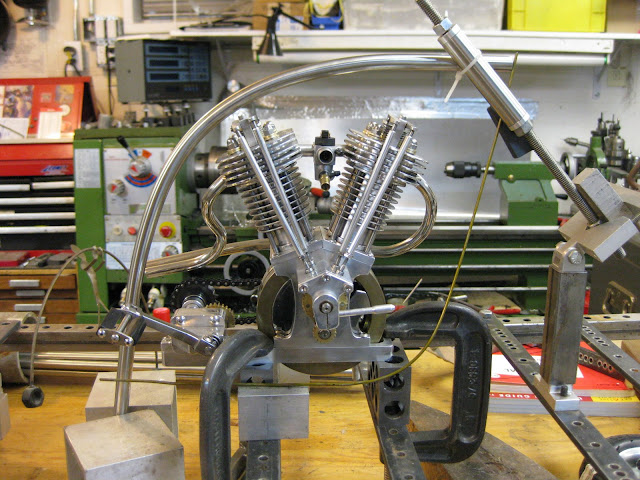
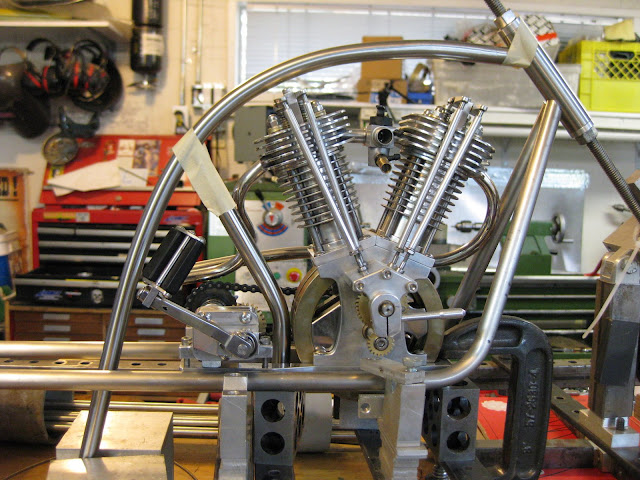
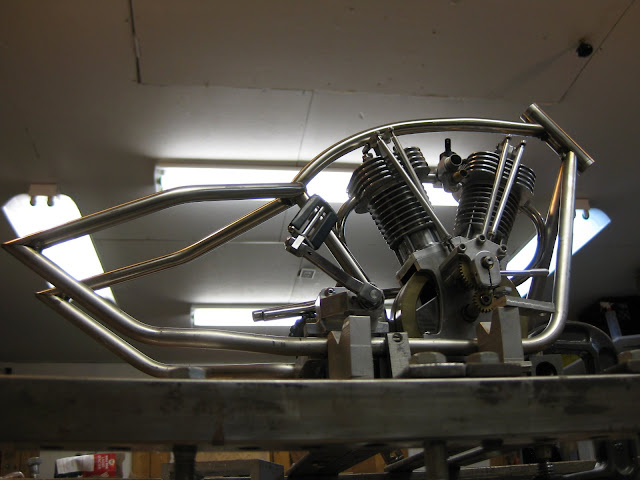
Good eye Jason, that wire should have sat on top of the 123 block. Instead of 2 square lengths of alloy I made a rectangular frame which I think adds alot of ridgidity to the engine. And like Mati said its not a scale model but an interpretation and the frame is meant to display the engine.

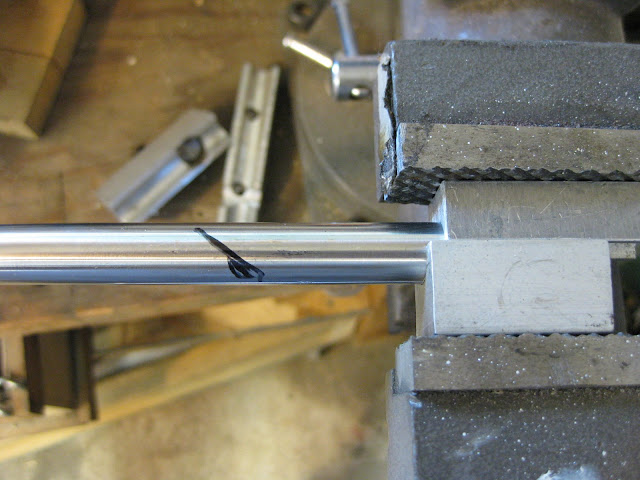
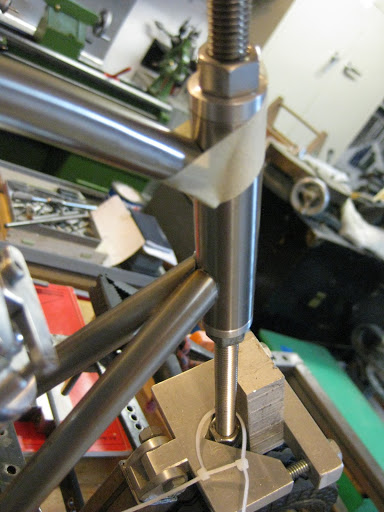
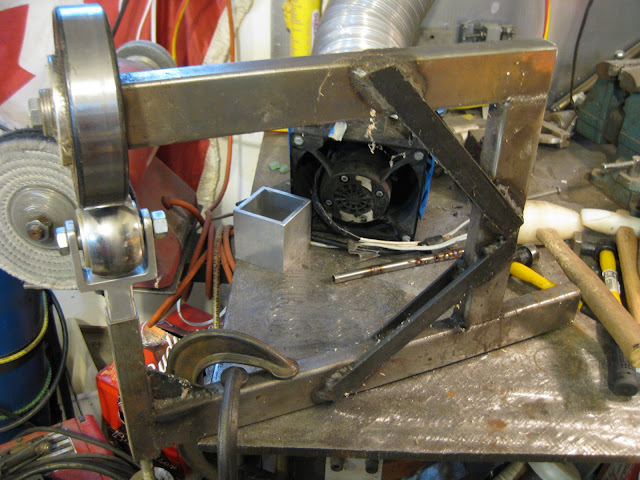
Here I have marked the downtube for rough cutting;

Hoglet%20436.jpg


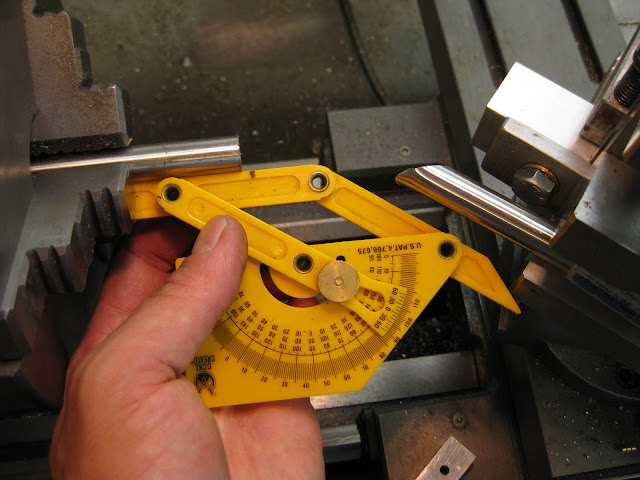
And then set the vise in a toolpost to a half inch centre line;

Hoglet%20434.jpg


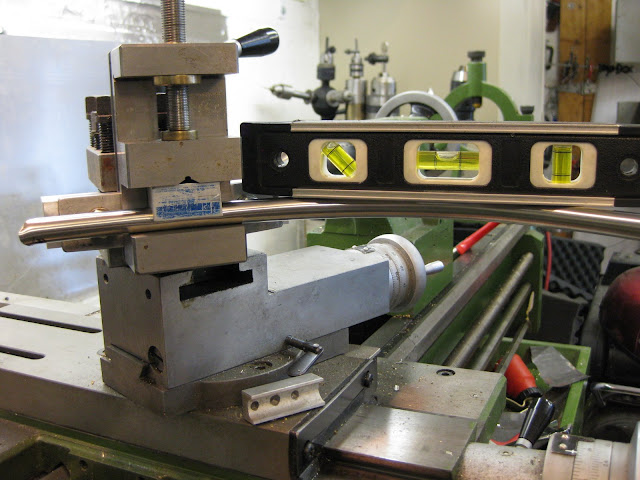
Then set the tube inline;

Hoglet%20439.jpg


And swing it to the angle;

Hoglet%20437.jpg


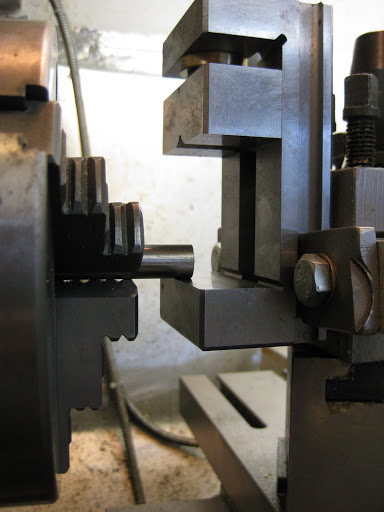
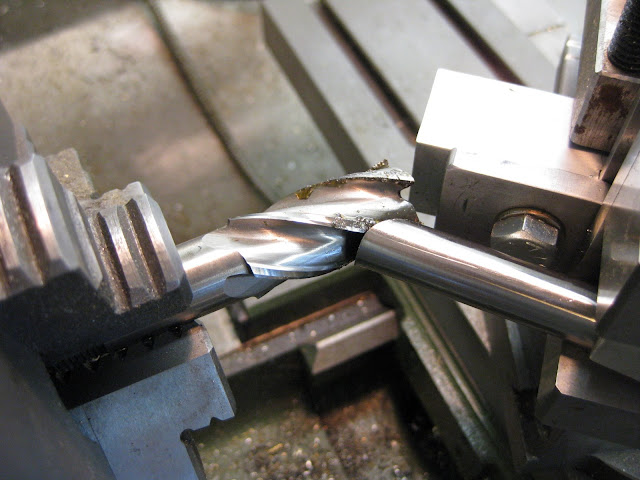
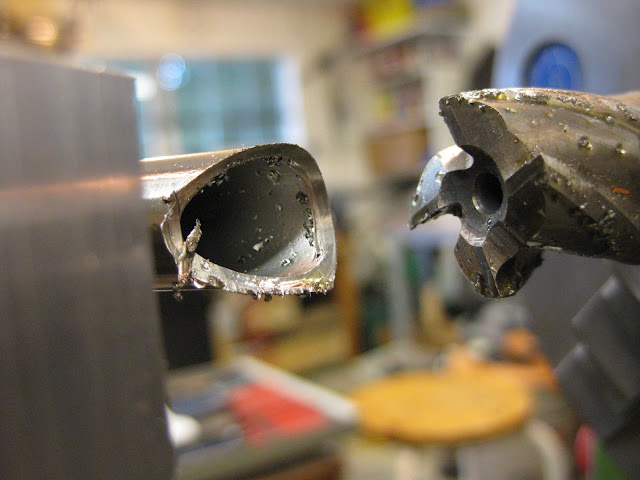
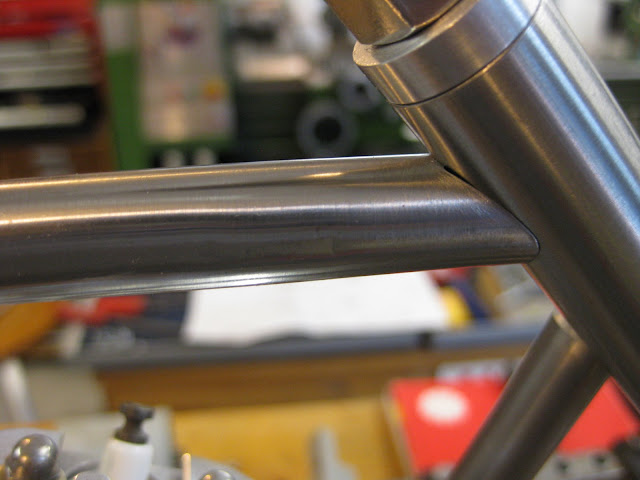
And then "fish mouth" it with a 3/4 inch endmill and 50 thou bites;
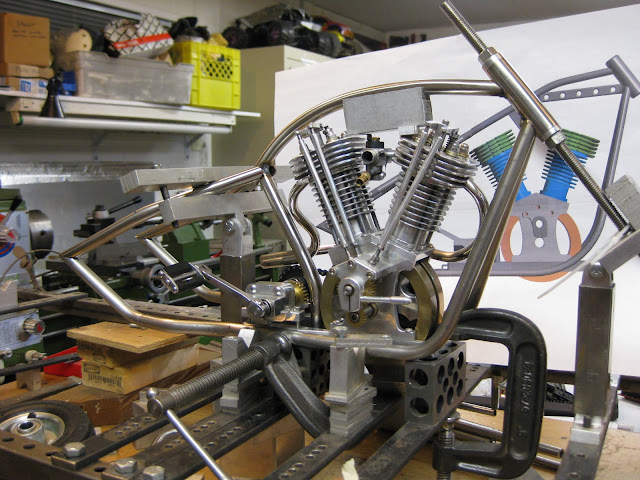
Hoglet%20440.jpg
Hoglet%20441.jpg


And it fits nicely;

Hoglet%20445.jpg


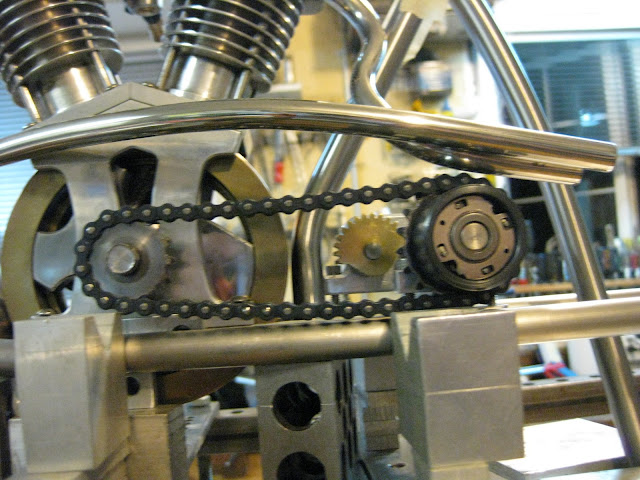
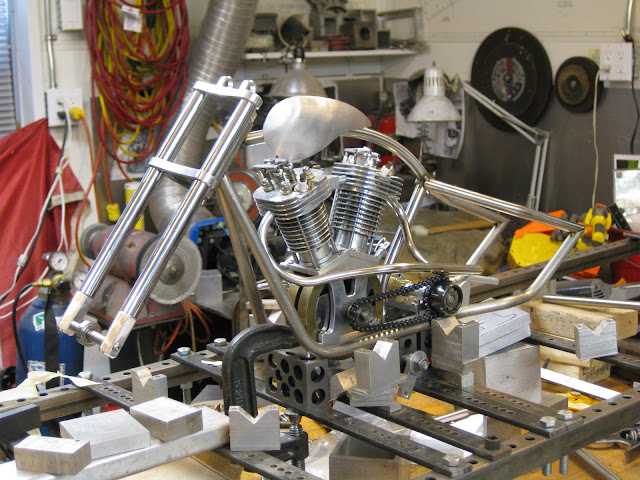
A similar approach was used for the downtubes, Just a little more grinding and fidling;

Hoglet%20450.jpg


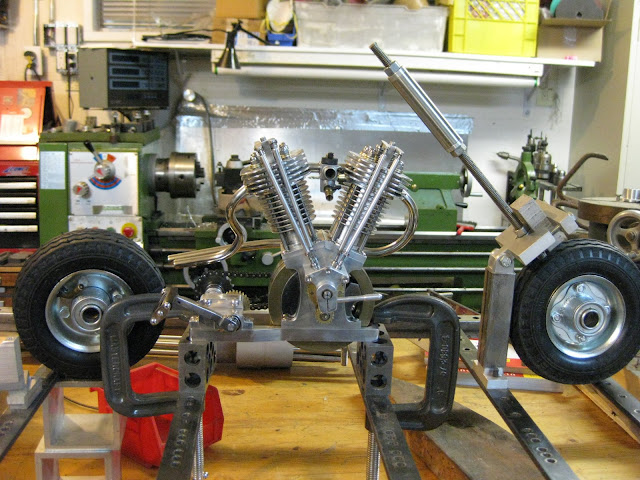
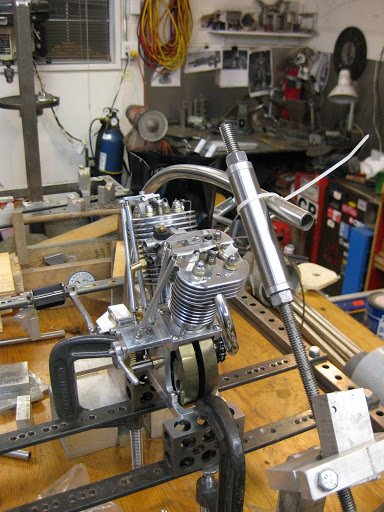
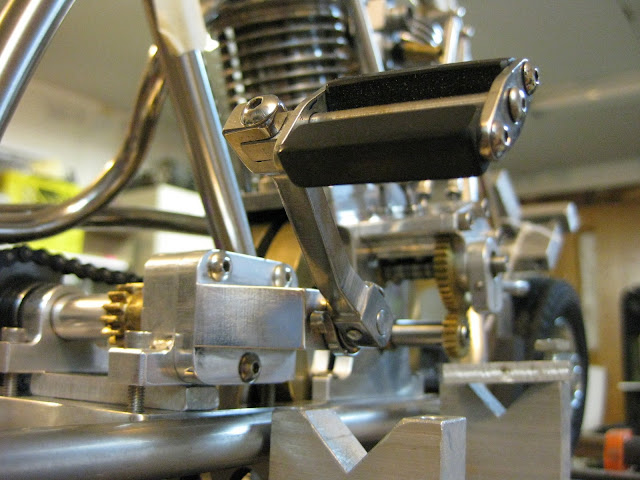
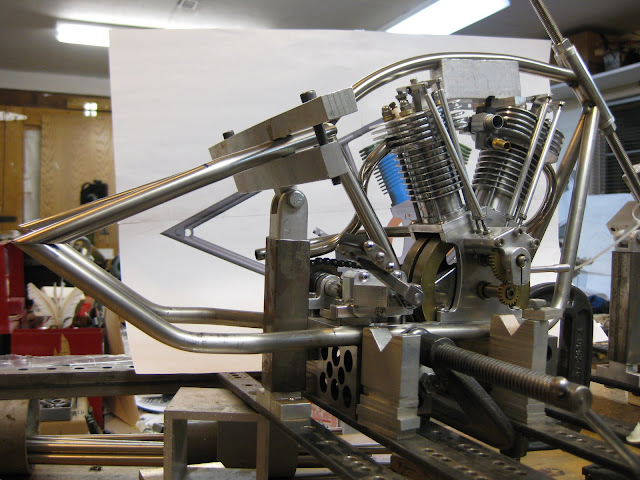
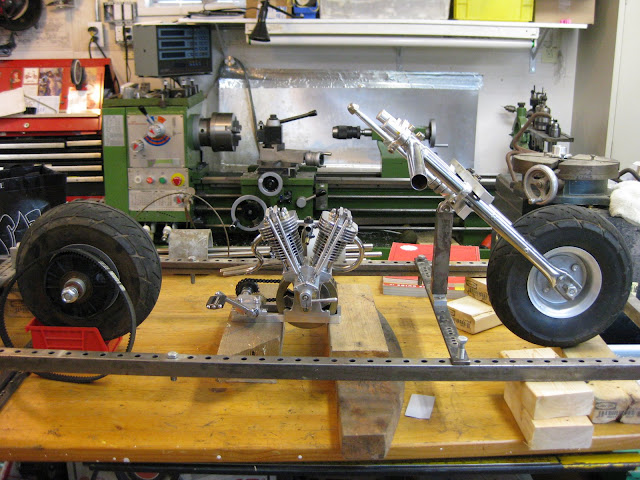
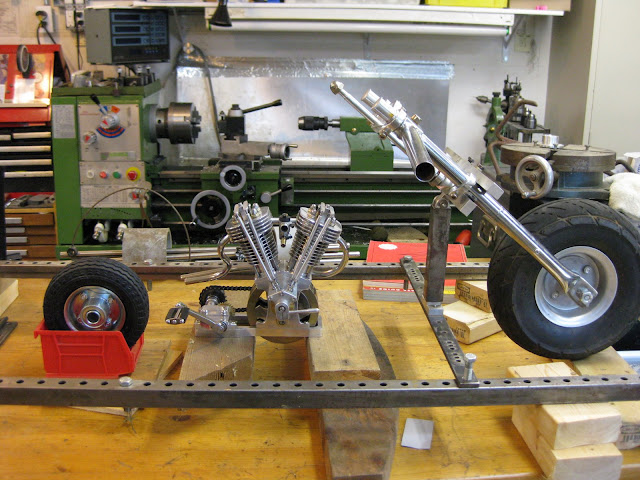
Here you can see where I have had to shim the kick start assembly to clear the bottom tubes;

Hoglet%20451.jpg


Hoglet%20452.jpg


Hoglet.jpg


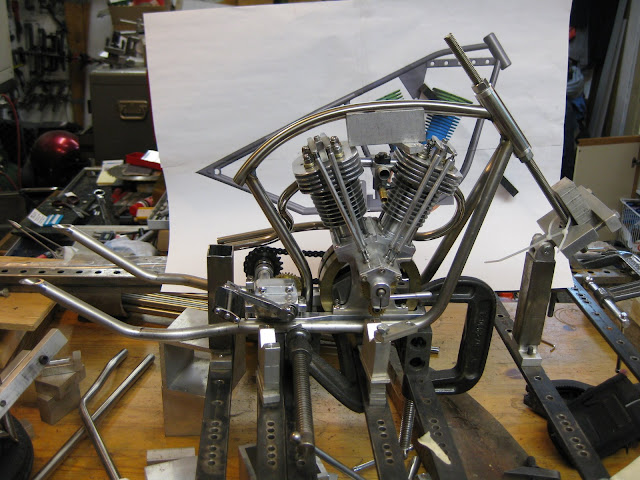
The head tube will also be shortened.

Not a lot of progress lately. I've been busy with home repairs and my latest obsession, building a 1/4 scale RC buggy like this fellow;

http://www.fieroaddiction.com/buggy.html

And if anybody knows how to turn a wiper motor into a servo like he did I am all ears.

Thanks,

Kevin.


Got a little time in on the frame;

hoglet%20456.jpg


hoglet%20458.jpg


hoglet%20459.jpg


hoglet%20460.jpg


hoglet%20465.jpg


Happy halloween;


hoglet%20467.jpg


A few smacks with the teardrop and a little planishing in the wheel and we have the start of a tank;

hoglet%20476.jpg


hoglet%20480.jpg


The frame ended up a little stretched out in the rear but I guess that will leave lots of room for a big oil bag which will house the electrics.


Back
Top