Steve I'm at all the fiddly bits stage and from my perspective there is still quite a lot to do. Every time I read Brian's posts of his Kerzel and his fantastic progress I go green with envy. :
Work got in the way again. A dunnage bin and a fork lift had a meeting. The bin came off 2nd best. Quarantine would not fumigate it until it was repaired. :'(
With that out of the way, a phone call of Honey Dos was next and so:
The feeble effort of completing the rocker carrier just made it. :-X
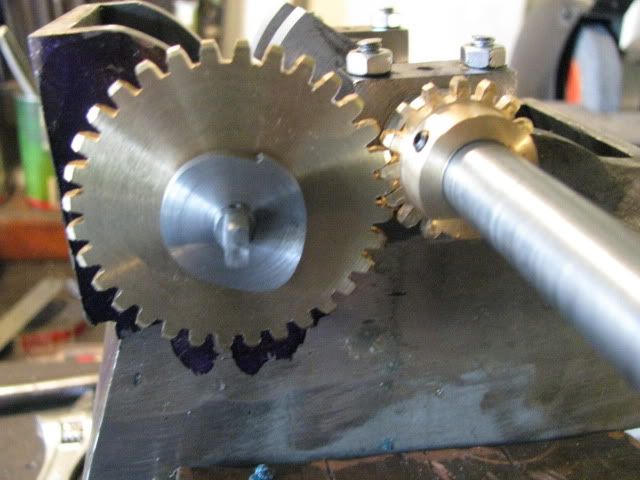
First up, I finished the fiddly bits of the cam and gear shaft.
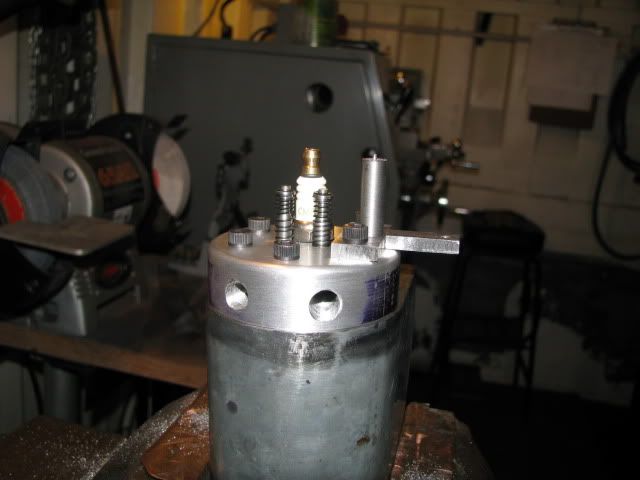
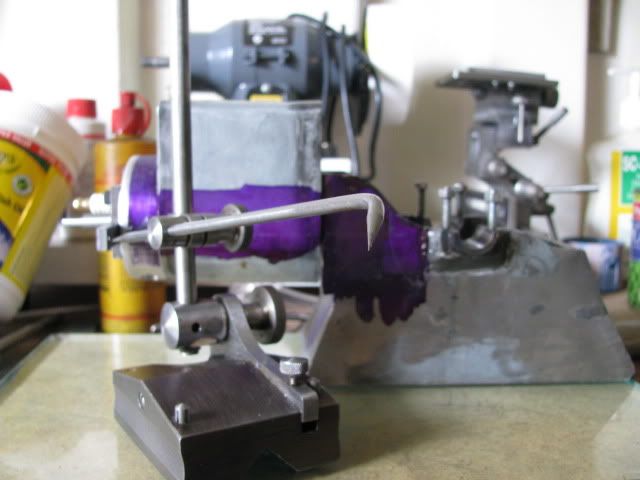
After a bit of thought on how to find a datum for the location of the gear shaft I came up with turning my trammel into an offset trammel. This allowed me to use the centre of the crankshaft as the datum to scribe an arc along which the cam and gear shaft must be located.
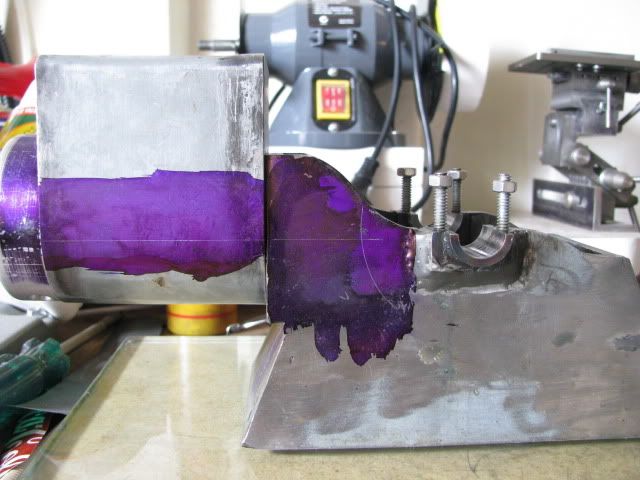
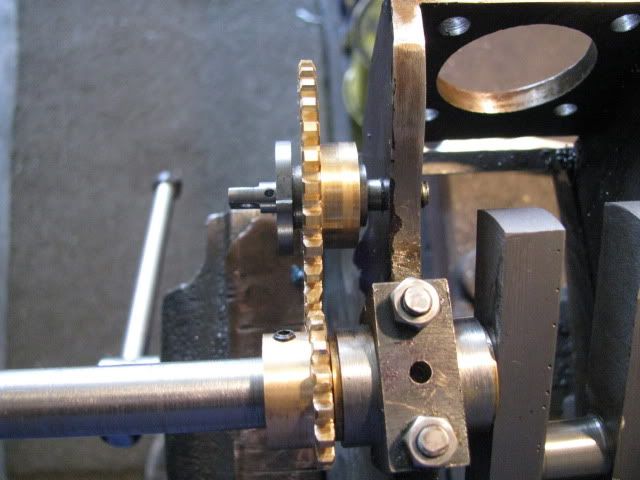
This was followed by a partial assembly to find the line of travel of the push rod.
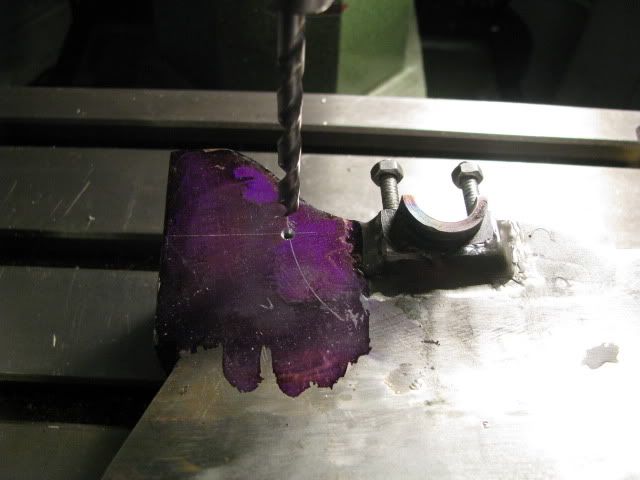
Where this line and the arc intersected gave me the location of the cam and gear shaft.
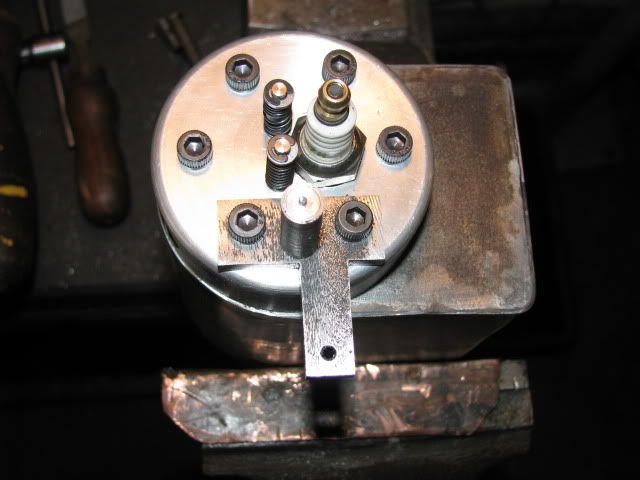
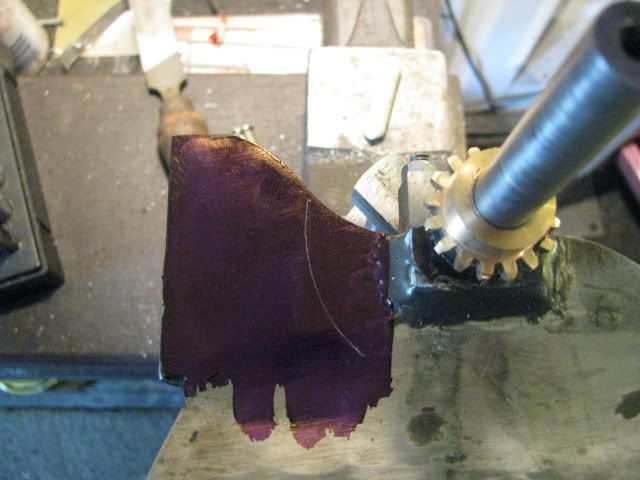
This was drilled and tapped to match the shaft.
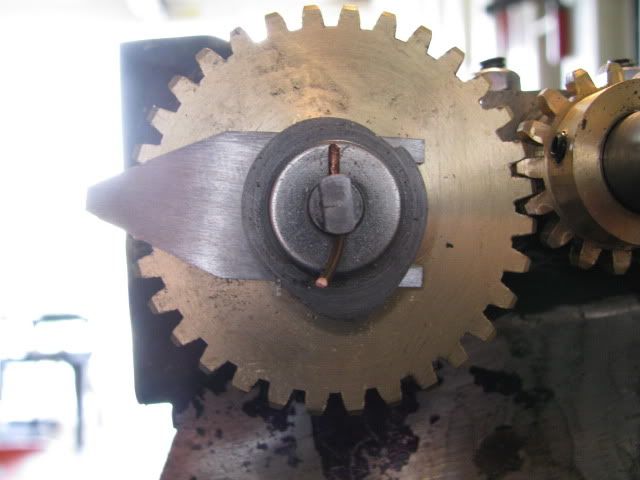
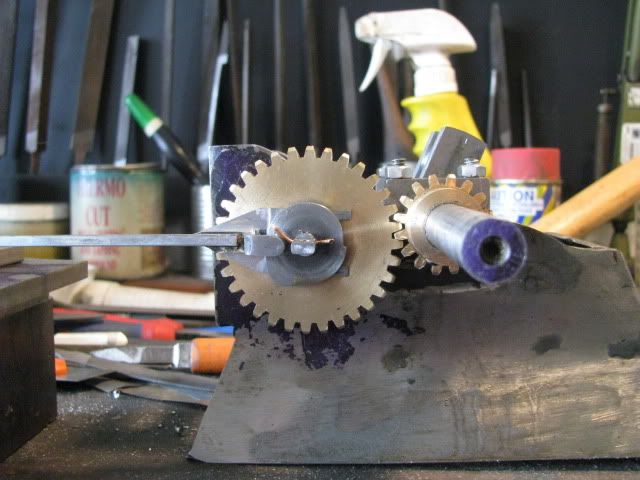
The gears mated and aligned.
I can now set about bedding in the gears which prudence dictates will be next week.
Thanks for your continued support and encouragement. :bow:
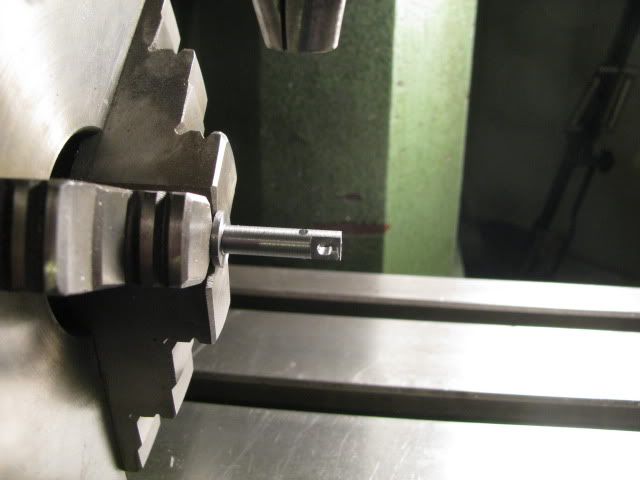
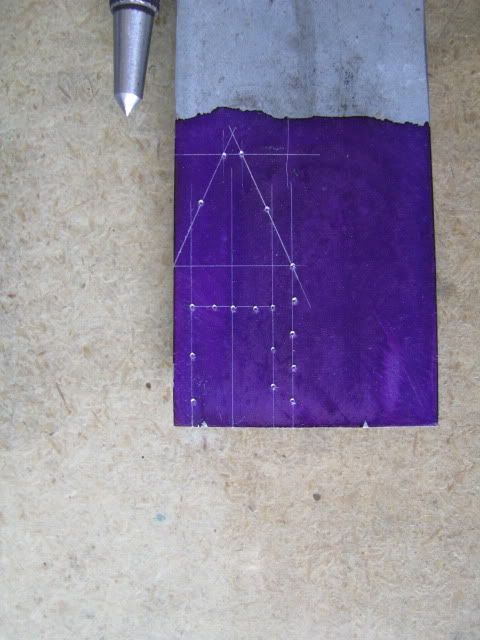
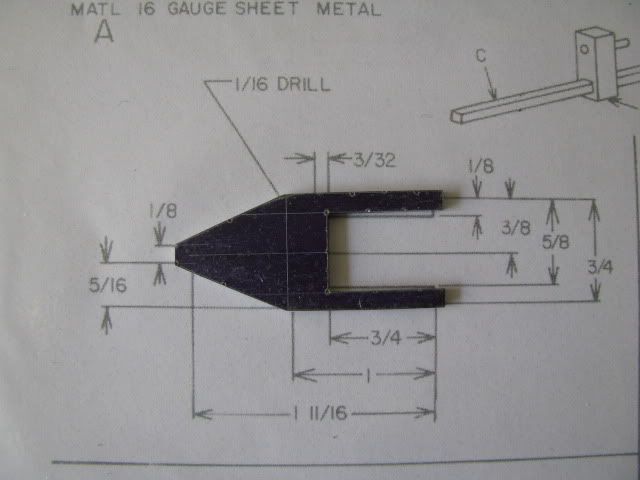
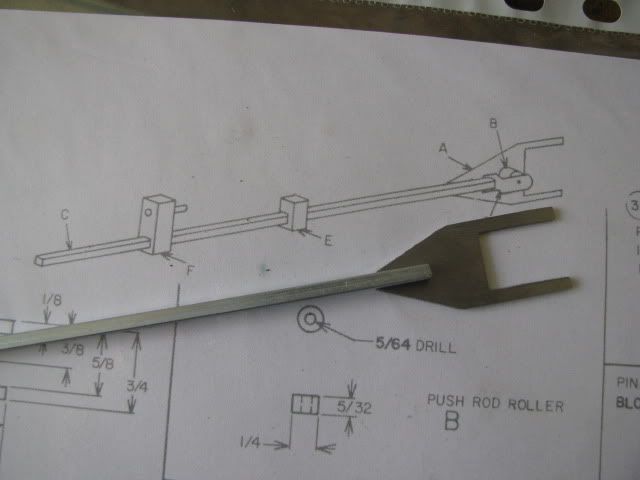
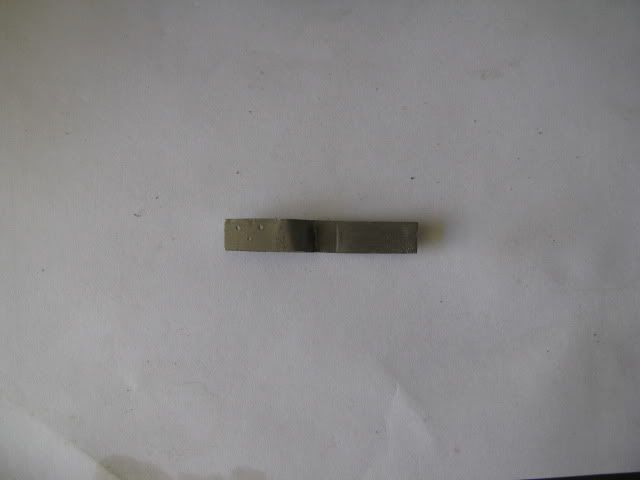
I think I said earlier that I'm now at the fiddly bits. Well................. here is today's fiddle, the push rod forked end.
The fork marked out.
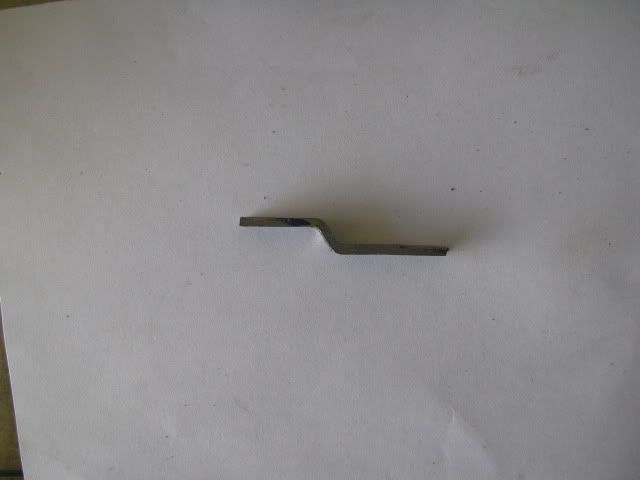
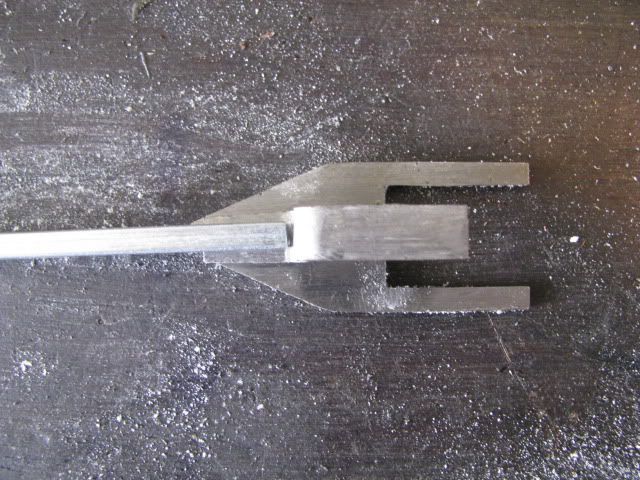
Almost forked so to speak.
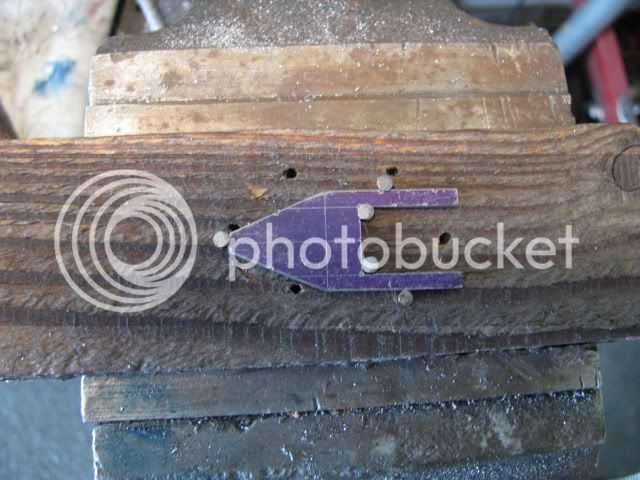
I'm sure most of you know this trick but for those who may have forgotten, this is one way of holding thin metal so it can be filed flat on its' faces. A lump of wood and some brads. The brads are hammered in and left slightly proud of the metal. The brads and metal are then filed down together to the required thickness.
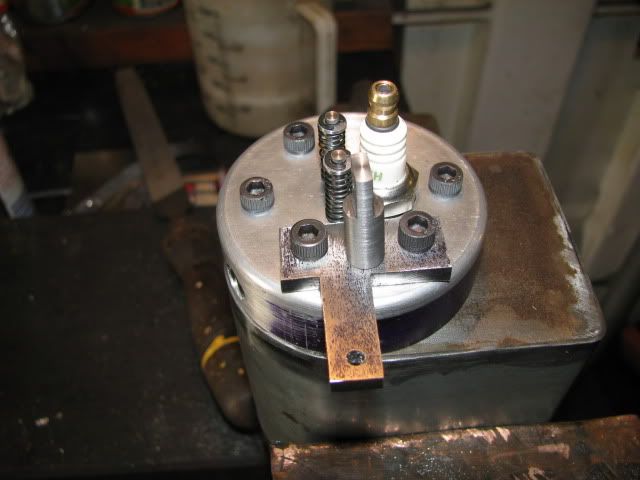
Mock up of the fork and push rod.
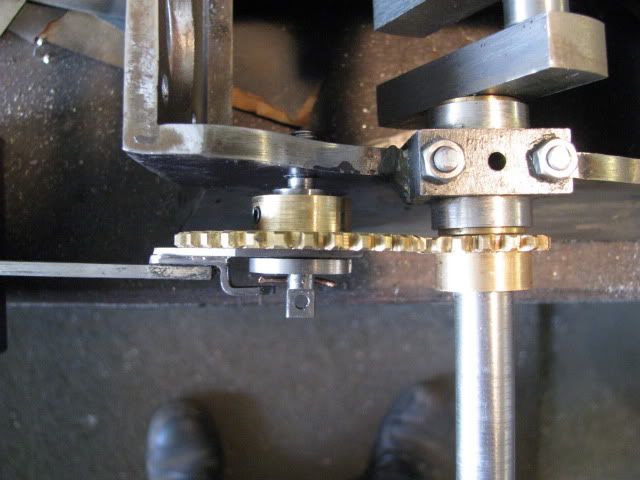
Trial fit of the fork behind the cam.
Another small bite from the elephant has been bitten. :
Thanks guys for supporting my weakly workday. :bow: :bow: :bow:
Dang me but this baby sure has many small parts and after hobbius Interuptus for half the morning, I only managed half of what I'd intended, (at least the time line was accurate ;D).
The cam roller housing.
Note the vice marks on the face - scientifically designed to take the silver solder :-X , (I remembered the soft jaw on the other vice jaw)
Ready for soldering - the undone half of today's plan. 8)
Well - this would have to rate pretty high on the frustration scale. After much messing around I finally got the three bits soldered together and in some form of reasonable alignment.
More to follow next time but with Xmas almost upon us and Galina's son arriving from Russia.........we'll see.


") Thanks for dropping by and your support. :bow:
Thanks for dropping by and your support. :bow: