Elmer's #43 with Reverse

Home Model Engine Machinist Forum

Help Support Home Model Engine Machinist Forum:

This site may earn a commission from merchant affiliate links, including eBay, Amazon, and others.
Finished up the reversing handle:
PC280004.jpg


made boss for handle:
PC290005.jpg


PC290006.jpg


soldered:
PC290007.jpg


done:
PC290020.jpg


It will be about a week before I'll have a chance to get some more done :(

Jim
 
Sure is coming along well, Jim. Good pictures, too.
It's gonna be purdy!

Dean
 
Interesting to see different techniques in making the reversing handle. JMI silver soldered the boss/pivot onto the bottom whereas zee machined it all in 1 piece. Different ways to skin a cat. :)

JMI - keep up with the pictures, I (and everyone else) love seeing making their engines !!

Mike
 
ChooChooMike said:
Interesting to see different techniques in making the reversing handle. JMI silver soldered the boss/pivot onto the bottom whereas zee machined it all in 1 piece.

Mike,

I looked at Zee's thread and his technique and considered for some time. He did a real nice job of it. Not sure why I did it the way it was done - maybe thought it would be easier. But it turn out well IMHO.

Jim
 
Credit where credit is due...that was not 'my' technique ;D It came from the (should never be mentioned) manual I was following.

If I remember right, it was even suggested in the thread to make it from two pieces.

I like Jim's approach better. Less waste of material it seems to me.

Thanks for showing the detail Jim. In particular how you cut the mating surfaces.
 
That's really nice work, Jim!

Chuck
 
zeeprogrammer said:
Credit where credit is due...that was not 'my' technique

There is nothing new under the sun... Ecclesiastes

It was "yours" in the sense that I saw it there first. If I was starting from a piece of 1/4 inch stock I would likely have mounted the whole piece on the RT and gone round-n-round till only the boss was left sitting on top. Milling the excess off in straight lines appears to be a cleaner way of getting there.

As for manual milling there is probably not much in the way of technique, if any, that has not already been done.

On the other hand it is almost all new to me :eek: ;)

Jim
 
Well it's been a while since the last post - but I've not been idle. Kinda lost track of the sequence of the build but there are pictures:

Making of the crank pin screws:
P1080041.jpg


P1080046.jpg


P1080049.jpg


The valve rod:
P1100052.jpg


and valve:
P1210072.jpg


Eccentric rod:
P1090050.jpg


P1090051.jpg


Flywheel:
P1240082.jpg


P1240087.jpg


Done:
P1250009.jpg


P1250001-1.jpg


P1250002-1.jpg


There reversing gear make a slightly spindly and boxy engine into a thing of beauty.
Will post a video in the other section.

Jim
 
Very nicely done, Jim. Please accept a virtual salute from me.

This is an especially useful engine for "teaching" at shows and demonstrations. Most folks don't understand how a D-valve engine works. With a clear plastic cover on the steam chest, they can be shown the motion of the valve and how its position is related to the position of the piston/connecting rod. Also, the exposed reversing gear makes it easier to explain how a steam engine can be reversed, something apparently confusing to the uninitiated.

Another variant of making the reversing handle is to make it from 1/16" plate and drill an oversized hole where the sleeve attaches. Make the sleeve with a 1/16" long tenon that has a diameter to match the oversized hole. Drop in place and solder. This approach makes the sleeve self-locating while being soldered - no clamping required - a bit easier for novice builders.

Elmer calls out slotted crank pin shoulder screws but, for the benefit of future builders, hex-head screws are easier to make and are actually more authentic. Investing in a supply of small size 12L14 hex stock will never be a waste of money.

 
Jim,

Very Nice work. :bow:

Best Regards
Bob
 
Beautiful Jim. Nicely done.

I see you cut the threads on the crank pins (I used a die).
I'm with Marv on the cover...it was his engine and suggestion that caused me to make a clear cover. It's been a hit at work.

Looking forward to the video.
 
Thanks guys for the comments and suggestions. I like the reversing handle design that you suggested, Marv. Might be "easier for the novice" but the design is born of experience.

Had intended to replace the cylinder head/valve cover slotted screws with hex head bolts all along:
P1270005.jpg


but as for the crank pin screws I plead guilty to being an@l about making parts as close to the drawing/dimensions as possible. I consider it good practice in case I really need to make something per drawing. If time, inclination and material coincide I might remake those pins with hex stock. This provides a good "reason" for purchasing some hex/square 5c collets.
If maximum authenticity was the goal however I'd use studs with nuts in the majority of cases.

Jim
 
Jim,

I hope you didn't take my comments as criticism. They weren't aimed at you but rather at novices who might consider building this engine.

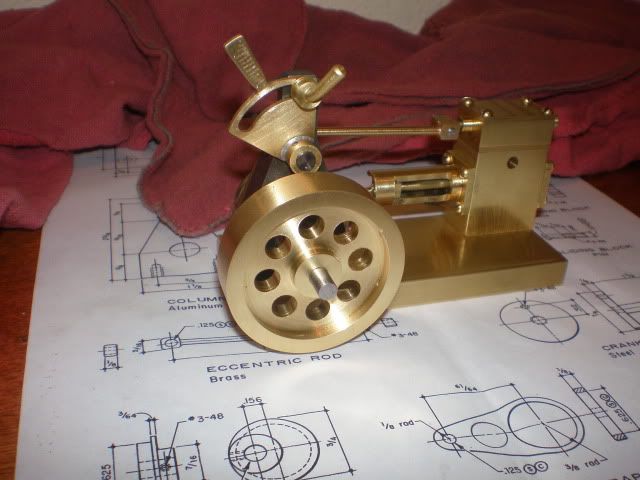
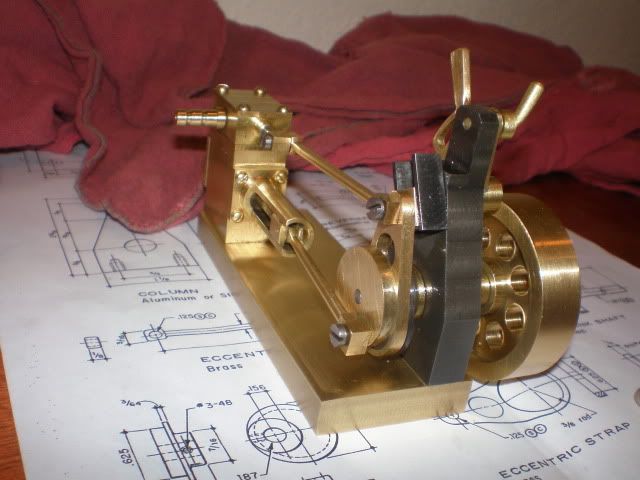
I empathize with you about following the print religiously. I've been bitten several times when I made spur of the moment departures. OTOH, learning to think through the implications of a design modification is good training for ones mechanical design skills. Don't do it unless you're personally comfortable with it.

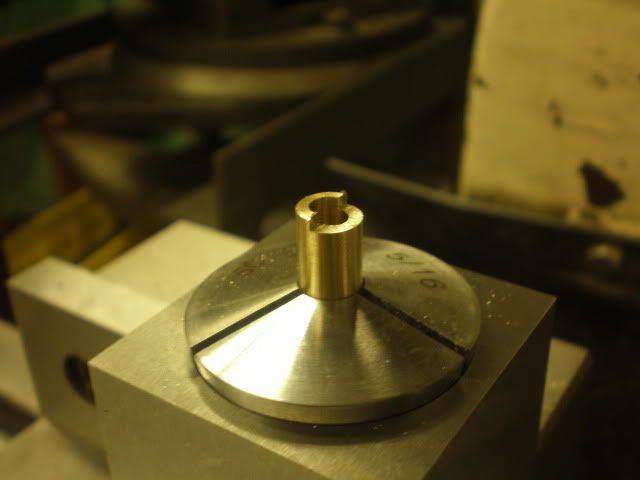
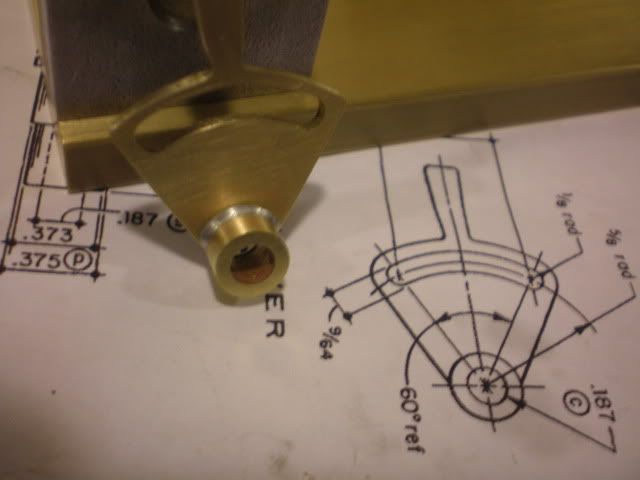
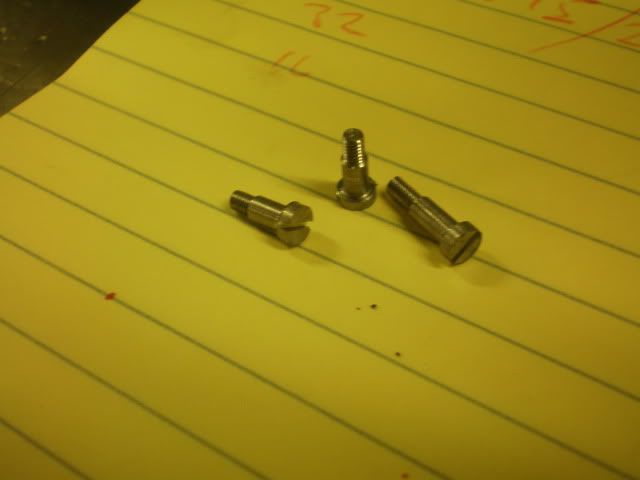
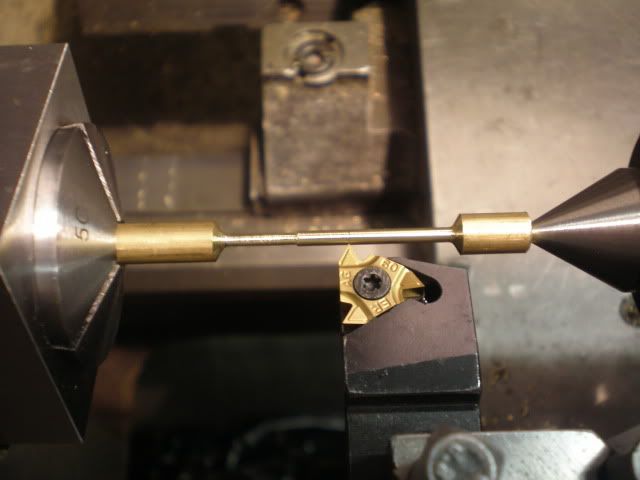
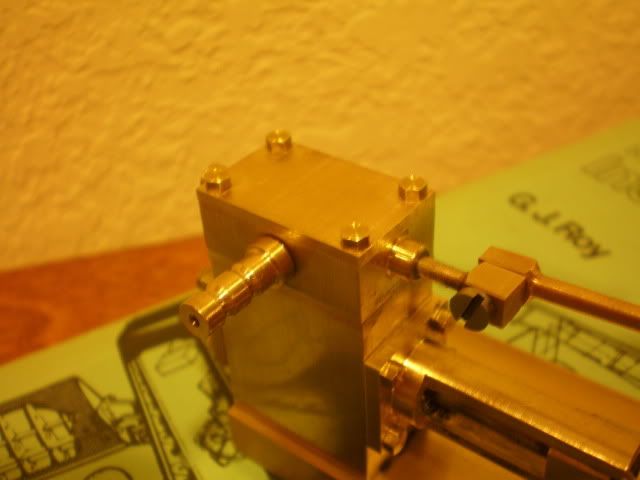
I don't have any hex sockets yet although eventually... I use the 3jaw for the larger sizes. For the tiniest on which my 3jaw will not close, I use my Unimat 3jaw held, via a threaded tenon, in the big 3jaw. One can also use a split sleeve in a conventional collet.

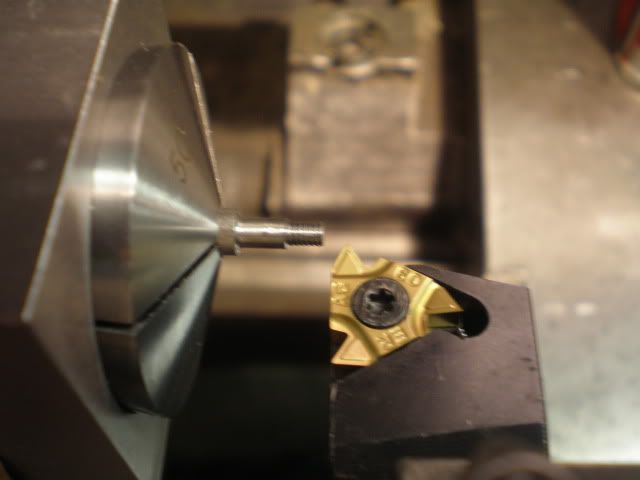
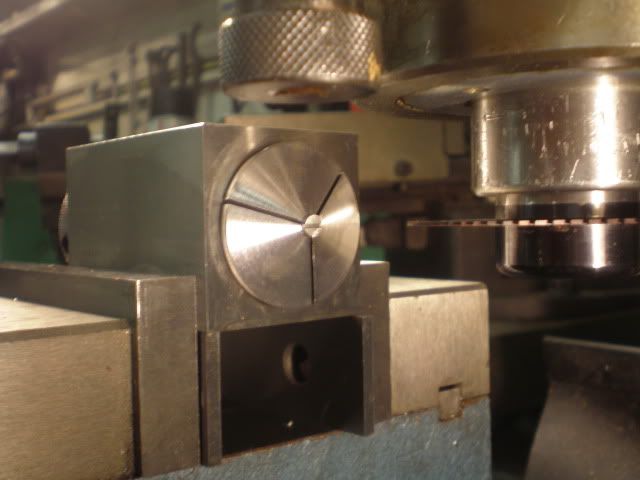
Square collets, OTOH, are immensely useful. Elmer used many parts that consisted of cylindrical sections with square appendages. Collets allow one to make such parts faster and more accurately. Highly recommended.

 
mklotz said:
I hope you didn't take my comments as criticism. They weren't aimed at you but rather at novices who might consider building this engine.

I didn't take it as criticism at all. In fact what I was trying to say in a rather clumsy way was your design is superior (born from your experience) and had it occurred to me I'd have done it like that.

Jim
 
Back
Top