Casting Engine Components For a Twin

Home Model Engine Machinist Forum

Help Support Home Model Engine Machinist Forum:

This site may earn a commission from merchant affiliate links, including eBay, Amazon, and others.

Artie

Well-Known Member
Joined
Sep 9, 2009
Messages
597
Reaction score
7
As requested, this thread will take me from the design stage through to finished castings for a live steam twin cyclinder engine.

It will be after chrissy before I post up progress (gotta get through chrissy alive first!). I hope I can meet expectations.... The engine is Mr Westburys twin as recently modelled on here but mounted fully horizontal and mounted to a boiler and destined to be fitted to a model of a steamer called the Pevensey which still operates here in Australia of of Port Echuca.

I have to dash out right now but I will post pics of the ole boat and the plan set.

Cheers

Artie
 
I bit of tidying up before I begin. Casting brass takes a little more heat than casting aluminium (correct spelling ;D) and as this old beast was a coke fired foundry I thought it better have a new lease on life as a propane fired model for this project.

Several reasons, better heat control (and more available) cleaner, quieter, more convenient and much more socially acceptable.... and I was out of coke and my local retailer isnt going to stock it anymore...bummer... a 22 years tradition stops...just like that.... :-

So I made up a burner for the propane (a design by a guy called Reil, look up reil burner if you want to go into it further) and fiddled a bit with it.... wow.... strangely it wasnt so impressive during testing on the bench but when installed in the foundry my god didnt it roar....

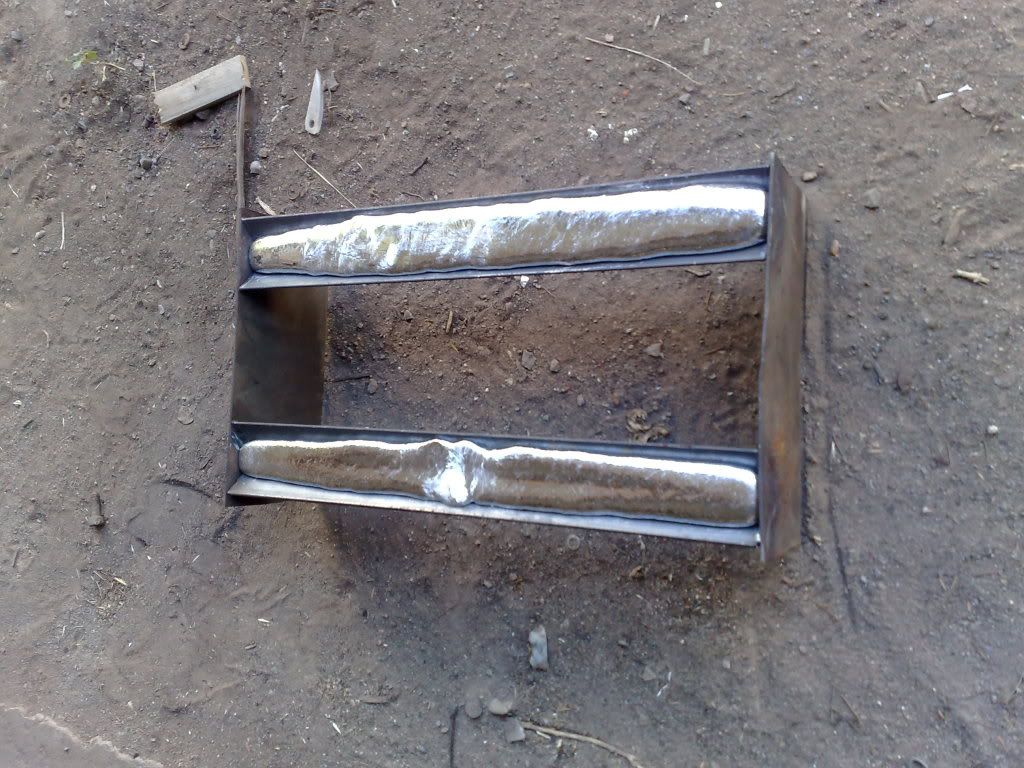
To test it I cast up a couple of ingots... more stock... only have about 50kgs of 6061 already..... ::)

It is hotter than the coke, BUT it takes a little longer to get up to heat... I have a couple of thoughts on that and its more focussed on the foundry design than the burner... more on that later...

With the coke you had to open up and top it off with fuel as it burnt down, so you would light it up, stack it... burn it down and pack it again then add the crucible.... this had to happen at least once per pour...no more... much more convenient and here is the time thing... this intial burn time heated up the foundry...with the gas it can be loaded from cold so it 'seems' to take longer.

Anyway it works ...but... the poor old thing was borrowed by a mate recently and it came back cracked.. not his fault, simply because of the moving about and its old and fairly brittle material. Well with the extra heat available it also melted a little... its time for a new one but not until its done this project....
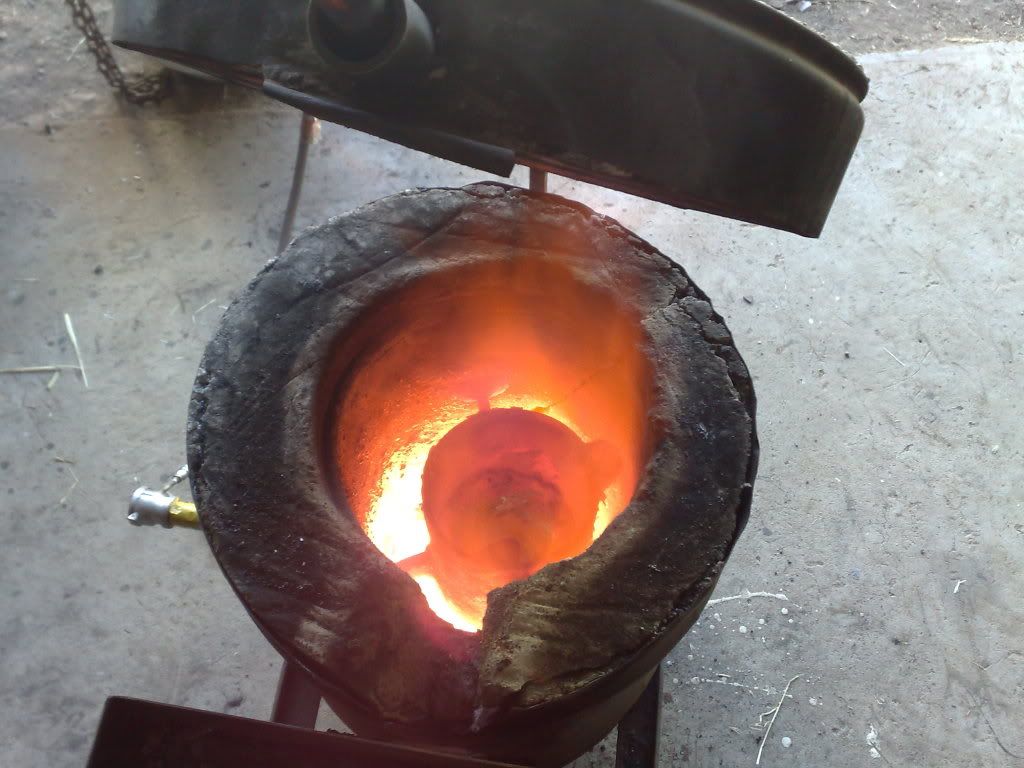
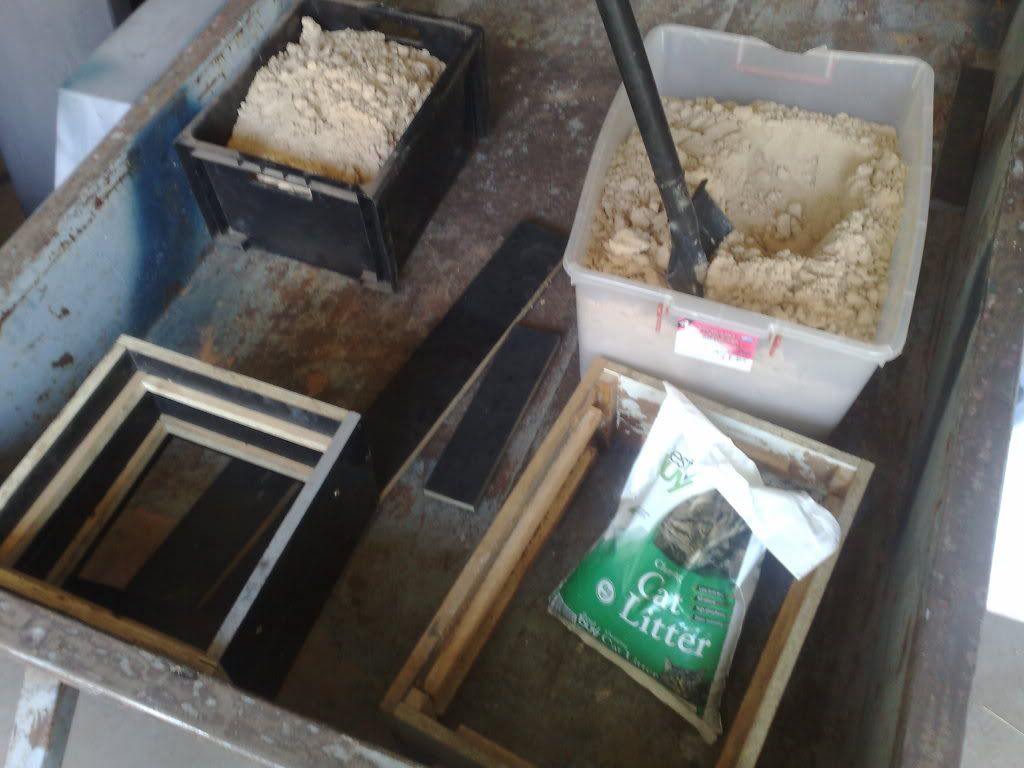
todays pics..

19122009543.jpg

under way......

19122009544.jpg

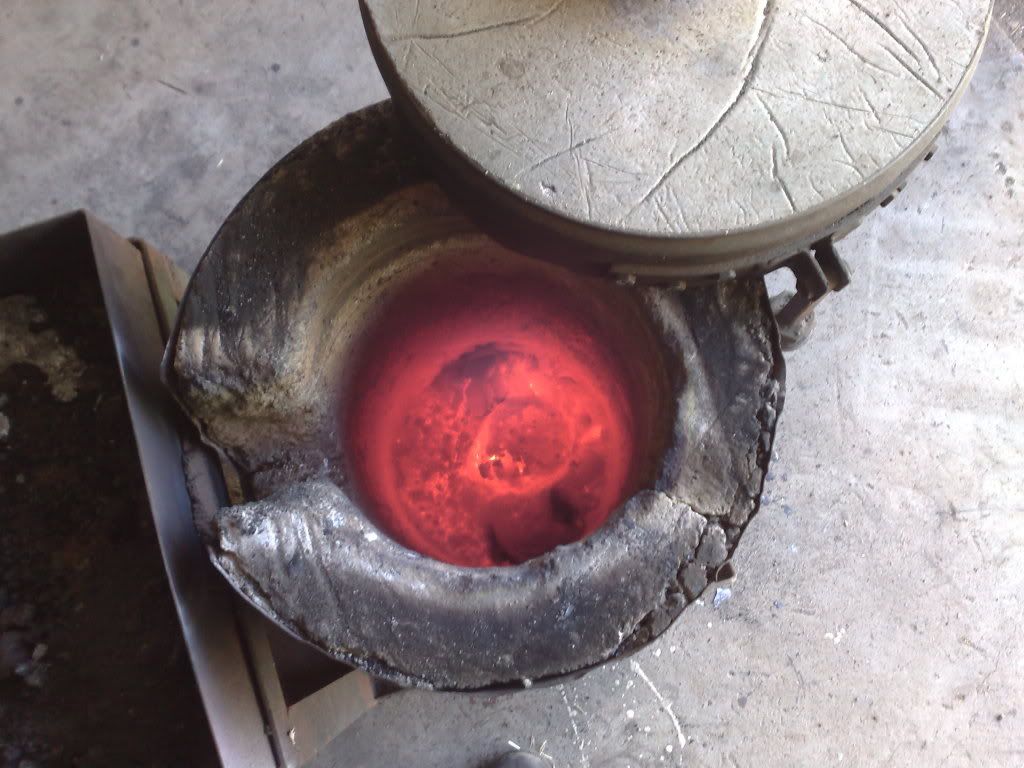
Cool down and melted walls at base are evident.... lump in centre is the pedestal that the crucible sits on, as this was a test I got it much hotter than required for this pour...add waste, watch it until its melts than add the material that you want to melt... it collapsed in seconds...it was very hot....

19122009546.jpg

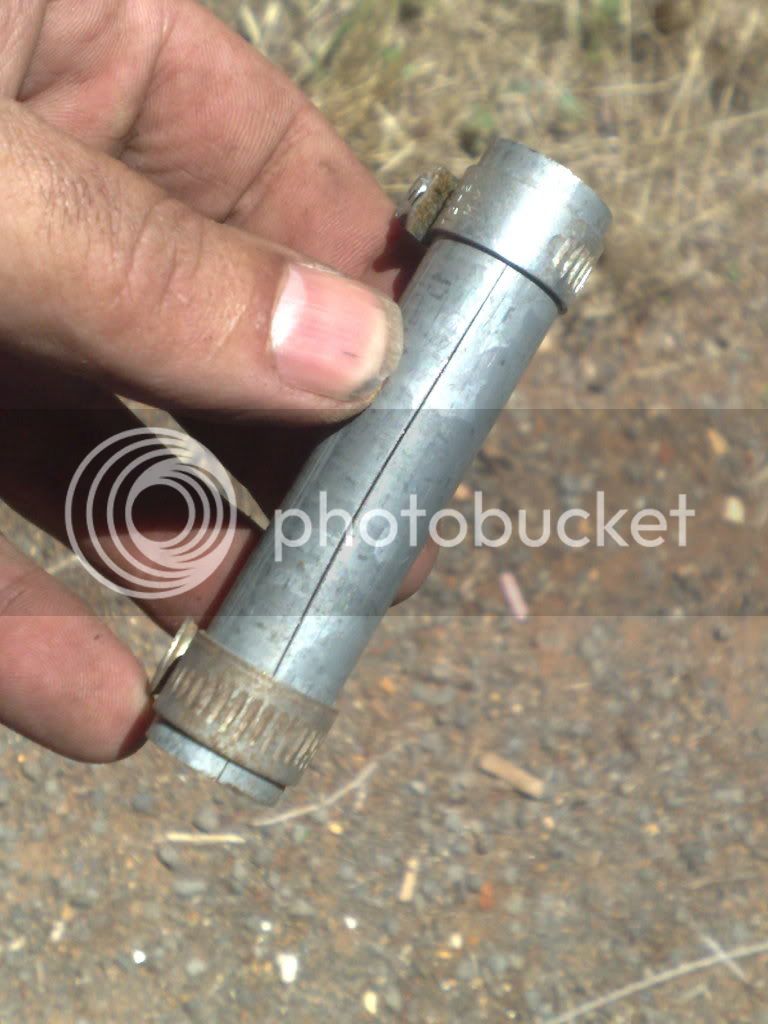
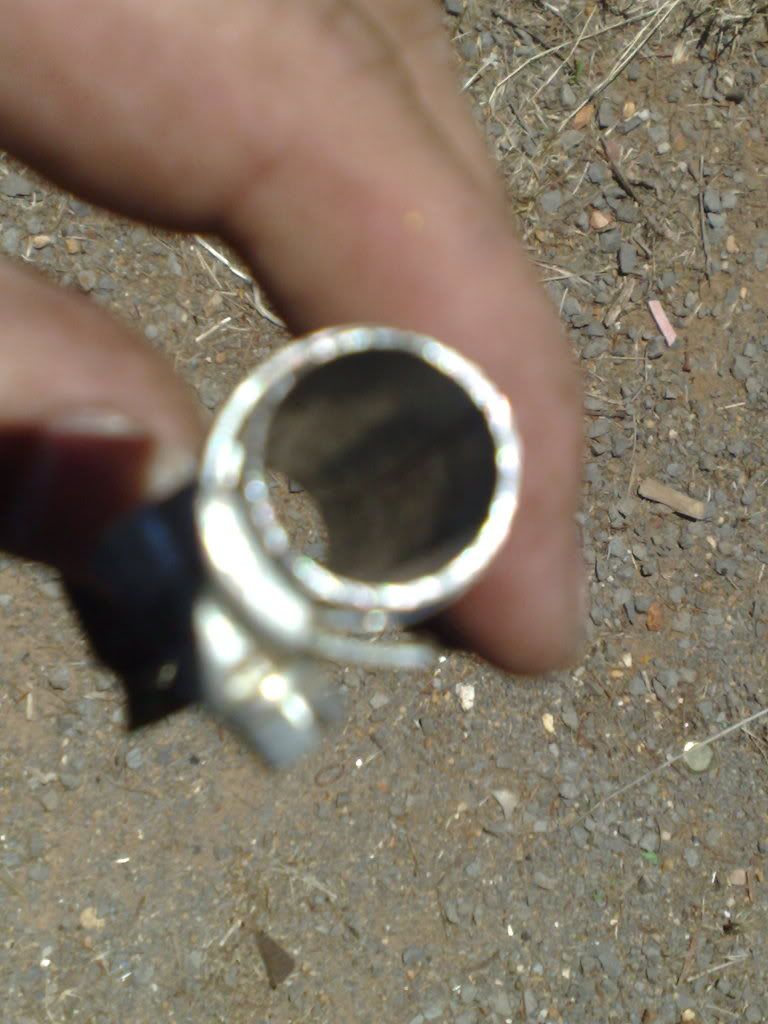
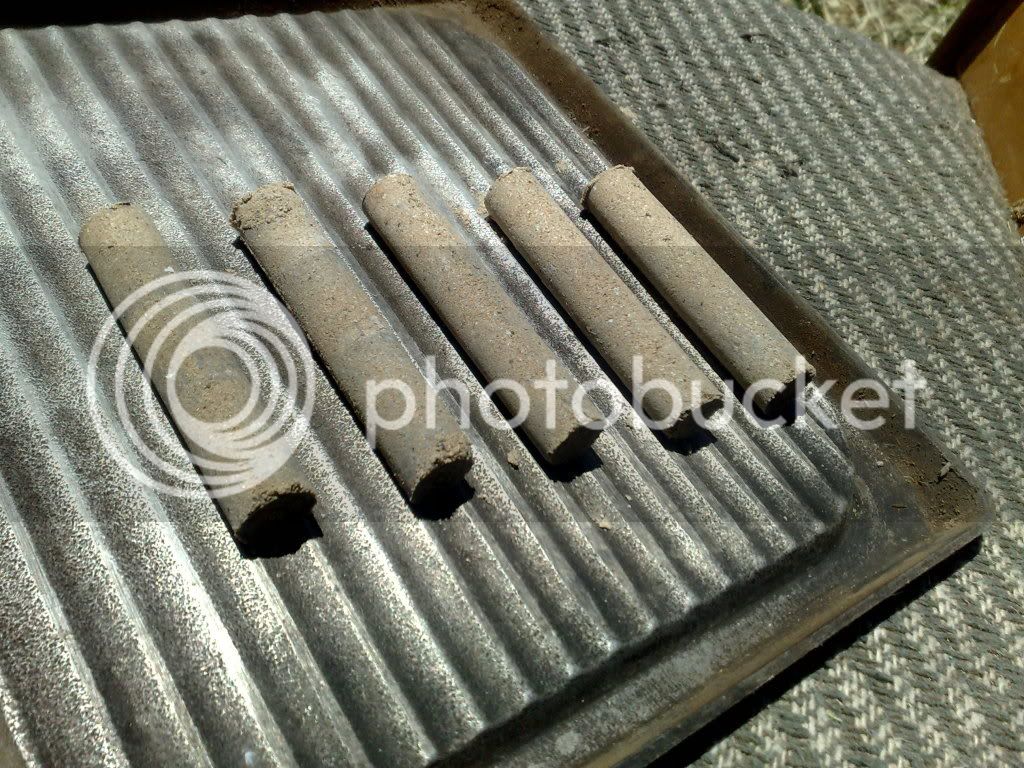
results, ex fire extinguishers.....

So why does the propane take longer?

Note, I didnt time the coke burn time so there is no point timing the propane burn time... but around 12 to 15 minutes from cold to melt

Firstly its simply that you are less busy (adding fuel etc) so it seems to take longer.... it does but it seems worse than it probably is...

The burner is directed at the centre of the pedestal base, it would be much better angled around it to promote a swirling flame front. This feature made the AIR (thats all that was fed into it..) seperate and ensured that alll the coke got its share, times have now changed...

The body cavity of the foundry had to have sufficient size to cater for the fuel AND the crucible... this fuel space is now wasted but must still be heated... the new one will be about 300mm shorter and therefore much more efficient...

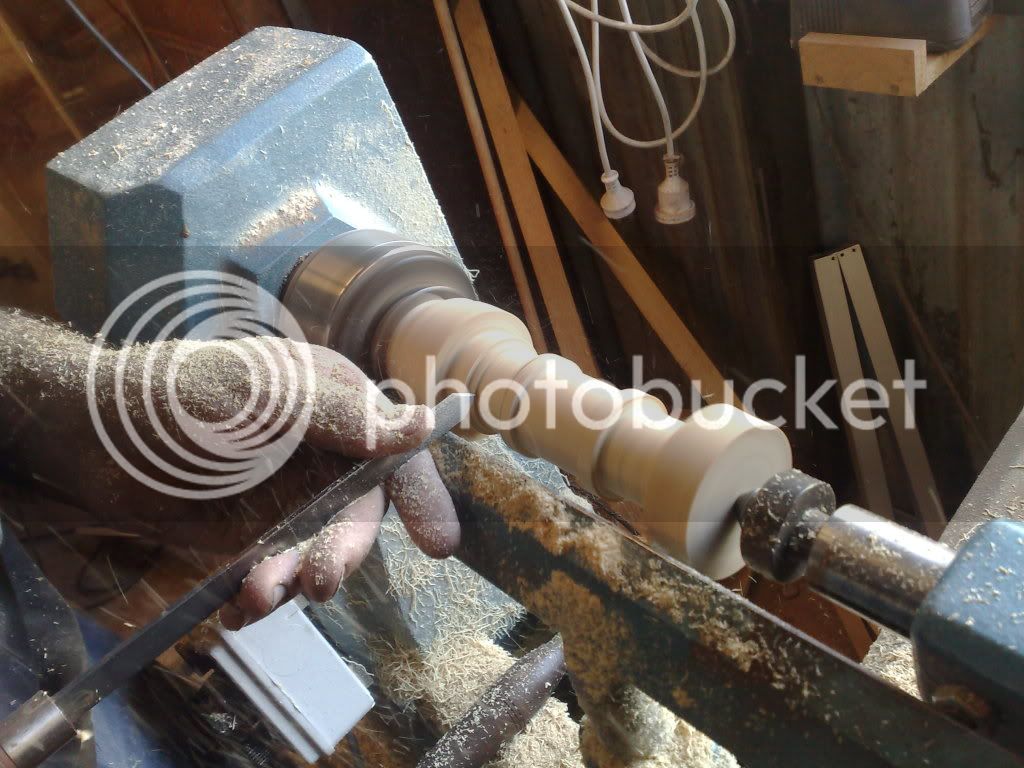
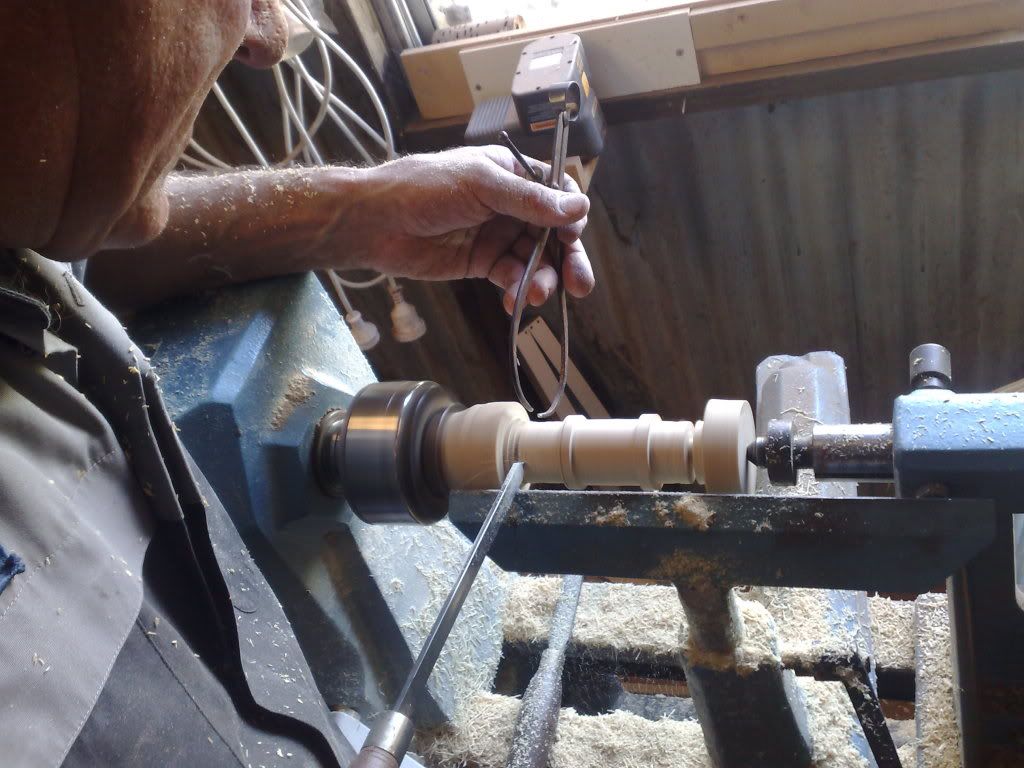
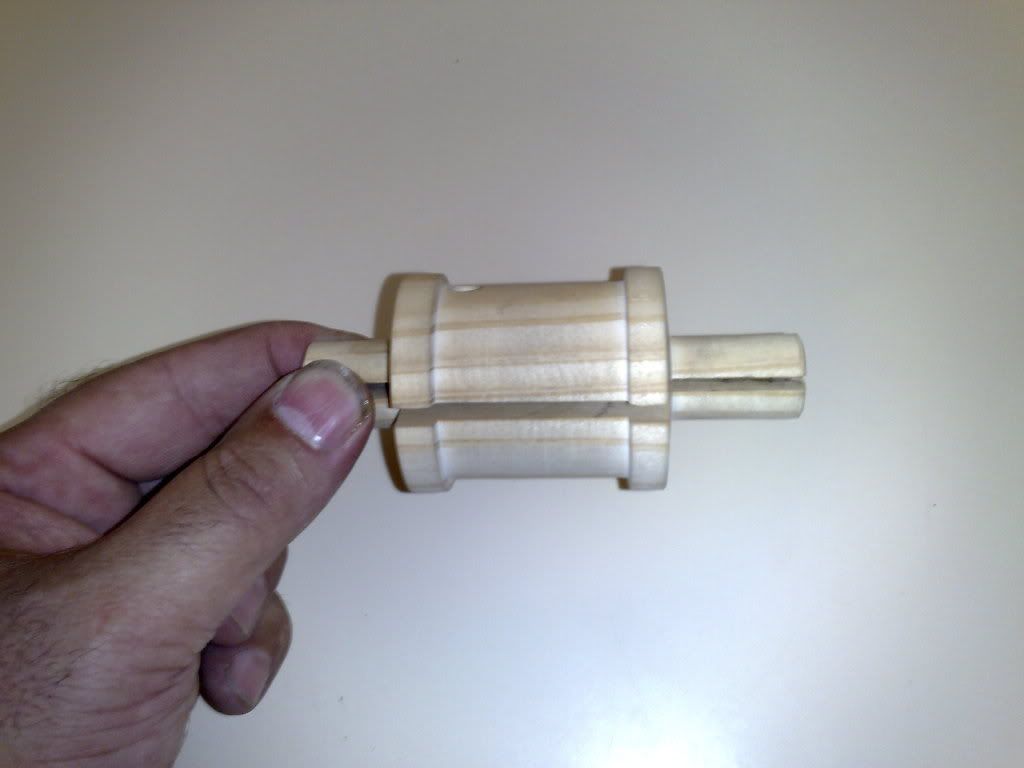
Ok...its now ready..whats next..??

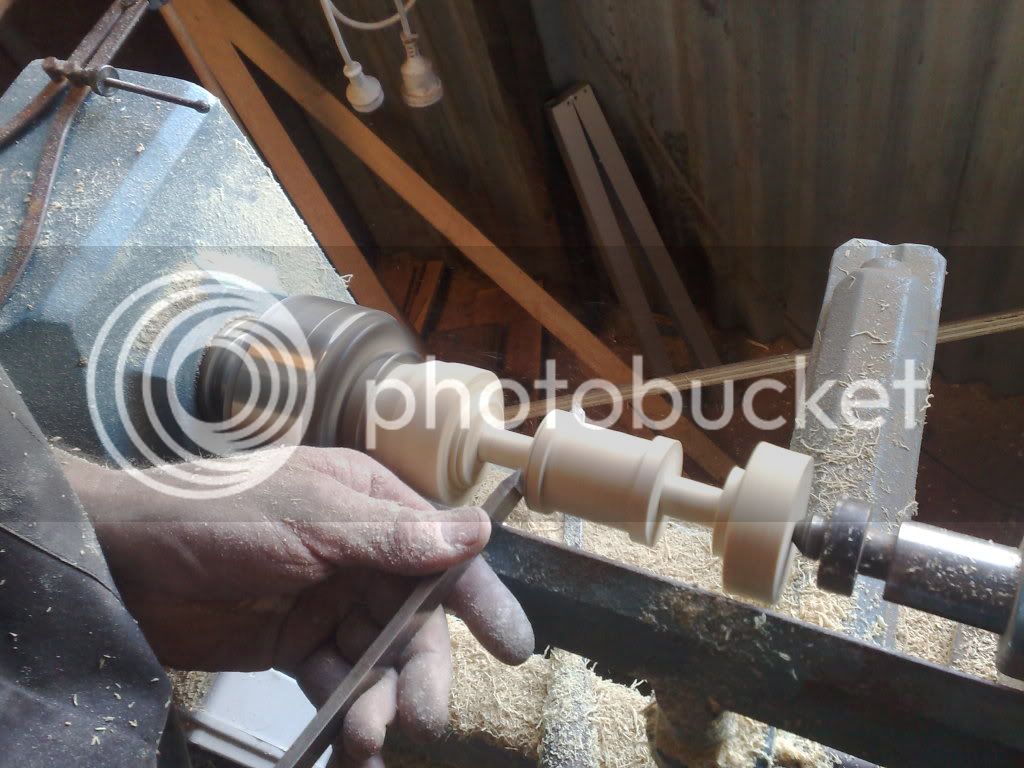
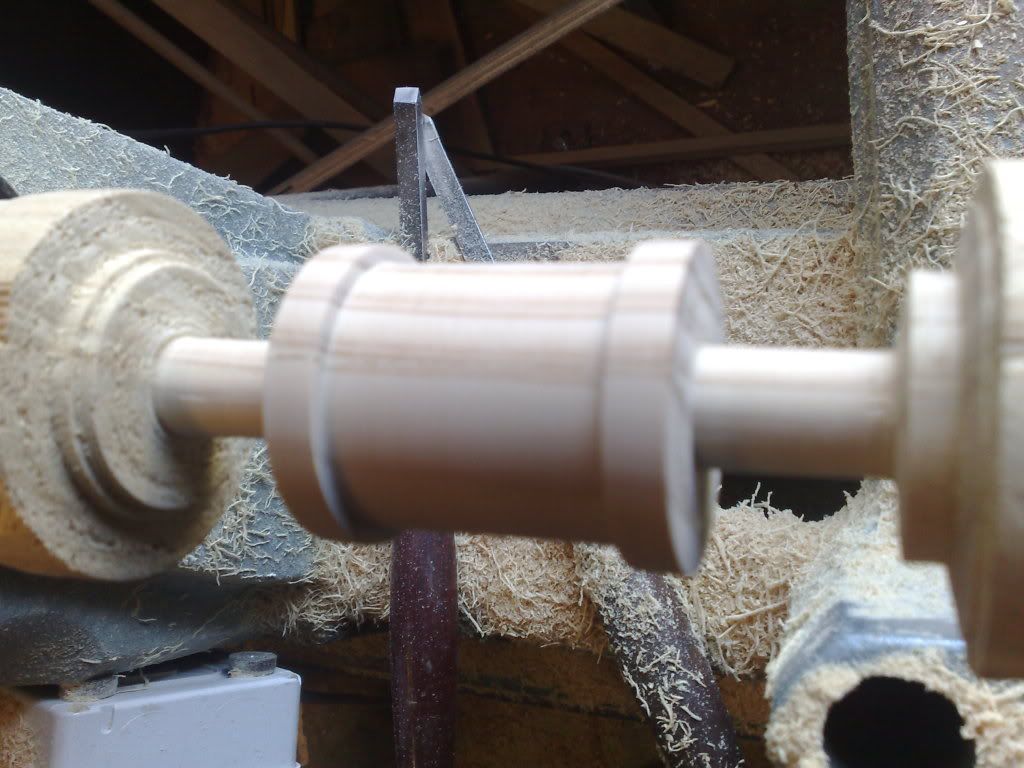
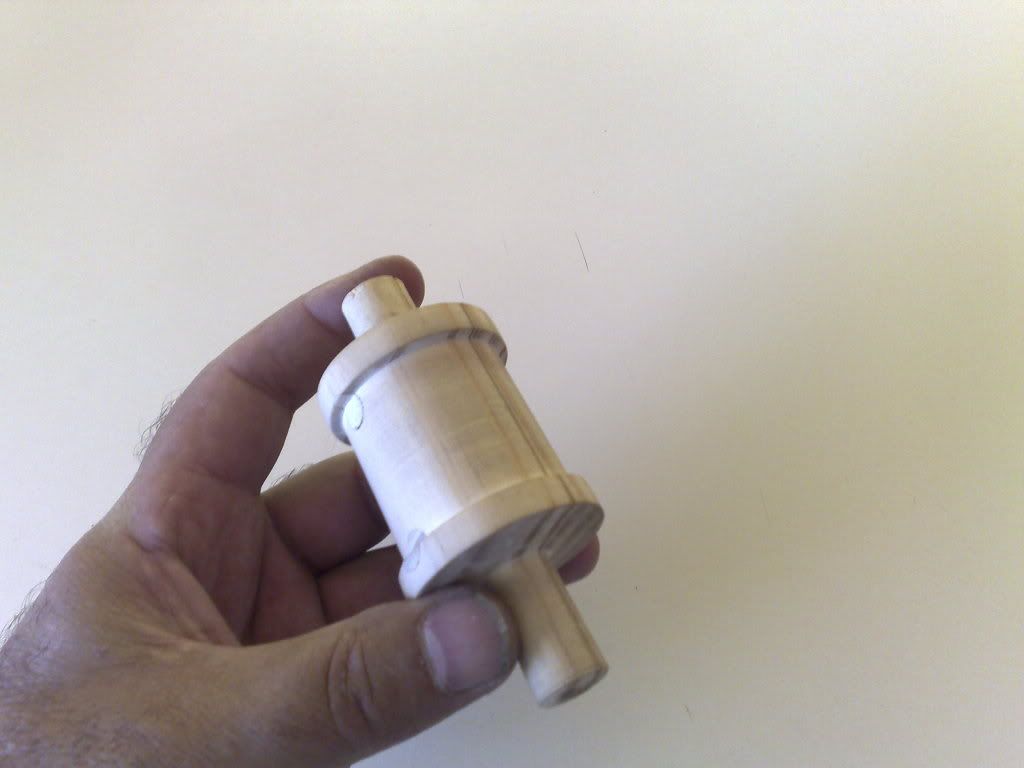
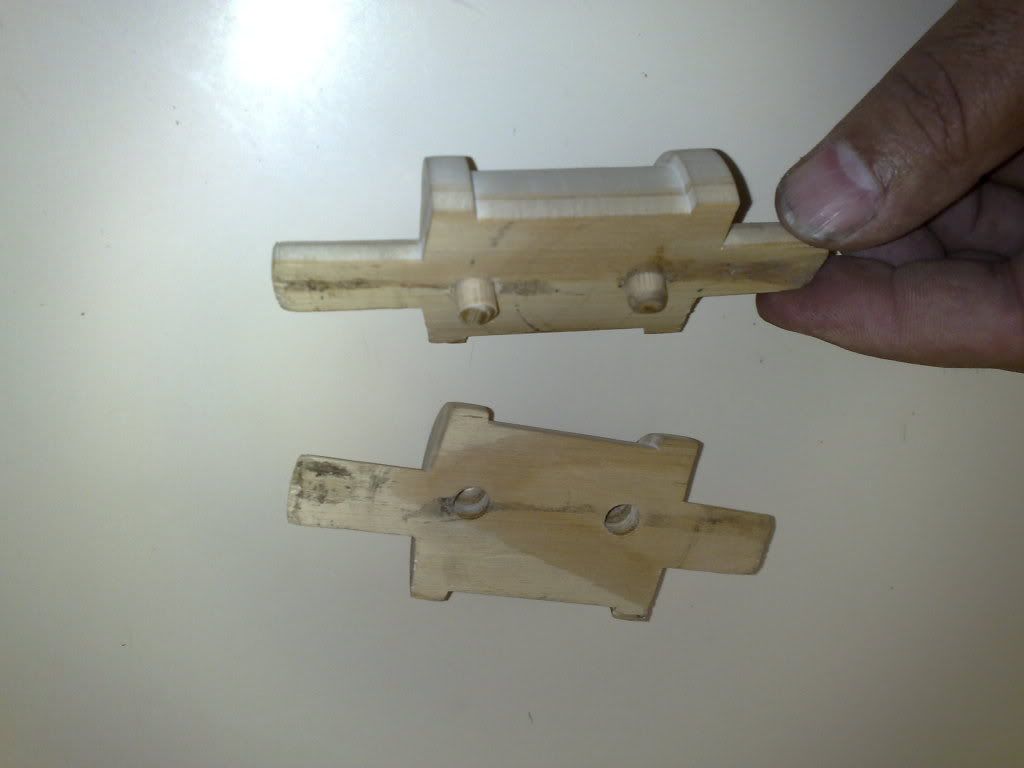
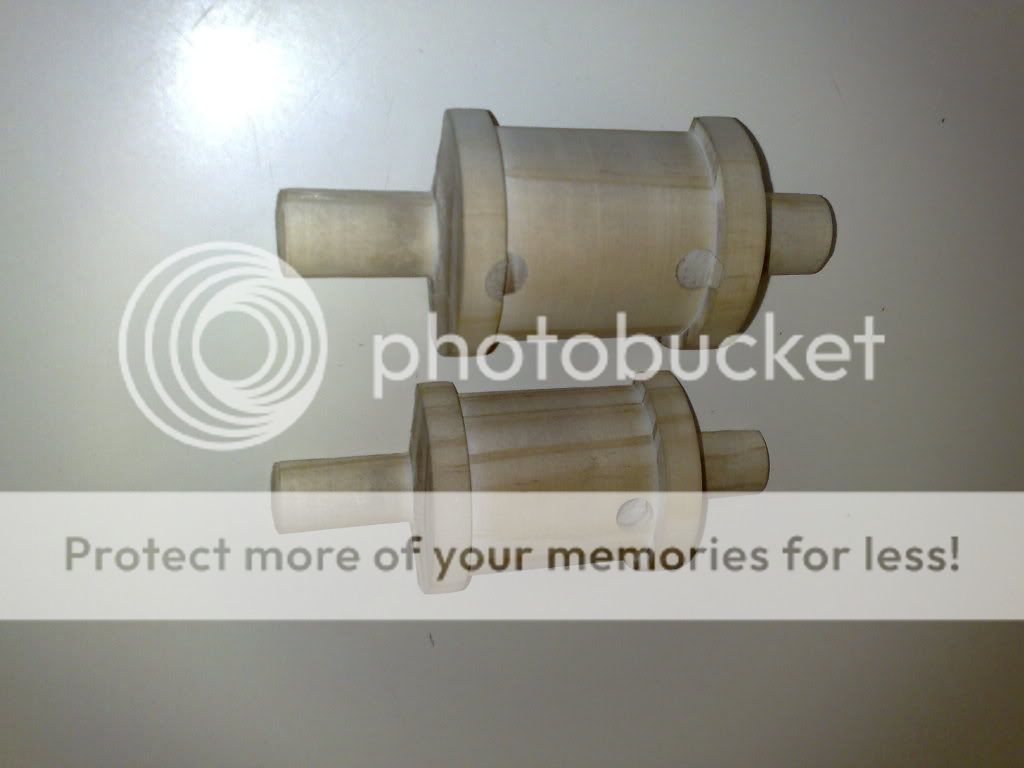
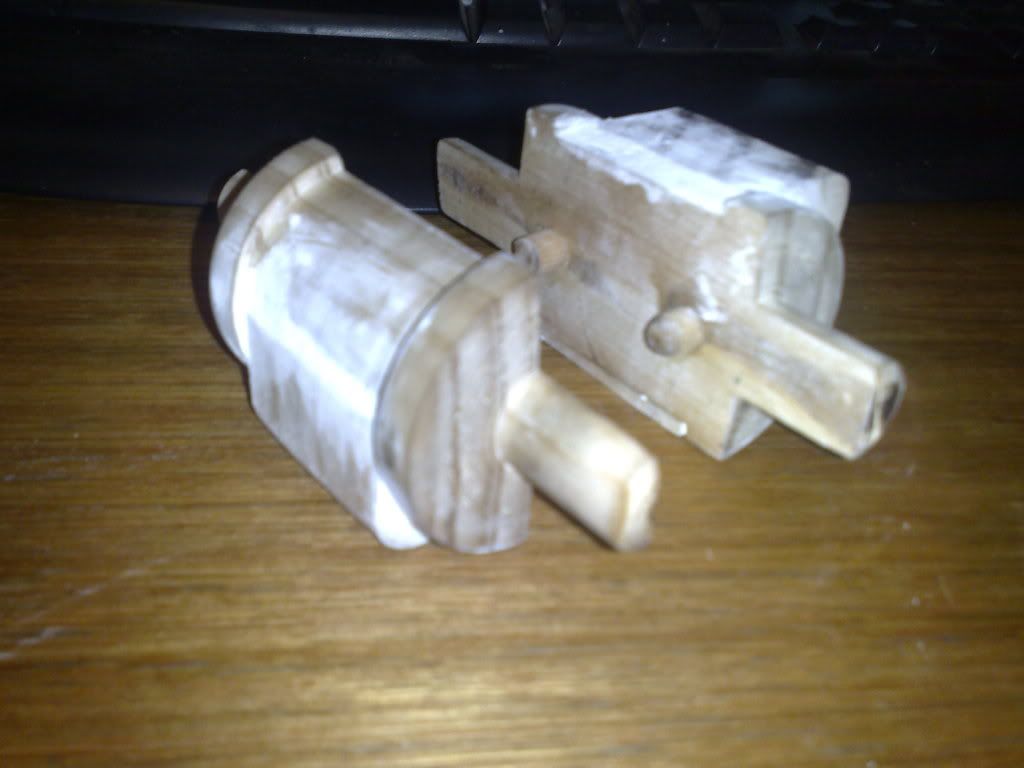
Making the plugs for the cylinder and the base plate, that starts tomorrow..... Ill add as I have stuff done...

Artie...
 
Just a little info on the model this engine is intended for. When I originally bought the planset I was intent on electric brushless power...BUT.... having discovered HMEM.. I now feel it would be sacrilege to do anything BUT steam power... however to fit the required engine and boiler etc, it has to be scaled up by 50% on the plans as they are here. Currently the plans are 5' and she will be scaled up to 7' 6". Mr Westbury thinks his engine design would suit a 6' model so Im in the ballpark.

The plans..are simply huge... hard to snap a pic of as its dark here and you really dont need all the details anyway just an idea of what im working with. Thats a large tablespoon sitting on them.. (2 Sheets)
19122009549.jpg


19122009550.jpg


19122009551.jpg


Then the girl herself... she operates out of Port Echuca (inland river port) and is a resturant ( a good one too!) and Ive ridden her a few times..hence the decision to build her...
Pevensey1.jpg
 
Scale plans for the Pevensey? Where did you manage to jag them?

Like you, I've been aboard here a time or two and it's a model I'd dearly love to build.
 
tel said:
Scale plans for the Pevensey? Where did you manage to jag them?

Like you, I've been aboard here a time or two and it's a model I'd dearly love to build.

email n file sent... not Camberwell, Vic. Ringwood, Vic... Im a goose...
 
Got 'er matey, thanks again.
 
Neat. A boat! I'm going to be very interested. Two of my top goals is to make a garden railway locomotive and a steam powered boat.
 
Looking good there. My propane furnace takes 15-20 min to melt a pot of aluminum, So I think you're in the ballpark. Now brass and Bronze take about twice as long. And yes they do roar when you get them turned up. My neighbor lady always comes over to watch when she hears my furnace:eek:)
 
Ive had a big weekend... but I suppose when the temp is around the 28 deg C mark you can do things... Rof}

Anyway I started in the cylinder plug. This will result in a cylinder (x 2) that has a 40mm stroke x 20mm bore with an outside dims of 40mm diameter and 55mm length. This might sound large but two of these have to power a 2300mm hull (7 and a half feet).

Anyway, Ive seen the banner..pics it is!

20122009553.jpg


2 pieces of scrap timber are sanded flat and laminated (screwed) together. This is drilled and dowels fitted (for alignment when making teh sand mold). I HATE the wood lathe..so we did a labour swap, John (in the pics) did the turning while I mounted his pool cover roller. My bit didnt take long so Im back on the camera just as he started milling.

20122009554.jpg

taking shape

20122009557.jpg


20122009558.jpg


20122009559.jpg


20122009560.jpg


20122009561.jpg


20122009562.jpg

The steam chest mount, which will double as the cylinder mount is yet to be fabricated and glued to one side of the mold and will cover up that dowel hole you can see. The other dowels will have no impact on the outcome.

A sand core will fit in the mold where those 15mm end rods are and will mean when the casting comes out of the sand it will have a 15mm hole right through it in centre. Makes for a lot less work later.

Ill doubt any more will get done until after chrissy, so you all take care.

Artie
 
A little more. The steam chest mounts fitted and the cylinder mounts fitted and filled. Yet to be sanded or sealed...

23122009563.jpg


23122009564.jpg


23122009565.jpg
 

Thanks Artie, for the pics and descriptions.
I've read about how this is done but it's better seeing it as a Work-in-Progress.

earl...
 
Gady Earl, I agree mate, thats probably why I enjoy this forum so much. Ive learnt incredibly from all you guys.

Giving something back is certainly my privilege, I hope some of you find something of interest from my ramblins. Having said that, if anyone can help me improve my stuff, please jump in. The day I stop learning is the day they lower the casket... :-

Incidentally, I made the comment when I intro'd myself that I was reasonably experienced with the mill n the lathe.. Id like to retract those two statements and start again... having seen 'real' tradesmen at work here on HMEM tells me Im an absolute beginner, and I will accordingly behave like one... looking forward to help from you all... 'umbly of course....

This item is for a final drive bearing mount for an offroad race car Ive made up and shows the flow coat Ill add to the cylinder plug tomorrow, but probably wont post until sometime in Jan. Its sitting next to a 4 BA die nut for reference... the flow coat is a West 2 part epoxy. It fills any imperfections and allows easy(er) release from the green sand.

Cheers guys, Artie

23122009566.jpg
 
Plug, sanded sealed and ready for final sand (when its hard enough) and flow coat. I really enjoy this stuff!.. I know this looks like a lot of stuffing around but once done its repeatable over and over. In fact once this is 'proven' Id happily supply this casting to anyone who wanted one for the cost of brass and postage. As I intend to do other engines once this is finished other castings will be available, same deal.
I iontend to cast this in aluminium first and play with milling the casting before I cast in brass, work it all out on sacrificial items first.

Artie

23122009567.jpg
 
I like the idea of putting epoxy on the outside. That would really smooth things out! I'll have to give that a try;o)

Thanks,
 
Artie,

Really happy you're running with this thread. Lots to learn. I could never quite understand how a sand core got into the mold. The light bulb finally went on with the photo of your pattern with tabs and your comments.

As to the West System Epoxy...do you just brush a single coat on and let it dry?

Dennis
 
G'day Dennis, yes I do and if more is required Ill sand and add another coat. Takes about 24 hours before you can sand this stuff but it flows really well and levels nicely. Glad you are enjoying.

Artie
 
Dolt! Yeah me... Well its about 37 Deg C here (100F) and im casting brass! Damn that was hot! and ive still got my heavies on... Off now (that was a typing pause btw), now sitting here in my boxers and T (not a good mental image??).

Back from a short break and a couple of things done.

Firstly the flow coat has been added and is now set on the plug.

30122009570.jpg


The mold for the core is done and is simply a piece of steel tube split and clamped. The high percentage clay/sand mix is rammed into this and its then oven baked to set and dry it (thats why I use steel, others use pvc, air dry and then bake after removing from mold, fiddley!). Demo later.

30122009573.jpg


30122009574.jpg


Scrap brass has been cast into 2 small ingots. Enough for this operation, brass has a lot of dross and is a bloody hot melt, this didnt get hot enough but ok for an ingot pour, gas pressure was dropping as im nearing the end of the bottle so I rushed a little. Top ingot is 6061 Aluminium, absolutely nothing to do with this at all... artistic license... or some stuff like that..

30122009572.jpg


I got 4 melts (3 ali - 1 brass) from a 'not so full' bottle of gas so Im happy with this. Cost about $25 aus for a full bottle of gas and comparatively coke would have been a bit more. Overall im very happy with the conversion as its proven itself to be efficient, cost effective to run and less than $15 aus to do.
 
Time for a freshen up. New casting sand and bentonite clay, rework the cope and drags because they are quite large, just putting a new plate across to reduce the area of sand required for these small items, so there are two sets in the trailer and the timbers sized up to allow the mods.

06012010579.jpg


Made the cores for the bores in the cylinders, 2 for aluminium, 2 for brass and a spare. About to go into the oven. Tried a new method today, instead of tamping them into the core mold with a rod by hand, I used a rod and hammer to really get them compressed. This resulted in a much harder core when wet and allowed me to make several and remove them from the mold wet so I can mass produce then rather than 1 at a time. These are about to go into the oven (actually in now, 200 Deg C for an hour or so), drys and hardens them.

06012010580.jpg


Working on the cope n drag boxes this afternoon, more pics later.

Cheers

Artie
 
Do you use cat litter as your source of bentonite clay?
Aparently you can get it from live stock feed places, or be like me and talk to people who do directional drilling and get them to give you half a bag as bentonite is used to make the slurry to assist with the drilling.

What sand do you use?
I've been following this thread with interest.
 
Hi tmuir, yes it is kitty litter. but... be careful if this is the track you go down. Not all kitty litters are bentonite. Some are a synthetic stuff. Also some have charcoal infused as a smell absorber. this isnt ideal but can be used. tedious part is turning it into powder...... :p

My old blender died so this lot was ground by hand ala... milling wheat with rocks... grind grind.... must make a mill roller one day... ( I say that every time i have to do this...).

More pics tonight as Im boxing up the cylinder plug as we speak (type)... out of parting powder so a mad rush up the street.... (talcum powder is suitable)..

later... artie
 

Latest posts

Back
Top