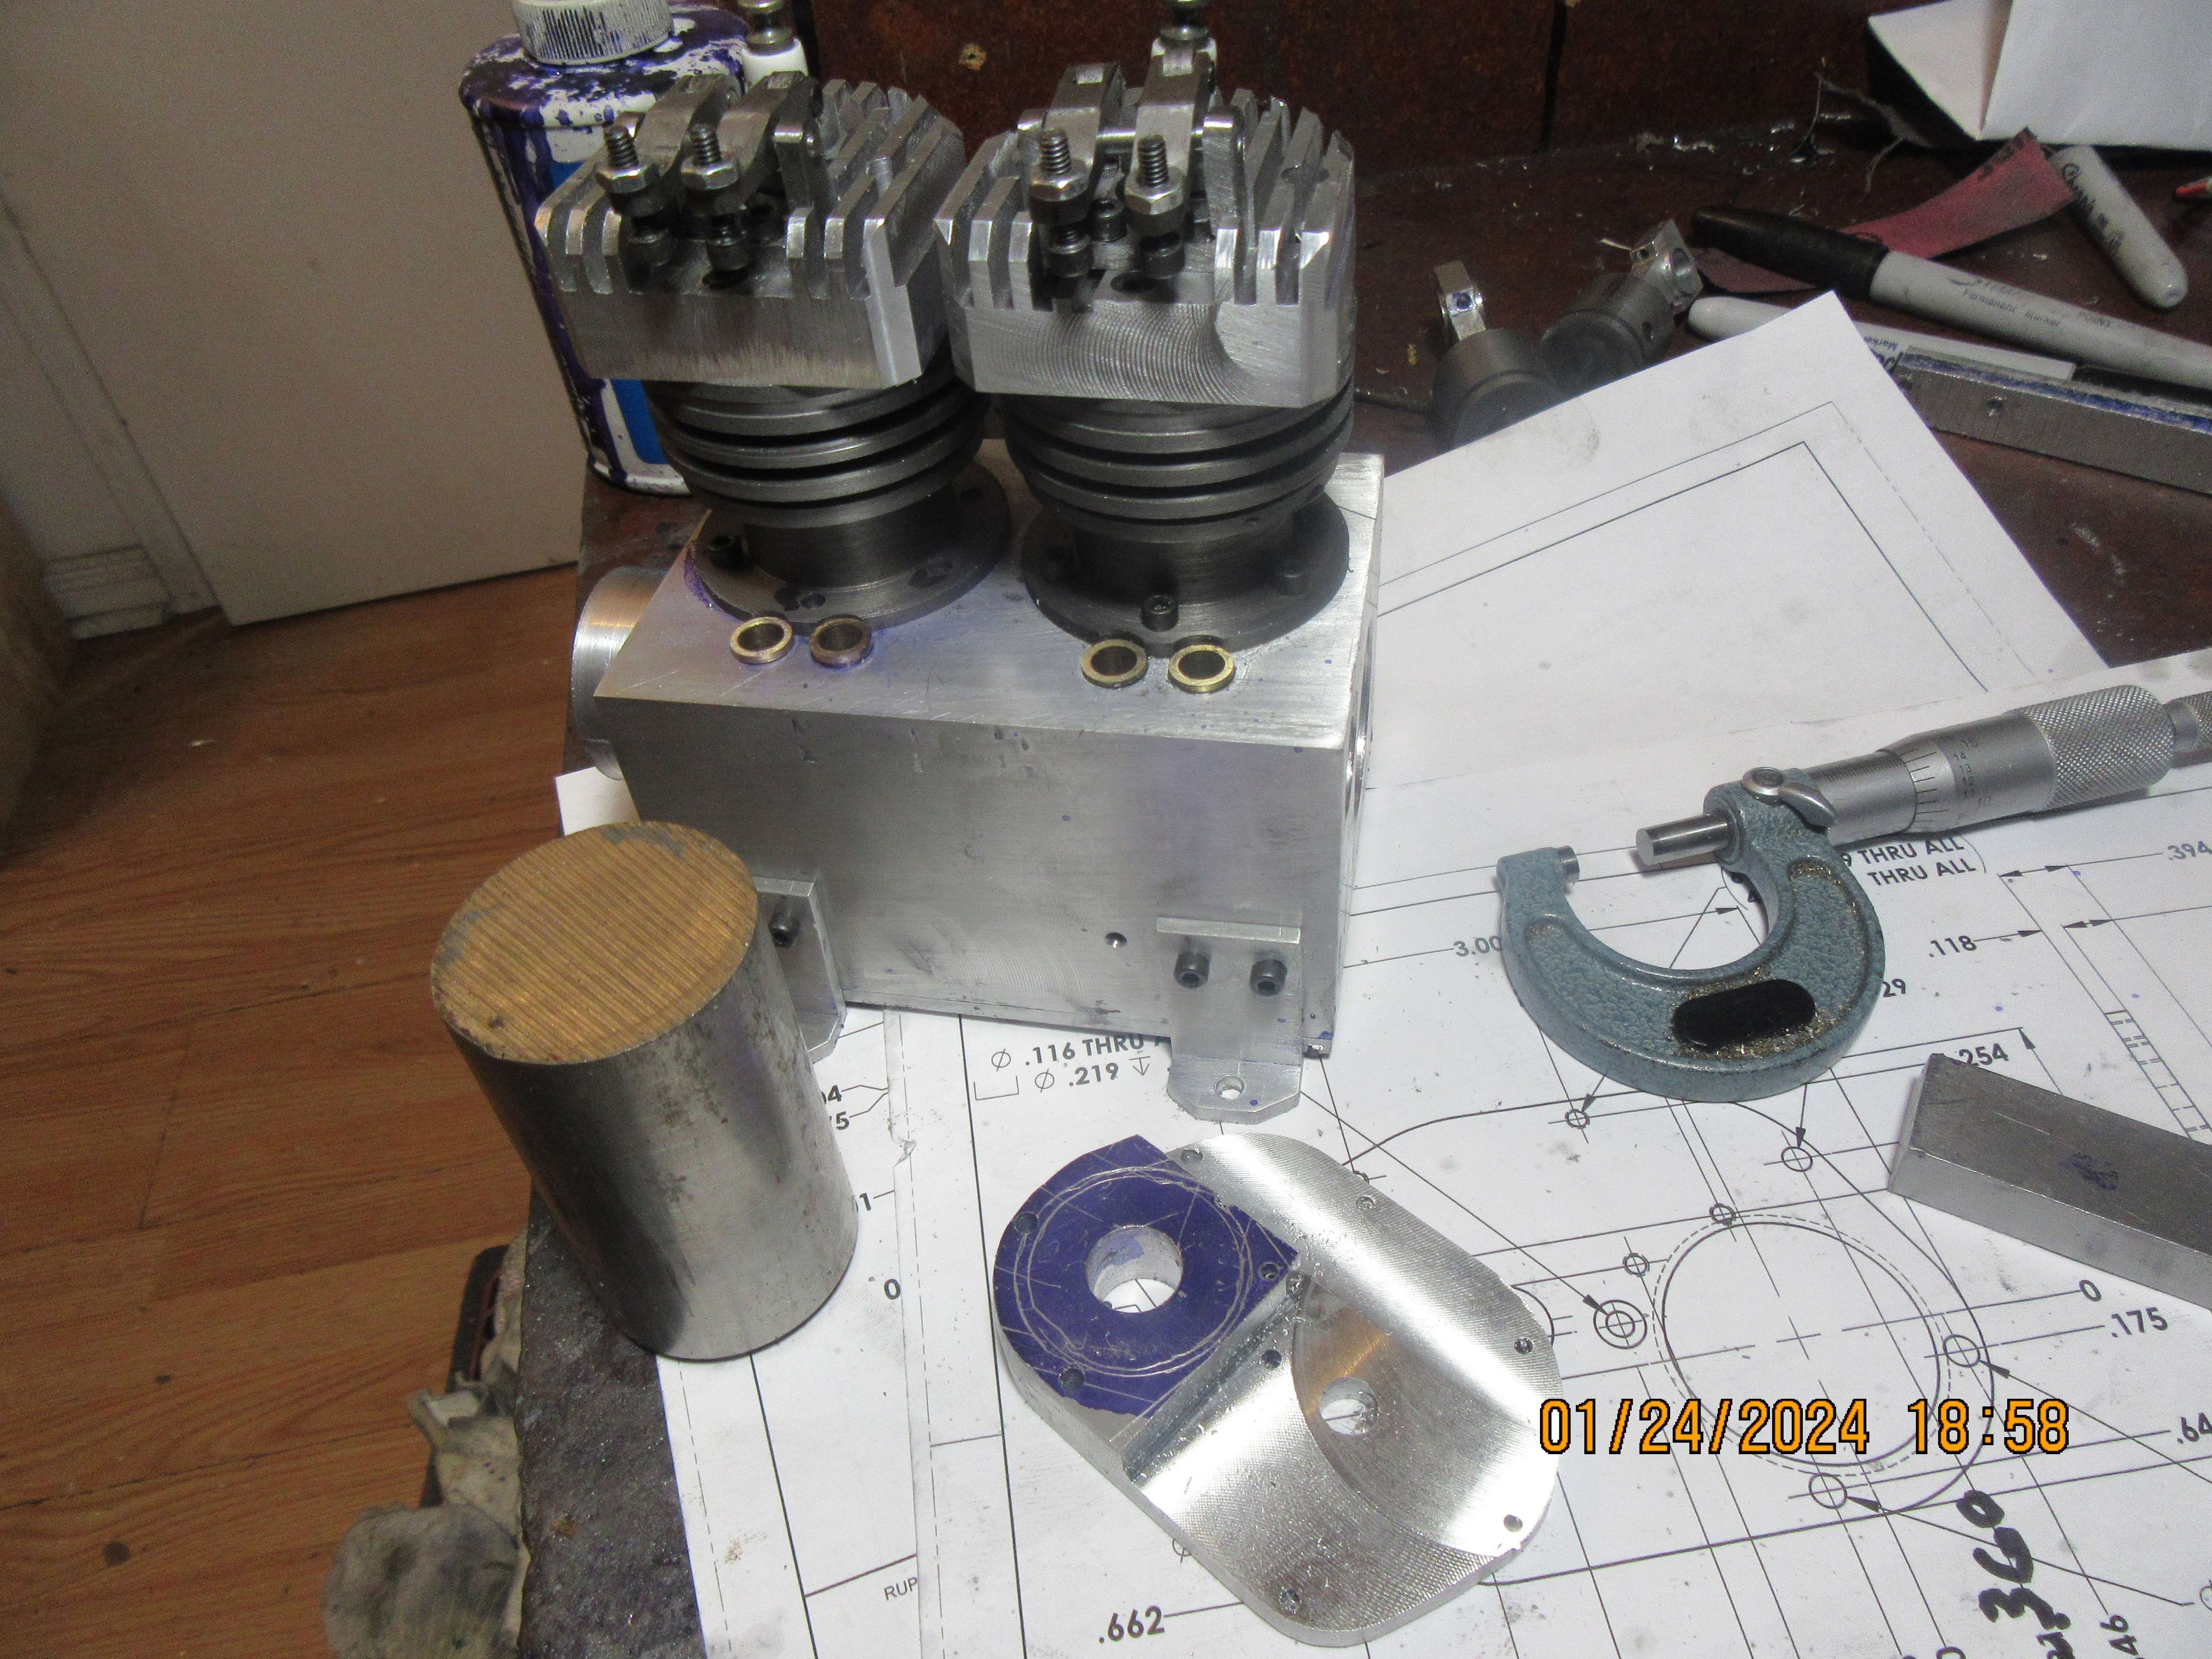
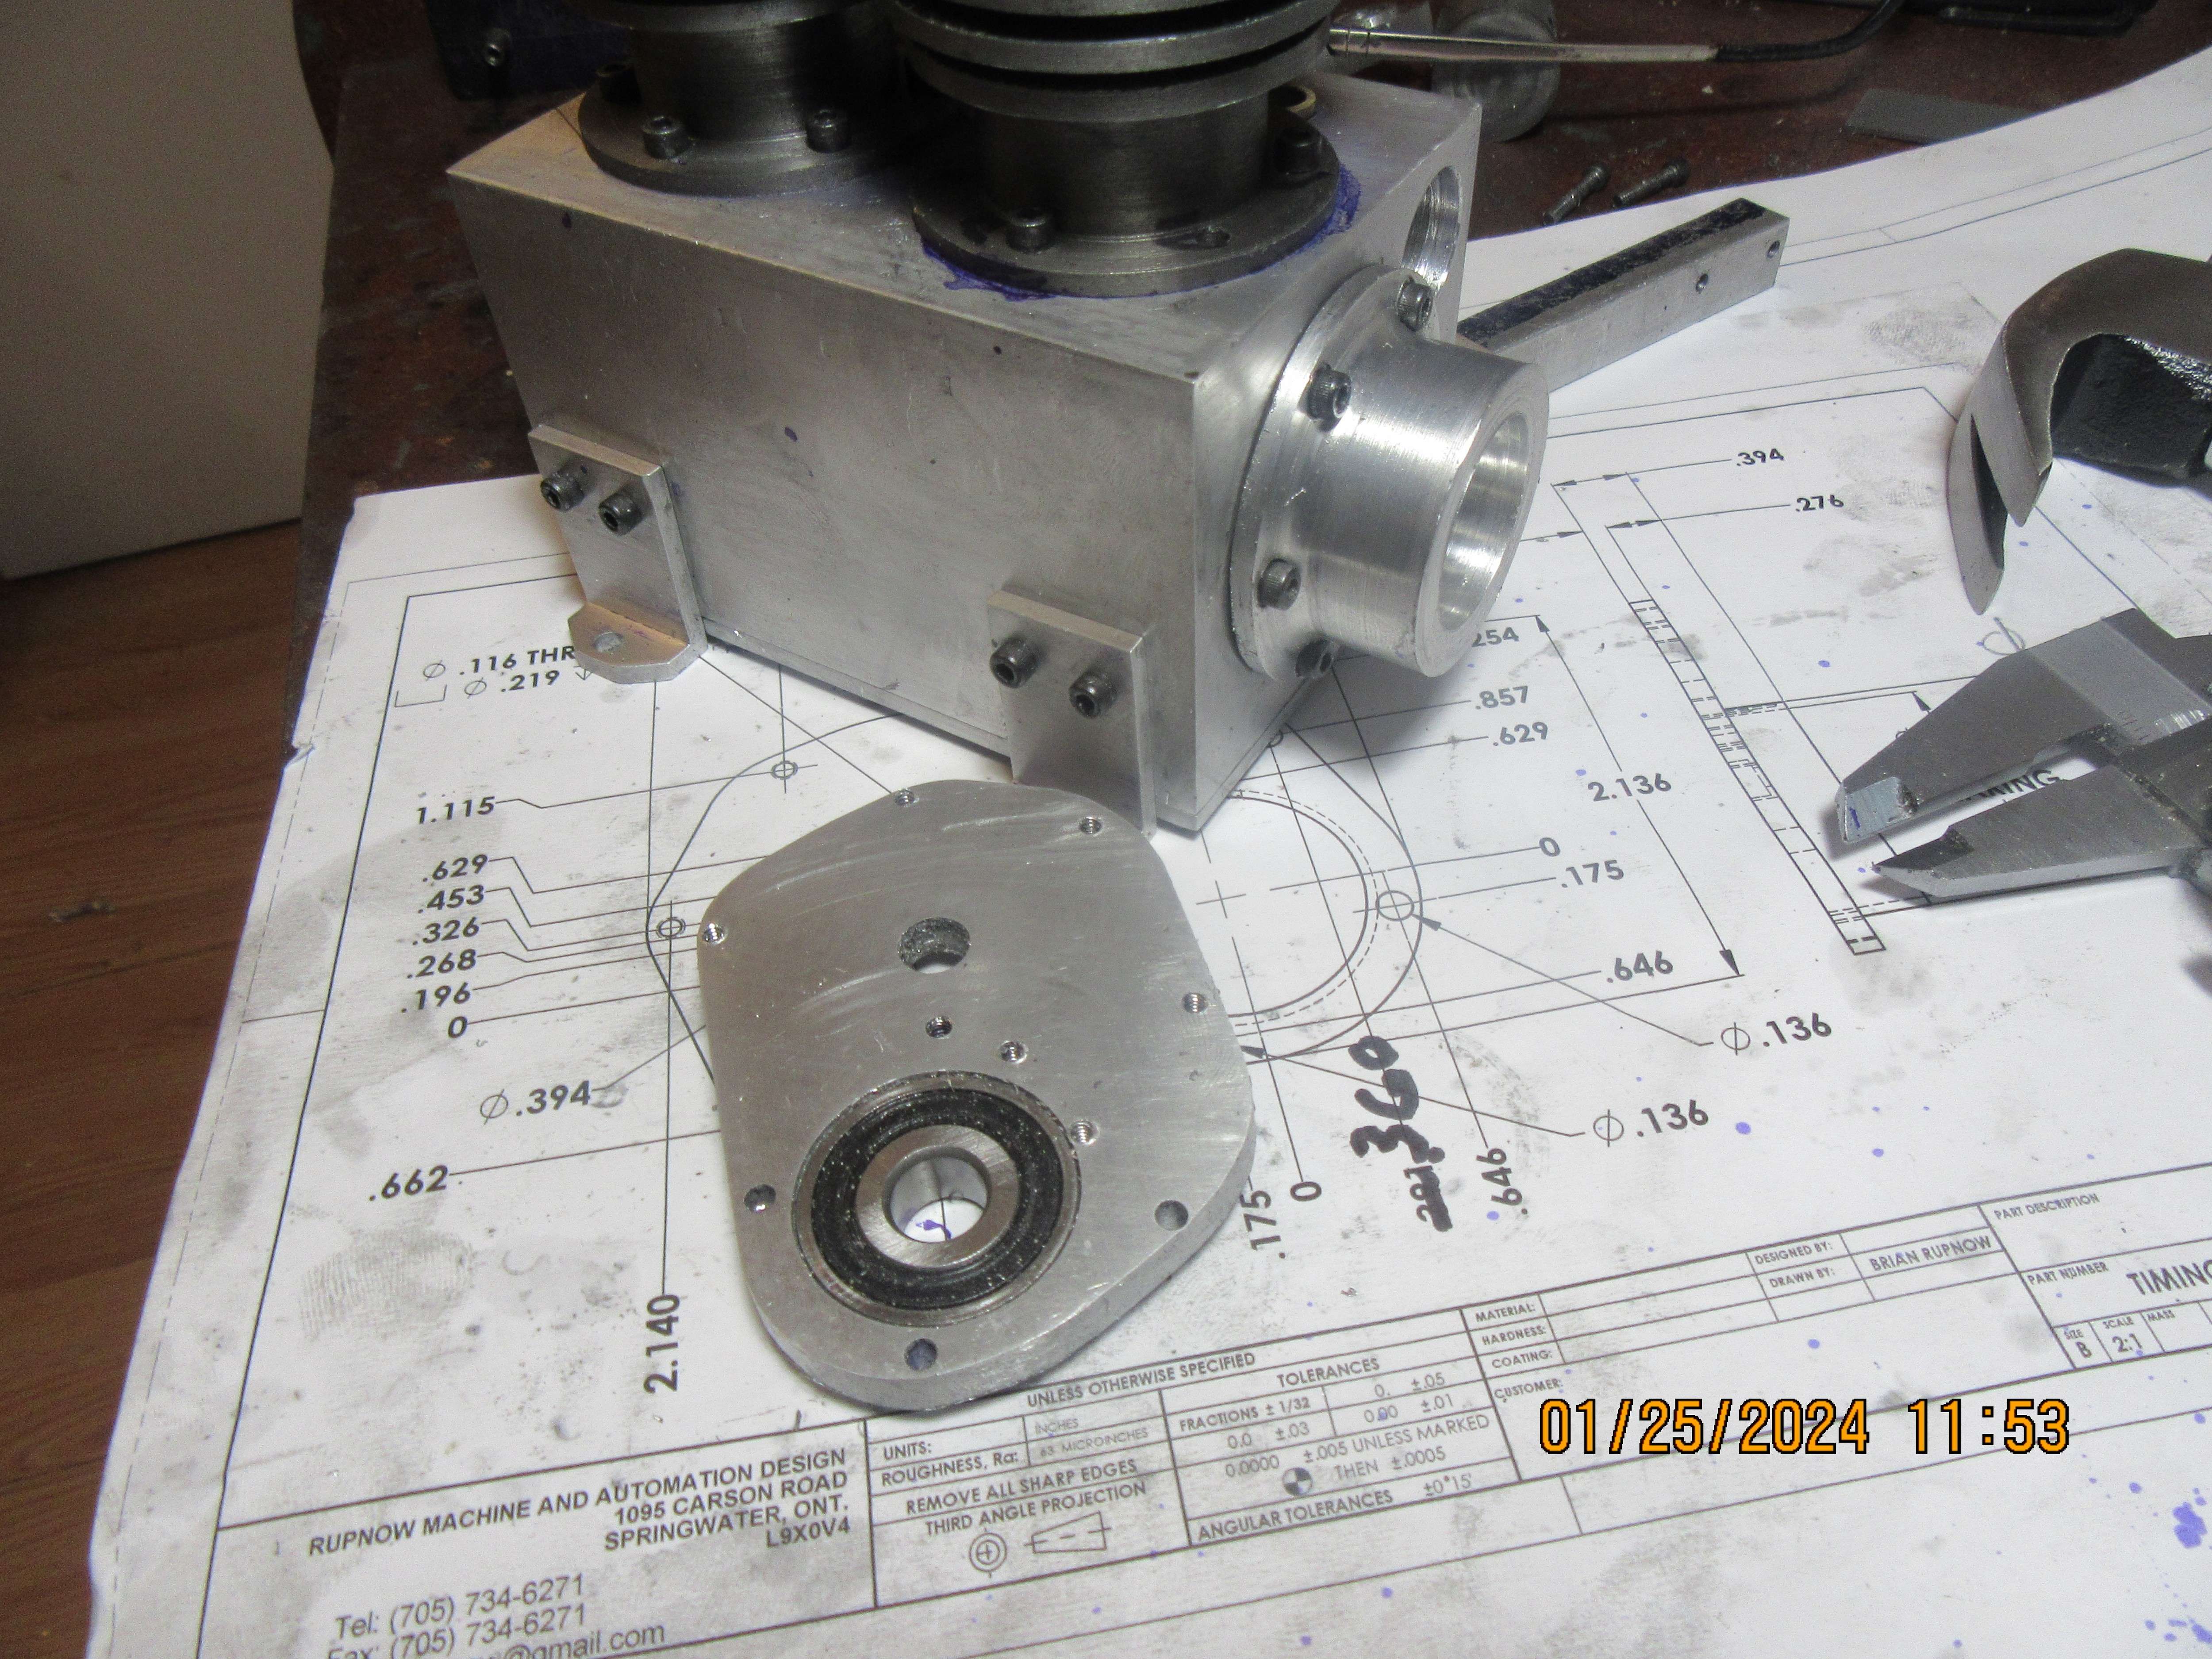
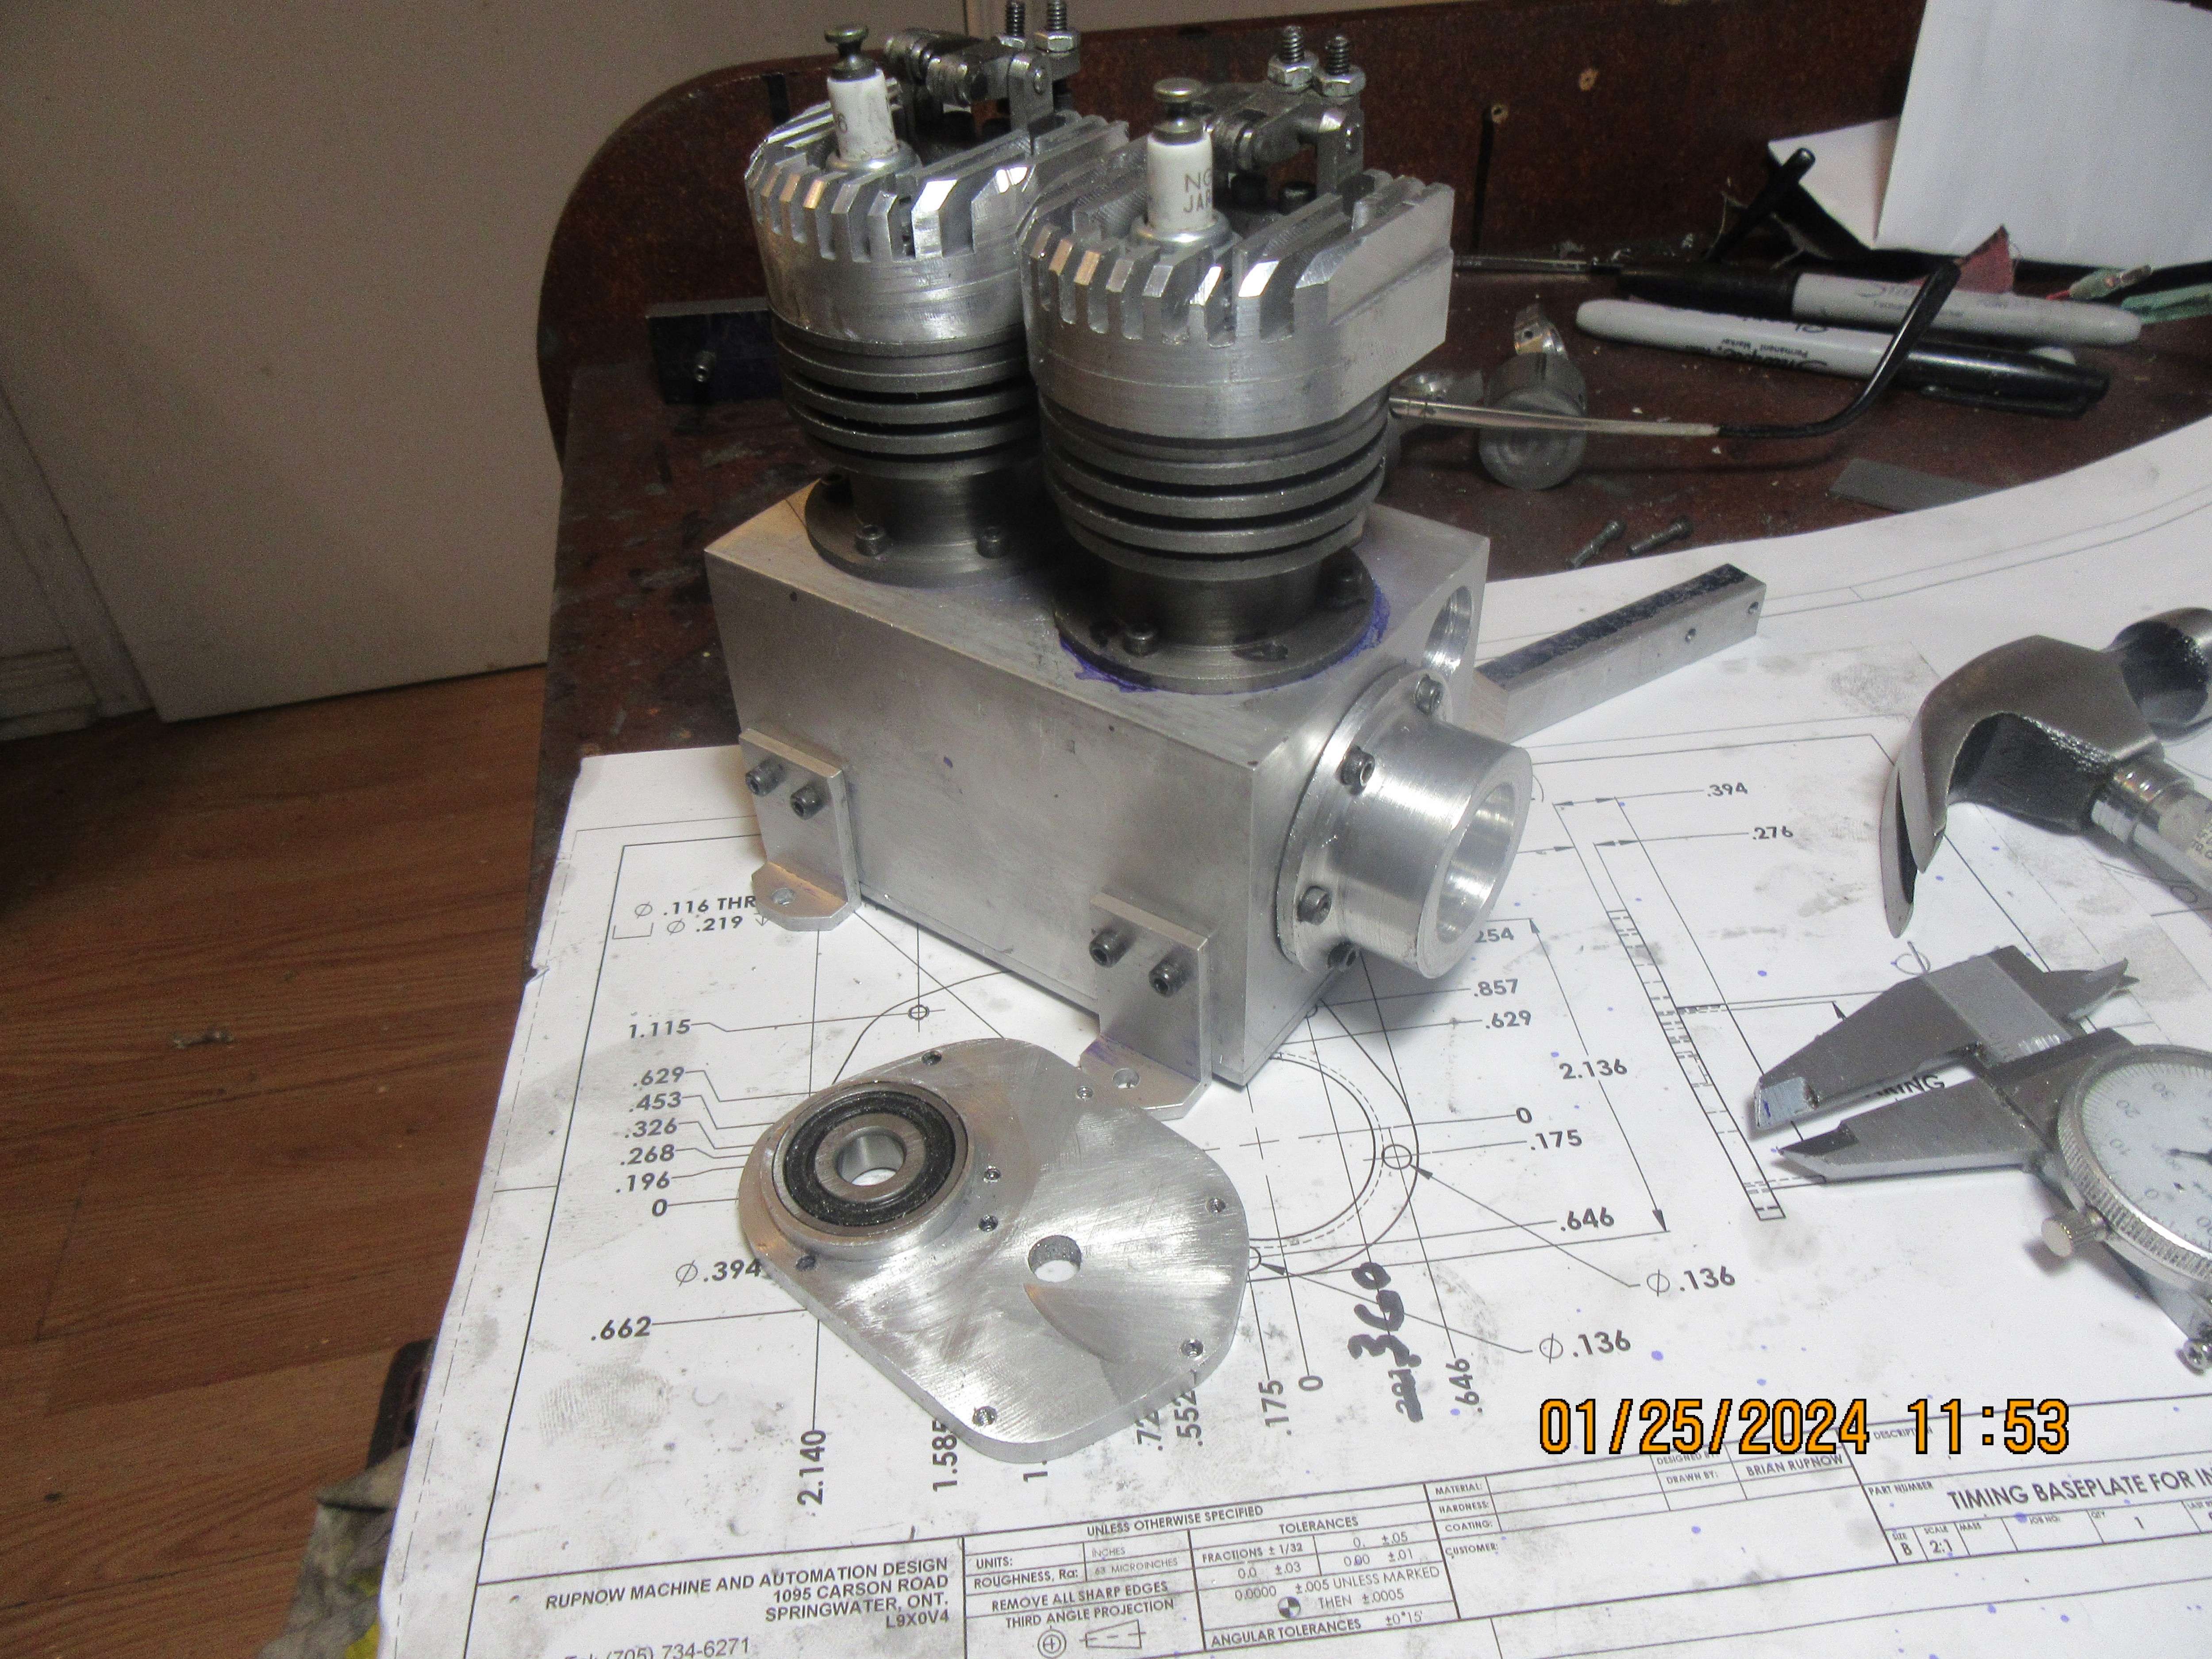
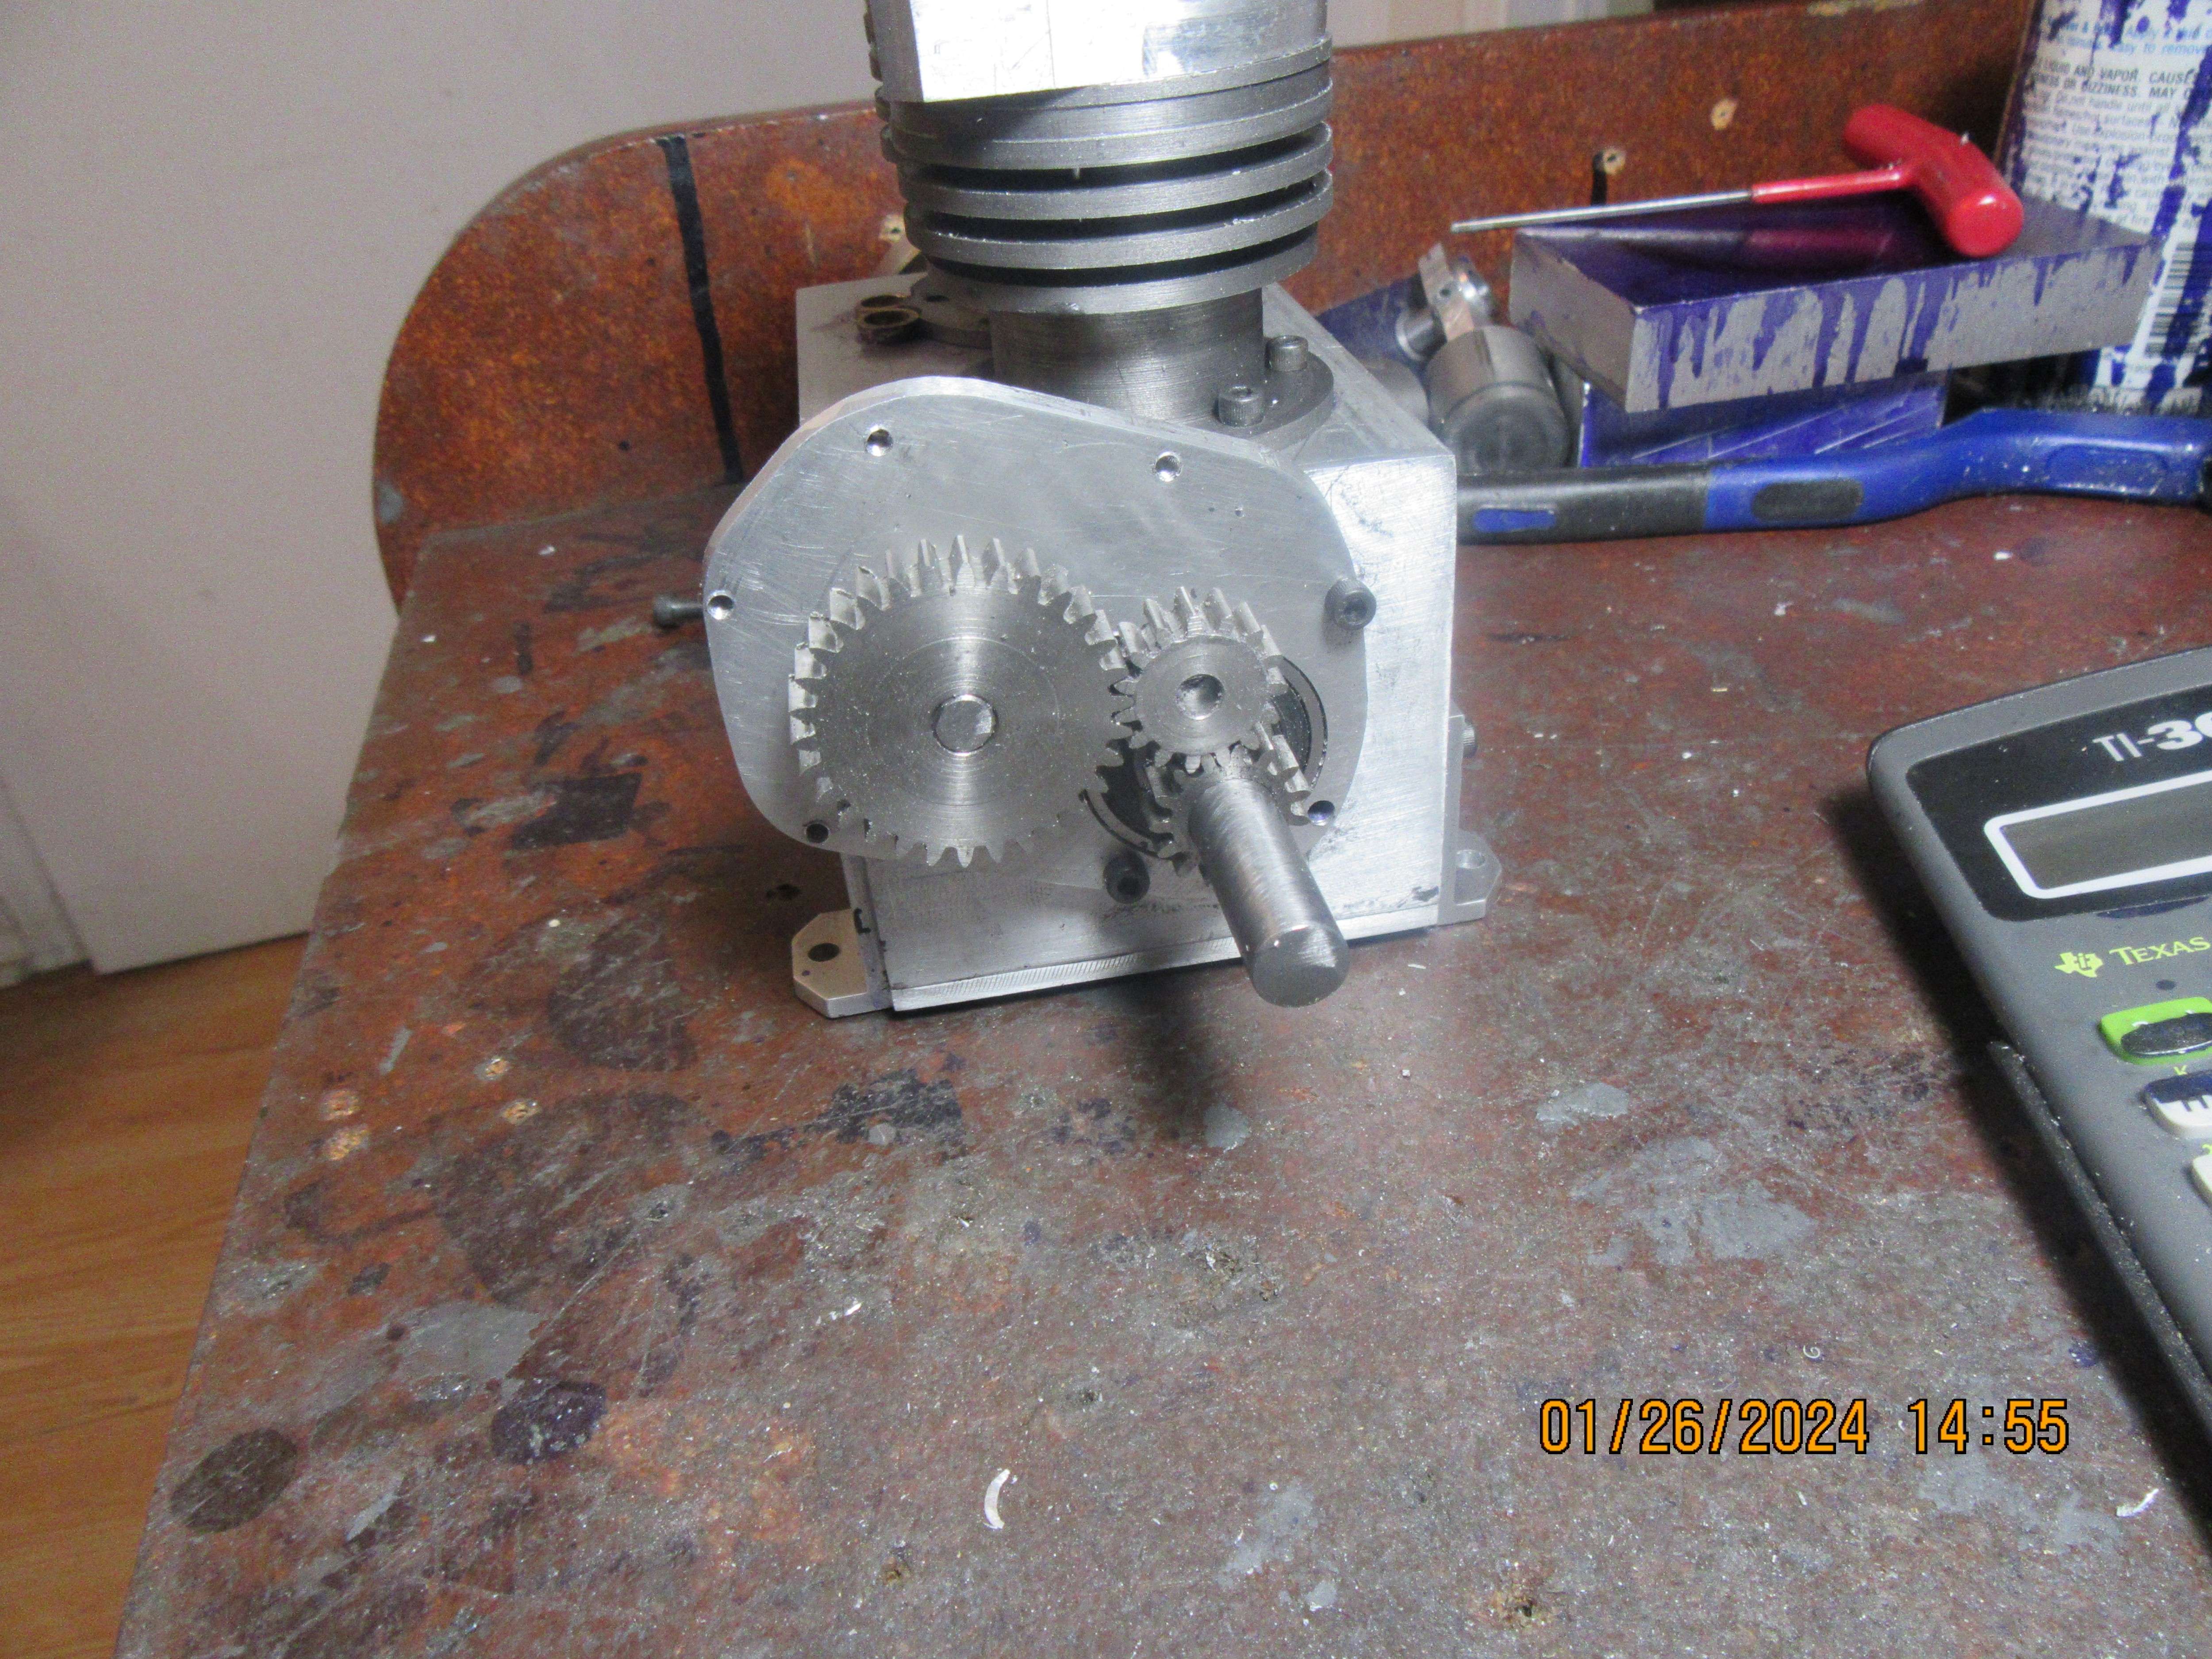
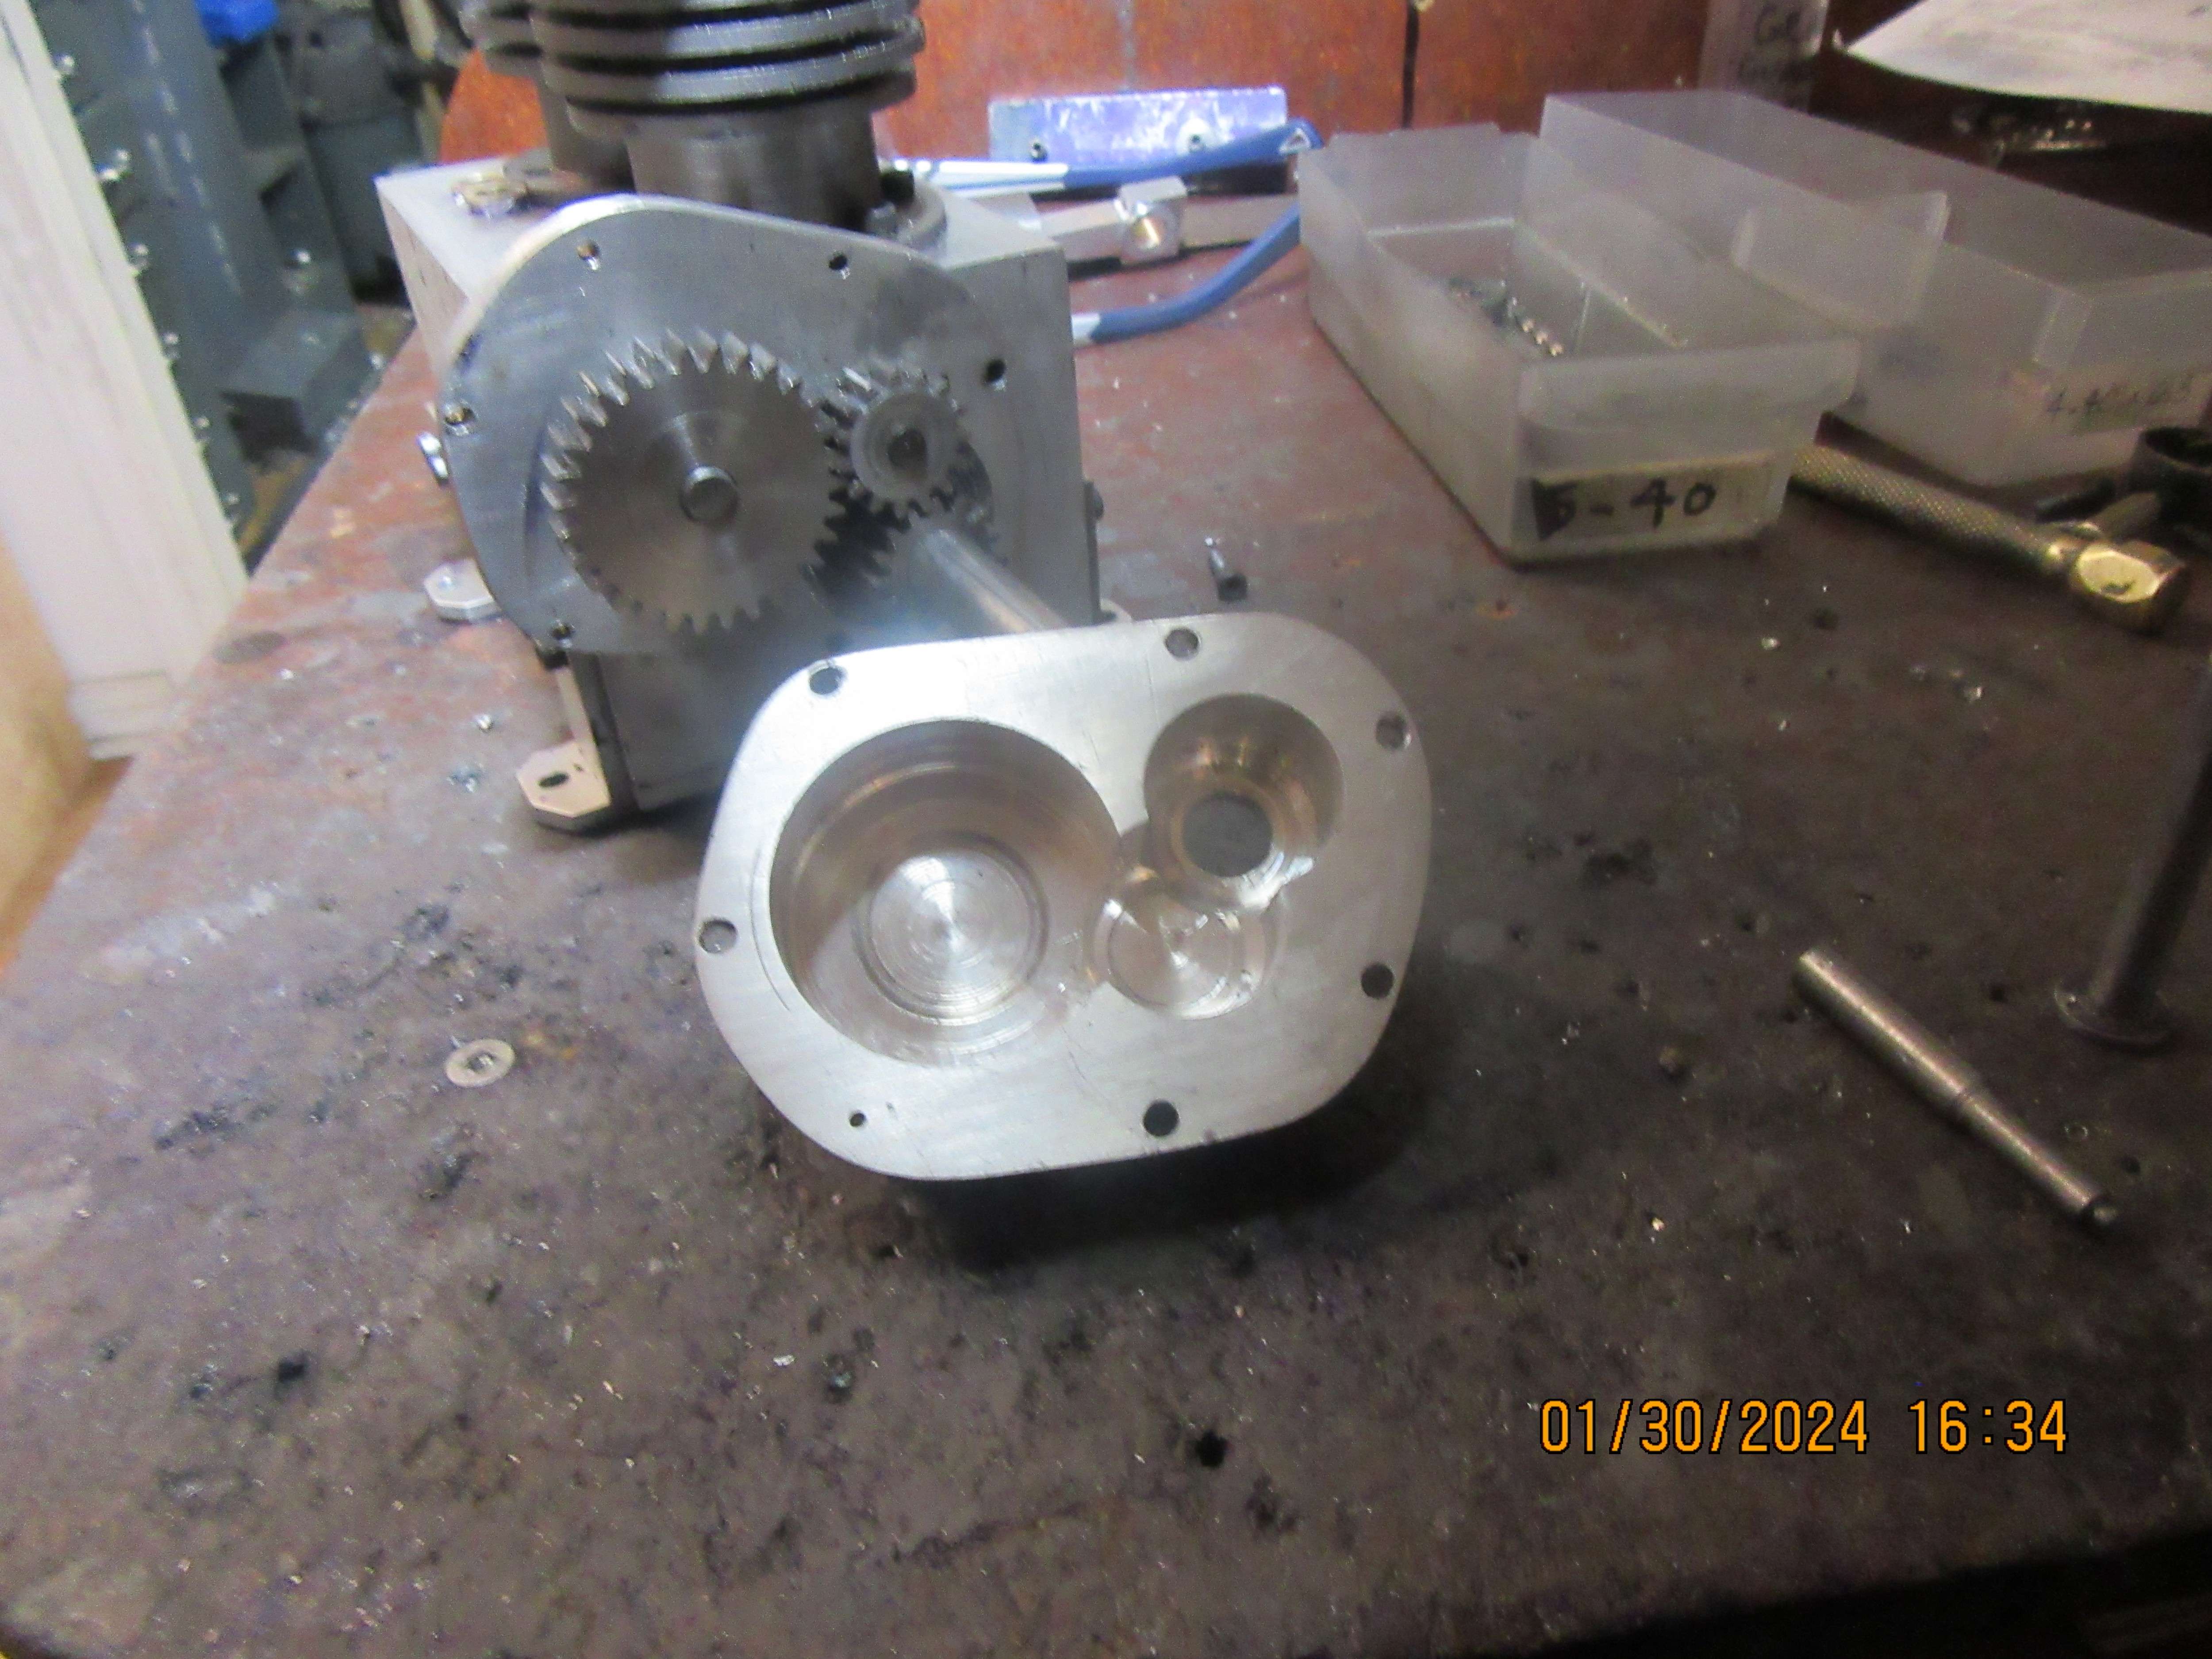
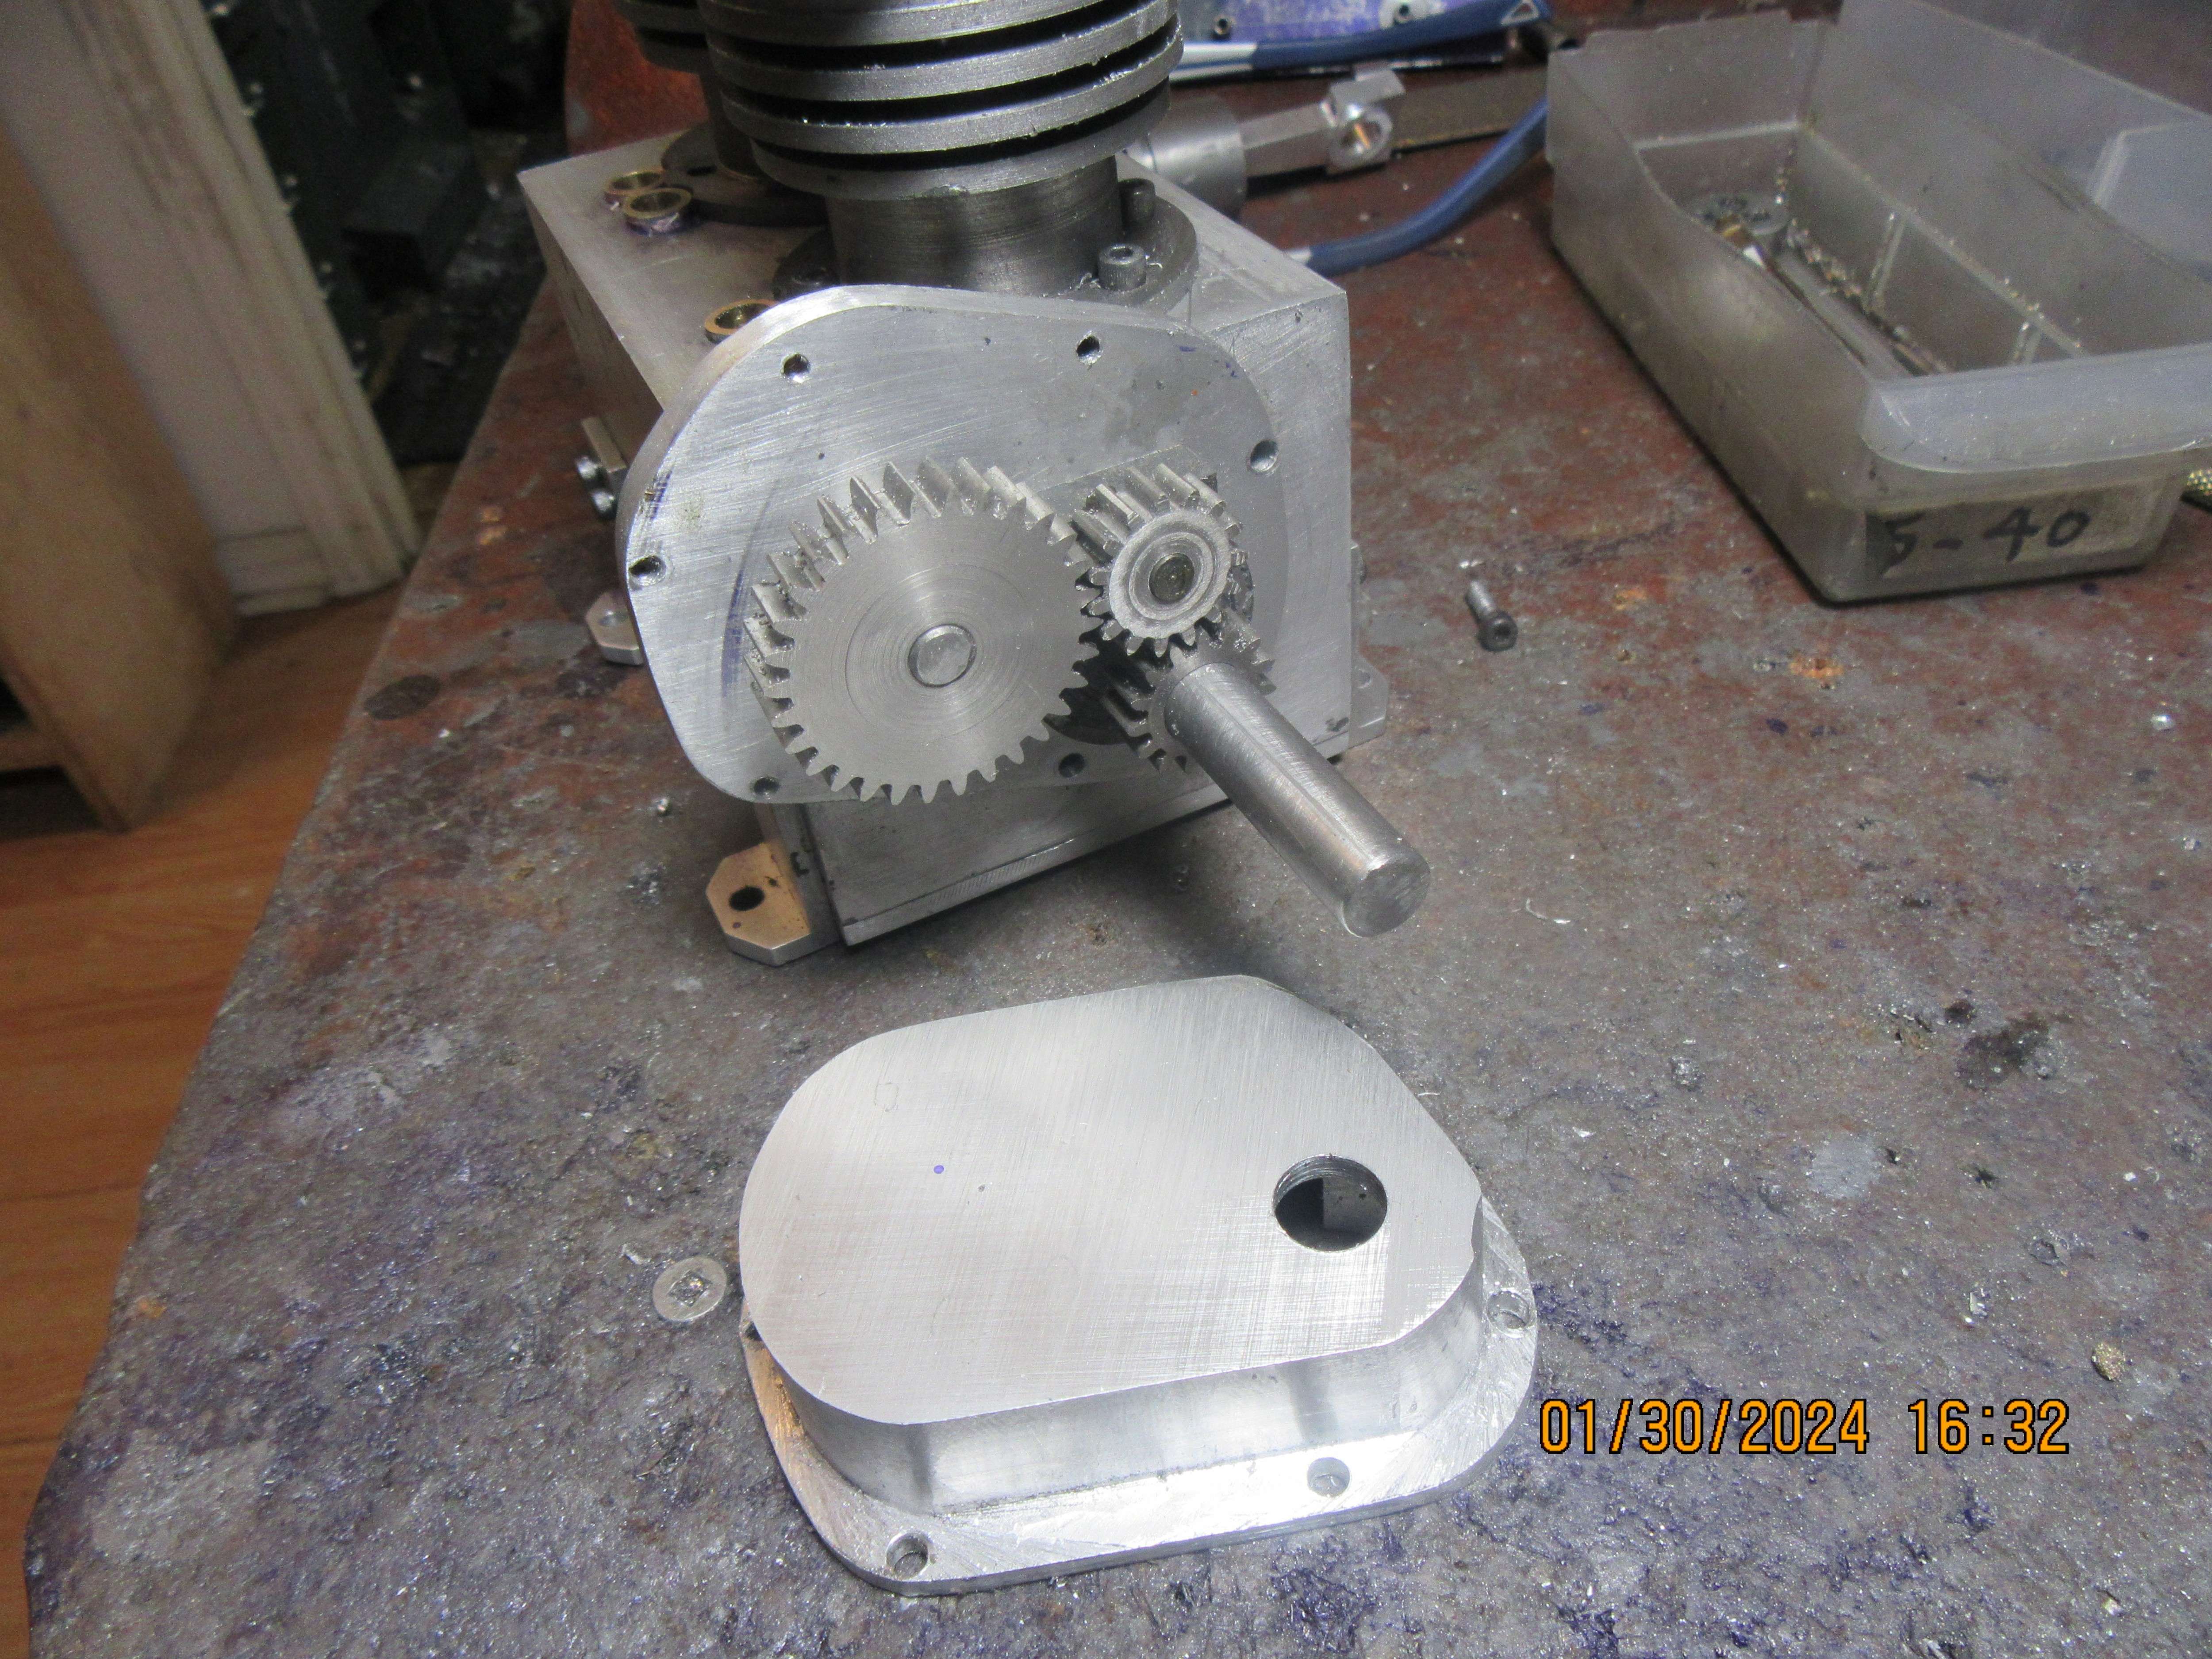
Today I cleaned up and mounted the rocker arms, and got this far on the "Timing baseplate for inline" and simply ran out of steam. First I was going to do it in the four jaw on my lathe. I mounted the four jaw, mashed a finger while doing so, then found out that although I could center it okay, I had no good means of setting it parallel to the face of the four jaw and centering it. Finally I did come up with a way to mount it in my three jaw, but that can be tomorrows job.