British 0-4-0 Toy Locomotive: he said

Home Model Engine Machinist Forum

Help Support Home Model Engine Machinist Forum:

This site may earn a commission from merchant affiliate links, including eBay, Amazon, and others.
Thanks all.

As for the tutu..the tease act is over. From here out it'll cost and the tickets are pricey. No trades...is cash only. It's too bad that none of you can afford it. However, for $5 I'll be glad to send that green tutu...free shipping! (Cash only, no warranty.)


Today was about the Rear Section of the frame...that...and a lot of good luck.

The rear section has a tab that gets bent 90 degrees. To do that, the instructions suggested a die block and blade in a vise. Sort of a miniature brake.

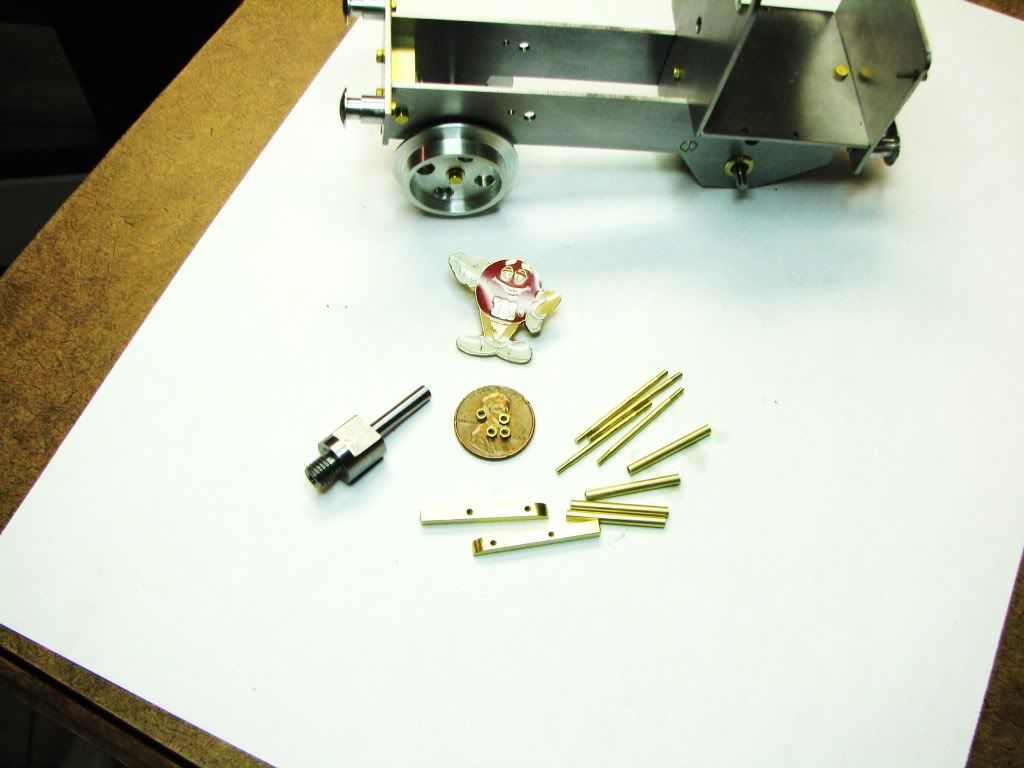
The next two pics show the die block being made. After cutting nearly to size, I flipped the part and took another pass.

b5f3ae77.jpg


44262585.jpg


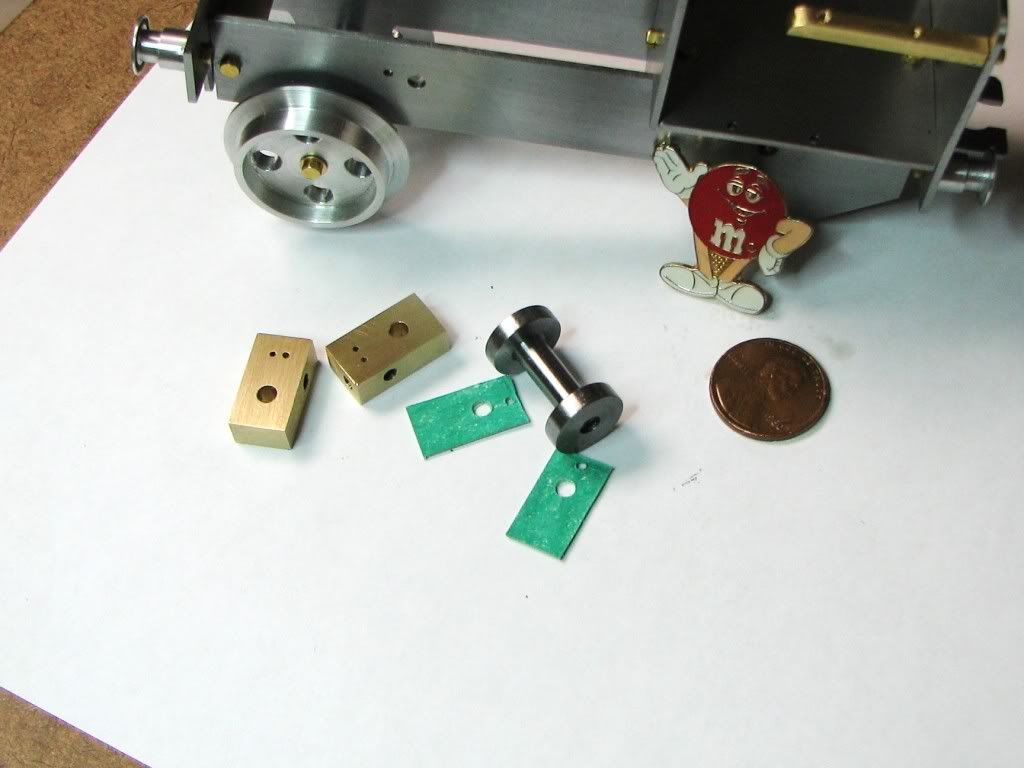
The next pic shows the rear section, the die block and the blade.

9fa19a2f.jpg


To make the blade, I used the angle vise again. 45 degree...cut one side then flip and cut the other. You'd think the point would be at center of the blade. You'd be right if you were the one doing it. I must not have seated it the same way.

A few notes about the rear section. I hacksawed most of the corner and then used an end mill. This was after I drilled the hole in the tab and cut out the opening. This left very little support for the (now two) tabs...the end mill bent one out. I managed to straighten it out somewhat but you can see the bend depending on how the light hits it.

I also tried using a hacksaw to cut the tiny slots on either side of the tab. Also a mistake...no way to keep it straight. I went to a slitting saw. That went so well that I realized I should have use a slitting saw to knock off the corners in the first place...and probably before I drilled the hole in the tab.

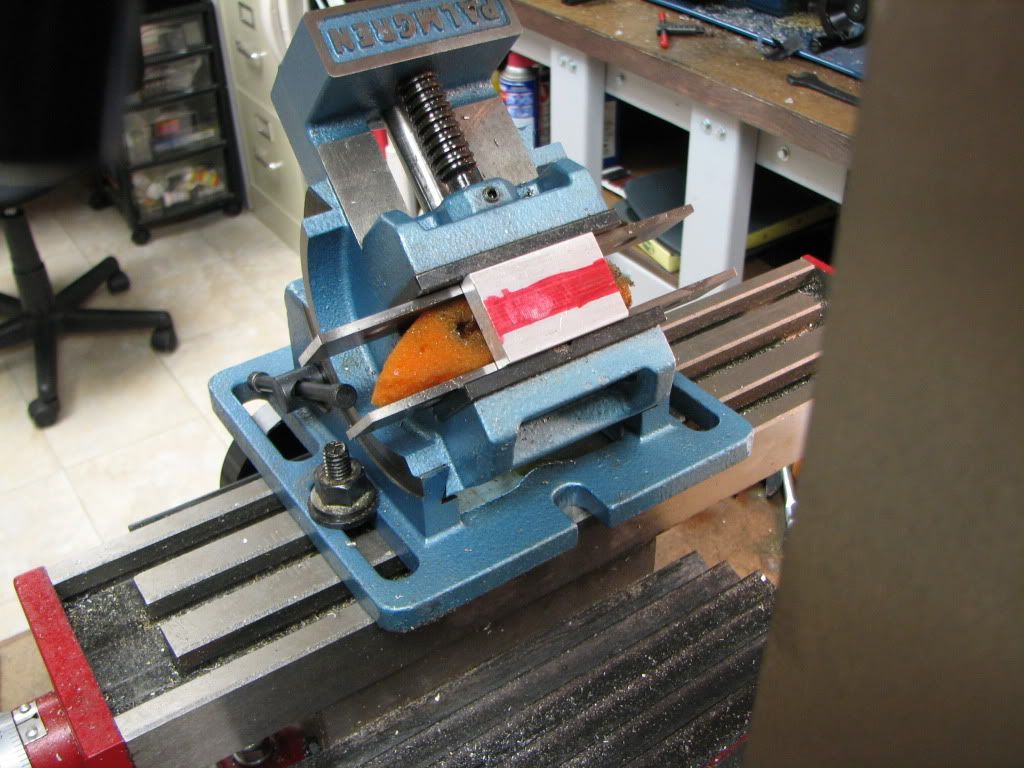
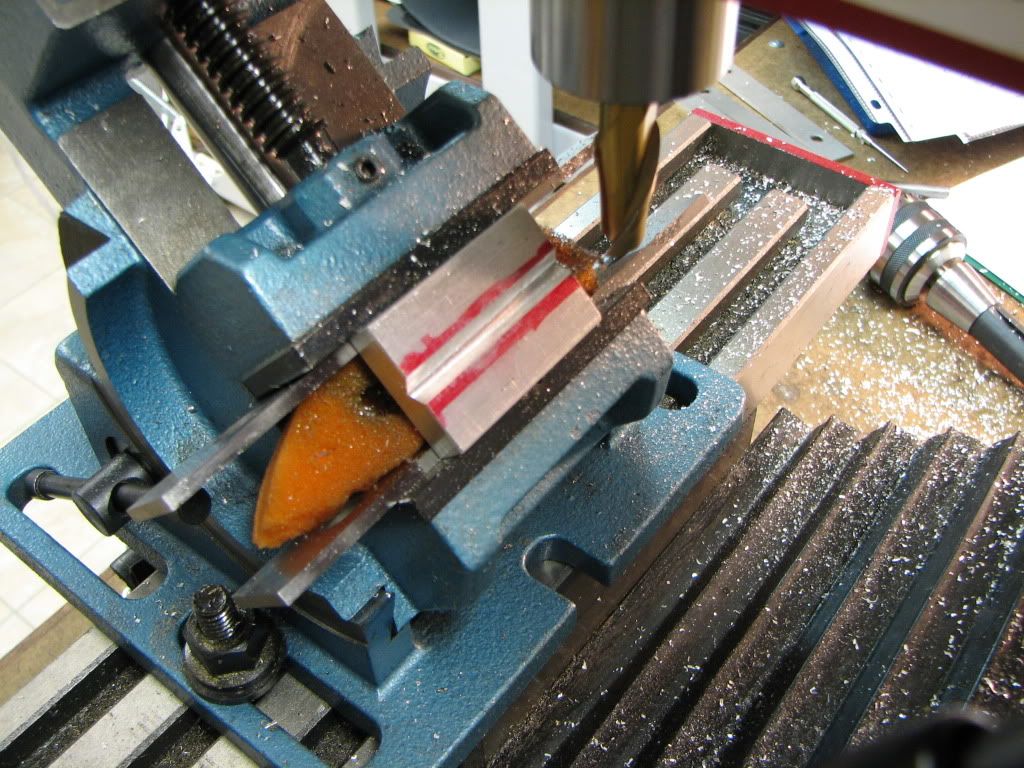
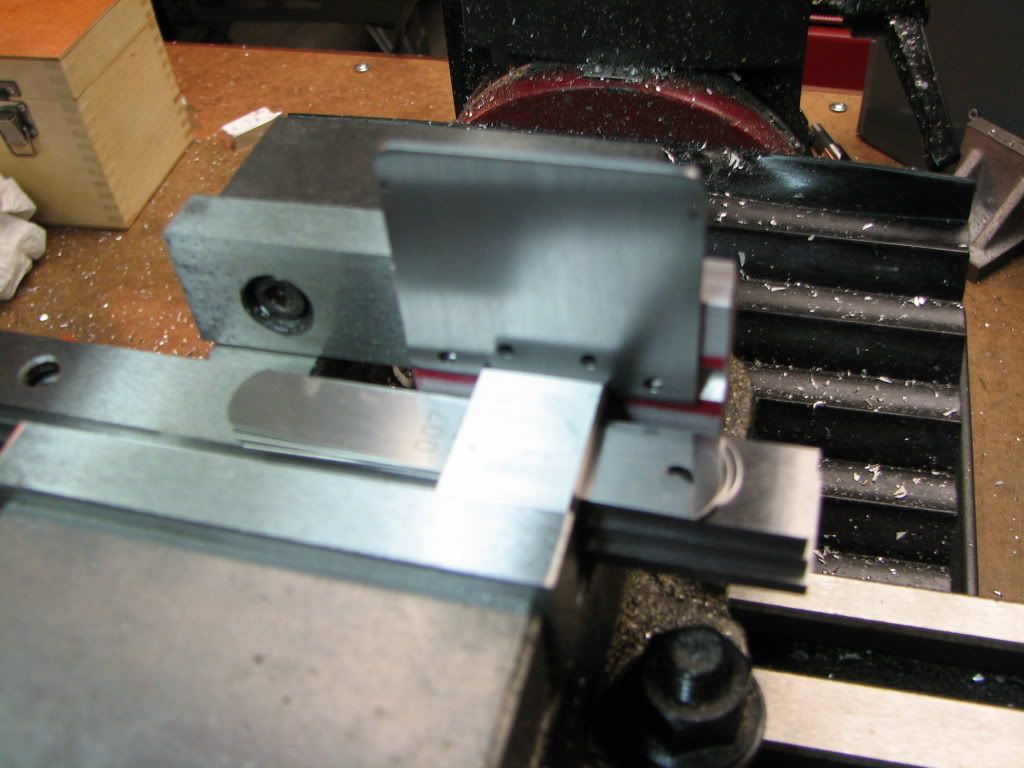
Here's a pic of the 'brake' system...

5272edfe.jpg


As I'd said, I didn't get the center of the blade right but I adjusted for that when I set the height of the blade with parallels and shims. Still, disaster struck. Perhaps the rear section was cut too short, or the die block was wrong, but I could tell that I was going to get some interference. Still, I pressed on (sorry ;D couldn't help myself)...

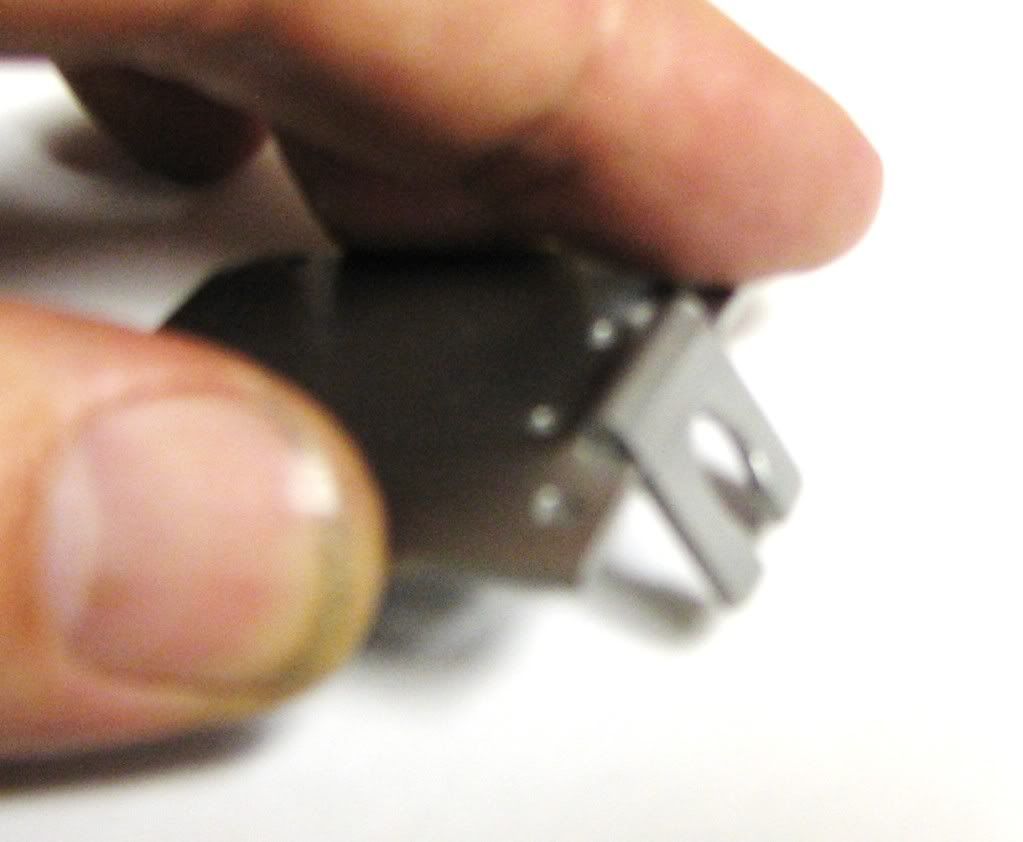
I took it slow and this was the result...

1c46ca9c.jpg


Sorry it's so fuzzy. In any case, the bend wasn't occurring where it should. In fact, it was bending across the middle of two holes used to mount the thing. Some severe marks too.

I went to the vise and after some (imaginative) manual work I managed to straighten it. The machine marks are hidden by the stretcher...so I was lucky.

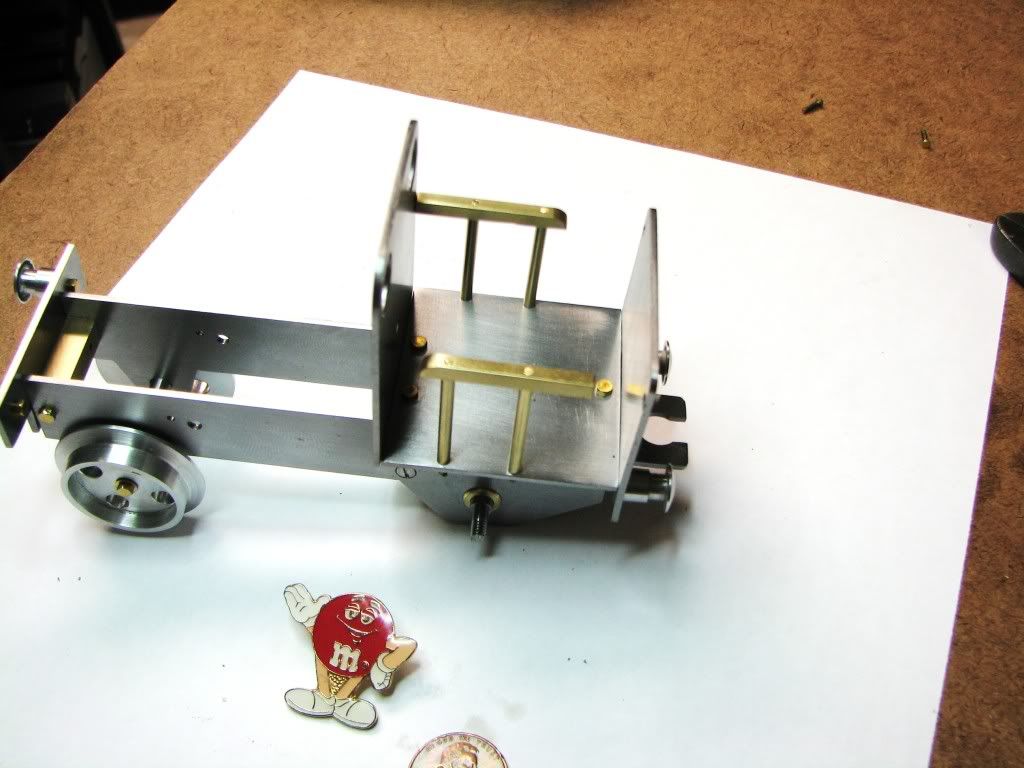
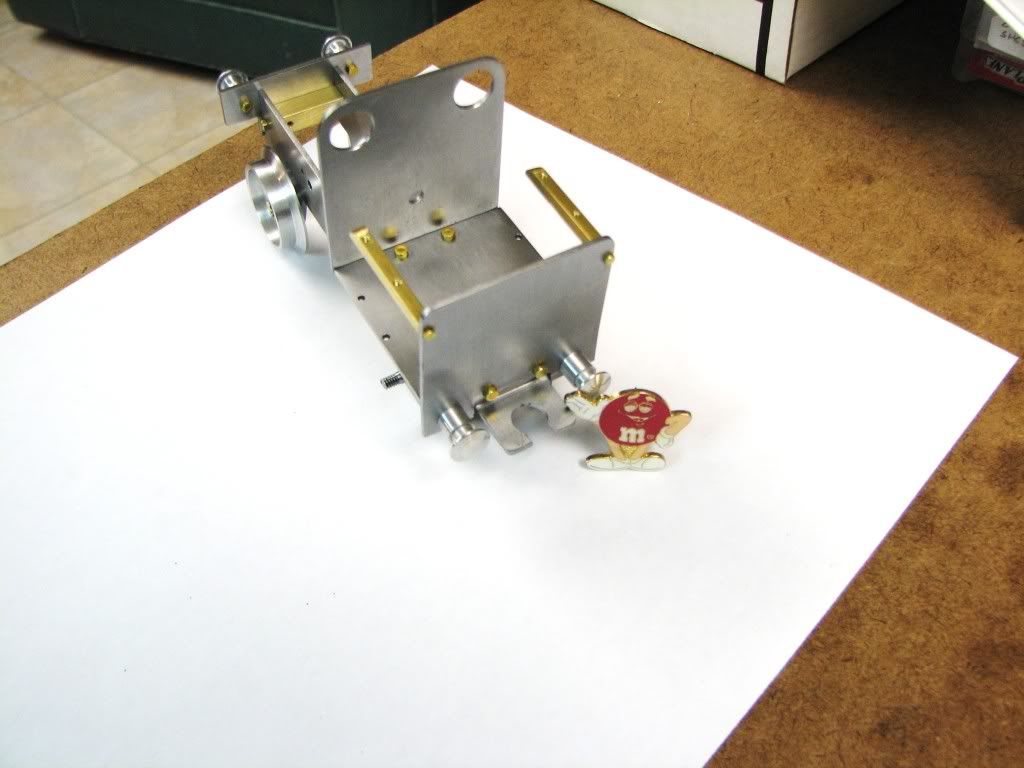
Here it is mounted..

82eb60f6.jpg


I tried putting the one handrail stud on but the threads are crummy. Probably because I messed up the die. I've got one on order.

Well this was a long day...not a great part...but some good learnings.
 
I hate to keep recommending tools for you to buy but, in this case, it's worthwhile...

These...

http://www.micromark.com/DELUXE-BENDING-DIE-SET-4-,8226.html

are available from many suppliers. They're cheap, easy to use and can handle many of the bending jobs you'll encounter making the small scale stuff we make.

You'll be doing a lot of sheet metal bending and there's no need to try to make a brake for each job that comes up.
 
This looks to be going beautifully Zee, if you hadnt been mentioning the slight mishaps, no one would ever know. The finish looks great as well, keep it up...

and you know that as soon as you have a running loco you will need track, and lots of it, you wont be happy with just a circle... it'll be all over the house..... a monster..... ::)
 
Thanks Artie...I like to mention the mishaps so anyone thinking about starting this hobby knows a lot of learning comes from making mistakes. And if anyone avoids making the same mistake because of one of my posts..well...that's a big win.

You're right about the track. ;D I've got the okay for outside track and inside track is fine too...so long as it stays downstairs...but all of that is a way off.

Which reminds me...I should start thinking about a test bed. Wow! The optimism!
 
Just a thought, you can then build a fleet (terminology?) of loco's and have switching gear and shunting sidings.... its endless..... :Doh:
 
Looking good Z', I do admire it when someone points out the shortfalls of steps that have been attempted and do not end in shining successes. However, seeing the results of all of your efforts is a reward onto itself. I thank you for having the courage and foresight to share. Well done indeed! BRAVO!


BC1
Jim
 
Good going Zee ;D

And credit to you for making up a bending brake; for me thus far bending brakes consisted purely of a vise and hammer :-[

Kind regards, Arnold
 
Artie said:
you can then build a fleet (terminology?) of loco's and...

My dream is to eventually build a larger scale loco...probably 'garden rail scale'. (The full dream is to build one that can pull me...but that's more doubtful.) A 'fleet' of garden rail would be pretty cool.

Thanks Jim. Much appreciated.

Thanks Arnold. I'll have another chance to learn how to use the brake when I make the fuel tank.

Here's this week's offering...

The two porting blocks, two gaskets, and the stretcher that the pistons and porting blocks attach to.

33fefc95.jpg


While the 1/16 rod that came with the kit was too large for the handrail studs...it was too small to be used for plugs in the porting blocks. The dimension for the holes in the blocks is .063 -0/+.003. I suppose I should have made the holes smaller. However, I had recently bought some .072 rod at the hobby shop so I sanded that down in the lathe and was able to press fit them in. I've only put the two plugs in that have been milled flush to the point you can't see them. The other two are used as keys...I could probably loctite the 1/16 rod in for those.

Now I'm sitting here trying to figure out how to turn the drive wheels. I have a 3" chuck...too small for the 1.5" wheel. I tried the reverse jaws but they are too big. If I set the part in further, I can do the trepanning but not the turning.

I'm thinking this calls for using the 4-jaw. I welcome any other suggestions.

"A bigger lathe." and "A bigger chuck.", has already been suggested but quickly dismissed. Her response of "Are you kidding!" is still reverberating off the walls. ;D I was smart to ask from down here.
 
zeeprogrammer said:
"A bigger lathe." and "A bigger chuck.", has already been suggested but quickly dismissed. Her response of "Are you kidding!" is still reverberating off the walls. ;D I was smart to ask from down here.

Never ask! Just do... then beg forgiveness later ;D
(don't forget to say it was on sale!)


It's really coming along great, zee! Shouldn't be too long before we see a test run, huh?
 
Looks good Zee. Great progress. Starting to look like a loco.

Any chance you could "sneak" a new, bigger lathe into the basement? Once you get it down there, I found that the liberal use of sulfur containing cutting oil keeps most folks out of the man-cave. ;D

Cheers,
Phil
 
zeeprogrammer said:
"A bigger lathe." and "A bigger chuck.", has already been suggested but quickly dismissed. Her response of "Are you kidding!" is still reverberating off the walls. ;D I was smart to ask from down here.

Zee,

My better half and most women I know, will usually argue about a, (to me), unnecessary purchase after the fact.

It only took me 60 odd years and 2 marriages to grasp this particular nettle.

You could try gloves, body armour, or a whip and a chair, (like tiger tamers of old).

Good Luck

Best Regards
Bob
 
Thanks Kevin...but 'asking for forgiveness' later assumes one has the opportunity to grovel.

Thanks Phil....no...no chance I can sneak a bigger lathe in...she's still upset that I tore up my knee moving the bandsaw and has become vigilant. Right...now she's paying attention to what I'm doing. Rats. ;D

Bob...if I'm lucky to get in 3 seconds before she throttles me...a bottle of wine will usually get me a reprieve. I'm a lucky guy...don't need diamonds or flowers...and I get to share the wine. ;D

And now for the progress report...
 
Bum-ness paid a visit today...and spent the afternoon with me...

First up was a connector used for testing the boiler. (Did I say I hate 1018? I hate 1018.) All went well until it was time to mill the sides of the connector. I'm not sure what I did wrong...maybe taking too much of a bite...maybe speed/feed was wrong...but oh boy...did things go awry. Somehow the part got pulled out of collet so I was cutting where I didn't want to. On the second try, I couldn't understand why, for every change in Z...there was hardly any change in cut. Ah...been there...done that...I hadn't tightened the drawbar...(I'd like to blame my daughter for interrupting me). Eventually I got it done. Luckily...it's not a part that stays on the model.

Then I used my new 0-80 die to finish the handrail studs. This went far better than last time. I'm starting to convince myself that buying kits is worthless...at least 3 times now...a replacement tool has been better quality than when bought in a kit.

Also cut the tubing for the handrails. (I won't mention the fact that I cut the first piece off the wrong tubing and must now make a trip to the hobby shop. 'bum-ness' was reminding me that it came for coffee and cookies.)

So here's the pieces...hand rail studs (some shown with the nuts that came with the kit) and the connector...

b92e1561.jpg


Happy? Not yet. 'bum-ness' wanted more coffee...

4a16f1d7.jpg


I can not believe it...the holes for the handrail studs are in the wrong position. The near handrail is clearly too far away from the back of the cabin...the far handrail shows what I mean.

I have a few of options:

a) Stay with the far side hand rail....and not attach to frame.
b) Stay with the near side hand rail...and not attach to frame.
c) Hide the hand rails in the back yard and pretend they don't exist.
d) Take what's left of my marbles and go home. (But I'm already home.)
e) Drill some more holes in the floor and mount the hand rails properly.
f) Delete this post and pretend nothing happened.

Poo.
 
You could plug and redrill. Is the floor of the station to be painted? A bit of JB Weld can hide a myriad of sins.
It's coming along real nice.
Regards
Ernie J
 
Heya Zeep, why not simply rotate the near one 180* so it is a mirror of the opposite side and call it a day. So it now becomes a rear entry ( :eek:) cabin as opposed to one that gets stepped into towards the front. That or make up a pair of new handrails and move on. Too bad, those tiny holes are a son of a gun to drill. (don't you know it already)

BC1
Jim
 
Yeah, what's wrong with the far handrail? You've improved it, in my ever-so-valuable opinion. ;D
 
Zee,
I'd have to agree with BC1, just flip the near handrail and make it rear entry. Then the build will be uniquely yours.
 
Thanks Ernie, Jim, Vernon, and Kevin. That's exactly what I was thinking...drill some new holes in the front of the cabin and mount the hand rail like the far one in the pic.

I was having dinner with the family tonight and had brought up the loco to show them my progress and 'disaster'...all through dinner I was looking at it. And looking at it...and looking at it...something was bothering me...something wasn't right...

Darn it...'bum-ness' had paid an earlier visit and I hadn't noticed. Is probably why I got a second visit. If you look at the front of the loco...the plate that holds the front buffers/bumpers...it's mounted 0.1 too high!!! How can that be? (Don't answer that...I know why.) Rats Rats and Rats. ;D
 

Latest posts

Back
Top