Briggs & Stratton 6S - A Beginnig

Home Model Engine Machinist Forum

Help Support Home Model Engine Machinist Forum:

This site may earn a commission from merchant affiliate links, including eBay, Amazon, and others.
Absolutely stunning crancase so far. I still get nervous doing real basic jobs. That is mint
 
b.lindsey said:
This weekwnd I made the valve cagesfrom a couple of 4" long pieces of oilite bearing bronze I have had for at least 10 years.
I think of oilite bronze as the porous oil-filled stuff. Is that what you used? Just askin' :eek:
 
rklopp said:
I think of oilite bronze as the porous oil-filled stuff. Is that what you used? Just askin' :eek:
thats right, ive used it for bushes before, it is wet with oil when you machine it, especially if it gets warm!, im guessing there are various grades though? not sure how this will affect the seal on the valve seat though? Great stuff thus far though, im am watching with great pleasure.
 
Thanks to all for the comments. Yes it is the oil filled bronze, basically oilite bushing stock and when it gets warm it does indeed "sweat" some oil. That was the main reason I used it, because the lower portion that the valve stems ride in get little lubrication otherwise. I am doubting it will affect the valve seal very much. On the intake side the gas air mixture should disolve it and burn it off in the cylinder. On the exhaust side I can't imagine the minute amount of oil causing a problem beyond the normal residue contained in the exhaust gasses. Time will tell though. The wall is so thin up there that there can't be that much oil to weep out ...or at least that is my thinking.

Bill
 
Hi Bill,
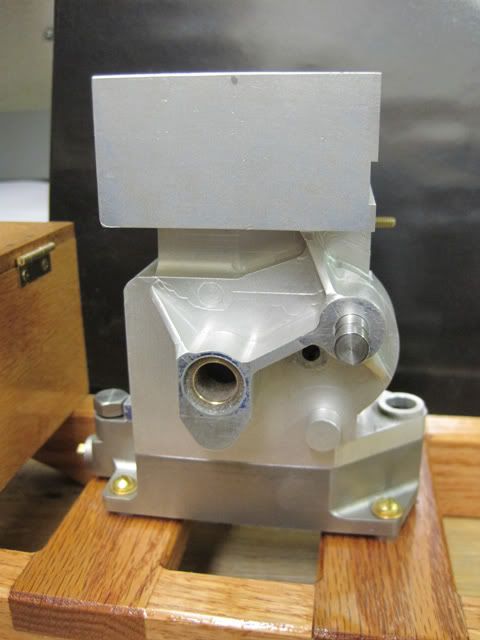
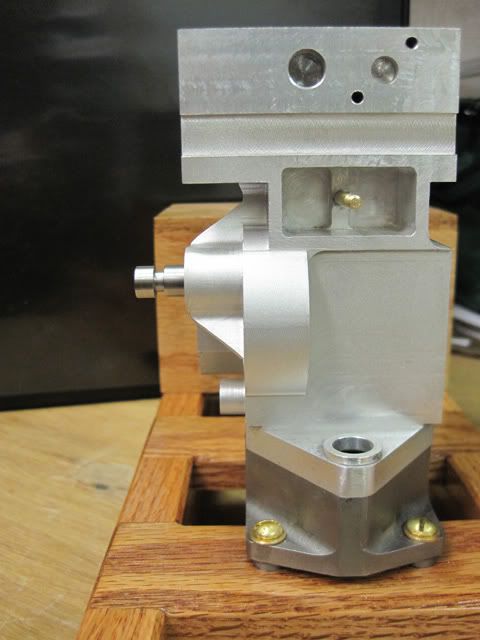
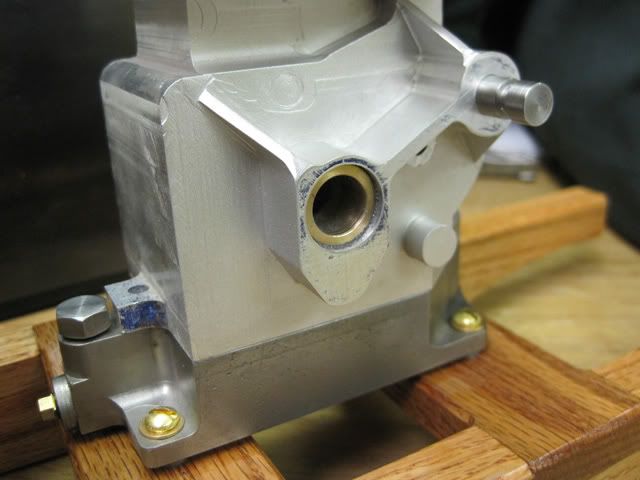
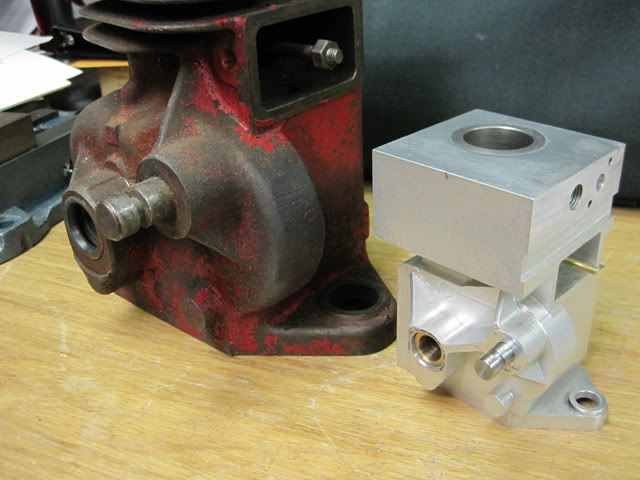
Having never used sintered bronze bearing material for valve cages I'm certainly not one to qualify it but I have used and machined the material over the years. My question is given the manufacturing process of sintering, small particles fused together with air spaces between, I just wonder how the valve seat area will seal and hold up both initially and over a period of time. I would have thought that a bearing bronze like
SAE 660 would be more than adequate. Just my 2 cents worth.
gbritnell
 
Hey George, you may well be right. I have some bearing bronze too so I may try making one out of that and then compare the valve seat area to the oilite.My concer was focused more on the valve stem wear but as you and others have pointed out in numerous threads, the valve seat is the more critical area and if that doesn't work the wear is a moot point anyway :)

At least those pieces of "oilite" won't be sitting there tempting me anymore...lol

Regards,
Bill
 
I have found oilite to be quite abrasive when machined. I think it is due to copper-tin intermetallic particles formed during sintering. I made my Upshur twin valve cages from silicon bronze, which is way harder than oilite or SAE 660 bearing bronze.
 
b.lindsey said:
At least those pieces of "oilite" won't be sitting there tempting me anymore...lol

Regards,
Bill
exactly, get them used up!
 
Progress has still been slow in the last week or so getting ready for some rather major renovations to the lab areas at work which has required packing up and emptying out some 6 rooms. Not fun but necessary. On the plus side new equipment has started to come in, 2 mills and one lath so far. Hoping to get two more mills by mid month which will finish out the machine shop lab with 6 mills and 3 13x40 lathes, in addition to the surface grinder, mig and tig welders, and other assorted sheet metal gear.

The back side of the crankcase is all but finished with the exception of putting the angles on the three reinforcing webs. I am headed out of town today until sunday, but come monday work will commence on the head portion of the crankcase, giving it that triangular shape along the back edge, and then cutting the fins and boring out for the valve cages and mounting holes for the cylinder head. Sounds like a lot but the set-ups will be similar for both shaping and cutting the fins. A couple of pictures follow. At least it is beginning to look more and more like the original and the upcoming work on th eupper portion should amplify that even more.

I did order and have received a piece of SAE660 bronze for remaking the valve cages which will also be done as soon as i return.


IMG_0579.JPG


IMG_0581.JPG
 
:bow: Looks great Bill ;D

Kind regards, Arnold
 
Looking Great Bill!

I would advise against using Oilite for valve cages. I used it once in a feed pump bushing. What I found was that due to the porosity, it was ...well....POROUS!....water pumped right through it with a 1/16" was section. I would imagine air would move even easier.

The 660 bronze was the better choice ......I think anyway.


Dave
 
Yet a little more progress on the crankcase, in this installment the reinforcing ribs have been angled and smoothed out and that side of the crankcase has been lightly bead blasted to remove the layout dye and to begin removing some of the machining marks. The balance of this work will wait until the top section and fins are cut in order to give the whole part more of a casting look. I knew this was going to be a bugger when I started and it hasn't disappointed, but amazingly enough I still haven't killed it yet and its looking more and more like the original as well. Here are a few pictures from this latest progress.

Crankcase001.jpg

Crankcase002.jpg

Crankcase003.jpg

Crankcase004.jpg
 
Sure looks the part, Bill. Hope you get some more time in the shop. I'm waiting to see the fins done here, and that's going to completely change things appearance-wise.

Dean
 
looks fantastic :bow: :bow: :bow:
 
Thanks Dean and Metal. Shop time (read work duties) has been the problem still but easing off somewhat. Not all bad though...yesterday a colleauge and I traveled over to western NC to visit one of the GE Aviation plants where all of the compressor and turbine stage discs are made for their entire line of commercial jet engines. Row after row of vertical CNC lathes...CMM and manual inspection stations...two broaching lines where the dovetails are broached into the discs for holding the actual blades in place. A CNC deburring/chamfering machine after the broaching is done. And all of this is done in solid titanium for the compressor discs or Inconel and other high temp materials for the hot end turbine discs. Scraping a 50 pound chunk of titanium for an out of spec disc would tend to get costly...fortunately it doesn't happen often. The only aluminum I saw was for making the nose cone at the very front of the engines, where they paint the spiral do-dad that you can see as a jet comes in to he ramp and the engines spin down. Needless to say, they look MUCH bigger being turned than they do looking out the gate window at the airport !
 
Bill

That is looking positively awesome....and though walking through the GE plant is cool, I'm ever more content watching the progress on this little honey.....great job and keep it coming! ;D

Dave

 
The engine has been hiding in that chunk of metal all the time. The trick is to just remove the excess metal :big: and what a great job you're doing ;)
 
Dang, Bill, you're really doing a nice job on that cankcase. Can't for the life of me see how you managed to whittle that jewell out of that chunk of aluminum.

Chuck
 
In carving out the top of the crankcase the center of the radius is offset by 1/16" from the center of the cylinder bore. In order to locate this closely I made a plug for the bore and used a center drill to mark this offset location. While still in the same orientation on the mill, I machined a flat along the opposite side which was used to orient the plug correctly. This is shown in photo 1 using a square to orient the flat perpendicular to the still square front of the crankcase. The plug was then taped to keep it from rotating. Photo 2 shows the crankcase on the rotary table which had been centered with the spindle. The center drill was then used to locate the case the required 1/16" to the left while keeping the right edge as parallel to the "y" axis as possible. Once the crankcase was clamped down a dial indicator (not shown was used to adjust the RT until the right edge was perfectly parallel to the "y" table axis, then resetting the RT witness mark to the nearest degree which happened to be 1 degree. From then on it was just a matter of removing metal to the desired radius. Photo 3 shows the end of this process.


IMG_0598.JPG


IMG_0599.JPG


IMG_0600.JPG
 
The next three photos are just from various angles once the machining was done.


IMG_0601.JPG


IMG_0603.JPG


IMG_0604.JPG
 

Latest posts

Back
Top