Brian Builds the Kerzel Hit and Miss I.C.

Home Model Engine Machinist Forum

Help Support Home Model Engine Machinist Forum:

This site may earn a commission from merchant affiliate links, including eBay, Amazon, and others.
Brian Rupnow said:
Sigh of relief!!! I have my compression back. Pulled out the copper gasket and replaced it with the treated cardboard gasket material. I am waiting now for my sparkplug boot and ignition wire, fingers crossed!!! My belief is that on a small engine like this, where the head is held in placewith six #5-40 shcs., you simply can't apply enough torque to get a seal on a copper gasket no matter how soft it may be.

Brian, Your right you can't get enough torque on aluminum, at that point you will damage the threads. Every bolt size has a corresponding torque spec based on the material its threaded into. On small bolts like 4-40 and 5-40, 3 to 4 INCH pounds of torque is about the maximum a soft metal like aluminum can take. Copper and aluminum gaskets used on oil drain bolts (for example) have a smaller surface area, and the bolts have a much larger thread. They require a much higher torque to 'crush' the seal, making it effective. I rarely found it necessary to use any type of gasket on the engines that I built in the past. On a few occasions when I saw a minor leak, I used a paper thin layer of 'silicone gasket compound' dabbed on with the tip of my finger. If I used 'gasket paper' it was strictly for the added cosmetic touch. I'm not saying that using gasket paper is wrong under any circumstances. I'm just saying try it out next time. I prefer to use a red high temperature silicone gasket compound. Its a quick, easy, and effective solution for all you 'sealing' needs.

-MB
 
A carpenter I am not!!! But----I don't have any real work right at the moment, and boredom is a great incentive to do SOMETHING!!! I hunted around in my shed and found the end of a spruce 2 x 6 plank. Spent 15 minutes with one of my body sanders (Yes, I went through a custom auto painting phase about 35 years ago---Can you say Metalflake???) and sanded a nice smooth finish on it. Marked and cut a hole to accept my ignition coil, found a 1/2 pint of dark stain from some other long forgotten project, and --Voila'---I'm on my way to a custom base with engine, coil, and switch all nicely mounted on it. The wooden base will want 5 or 6 coats of Varathane to "oilproof" it and then I should have something that looks decent.
woodbase-2001.jpg
 
So there we have the wooden base. Two coats of mystery stain and two coats of clear Varathane. and a nice aluminum trim ring to go around the ignition coil when it sets in that rather ragged, rat chewed looking hole in the base.
woodenbasevarathaned001.jpg
 
Okay Guys and Girls----Since this truly is a work in progress, and I am still waiting for my sparkplug boot before I can do anymore with the engine itself, I am muddling ahead with the engine base. The pictures show how the engine and ignition coil will be arranged. I like this set-up, and the ignition coil is in great proximity to the sparkplug. The wire hanging out the opposite end of the engine will be routed straight down through a hole in the base and travel through a channel cut in the underside of the base. I'm not crazy about the fact that the wires to the coil are stuck right up top, but you work with what you have. I want an on/off switch and a light that reminds me when the switch is on or off. I may fabricate a coil cover with only a single hole in the top to let the coil wire feed out to the sparkplug, and has the switch and light mounted on the cover. That way the only visible wires will be the two leads which must run down to a 12 volt battery. One of the drawbacks to that plan is that I have no facilities here to weld aluminum, and if I make a cover from mild steel it will need to be painted.--Jury is still out on exactly how I will do that---I'm making it up as I go along.
ENGINEONBASE002.jpg

ENGINEONBASE001.jpg
 
Brian,

The coil will work upside down if you want to hide the wires.

Ian
 
So---Dream with me a little bit---I like the coil in the position shown.---but I don't want visible wires---And I don't want some big clunky box like affair around the coil. I went down to the hardware store today and bought an illuminated push/pull switch for the engine ignition.---Now, letting my imagination run wild------What if, instead of using wires to the coil, we used 1/2" x 1/8" polished brass---with a few holes added to be decorative---. I would have preferred to use copper, but my local supplier didn't have any. I'm pretty sure brass will carry the current adequately. No chance of electrocution, as its only running off a 12 volt battery. This way we make the ugly wires into a nice design element. Ignore all the wild colours.--I do that to get good "visual definition" in my models as I create them. The blue (cyan) coloured plates that the coil feeds pass through will have to be made from non conductive plastic---or--not touch the trim ring around the base of the coil. (don't want a short circuit!!!) All of the actual wire connections will be made in a cavity hollowed out in the underside of the wooden base.
ASSEMBLYWITHCOILANDSWITCH.jpg
 
Brian, it looks great already, but just some thoughts... Maybe a couple of hollow brass posts, with or without some fancy old-fashioned turnings on them, to hide the wires to the coil. Knurled nuts on the coil connections. A brass jacket for the body of the coil.

Rudy
 
Okay guys---Its one of those things that seemed like a good idea at the time. I will have to think on this some more.---Brian
 
I have an alternate design in mind---(never takes me long) BUT---It requires some type of readily available, machineable, non conductive plastic. UHMW comes immediately to mind, but you can't paint UHMW. Type 901 Blue nylon would be excellent also, except that its , Ummm---Blue!!! And it can't be painted either. I need something preferably in black, that is 1/2" thick x about 3" wide, can be machined, and doesn't have to be painted at all. I just don't have any idea where to get such a thing around Barrie.--I know that the local SMC pneumatics supplier uses some type of rigid plastic.---I'll have to call him tomorrow.
 
Brian, you might check with your local UHMW supplier...at least around here my supplier ise to have it in black as well as the natural white color. Ehey also carried green but that was reprocessed material and wasn't a very consistent color/ What about phenolic sheet. Not sure of its availability but its a thought.

Bill
 
Brian Rupnow said:
No chance of electrocution, as its only running off a 12 volt battery.
No real chance of electrocution, but the coil primary has approx 300 volts kick itself when the magnetic field collapses during firing. It will have nearly 400v full time if your doing a capacitive discharge type ignition, and thats AC voltage, which heightens the chance of electrocution there. Its a pretty good poke, nonetheless.
 
I've been thinking about this while the wife and I watched Jeapardy (Thats become our "together" thing each day---I'm getting old!!!) While I am definitly not a woodworker, I think it would look great if I made it from wood and stained it to match the base. Wood is basically "free" around my shop, left over from various projects, and its a good insulator. I'm thinking of a shape somewhat reminiscent of a Model A Ford distributor cap (Told you I'm getting old) with the large diameter covering the top of the coil, and the arms extending out each side to cover the ----Oh hell, I'll model it and post it---thats easier than explaining.
 
So this is what I meant. The coil cover is 3/4" thick wood and is hollowed out on the underside to clear the connector posts. The dowels are 1/2" dia. wood, drilled out to 3/16" to allow passage for the "wires". The wires are actually 1/8" dia. steel rods with brass tabs soldered on the top to go across to the connector posts on the coil. They extend through the wooden base to a hollowed out channel on the underside where my true wire connections are made to the switch and to the ignition points. The wood will receive the same stain and clearcoat as is currently on the base. More "woodwork" than I really like, but should look good and be sparkproof.
fullassywithwoodcoilcover.jpg

 
Hey!!!! This woodwork thing might actually work. The two 1/2" dowels are drilled out and the 1/8" rods leading up to the straps which go to the coil are finished. The only thing I don't really like is that once I've sanded the wood, I can't touch the friggin stuff with greasy fingers!!! I want to get the top part done now so I can get a coat of stain on it to dry overnight.
WOODWORK-1001.jpg
 
Well Dang--I'm impressed!!!---But then, I impress pretty easy!!! Now its off for a coat of stain and I'm done for today.
woodwork-2002.jpg

woodwork-2001.jpg
 
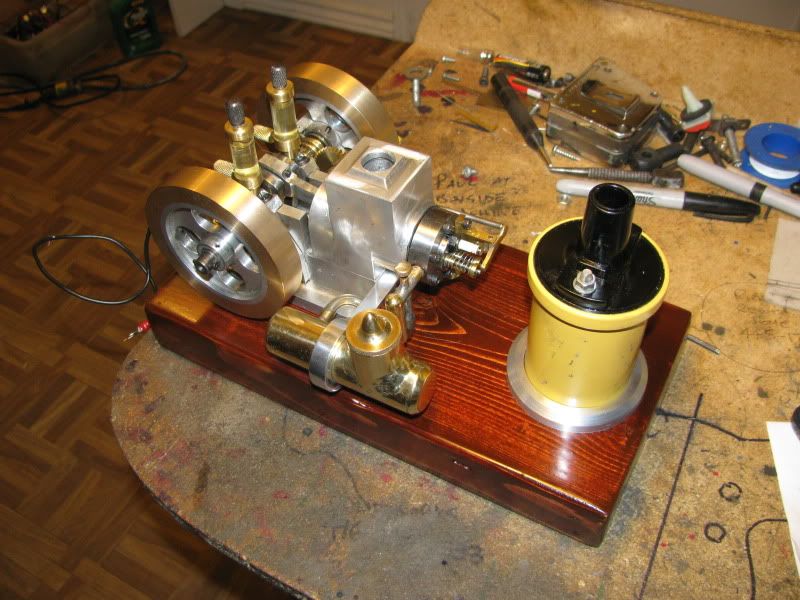
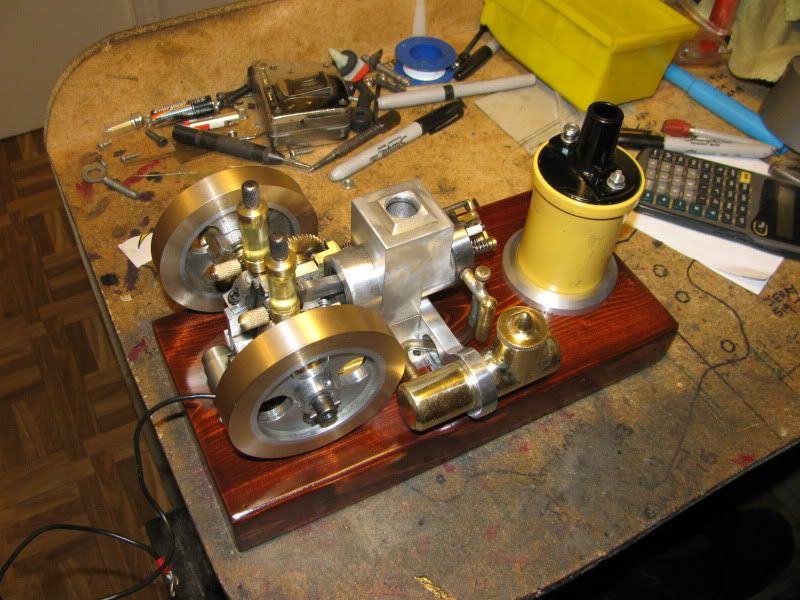
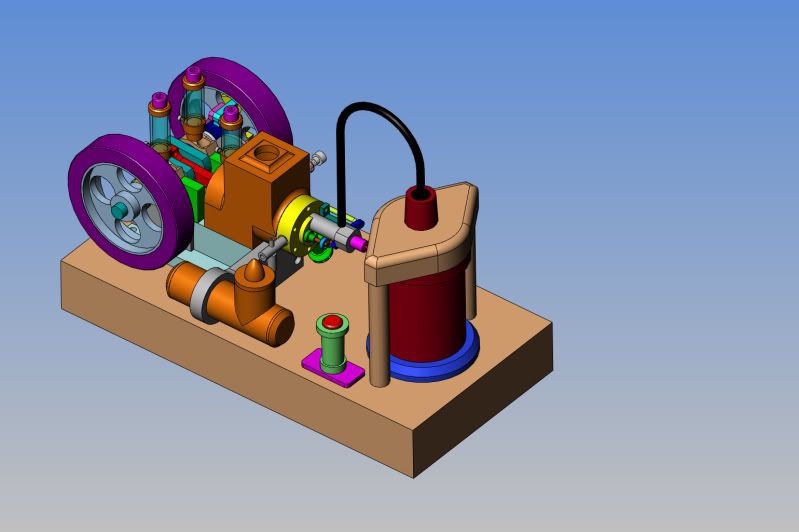
Brian, when I first saw the coil just jutting up there (I'm just catching up with this after a couple of weeks), I didn't like the appearance and was going to suggest disguising it somehow, I like your solution. I also like the brass or copper high voltage conductor idea, just like the old Mod.A. You'll probably get a blast out of it, but it keeps the old heart pumping. When I was messing around with my H Ford engine, using a buzz coil, I electrified the entire top of my SS work bench, got a real blast out of that. I couldn't touch the work top, engine or any of the wires.
GUS
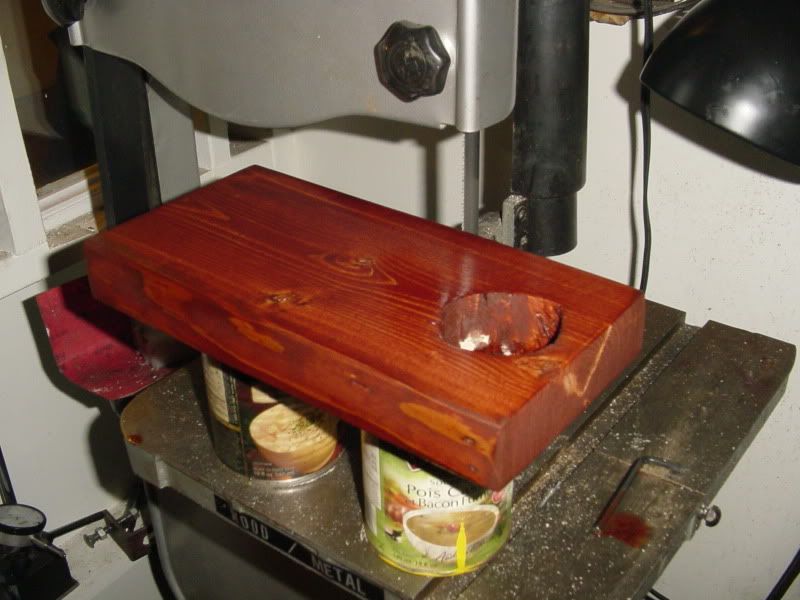
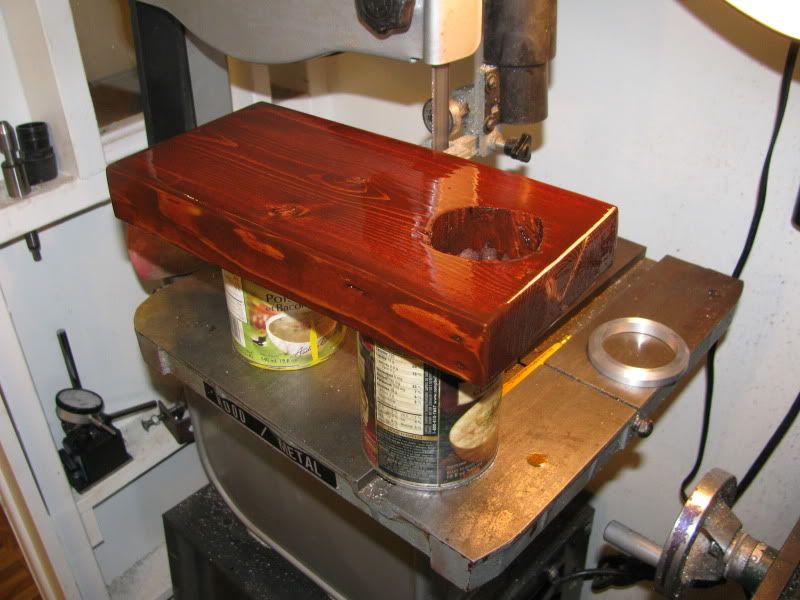
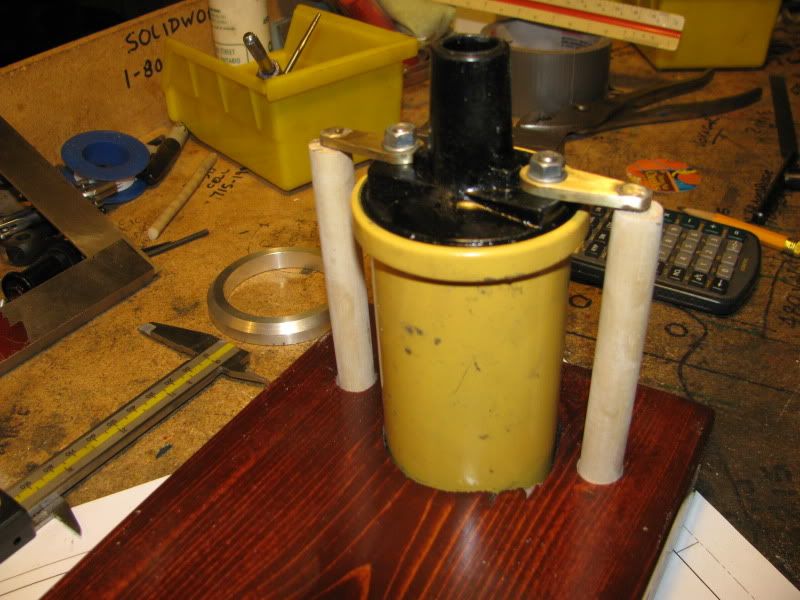
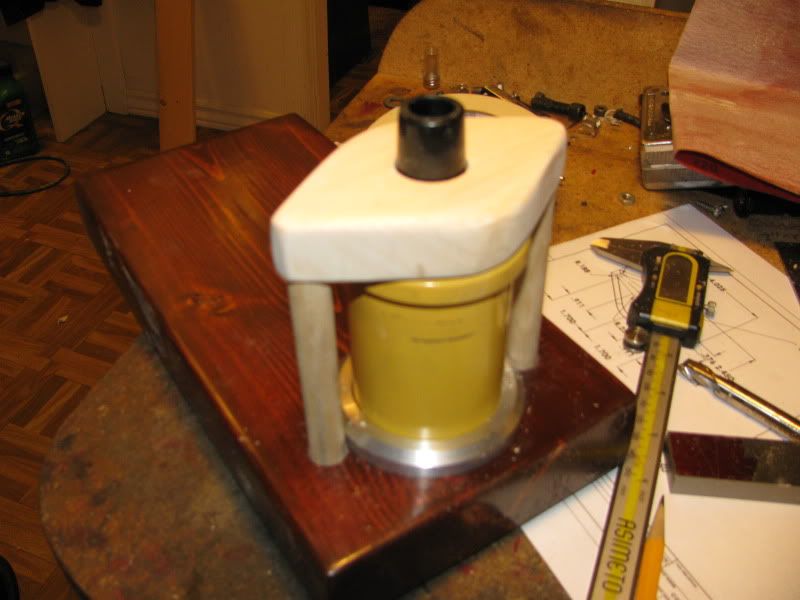
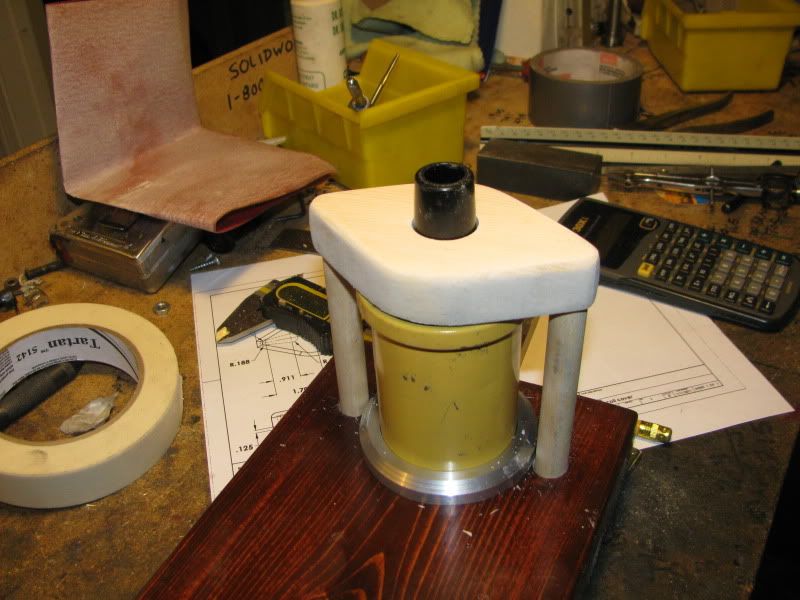
PS: I'm a carpenter, you did a nice job on the base and coil cover, and was free too. ;D
 

Latest posts

Back
Top