Brian Builds the Kerzel Hit and Miss I.C.

Home Model Engine Machinist Forum

Help Support Home Model Engine Machinist Forum:

This site may earn a commission from merchant affiliate links, including eBay, Amazon, and others.
I'm not quite "there" yet, but I'm getting close. My new woodwork needs a second coat of varathane yet, but I had to do a bit of trial assembly to figure out where to put the channels in the underside of the base to run all my wiring in. I have the sparkplug boot and wire in now, so I have a bit of a push on to get finished up and have another go at getting the engine to run properly with its new sparkplug and gas tank.---And I think I am going to have to paint the coil something else other than that ugly yellow!!!
WOODWORKALLASSEMBLED001.jpg
 
It really looks great Biran!

I like the color that the wood turned out. Looks great with the brass.

Is any of that (Yellow Covering) paint going to make its way on to the engine?

Kel
 
Brian Rupnow said:
No Kel, I don't like that yellow.

Brian, I was referring to the paint you are talking about using to "Cover Up" the yellow. (Yellow Covering) Will you be painting the engine too?

Kel
 
If you want to keep it unpainted you could always polish up a bit of brass sheet and lag the coil? Or Engine Turned brass around it?

Nick
 
kcmillin said:
Brian, I was referring to the paint you are talking about using to "Cover Up" the yellow. (Yellow Covering) Will you be painting the engine too?

Kel

I don't plan on painting the engine at all. Tonight I spray painted the coil flat black. The centerpeice of this display is the engine, not the coil. I could have made an aluminum coil cover, but really, didn't want to draw attention to the coil.
 
Hollow out the base. Put the coil under the base. A little mill time outta make a nice pocket in the base for the coil.
 
Yeah I quite like the box arrangements where everything is hidden underneath baring a wire poking through to the spark plug. but it's different seeing the coil and I like your design.

Nick
 
So here we are, with all the woodwork finished and the coil painted flat black. The switch is in place, but I have to machine a brass or aluminum mounting plate for it tomorrow. The channels to hold the electrical wiring are all machined into the underside of the wooden base, and I will complete the wiring tomorrow. The wire which is trailing off the back of the engine will be routed straight down through a small hole in the base, and so the only visible wires will be the sparkplug wire and the wires which lead to the 12 volt battery. Also, since the ignition wire to the sparkplug is only about 0.100" in diameter, I will make a wooden reducer bushing to place in the end of the coil which has a 0.48" hole in it for a standard automotive sparkplug wire.
blackcoil001.jpg
 
Finally, the base is completely finished. All of the woodwork is finished. (even the reducer fitted into the end of the coil). The wiring is all completely hidden in grooves cut into the underside of the base, held in place by a liberal application of silicone. The two brass "fingerwheels" which you see at the end of the base are there to hook up leads from a 12 volt battery. The switch is an "illuminated" type on which the end lights up when the switch is in the "on" position. I am now ready to take up the good fight again and attempt to get the engine running in true "hit and miss" mode. First however, I'm off to the hardware store to buy a good fire extinguisher for my office. I have two out in the main garage, however its 40 below out there so I've been doing all the previous "first runs" on the desk in the corner of my office. The base became a project all its own while I was waiting for my sparkplug and ignition wire to come in from Washington and Ohio respectively, and I also found time in there to install a quick change toolpost on my lathe. Now, back to work.---Brian
BASECOMPLETELYFINISHED002.jpg

BASECOMPLETELYFINISHED001.jpg
 
CLICK ON THE PICTURE---ITS A VIDEO--The engine is all back together and running good with the new sparkplug. The needle valve is horribly sensitive--You find the setting where it runs well, and don't dare change it even a cats whisker to either direction or it shakes and dies out. I have to put a spring on the needle so it doesn't shake itself out of adjustment. Big question---How the devil do you slow these things down???? Since it seems that there is only one setting where the engine runs consistently and well (Thats the speed its running at in the video), do I want to mess with the ignition or valve timing to slow it down, or leave it set at that speed and depend on the Kerzel lever to put it into hit and miss mode? I'm sure that going in and out of hit and miss mode wil slow it down considerably. I'm breaking new ground here (for me) and would appreciate one of you chaps who have succesfully built and run these hit and miss engines giving me a heads up---What do I do now???----Brian
 
The whole package looks great Brian! It will look great next to all the other goodies on your shelf.

It is running really smooth, although fast, but I am sure you will get it running in hit and miss mode no problem.

Kel
 
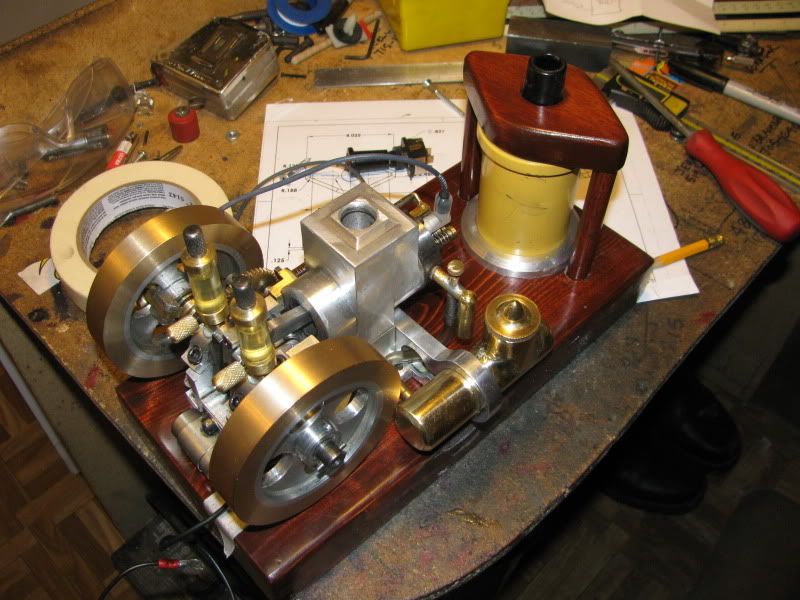
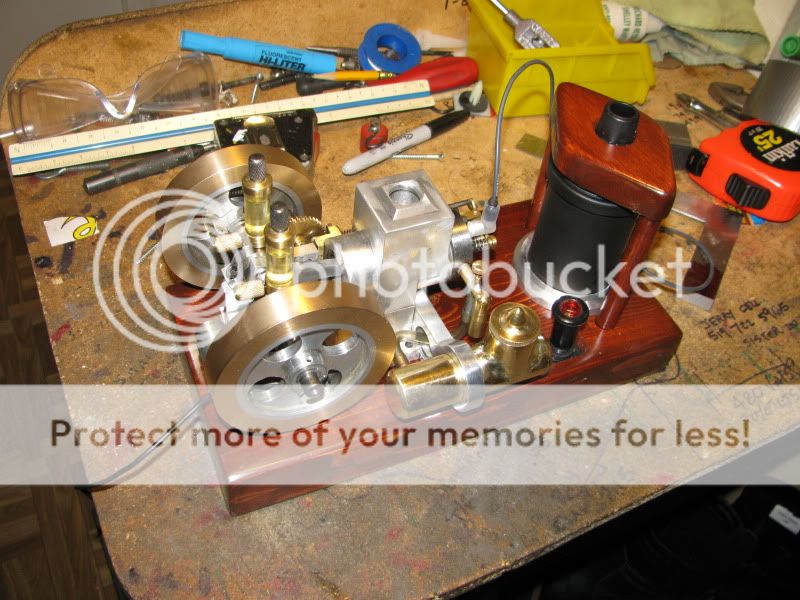
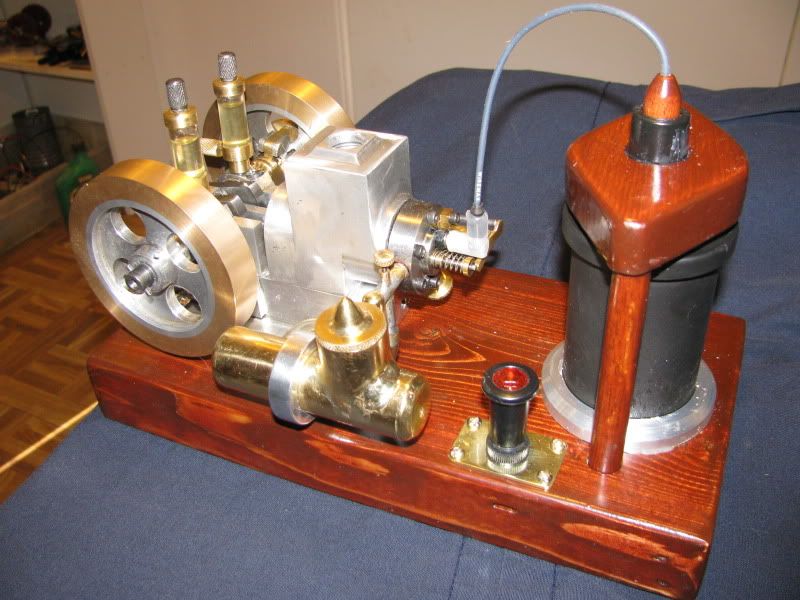
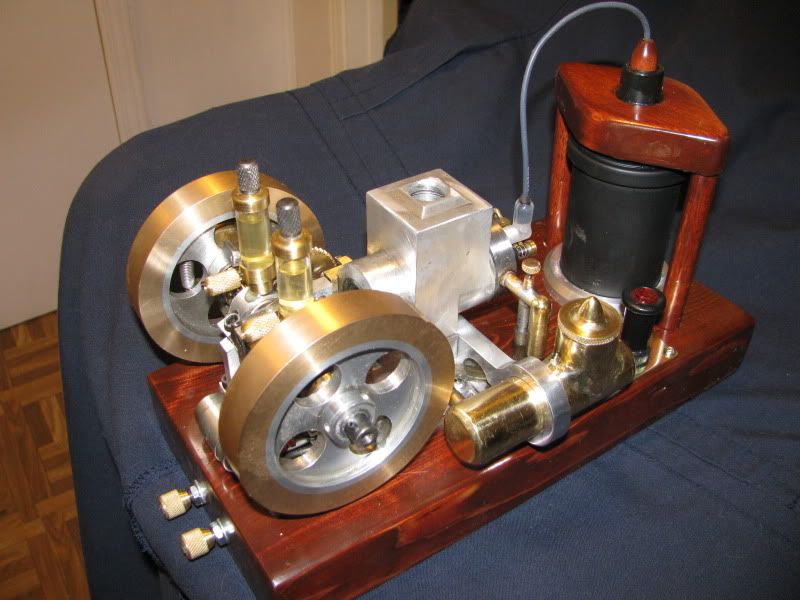
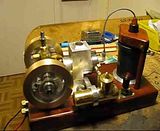
I think the next step will be to go to stronger governor springs. I put a second spring on the very end of the hit and miss lever to assist the current governor springs.--This would in theory keep the engine from going into hit and and miss mode at too low an RPM. What I find though, is that the pressure from this secondary spring puts quite a heavy drag on the sliding spool as it fights against the governor weights trying to move the spool into the "miss" mode, which in turn prevents the engine from speed ing up at all, and it just can't sustain enough RPM to keep running. The thing is with the new sparkplug, once I find that "sweet spot" in the needle valve adjustment, it will run for hours, whereas before, with my own home built sparkplug I could never get it to keep running. This could have been the fault of my sparkplug, or it could have been from having the fuel tank set too high. I will never know now, as I replaced the sparkplug with a store bought one and made a new lower fuel tank at the same time. Making two changes at once makes it impossible to exactly diagnose what the problem was. However, there is clearly visible erosion of the corian at the tip of my homebuilt sparkplug, so I am not in the least sorry that I went to a purchased plug instead.
 
Brian, as aermotor8 says, you need to use weaker governor springs to slow the engine down. You basically want the governo weights to fly out at a lower speed and holder the exhaust valve open.

Stronger springs will make it run faster.

Chuck
 
Brian, the helper spring on my Upshur is just barely strong enough to push the lever back away from the pushrod, and is only there because the bobbin (or spool) on the crankshaft is not pulled back toward the flywheel by the governor weight arms. With your design, it looks like it is, so do you really need that second spring at all?

Rudy
 
ONYA Brian - you are sooo close now! Thm:
 
This is difficult to explain. I want to eliminate the spring which I put out at the end of the Kerzel arm completely to remove the bind it is putting on the slider spool. Although Chuck is correct in what he says, if the governor springs are too weak (as mine now are). the weights fly out too soon, so that the engine doesn't have a chance to rev up high enough to keep itself running. I need my springs to be stronger--enough so that the engine builds up enough speed/momentum to keep itself cycling thru a complete revolution. However, I don't want them too strong, because the the engine will never go into the miss cycle. Its a balancing act. I just removed one full turn from each governor spring, and formed a new loop at the cut off end. (That is much more difficult than I anticipated it would be.) I will keep removing one full turn at a time (Thus effectively making the springs "stronger") untill I reach a point where the weights won't fly out to soon, thus killing the engine, nor to late (which would either make it rev too fast or completely stop the miss cycle).
 

Latest posts

Back
Top