Brian Builds the Kerzel Hit and Miss I.C.

Home Model Engine Machinist Forum

Help Support Home Model Engine Machinist Forum:

This site may earn a commission from merchant affiliate links, including eBay, Amazon, and others.
In my opinion, too much silver solder is just enough!!! Now you can see why I left that connecting rod journal the same length as the overall crankshaft. This lets me cut the center of the main shaft away, and set it up between centers to turn all the "extra" silver solder off the con rod journal. As soon as that is finished, I cut off the extra length of the con rod journal from both ends, because I won't need it again.
builtupcrankshaftmachining001.jpg
 
After I have cut off the extra length of con rod journal, I set it up between centers again, using a lathe dog this time, and first I turn the ends of the 1/4" x 3/4" bar to a nice radius on the ends, then move over and clean up the cut off stub ends of the con rod journal and clean any "extra" silver solder off the shaft on the side nearest the tailstock. Flip it end for end one time to clean up the side which was previously towards the chuck with the lathe dog on it. I don't have a picture of the next step, which was Mr. Crankshaft and I walking out to my big vice with Mrs. File and cleaning up the silver solder off the edges of the bar. Tomorrow I will take a peice of 7/16" round cold rolled, drill and ream it to 3/8" i.d. on the lathe, part it off to 7/16" long, and Loctite one to each side of the crankshaft, right up next to the flatbar, to fit my already reamed crankshaft bushings. (I have to open one undersized bushing by running the 7/16" reamer all the way through both bushings in place on the engine).
builtupcrankshaftmachining002.jpg
 
Hi Brian,
It looks like you've got a pretty stout crank there. Did you happen to run and indicator along it see how straight it stayed? If it's out a little it can be straightened without much trouble.
George
 
One thing I tend to do is fit a packer between the webs when doing any turning on the main shaft. If you put an indicator on the middle of the crank and just wind in the tailstock with light finger pressure you can measure the flex which then gets machined into the piece only for it to move when the tailstock is removed.

Jason
 
Pat J---no room---0.375" shaft into a .375 reamed hole. JasonB--no packer required because I was only turning away the silver solder exess. G Britnell---Didn't run a dial indicator on it, but I did set one end up in the 3 jaw chuck, and don't see any appreciable wobble when it runs.
 
Here is a picture of the built up crankshaft with the large 7/16" diameter peices loctited into place at the bearing area. Beside it is the big chunk of bronze I bought for $30 to make flywheels from---(There is enought there for a LOT of flywheels!!!)---Unfortunately, this was not the end of the story. Something was not truly concentric, and when I installed the crank in the engine, it had a bad bind part way through its rotation. So---back out to the welding bench, heated the 7/16" dia. peices with the torch to make the loctite let go, and removed them. Then made a second pair from 1/2" dia. material, loctited them in place, threw a heat lamp on it for a couple of hours to set the loctite, then put one end of the crankshaft in my chuck and machined both 1/2" diameter peices in place down to 7/16" dia. without taking the crank out of the chuck. Hopefully, this will be the end of the story, as far as crankshafts are concerned. Tomorrow I will get everything adjusted and turning freely, so I can move on to putting ring grooves in my piston and making bronze bushings for both ends of the connecting rod.
crankwithbushings002.jpg
 
FINALLY!!!! The story has a happy ending. The crank is concentric. The crank doesn't wobble. The crank spins freely. The two #10-24 shcs. that you see directly above the top of the bushings are just long enough to engage the bushings and keep them from getting out of phase rotationally----Additionally, they are "Through drilled" with a 1/16" diameter hole to provide oil to the bushings. (eventually, they will be replaced with proper oil cups as shown on the overall assembly). This has been one Hell of a struggle, but once again, old age and treachery triumphs over adversity. Now I can move on to the piston ring grooves.---Brian
crankshaftfinished001.jpg
 
I've went back and pulled this post foreward from my build of the "Webster" i.c. engine. Here is the "scoop". I went over and picked up two Viton O-rings (one for a spare), and they gave me a photocopy of the page that they based their information on. I chose a 1/16" cross section based on info posted by Longboy (Which in reality is actually 0.070"). So, based on the top line in the chart,--The groove depth should be .055" to .057" and the groove width should be 0.095". A Viton o-ring is good for temperatures up to 400 degrees F.You can see one of the o-rings I got, laying on the chart in the top right hand corner. The new o-rings I got for the Kerzel engines are 1/16" cross section, x 3/4" o.d., so the information regarding the width and depth of the ring groove shown in this post are still valid.
o-ring001.jpg
 
Since the connecting rod is going to have a bronze bushing in it, the bushing has to be split into two peices, just like an automobile. I have never attempted this before, but this is what I did. I reamed the hole in the big end of the con rod to 7/16" diameter, with the cap firmly bolted in place. I then took a bit of 3/4" 660 bearing bronze I had left over from building the crankshaft bearings and turned the o.d. to 0.438" diameter. Then, while still in the chuck, I drilled the center out to 0.350". I set it up in my mill vice and machined exactly half of 7/16" away from one side. Then a trip to the bandsaw to part them off, and I have two half bearing shells with a 0.350" bore. I then loosened off the con rod cap and loctited the bearing shells into place with the split aligned with the split between the con rod and the bolt on cap. Tightened up the con rod cap bolts, and now I will wait an hour for the loctite to set up, then ream the two half shells out to 0.375", which is the diameter of the con rod journal on the crankshaft.
conrodandpistonrings001.jpg
 
And here we have the piston, with the ring grooves cut with my parting off tool and the Viton o-rings installed, and the con rod with a brass bushing in the small end and the split bronze bushing in the big end (Not reamed to 3/8" dia. yet.)
conrodandpistonrings002.jpg
 
IT ROCKS!!! IT ROLLS!!! It goes round and round and makes CHUG CHUG noises!!! (well not really, that was me going Chug Chug!!!) At any rate, it all goes together, the crank rotates fully without any apparent obstructions, and I am Happy--Happy----Happy to have reached this stage. Next thing will be the two peice flywheels.
pistonandrodinstalled001.jpg
 
Playing with designs for 2 peice flywheel---bronze outer rim, aluminum center. this is simple but rather elegant.---and minimizes rotary table work.
TWOPEICEFLYWHEEL.jpg
 
Yea I'm really liking this build....nice design

Dave
 
Hi Brian,
Just think how happy you'll be when it makes it own first chug, chug sounds! The most important thing about a project like this is the amount of learning one gets and hopefully it will inspire you to future IC projects.
Looking good,
George
 
I've been a weally, weally, busy wabbit today!!!! Very pleased with the results though, and they are surprisingly heavy little devils!!! I am going to put 3 #5-40 set screws at 120 degrees apart in each hub.
flywheelsfinished-2002.jpg

flywheelsfinished-2001.jpg
 
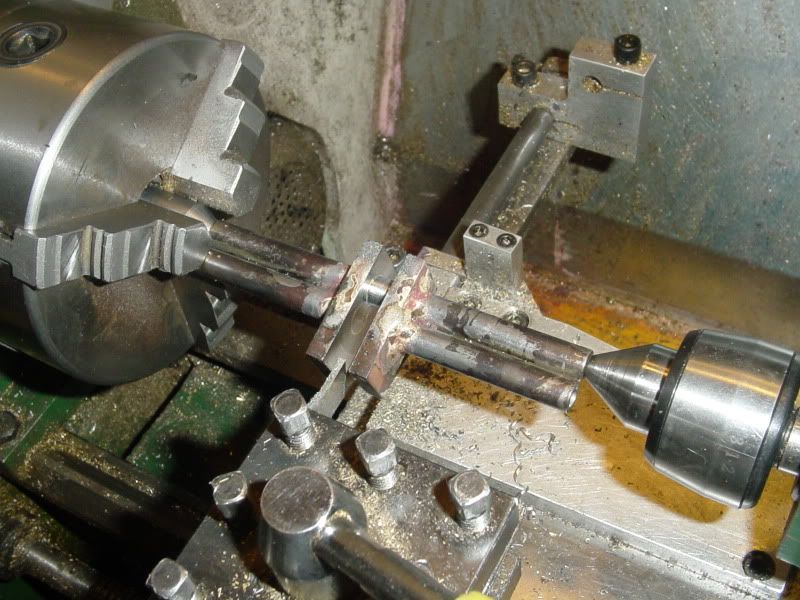
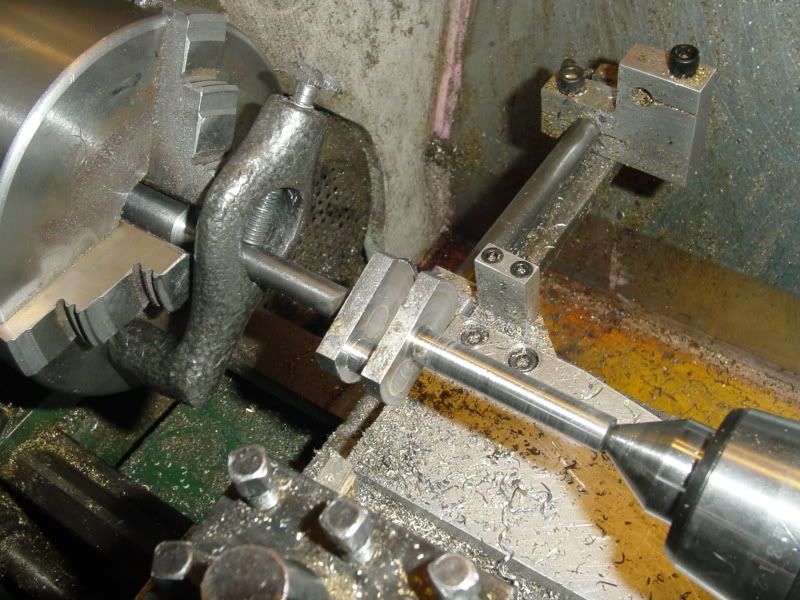
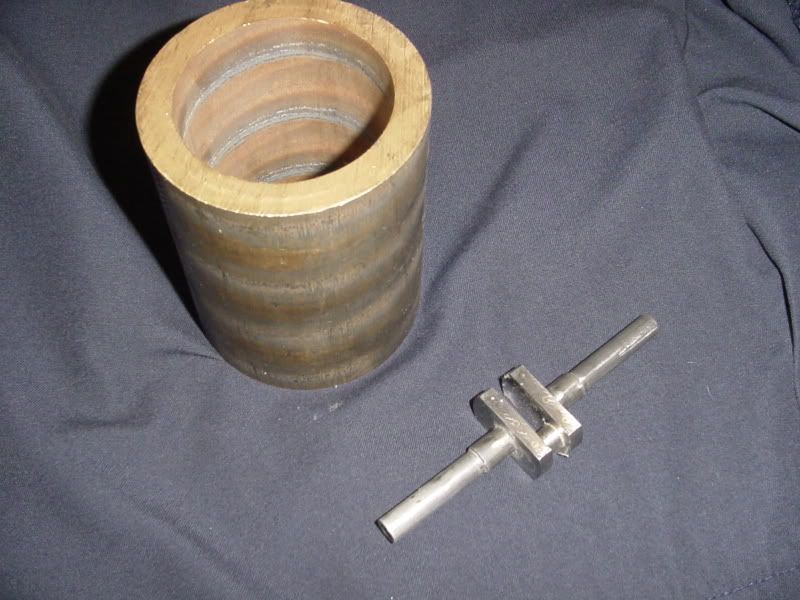
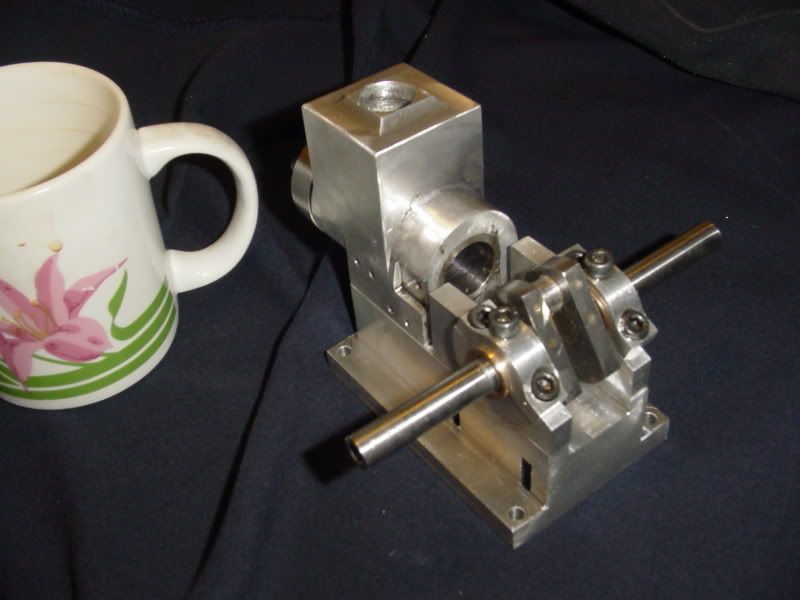
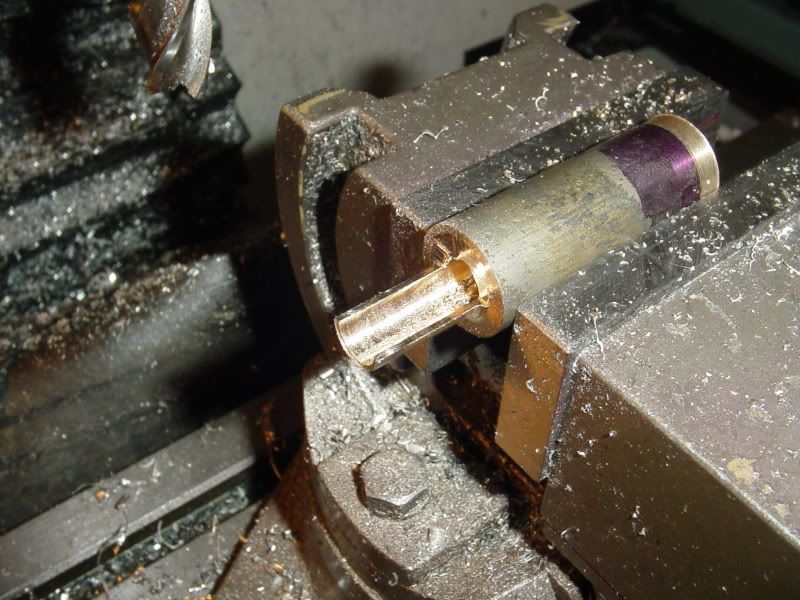
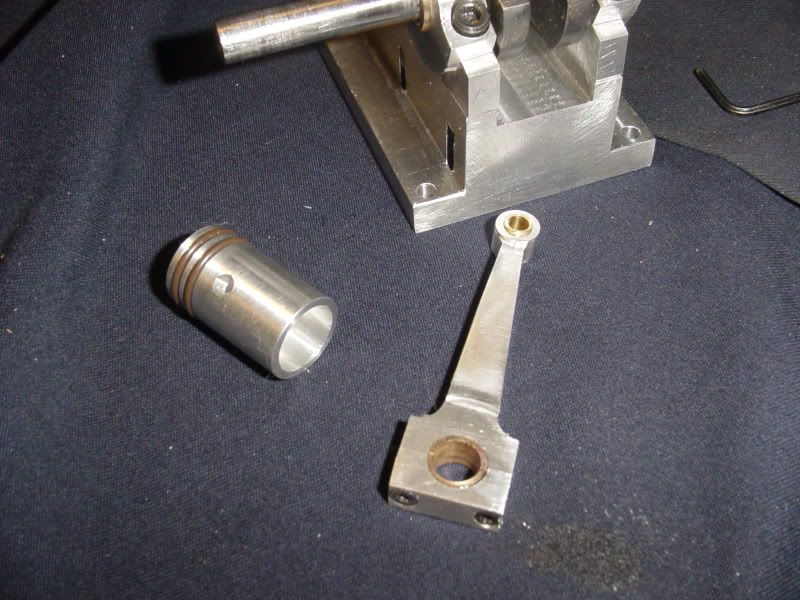
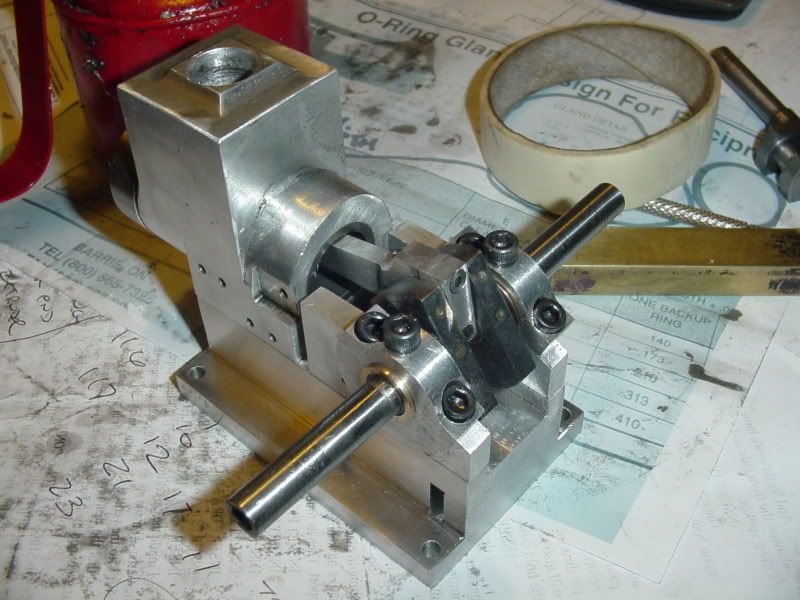
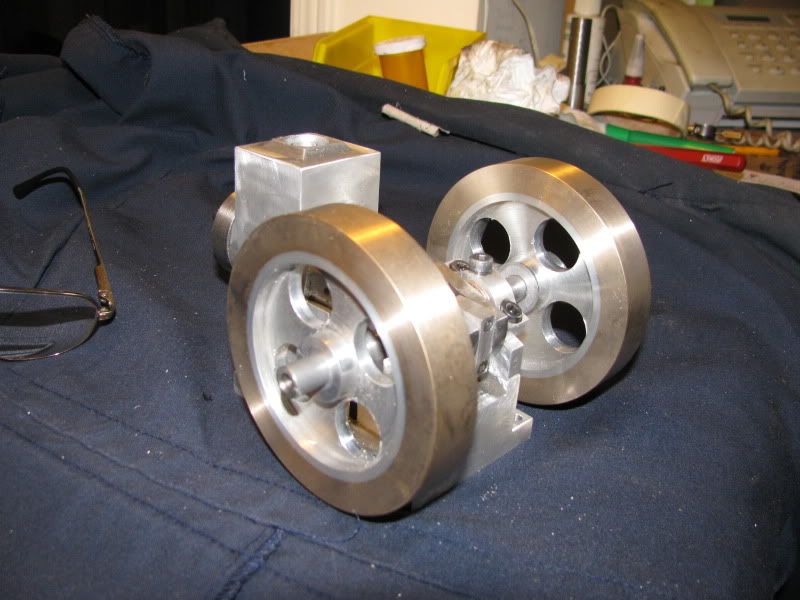
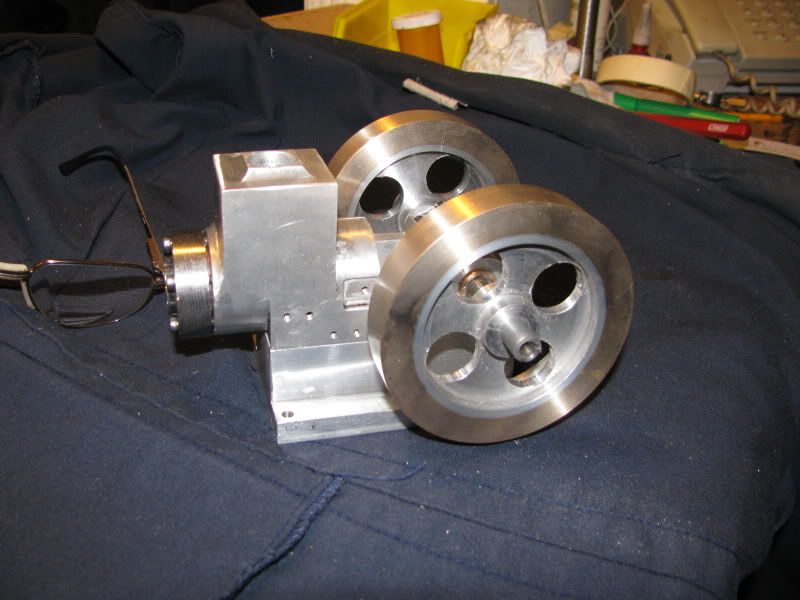
Thanks for stopping by, Zee. This is the time in a build that I really enjoy. All of the big major parts are completed, and I actually have an engine to work on. This is the eleventh?? engine I have built since I started 2 or 3 years ago, and I am beginning to get a "feel" for different stages of the build and how I react to the different stages as I reach them. For me, its exciting when I model them in 3D, as that is the first breath of creativity, even on a project like this which was first engineered by someone else. I get a rush from building the individual parts, and every time I take on another project, I have to learn more and stretch my own knowledge of machining and problem solving. I really like the "problem solving" aspect of this hobby. I've been a design engineer for so many years now (45) that the actual design of any type of machinery isn't that great a challenge anymore, although its still fun. However, this entire machining thing is very new and satisfying to me.----Brian
 
Back
Top