You are using an out of date browser. It may not display this or other websites correctly.
You should upgrade or use an alternative browser.
You should upgrade or use an alternative browser.
Brian Builds the Kerzel Hit and Miss I.C.
- Thread starter Brian Rupnow
- Start date

Help Support Home Model Engine Machinist Forum:
This site may earn a commission from merchant affiliate
links, including eBay, Amazon, and others.
- Joined
- Jan 19, 2010
- Messages
- 1,193
- Reaction score
- 41
Brian, I was faced with the same challenge when doing the valves on my Inline.
I used a loose drill chuck from a cordless drill to hole the valve stem.
Here is the series of events.
http://www.homemodelenginemachinist.com/index.php?topic=10986.30
Kel
I used a loose drill chuck from a cordless drill to hole the valve stem.
Here is the series of events.
http://www.homemodelenginemachinist.com/index.php?topic=10986.30
Kel
- Joined
- Jan 19, 2010
- Messages
- 1,193
- Reaction score
- 41
Also, for testing the valves I used a vacuum guage pump for auto use. This method also tests the valve stems.
What you see in the video is what works for the tiny IC valves. I was able to pump it up to 20-25 HG's and it should take a few seconds to drain out.
Kel
What you see in the video is what works for the tiny IC valves. I was able to pump it up to 20-25 HG's and it should take a few seconds to drain out.
Kel
Maryak
Well-Known Member
- Joined
- Sep 12, 2008
- Messages
- 4,990
- Reaction score
- 77
Brian,
I had the same problem.
My solution was to slot the valve base and lap them with a screwdriver.
http://www.homemodelenginemachinist.com/index.php?topic=5060.msg120139#msg120139
http://www.homemodelenginemachinist.com/index.php?topic=5060.msg121951#msg121951
Hope this helps
Best Regards
Bob
I had the same problem.
My solution was to slot the valve base and lap them with a screwdriver.
http://www.homemodelenginemachinist.com/index.php?topic=5060.msg120139#msg120139
http://www.homemodelenginemachinist.com/index.php?topic=5060.msg121951#msg121951
Hope this helps
Best Regards
Bob
Lakc
Well-Known Member
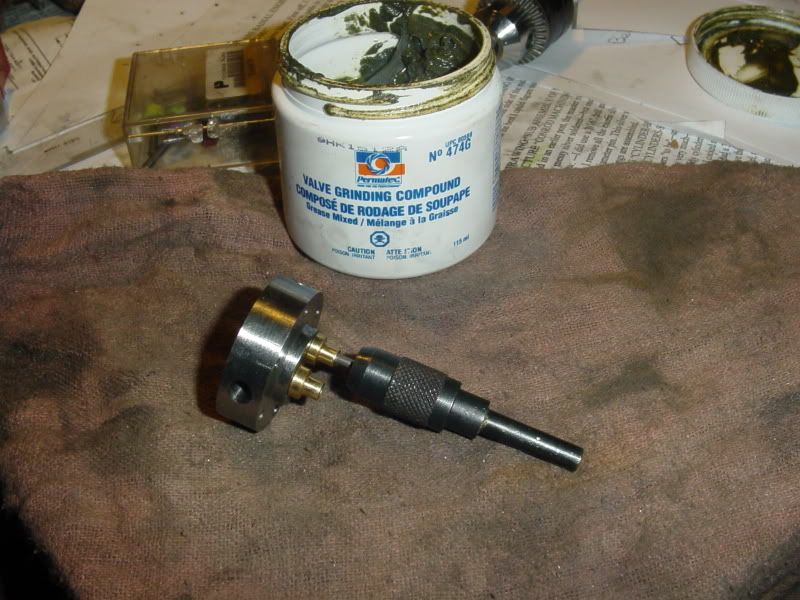
Chuck up a fresh pencil and let the eraser turn the valve, or from the backside with a pin vise holding the stem.
Great idea about using a pin vice!!! In fact, its a fantastic idea!!! I have this really crappy, non concentric pin vice I bought from Busy Bee, that is no good for anything else (In fact I thought I had thrown it out) but for this, its perfect.

zeeprogrammer
Well-Known Member
- Joined
- Mar 14, 2009
- Messages
- 3,362
- Reaction score
- 13
Lucky mouse.
I seem to have my leaky valve issue fixed. I am assuming that with a bit of run time on this engine, the valves will seat themselves even better. I know that on the Webster, after I had 3 or 4 hours of run time on it, the compression seemed to improve dramatically. This engine doesn't seem to have the same compression as the webster, but then again its brand new and the bore is only 3/4" as opposed to 7/8" on the webster. I would have to assume that the Viton rings must wear in a bit and seal better as well with a bit of run time on them. Now on to more parts manufacturing!!!---Brian
Today I finished the two main metal parts of the sparkplug. That don't sound like a whole lot of work, but I actually used up a goodly portion of the day making those two little peices. I see some Corian in my immediate future if I can find a source for it in Barrie. My valves are sealing much better now. I went across town today and picked up a #4-40 tap and the appropriate drill for it---I will use these to tap set screws into the hubs of the two gears which were made for me.---Brian
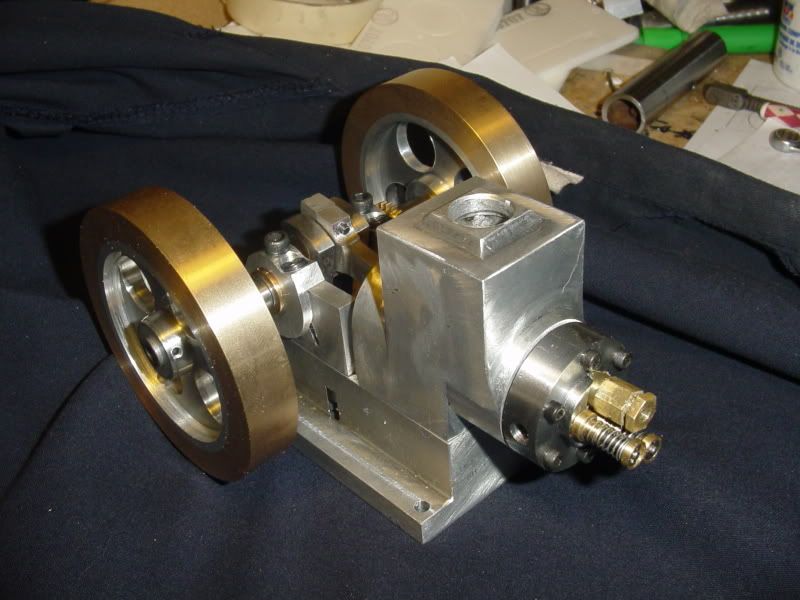

Thanks Nick, for chiming in . As I get deeper and deeper into a build, there is a phnomenon that occurs. Everyone with something to say had already said it in the first ten pages, and towards the second half of my build I hear from very few people. I love it when people drop in and leave a comment. When no-one does, I get the feeling that no one cares and that I'm working in a vacuum. I know this isn't really so, that folks are still stopping by to have a look, but I really enjoy it when people stop by and say "Hi".---Brian
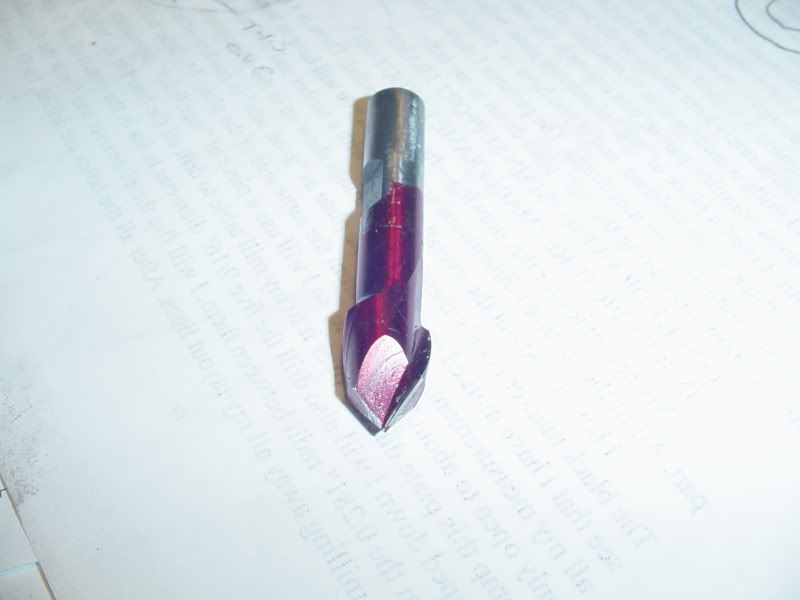
Damn---Silly bugger me!! I was on here the other day looking for a chamfering tool to cut the 45 degree angle on the valve seats in my cylinder head. I ended up using the 4 jaw chuck in my lathe and setting the compound rest over 45 degrees. This morning I found this 90 degree chamfering milling cutter in my cupboard, which would have been perfect to cut the seats in my milling machine, Its dyed red to distinguish it from my other cutters. Moral of this story----Pay attention to the tooling you already have.---Brian

- Joined
- Aug 25, 2007
- Messages
- 3,890
- Reaction score
- 715
Every once in a while, I like to go through the drawers and cabinets in my shop. It's like Christmas all over again when I find tooling and project bits that have been put away and forgotten. Unfortunate, it usually starts the wheels turning and I'm inspired to some new project, leaving current projects to languish for a while.
Chuck
Chuck
A fine gentleman from Winnipeg, Canada has just volunteered me a few peices of Corian scrap. Thank you ever so much!!!---Brian
I know the feeling you experienced in finding that cutter Brian. My Dad had been buying tools and accessories he thought I would have a use for over the course of many years. Very early on his gifts would get opened for inspection and then returned into the packaging and put away in an obscure corner or shelf somewhere as I did not have a formal work shop at the time. Upon his passing I inherited his machinist and mechanics tool boxes. By this time I had built my shop with plenty of storage and cabinet space. I made a concerted effort to locate all of the treasures he had given me over the years and relocate them to the shop and stored them away there. To this day, I still run across things that I had forgotten about and especially, in the midst of a project, will find that perfect solution in something that he had given me. Almost as if he knew that I would one day require that item. Each and every time that happens I think about him and smile and thank him out loud. I know then that he is still looking out for me and it makes the project I am working on all that more special. "pennies from heaven" I believe is a term they use for that sort of thing, if we all just take the time to realize it. Your engine is coming along nicely and it won't be long I'm sure until it is running, thanks for sharing it with us.
BC1
Jim
BC1
Jim
I spent the lions share of today making little brass bits that are all part of the exhaust valve push rod mechanism. There are only 3 bits there, along with the pushrod itself, which is unfinished. Its a good thing that I don't have to sell this engine to anyone based on the time it takes me to do things, or it would cost as much as a new 350 V8!!! I also drilled and tapped the hub on the small gear with four #4-40 threads at 90 degrees.
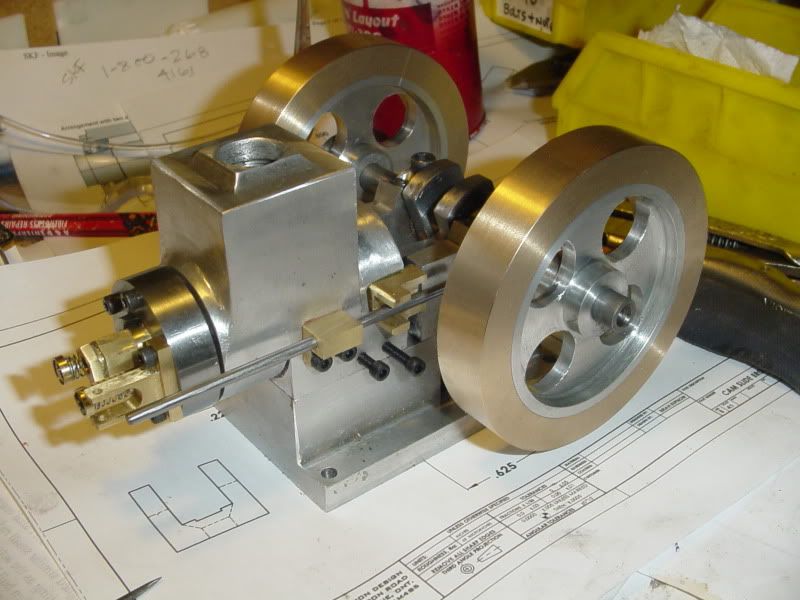

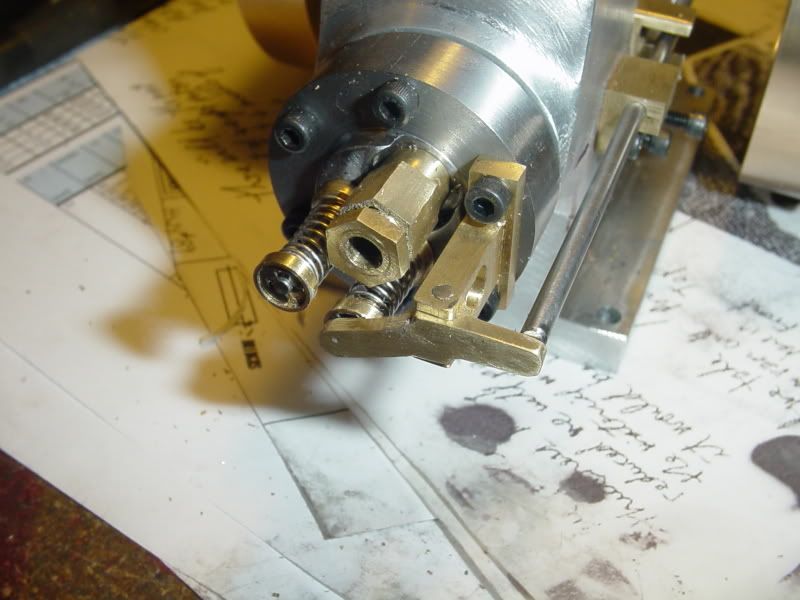
Todays offering is a rocker arm. This has an amazing number of set-ups for such a small part. And the smaller the part is, the less apt I am to be able to make it come out "exactly as per drawing'. This one will work, but its not as "in line" as I want it to be with the pushrod. The drawing was correct.--Its just that my machining was a bit off. I'm not to concerned. I will build the end that sets over the pushrod up with a bit of silver solder and file it to perfection.

Similar threads
- Replies
- 413
- Views
- 44K
- Replies
- 356
- Views
- 57K


