Back to Steam

Home Model Engine Machinist Forum

Help Support Home Model Engine Machinist Forum:

This site may earn a commission from merchant affiliate links, including eBay, Amazon, and others.
Final "running in" with all moving parts installed. Please let me know if this link works.
[ame]https://www.youtube.com/watch?v=16cjuCpjus8[/ame]
 
Today was a day for making cylinders. I made the end-caps yesterday. My back is sore and I'm going to quit for the day now. I am about half finished with the two cylinders (They are both hiding in that piece of stock in the mill vice.) For something as small as they are, they certainly have a lot of work in them.
ZnsGpe.jpg

y06g89.jpg
 
Making cylinders isn't that difficult--but it's tedious. I had great plans of finishing both cylinders today, but "real work" interfered. So, after a day in my office across town, I don't have a lot of energy left. I did manage to cut the bar of 1 1/2" square brass into 3 pieces, face the cylinders to the correct length, and then I kinda run out of gas. It happens when you're 71!! And just for giggles--That piece of brass 3" long cost me $27. $12 for the material, and $17 cutting charge. Looks like I'll be at my office again tomorrow, but Saturday should get the cylinders close to being finished.
TTfyhg.jpg
 
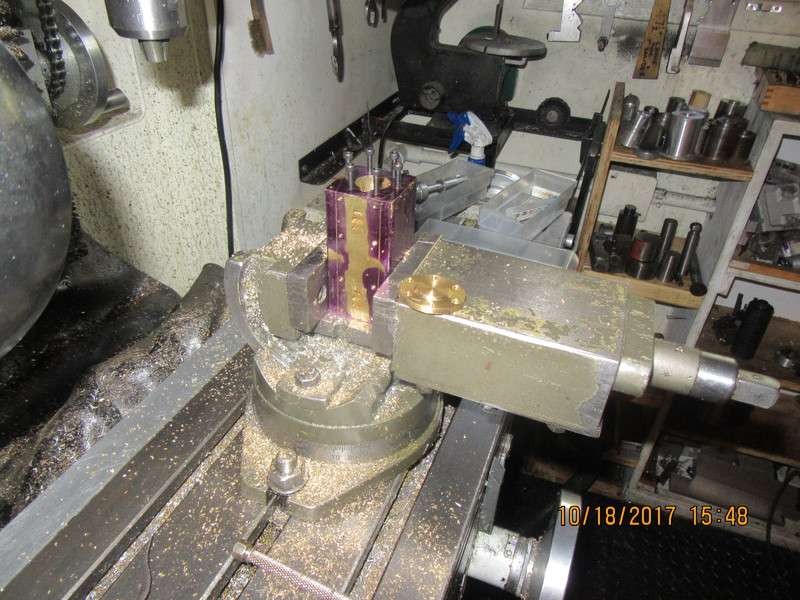
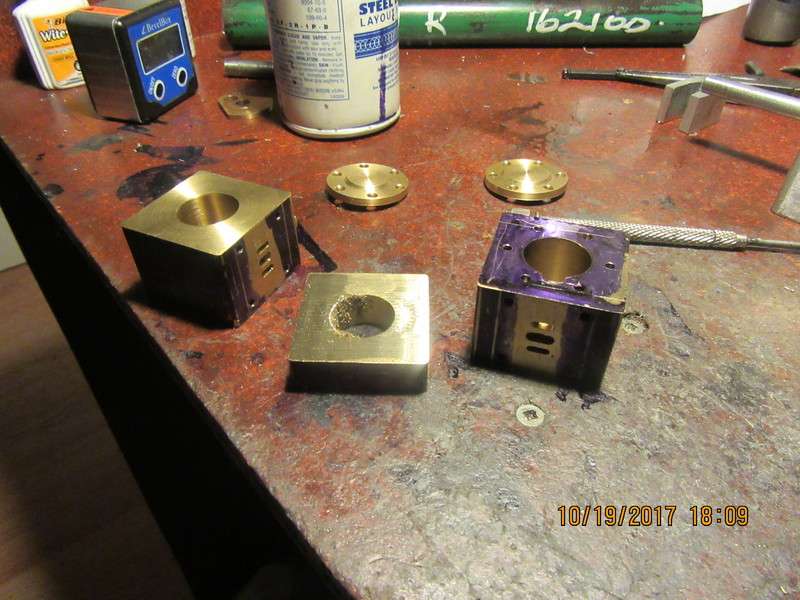
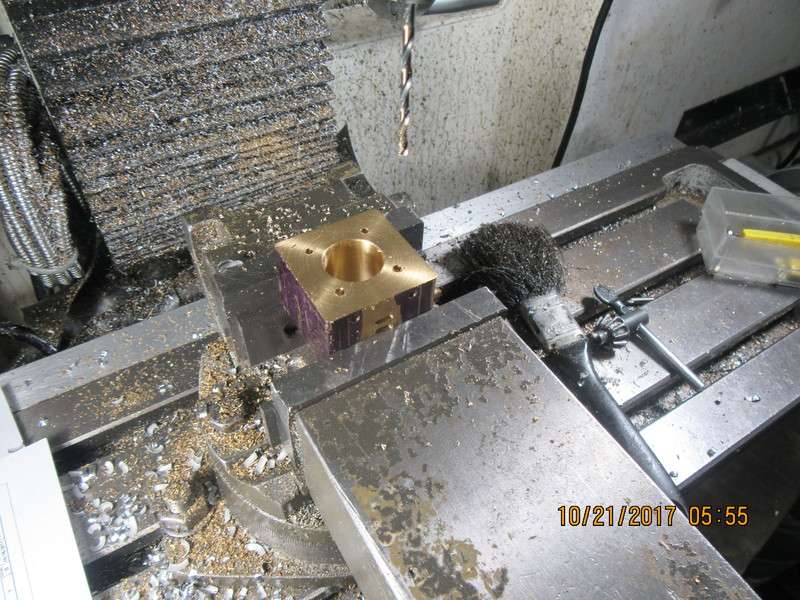
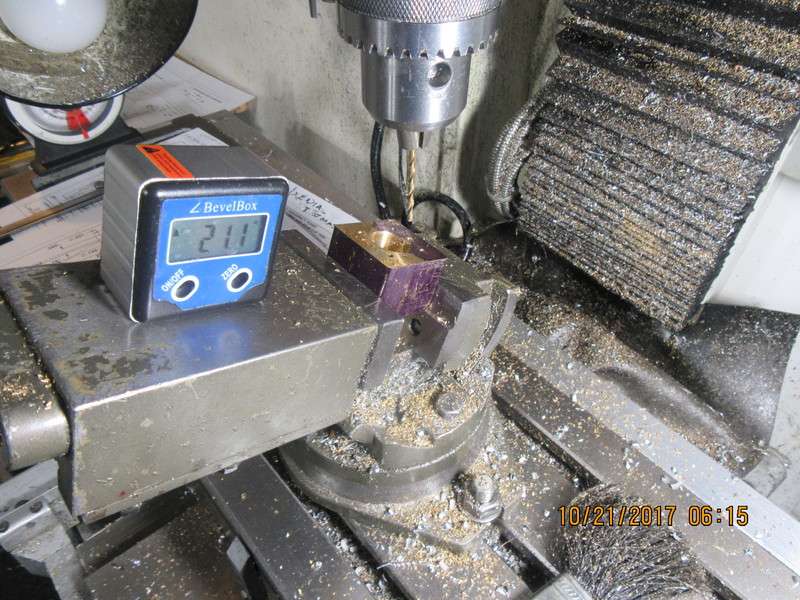
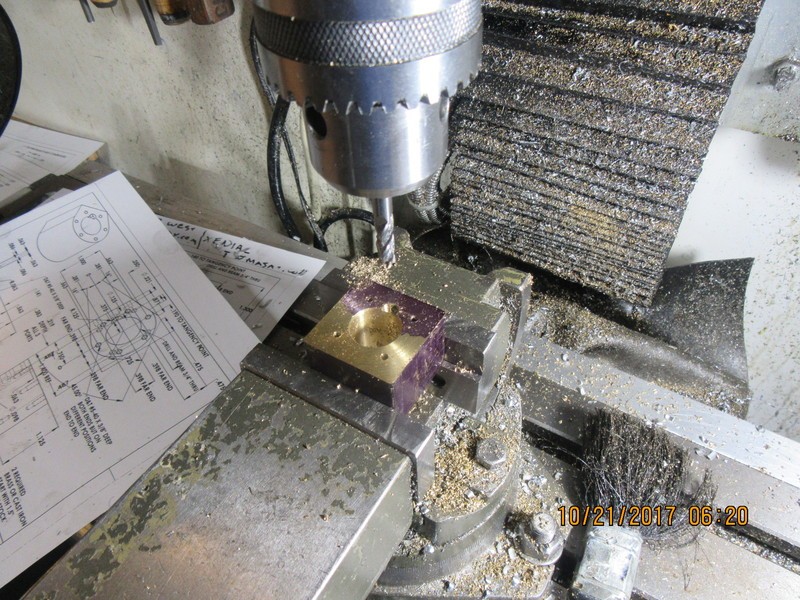
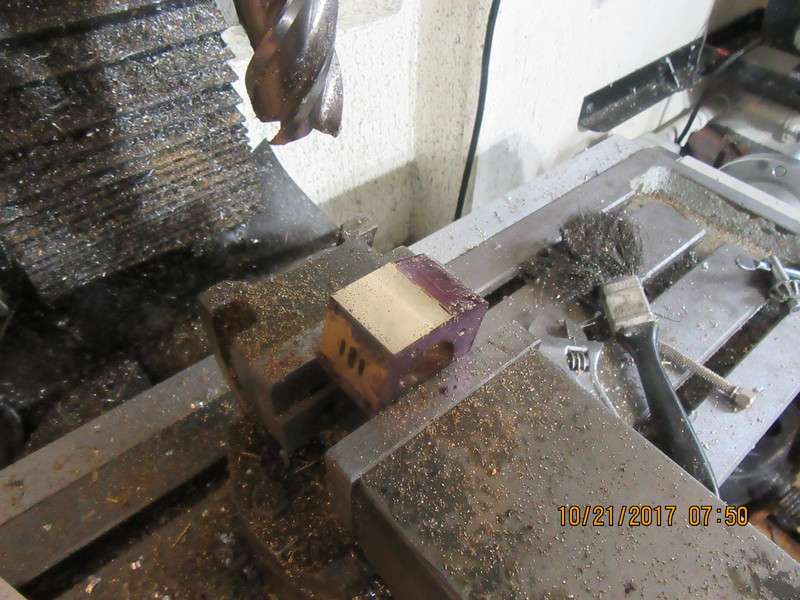
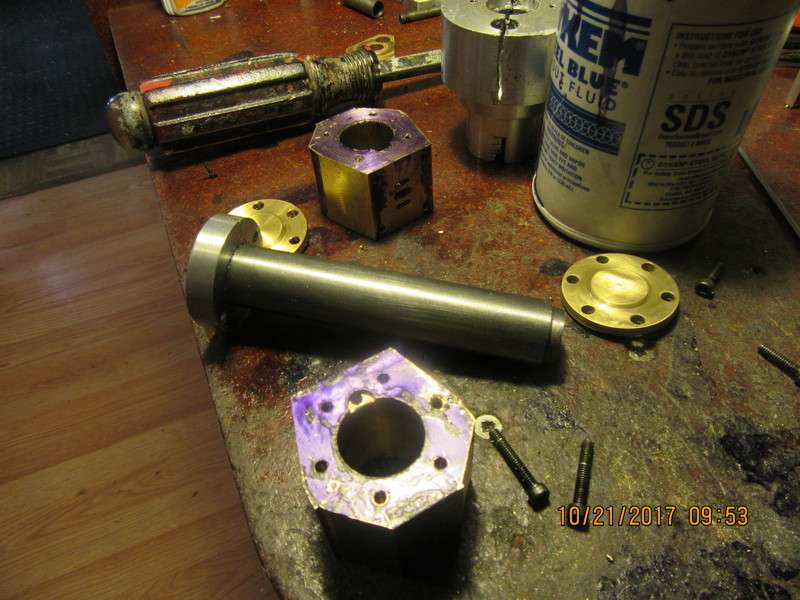
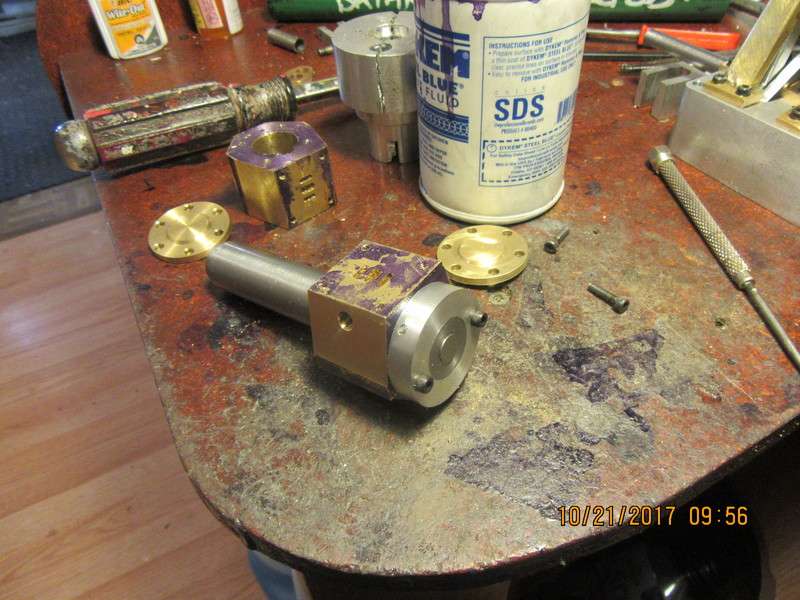
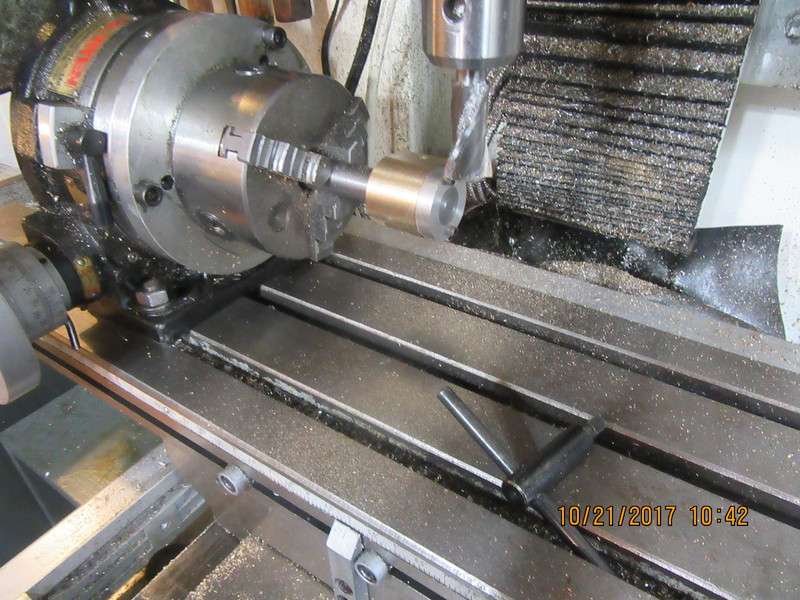
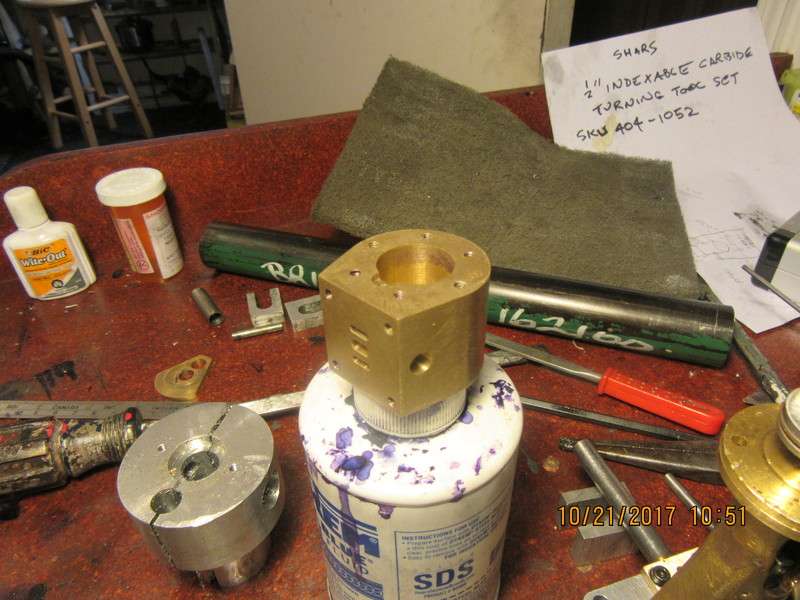
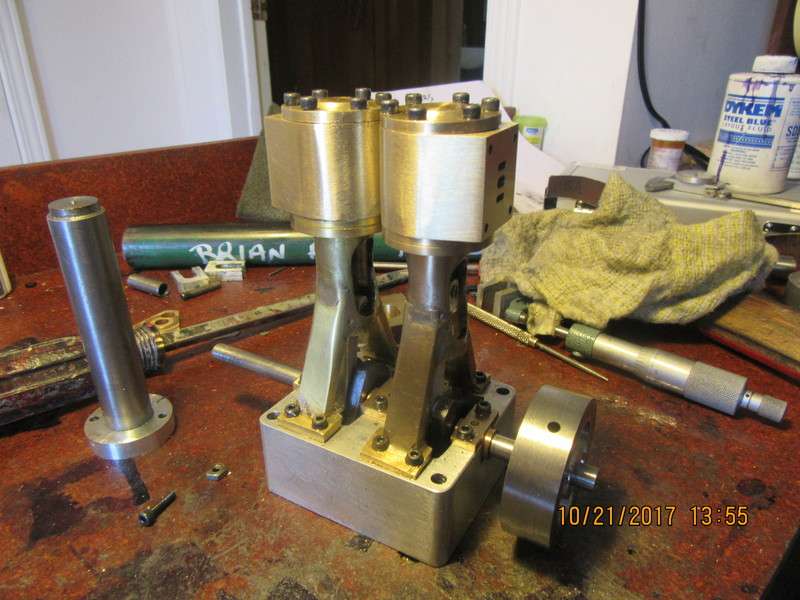
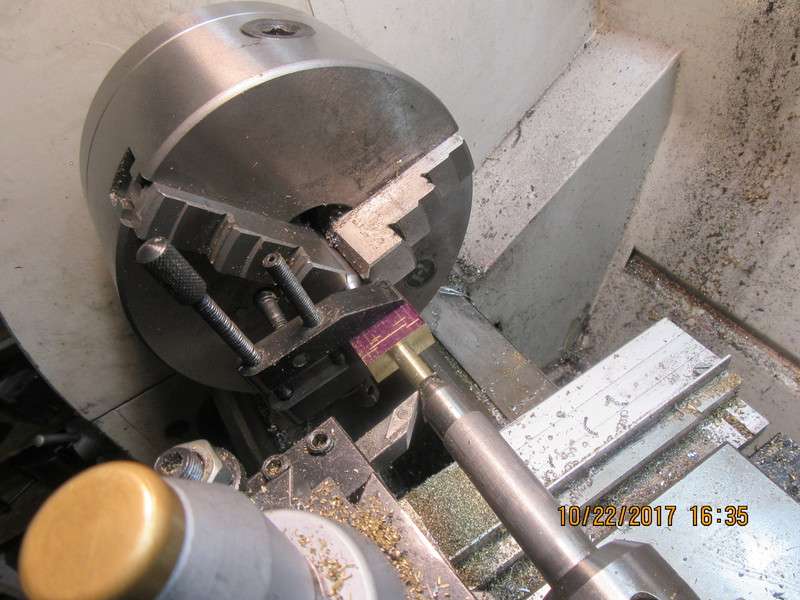
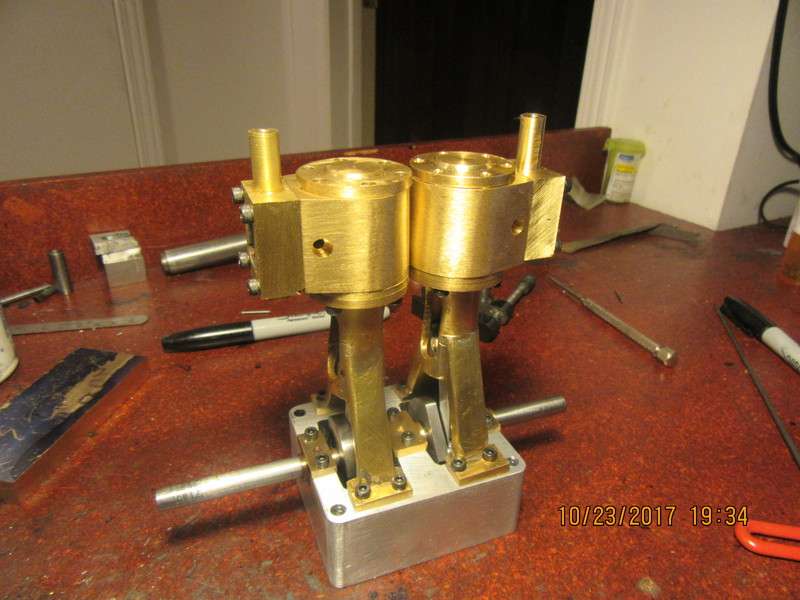
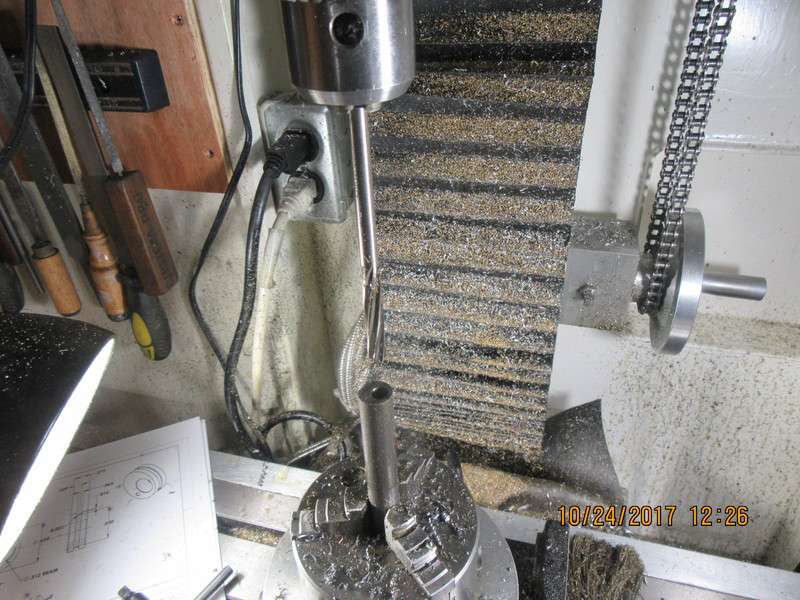
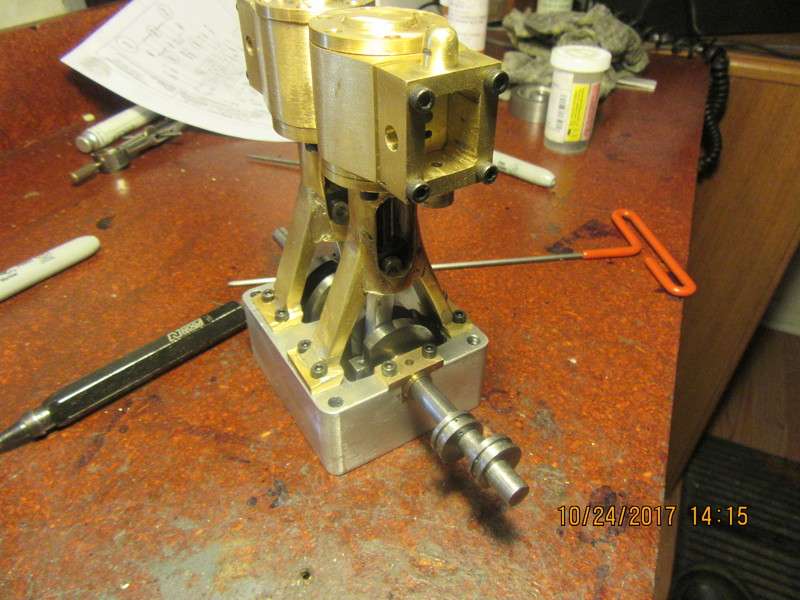
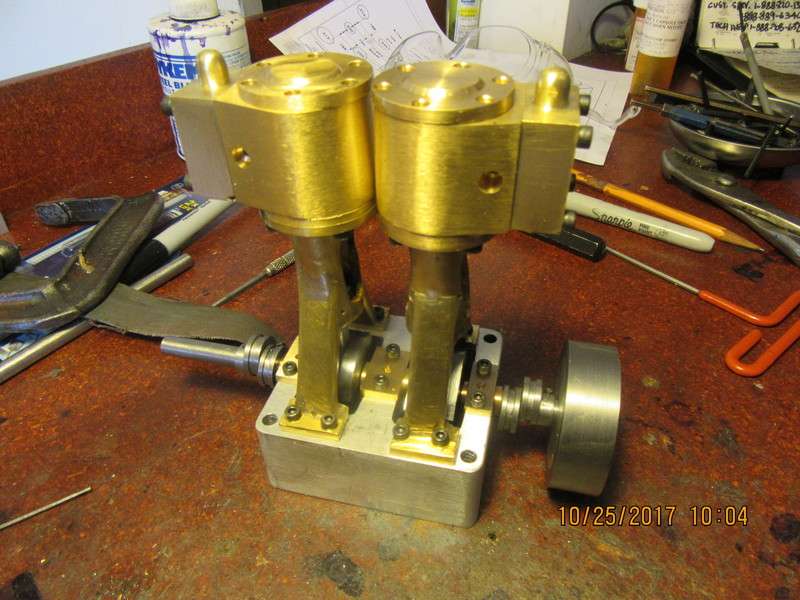
You know, I thought after I shut my computer off last night that I might have screwed up the math in that post. Ah well, bad on me. It was $12 for the brass and $15 for the cutting charge. I haven't been posting many set-ups, because they really aren't all that exciting. Just very simple 3 jaw and 4 jaw work in the lathe and the mill vice. if I get into any set-ups I consider "special" I will take a picture of it.---Brian
 
People have asked for more set-up pictures, so here we go. First picture shows drilling of holes for tapping in the end of the cylinder which was not exposed until the square bar of brass was separated into three pieces.
Second picture shows the wonderful versatility of my "tilt-a-whirl" mill vice, set up to the correct angle for drilling the steam passage at 21 degrees, and the third pictures show the final set-up for a 1/4" endmill plunged .062" deep so the newly cut steam passage is uncovered to the inside of the cylinder when everything is assembled.
YfTzXc.jpg

Kwnu5W.jpg

4I6Xse.jpg
 
These are the final steps before I set the cylinders up on an arbor and finish the outside surfaces. Picture #1 shows a set-up in the milling machine where the sloping sides of the cylinders which will show are machined to final size. Picture #2 shows the corners cut away on the bandsaw. next step will be setting the cylinders up on an arbor to finish the o.d. in my milling machine.
5Yj44I.jpg

o6LCAF.jpg
 
A simple arbor made from 3/4" cold rolled (same as bore of cylinder) and a piece of scrap aluminum cross doweled to the end of it, gives me a fixture which I can mount a cylinder on, and use two of the tapped holes in one end to bolt it to my simple fixture. I then hold the end of the 3/4" cold rolled in my rotary table horizontally and use an end mill to cut the outer rounded profile of the cylinder.
bGqvG2.jpg

tsgV9N.jpg
 
And that, my friend is how we end up with this truly beautiful shape. The milling cutter is set at a fixed height. The table-stops on the front of the mill bed are set so as to prevent me running the cutter into the chuck jaws, or too far (needlessly) in the other direction. The cutter is centered over the rotary table chuck in the x axis and locked there. So--back and forth with the mill table in the z axis what seems like a million times, advancing the rotary table 2 degrees between each pass from right to left.
OKV56a.jpg

0WfH92.jpg
 
Not finished yet but---You know how it is. You reach a stage where you have all these little pieces, and your just dying to see if they all fit together. Fortunately, they do. I had to speak rather harshly to the piston closest to the flywheel. Somehow, it was half a thou over 0.750 instead of half a thou under. I removed the Viton O-rings and tickled it a little with some 220 grit sanding strips, and then it decided it really would go into the cylinder anyhow. I have to "relieve" a bit of material off the two sides of the cylinders where they touch in the center, but that will be easy enough with my big stationary sanding belt. All in all, I'm very pleased so far.
IjEE8U.jpg

uu7De0.jpg
 
Love the arbor set up. Great idea cross pinning and having mounting holes in the al part.
 
This will be the final "run in" of the engine, to let the pistons get well acquainted with the new cylinders. There is more information in the text part of the youtube video. That scraping noise you hear in the video isn't the engine. It's the side of that rather wonky big v-pulley scraping on the side of the workbench.
[ame]https://www.youtube.com/watch?v=UCVN3yoxvV0&feature=youtu.be[/ame]
 
Here we are turning the ends of a steam chest between centers. One center is held in the 3 jaw chuck, one held in the tailstock chuck with a bit of grease on the tip to keep it from getting hot or burning off. The lathe dog is a machinists clamp with a 1/4" bolt screwed into the side of one jaw to transmit torque from the 3 jaw to the steam chest.
pvGYKU.jpg
 
The steam chests are still "in process". One is about 80% finished and is bolted in it's final position on the cylinder. The other steam chest is "Hot off the lathe" and I left the machinists clamp on it so you can get a better idea of how the 1/4" bolt screwed into one of the legs becomes the "drive dog" when it is set up in the lathe. The longest 5/16" diameter end will only be about 0.3" long when it is finished, but I have left it longer so I can grip it in my 3 jaw chuck on the lathe for when I go to put in the bore for the valve actuator linkage,
Ep2K6Z.jpg
 
Today I discovered the first error in the 3d cad model of this engine which I downloaded from GrabCad. The hole in the end of the steamchest where the rod enters is shown as being .093" diameter, instead of the .125" diameter which is necessary to get the rod thru the hole. Not a big deal, and caught before I actually put the hole in. Easy to correct. Whoever made this 3D model has done a terrific job on it. I'm wondering--If the hole in the gland nut is 0.125" diameter, should I perhaps open the hole a couple of thou. larger in the steamchest entrance? I have never had a lot of luck putting two holes in parts that thread together and expecting them to line up perfectly.
WyQliI.jpg
 
And that second steam chest marks the last of the "big" pieces. I still have a whole bunch of "little pieces" to make, but this has come together nicely and is starting to look like an engine.
MLyMqA.jpg
 
I ended up reaming the .093" hole in the steam chest for the cantilevered end of the valve rod, and drilling the 1/8" hole where the rod enters. The fact that I drilled the 1/8" hole instead of reaming it gives a little "slop" which should prevent the valve rod from binding after I have added the packing nut. That valve rod is a full 1/8" diameter right up thru the valve nut, then it reduces to .093" for the last half inch or so.
 
Today I finished the steam chests and made eccentrics. I liked it so much, I made them twice.---Didn't plan it that way, but after I got the first two parted off I realized that I had no way to hold the friggin' things to put that groove in the center.---Big Headslap!!!
First step was to put the material in the 3 jaw chuck on my rotary table, center it under the quill on the mill, then dial in the offsets and drill/ream the large hole and drill the 1/16" hole about 1" deep from the end. Then over to the lathe and part them off.--Then curse and repeat--only this time put that groove in before parting off.
These are the "simple" eccentrics. There are another pair, slightly more complex that I will make tomorrow.
b5pkDp.jpg

OnDyoA.jpg
 
All four eccentrics are finished. Not nearly as much drama with the second set of eccentrics--I knew what to watch out for. Normally, a steam engine has only one single eccentric per cylinder. This one has two per cylinder because of the Stephensons reversing linkage.
MauzYk.jpg
 
That's enough playing for today. Just finished the steamchest covers. I have to go talk to another old customer who has just contacted me.--And that's okay. My back is starting to bark at me anyways.
Pe3ycA.jpg
 
Back
Top