Another Jan Ridders Flame Eater

Home Model Engine Machinist Forum

Help Support Home Model Engine Machinist Forum:

This site may earn a commission from merchant affiliate links, including eBay, Amazon, and others.
Facing a lump of brass for the Flywheel.

_IGP3361.jpg


Then cleaning up the outside.

_IGP3362.jpg


Drilling in operation.

_IGP3363.jpg


First side complete.

_IGP3364.jpg


Working on the second side.

_IGP3366.jpg


Turning ops on the Flywheel complete, just some holes to drill etc to finish off.

Vic.
 
Looking good Vic, your getting nice finish on that flywheel.

Nick
 
You're moving right along, Vic, and your parts are looking gooood!

Keep it up, and thanks for the pics.

Dean
 
Thanks, yes it's not going too badly at the moment. Sadly the project will stall soon unless I can make up my mind what Mill to buy! :-\ :Doh:

Vic.
 
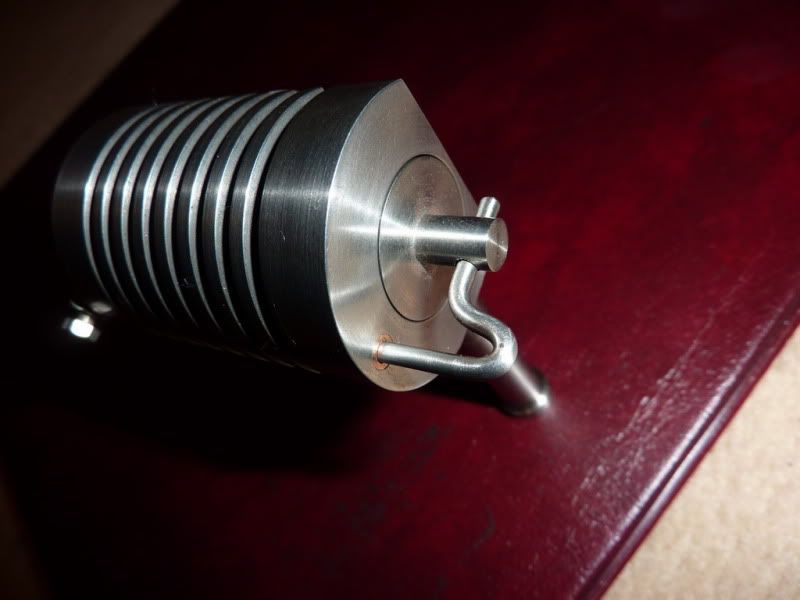
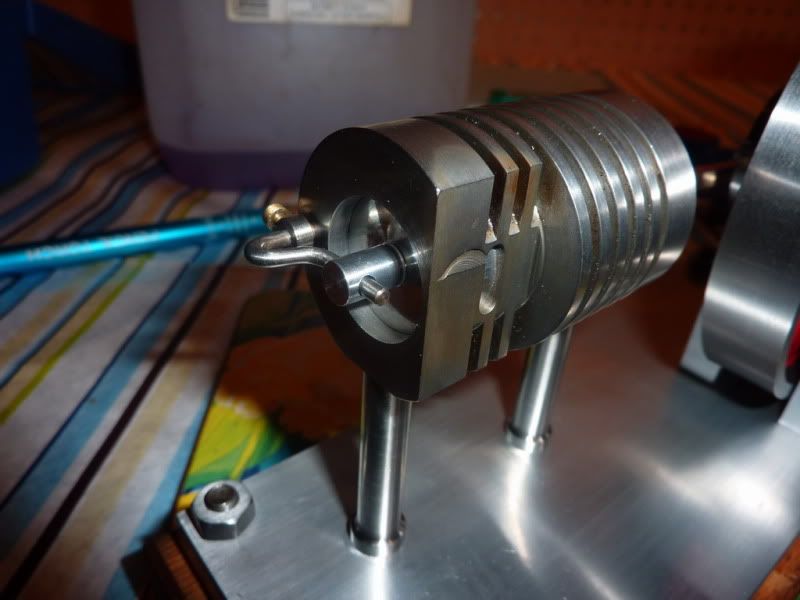
Not part of the build as such, but I've turned the two rods on the right to help machine the crank. Screwing the smaller (8mm dia) one in the crank adjacent to the crank shaft should help to hold the part in place while I mill the parallel flats. Replacing the smaller pin with the 19.5mm one should similarly help with milling the angled parts - I hope!


_IGP3370.jpg


Vic.
 
Omnimill said:
I like the look of this but it's not too local and there is the Ferry cost as well ... :big:

http://cgi.ebay.co.uk/ws/eBayISAPI....18834&ssPageName=STRK:MEWAX:IT#ht_9069wt_1286

Vic.

That looks like a damn good deal, if it comes with the scales and rotary table the mill is almost free.
Those stands are $250 alone. The sheild is a pretty expensive part too.

It says is comes with all the accesories shown in the photo. You could convince him to give up everything on his bench in the background :big:

Looks like you may need to go on a road trip. Or would that be a boat trip?

Kel
 
Vic,

Replacing the smaller pin with the 19.5mm one should similarly help with milling the angled parts - I hope!

It will work, I do my bits like that, resting on top of the vice jaws. Saves all the messing about with RT's and such, and you can get nice sharp corners on the transition from flat to angled.

Looking good.

Bogs
 
Hi Vic

That's coming along nicely, you're a braver man than me, I'm just starting out on my first engine but opted for an Elmers wobbler ;D

If you get to a point where you need access to a mill and you haven't managed to source one you're welcome to use mine. I've got the Juniormil version of the 00 Omnimil so something you're familiar with plus you can give me a few pointers on how to use it Thm: I don't know whereabouts in Surrey you are but I'm in Chessington

Cheers

Jim
 
Thanks for the very kind offer Jim but I've put off buying a mill long enough, I hope to get something soon. Sadly my Powermac G5 has just packed up after soldiering along valiantly on only one CPU for the past few months. My wallet is now being pulled in two directions :-\ I now have to decide what Mill and what Mac to get ...

Vic.
 
Vic,

I've just found this post and I would have agreed with you it's not the best first project! But looking at the work you've done so far I'm confident you'll get a running engine! :bow:

Nice work.

The push rod I found a bit of a pain to make too but it worked, I put a brass collar on to limit the stroke, found it got sucked too far into cylinder. I know Bogs silver soldered one at right angles which worked well.

Well done.

Nick
 
Hi Nick, Any chance you can post a pick of it if you get a minute?

Vic.
 
Vic,

Mine was made from a very early drawing for this engine, and because people couldn't drill all the way thru the cylinder fins with a standard drill for the 2mm operating arm, Jan changed the design by fitting bushes, which allowed a longer drill to be used, and he also changed the style of operating arm for some reason.

I think my original build article was lost when we went from a public server to a private one many moons ago.

The only things I can find left are two posts about the same pair of cylinders.

http://www.homemodelenginemachinist.com/index.php?topic=212.0

http://www.homemodelenginemachinist.com/index.php?topic=350.0

I don't know if these will help you.


Bogs

 
Vic, below is a pic of the pushrod assembled with the collar I talked about. Actually, thinking about it, I'm not sure if it is necessary, I remember now I made the collar during troubleshooting stage! You can see what I mean from the pictures below though. This was the only decent way of limiting the valve's travel in the other direction with the bent style rod.

Nick


2009-11-2623-07-58_0001.jpg


2009-12-3117-46-15_0001.jpg


Thanks for the pics Guys, I was not aware that the Valve could get sucked too far into the cylinder by the piston. I'll watch out for this.

Not done any more work lately but I did make a quick sketch for the Flywheel supports:


_IGP3372.jpg


Hoping it might look like a small pillow block if it's sand blasted and painted. Just one idea.

Vic.
 
I hope to go over to Warco in a couple of weeks to have a close look at a VMC Mill, all being well I'll be able to continue the build before too long ... Thm: It's a real shame their showroom isn't open at weekends as I could have a look sooner.

Vic.
 
Vic, I was looking at those at the Harrogate Model Engineering Exhibition. Was impressed and it would be my milling machine of choice if I was purchasing a new one. Seems very robust / versitile at a reasonable price.

Nick
 
Very Nice lookin Mill Vic.

You first project on it turned out (dare I say) Cuddly. :big:
Now you dont have to worry about rats, unless your cat is like mine and will only lick a mouse, not eat it. He just wants to clean them.

Cant wait to see more.

Kel
 
It seemed the most versatile for the price, and not too dissimilar from my old OO just a bit smaller. Warco delivered and installed it for the listed price and supplied the large coolant tray (standing behind the machine in the pic) FOC.

I had to temp Daisy onto the mill with cat treats but she still jumped off before I could get a decent photo :big:

Vic.
 

Latest posts

Back
Top