Anodizing..another expirement...larger part this time.

Home Model Engine Machinist Forum

Help Support Home Model Engine Machinist Forum:

This site may earn a commission from merchant affiliate links, including eBay, Amazon, and others.
Why is anyone still playing around & experimenting with home anodising, it's all been done before & the results speak for themselve's

I can assure you, in ten years time, people will be saying the same thing about your methods. There are new discoveries every day, by people doing experimentation.

Experimentation is what keeps us all going, if Bob is happy to do it his way, then no one has any right to tell him he should not be doing it his way.

You can suggest that he could improve his methods, but NEVER tell anyone he is doing it incorrectly if he is obtaining the results he is after.

Why do I manually machine everything rather than going out and buying a CNC machine?

Because that is what I want to do. It is called personal choice.
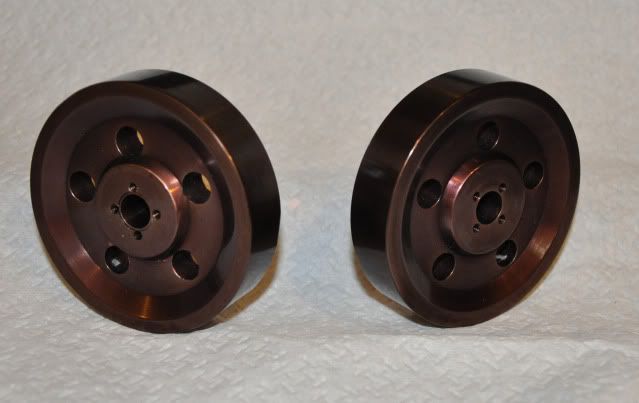
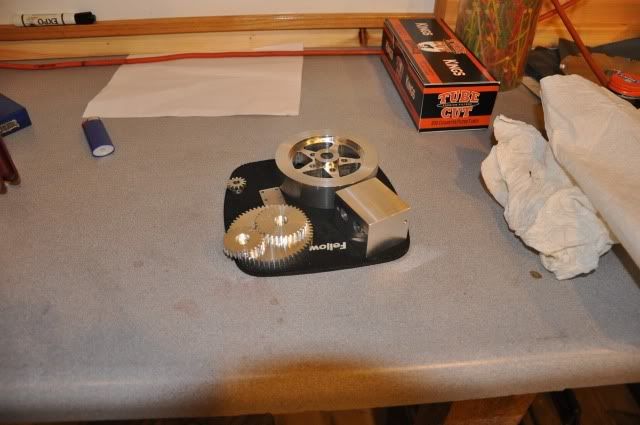
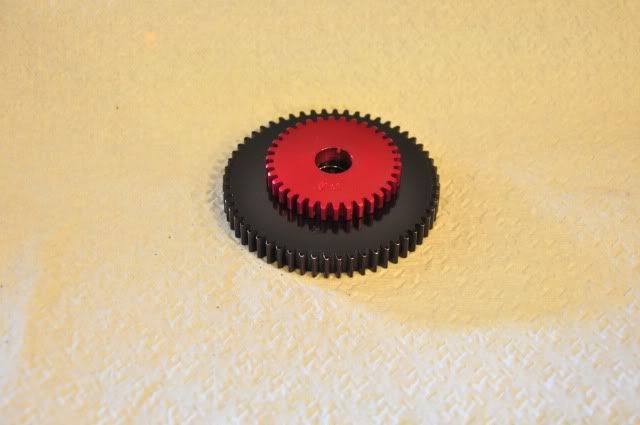
Great work BTW Bob.


Bogs
 
I don't know Bob. Those flywheels look so good I would've hesitate to anodize them. :big:
 
Well here they are. Lots of screw ups along the way on these but they came out just fine anyway. Now I need to decide what I am going to do the rest of the engine and base in. I might try powdercoating some of the other parts.


SiameseTwinFlywheels.jpg


Also I need to get some smaller aluminum wire for holding the parts. You can see on each one a hole that is not completely anodized. This is because that's where I had the wire pinched in the holes to hold them and get a good connection.
 
deere_x475guy said:
Crap Carl......now you tell me ;D.

Rof} Rof}

Well don't listen to me!

The anodized parts look great too!

Looking forward to learning more about powder coating too. Blaze the trail man.
 
Very nice, Bob.
I really like that bronze color, quite different from the usual blacks and reds.
 
Bob,

Great thread.

Your parts are looking real good.

I may have to try this out some day.

Regards,

SAM
 
Carl...will do.
Kevin, this was suppose to be black ??? ???
As you can see not even close.....I have read where black is a tough color to come out right. I will probably order some from Caswell as I can see myself using that a lot.
 
Sam, thanks so much.

My introduction to do this came a little over a year ago when Weston Bye offered to anodize a part I had made. A friend went with me and we spent most of the day there. My intentions were to get anodizing right after that....but...well...you know...things happen. Anyway I have bugged Weston on and off over the past couple weeks and he has been very helpful. I do have one particular web site that Weston pointed me to that I want to share with members here that may not be familiar with it.

http://www.focuser.com/atm/anodize/anodize.html

Ron has a nice site and also sells power supplies and chemicals. I can't locate one type of acid recommended after the lye bath so I think I will order some from Ron.
 
deere_x475guy said:
Carl...will do.
Kevin, this was suppose to be black ??? ???
As you can see not even close.....I have read where black is a tough color to come out right. I will probably order some from Caswell as I can see myself using that a lot.
Oops!

I've read about black being difficult, especially when using Rit dye.
 
Just an another update. After struggling with room in the 4 gallon bucket I was using I decided to use a cooler instead. It should heat up less and be easier to cool. Here is what I was using for the anodizing tank:

2010-07-24094413.jpg


Here is what I have set up this evening. I have added another cathode and will probably need to add two more runs to the bubble. As you can see there is a lot more room. I picked up 6 more quarts of battery acid and will use about 4 quarts tomorrow and 4 quarts of distilled water when I empty the solution from the smaller tank to the larger and bring the level up.

DSC_1545.jpg


Here is the tumbler I am using for final polishing of the parts I want a shinny finish on. I have the cylinder block from the Siamese twin in right now and the gear gauge I built in there also.

Zee the lighter is there for scale :)

DSC_1544.jpg


Here are the parts I hope to do tomorrow. Some will be in black, and I picked up some REIT liquid Scarlett dye I want to try out on the gears.

DSC_1542.jpg
 
I thought about mentioning the cooler. I had planned to do this same thin about 2 years ago with a cooler but I chickened out. I was a little nervous about storing a big vat of acid when not in use.
 
Steve there is definately cause for caution. I have 5 gallon pails that were used for pickles and the lids seal tight. The solution will go in one when I decide to store it for awhile.
 
I finally got the Rit scarlet and the black dye to take last night. The black always came out a bronze color and the scarlet never took well at all. I think getting the votage to stay between 15 and 16 volts and have the amps fall between the range recommended for the surface area helped with this color.

DSC_1559.jpg
 
Thanks Carl...I think I am getting close to being able to make a complete post with all the steps I am using. It was bugging me that these two dyes were giving me trouble and others are able to get them to take fine so I held off. The green and blue seemed to work fine.
 
deere_x475guy said:
I finally got the Rit scarlet and the black dye to take last night. The black always came out a bronze color and the scarlet never took well at all. I think getting the votage to stay between 15 and 16 volts and have the amps fall between the range recommended for the surface area helped with this color.

The dye isn't taking because the pores aren't deep enough or have formed incorrectly. To get a deep black you need at least 0.75 - 1.0 mil deep pore that has grown correctly. You need to be able to control how the anodise is formed.

In order to control how it grows & by how much it's vitally important that you keep the amps steady, the voltage will rise & fall to give you an indication that the process is going OK but it's the AMPS that are important.

Untill you can control the amps then every part will be differant, you may hit upon a method that gives you a good result but it will ONLY ever be a method for that one part. Keep experimenting in this way & you may be able to judge/guess to get good results quicker but are you considering that your acids & dyes concentrations are constantly changing with every part you attempt, even your cathode is a gradual variable which will screw up your next results & have you scratching your head.

When you have a way of controlling the amps then all the hard work is done before the part hits the baths, when you know what to control & how to control it then any part takes no longer than the time it takes to grow those pores & every part comes out perfect.
 

Latest posts

Back
Top