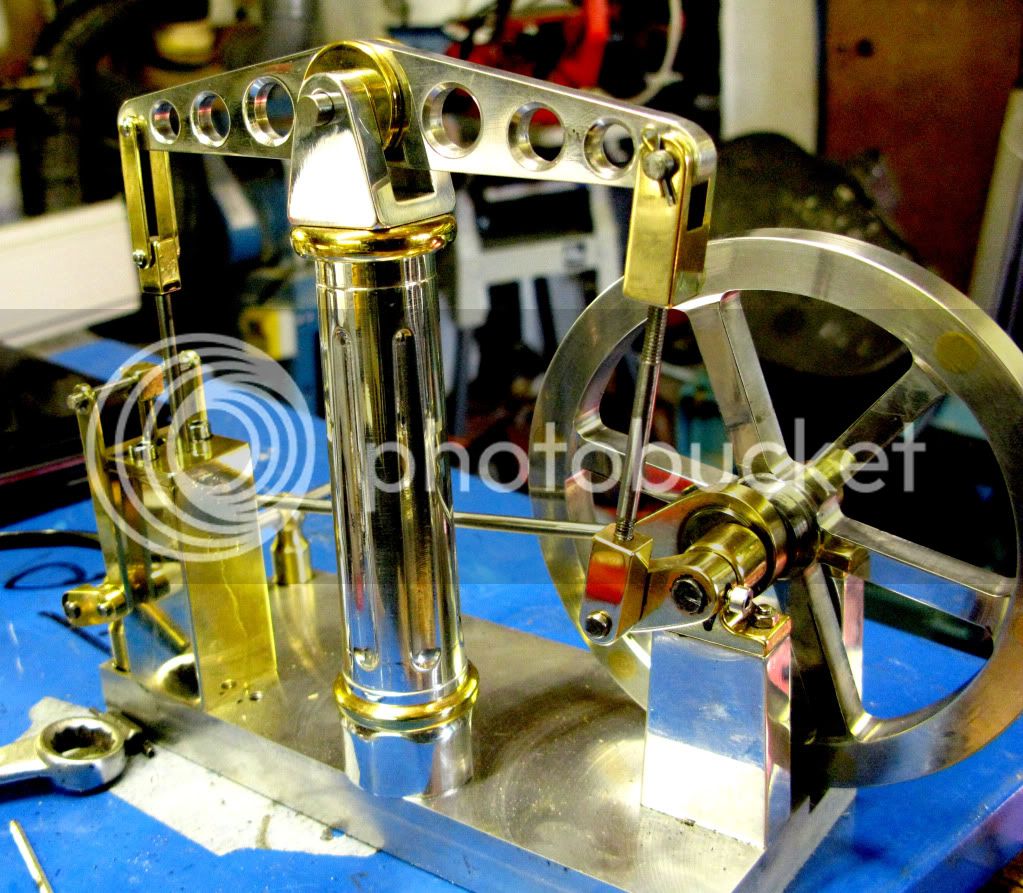
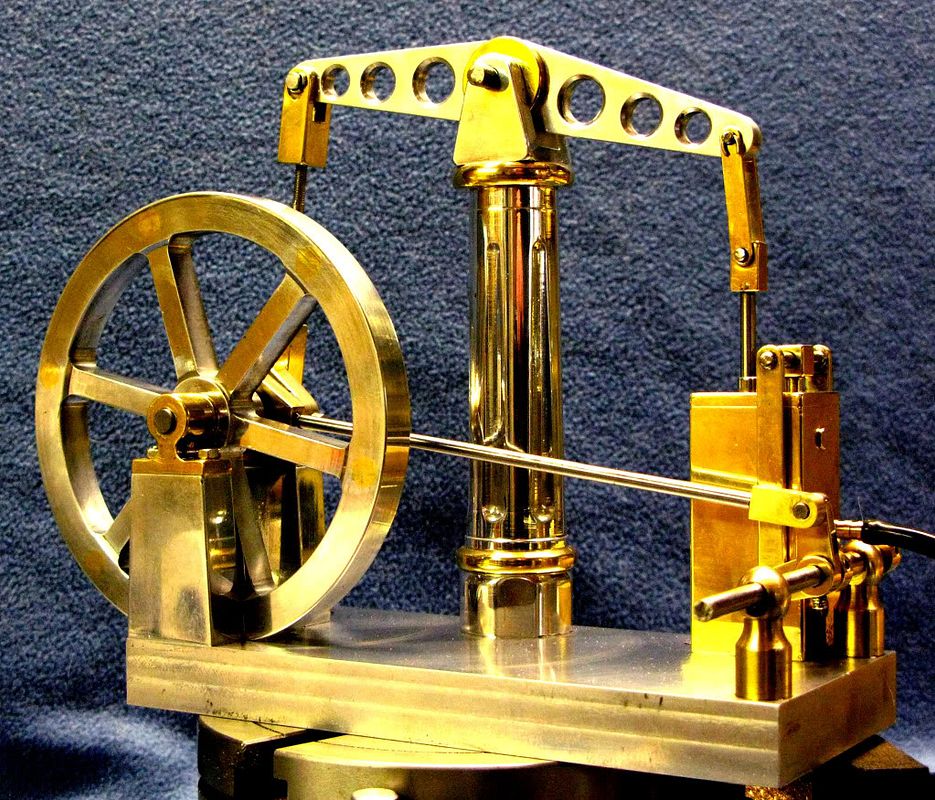
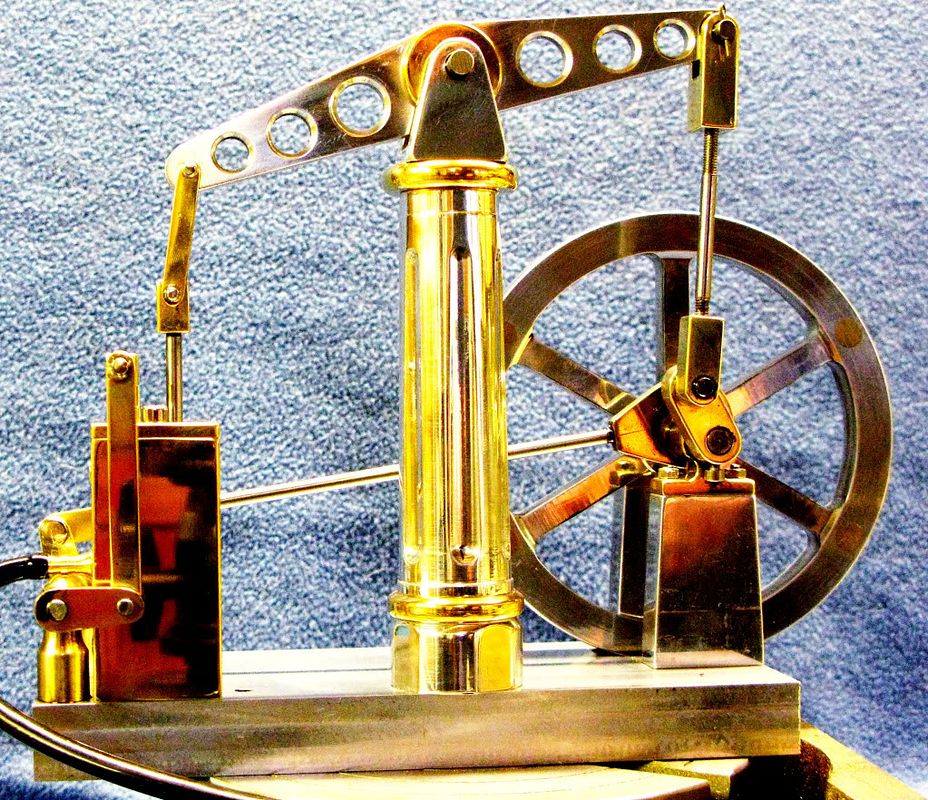
A novice build of Brian's double scale beam engine

Home Model Engine Machinist Forum

Help Support Home Model Engine Machinist Forum:

This site may earn a commission from merchant affiliate links, including eBay, Amazon, and others.
Les,

Do you live in your shop or what?

For someone that thinks he is a beginner, you are doing things rather well.

As for reading old posts, you are doing the right thing, in fact the deeper and older the postings the better, as they contain a lot of lost information the the oldies just don't like to repeat any more.

I am really honoured that you have been using a few of my old techniques. As long as people take notice and use what is mentioned, older pharts, like myself, don't mind at all, in fact we love it when someone rediscovers our old postings.

As I always say, there is very little new in this game, just old tricks rediscovered, and that is why I always read very old machining and engineering books.

Keep up the very good work


John
 
If truth be known John, I probably spend as much time reading what you guys were and are up to, as I do in the shop. At this end of the twig I tend to be a warm weather shoppy. I thank you for your kind comments, they are very encouraging to a young lad of 73 coming from someone with the wealth of knowledge that you have.


That reminds me, I was looking at one of your reply posts somewhere and there were pictures showing some engines you had made in the past. The ally bases had a regular pattern of swirls like an old artex ceiling.

Can you point me in the direction of one of your builds where you explain how that effect was achieved. I am sure there are others out there who would also like to know.


Cheers Les
 
Les

How did I miss the build log? Really love your photos of how you do things.

Vince

 
Thanks a lot for the info John, it looks like something that needs lots of practice before attempting anything important. I will get Cratex and give it a go.

That's nice of you to say so Vince, thank you very much.
 
Help

Can anyone tell me how to get a link from my video on Photobucket? I have tried the IMG and only get a picture, when in Preview mode. I have also tried direct link and that does not seem to work either.

Thanks Les
 
Les,

Just click on the green upload box and select your video. From memory there is some sort of size limit for a video with a free account and if it's too big it won't upload. My best results have been with MP4 encoding.

Hope this helps

Best Regards
Bob
 
Thank's Bob

I have already uploaded it to Photobucket and it is in MP4 format. I can access it directly from the laptop using their direct link, but when I look at it in our forum preview, all that I see is the code. I was expecting something similar to you-tube where you get a picture of whatever it is, with an arrow in the centre to start it.

Les
 
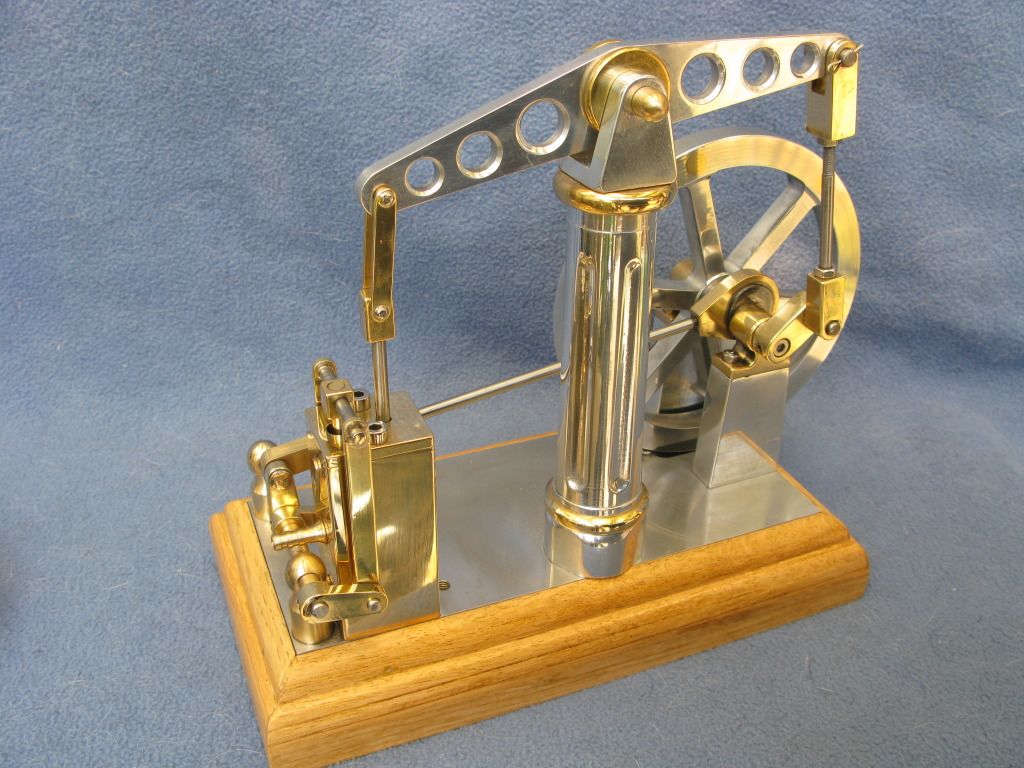
Well this is it assembled, I will explain how I went about setting the timing for anyone who may be interested, as I had only a vague idea of how to do it, so those who already know, which is probably most of you, may like skip this bit.

IMG_1755.jpg


IMG_1774.jpg


IMG_1775.jpg


I applied 20psi, with no result so I removed the rod connecting the beam to the flywheel and rotated the flywheel to see if the piston would extend and retract as the valve opened and closed.

It would only extend, then I noticed that there was very little gap between the cylinder head and the crossbar that goes through the piston con-rod. I checked the drawing and it showed a gap of 6mm when at the bottom of the stroke, so I inserted a 6mm spacer under the crossbar and tweaked the angle of lever that actuates the valve linkage, whilst ensuring that the eccentric rod was fully extended Locked it up and tried again. I now had piston movement in both directions.

After replacing the connecting rod I applied air again, still no joy, so loosening the set pin holding the crank I rotated it clockwise it relative to the flywheel in increments of about 20* until after several attempts it suddenly sprang into life and the air pressure was quickly reduced, to as low as the gauge would show to get it to run slowly, which is how I love to see a beam engine run. I could not believe I had actually done it, in spite of my fiddling with the design.

Here is the link to the video. This is trial & error as I am not sure how to link video from Photobucket to this forum

Background noises courtesy of nesting birds in the hedge and woodies.


And another one of it running slowly


All that remains now is trim the valve spindle, polish it and make a wooden base for the ally base to sit in.
 
Well that doesn't work at all well, the sound is totally out of sync. Should I be using you-tube instead ?


Les have a look at the encoding - (modify message).

This was done by opening your link; then on the RHS of the screen, left click on img code and paste it into your message without anything else. i.e. don't use any of the icons at the top of the message pane.

Best Regards
Bob

Edit: OOOPS forgot to say what a great job on the engine. :bow: :bow:
 
Hi again Bob

That’s exactly what I did on my first try, but I thought that the missing start arrow in the centre of the picture meant I only had a Jpeg snapshot of the video so tried something else. I will go back in and put it right, anyway thanks for persevering and finding a solution. I recon I owe you a beer or two for that.

Hi Kirk

Glad you like the valve gear, I did wonder though if it would screw the whole thing up, but thankfully not. Oh and thank you for the Karma.

Cheers Les
 
Wow, that is stunning. Very nice job!
 
An outstanding effort for a first-time. Your finish is very good and I do like he video of it running 'SLOW'..... just a whisper of huff and puff going on. Also a KP for sharing such a delight with us.

BC1
Jim
 
A nice shiny engine and really running good. Thank you for your pictorial build log.

Vince
 
Brian, Jim and Vince

Thanks a lot guys, I’m glad you like it, and took the time to say so, a little encouragement goes a long way.

Cheers Les ;D
 

Wow!! That is almost to pretty to run. :bow: :bow: :bow:

God job. Great first effort.

Ron
 
Hi Ron

Thanks Ron, that sounds a bit like me, if you exchange pretty for rickety

Les :big:
 
I had trouble with the timing after dismantling the flywheel and crank to mill a flat on the spindle for the crank grub screw. I must have got the angle wrong because afterwards it would not run at all. What I needed was some way to make small adjustments to the crank angle relative to the flywheel.

I finally ended up making a new shaft with a flat milled on it, for the flywheel/eccentric grub screw. But the crank end I made into an expanding mandrel similar to one I saw in Ramon’s recent build of the table engine, but with the 4mm locking screw flush to the end of the spindle. I was then able to make small adjustments until the timing was spot on and then lock up the 4mm screw


Well that’s it with the finishing touches completed.

IMG_1805.jpg


and a couple of vid’s of it running again.


Emboldened at having managed to get this one up and running, I am going to get really ambitious and have a go at Stew’s over-crank engine which I just love. The deciding factor in taking on this complicated task, was a comment made by John (Bogstandard) on this forum, which was in essence.
“Just make it one part at a time” and get it right. Thanks for that John I will try.

I am currently half way through redrawing Stew’s drawings, converting them into three dimensional solid, as I find I get a far better feel for what I am about to do, if I build it on the computer first and see how it all fits together. I have always done this no matter the project is and it works for me.

It will probably take me three times as long as Stew but if it finally works It will be worth it.
 

Latest posts

Back
Top