T Mihelich
Active Member
- Joined
- Jan 9, 2010
- Messages
- 37
- Reaction score
- 19
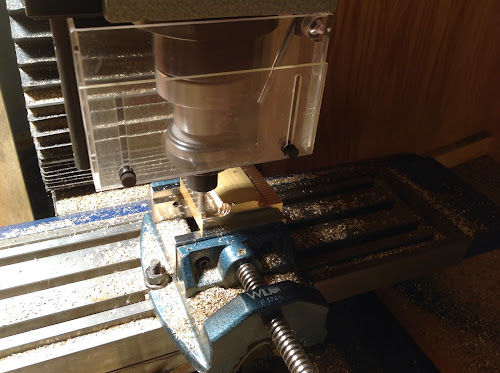
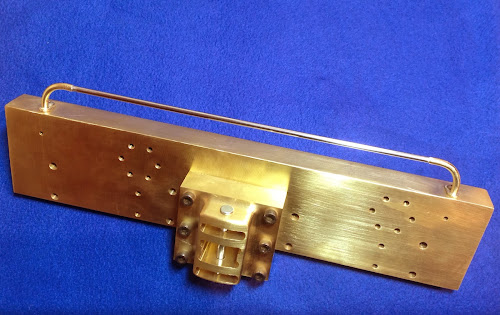
Well i got it guys.
There is using brake clean and there is USING brake clean! :big:
Seems spraying it directly on it vs a wipe rag did the trick.
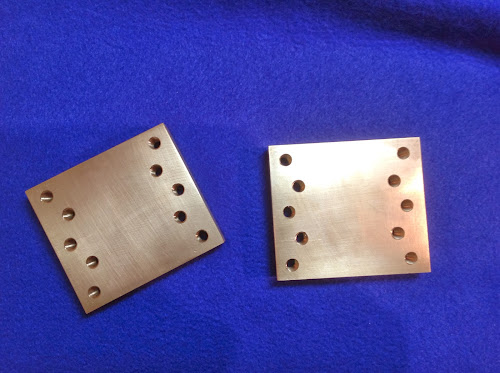
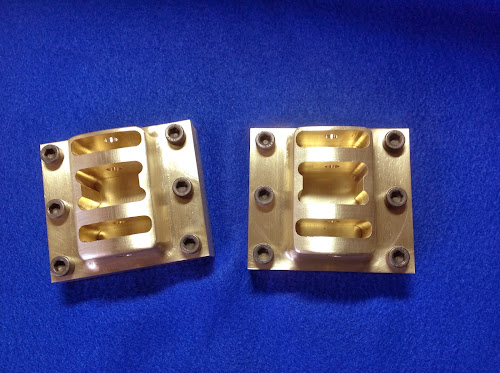
Frame #1 is completed and shining nicely.
On to Frame #2.
There is using brake clean and there is USING brake clean! :big:
Seems spraying it directly on it vs a wipe rag did the trick.
Frame #1 is completed and shining nicely.
On to Frame #2.
")