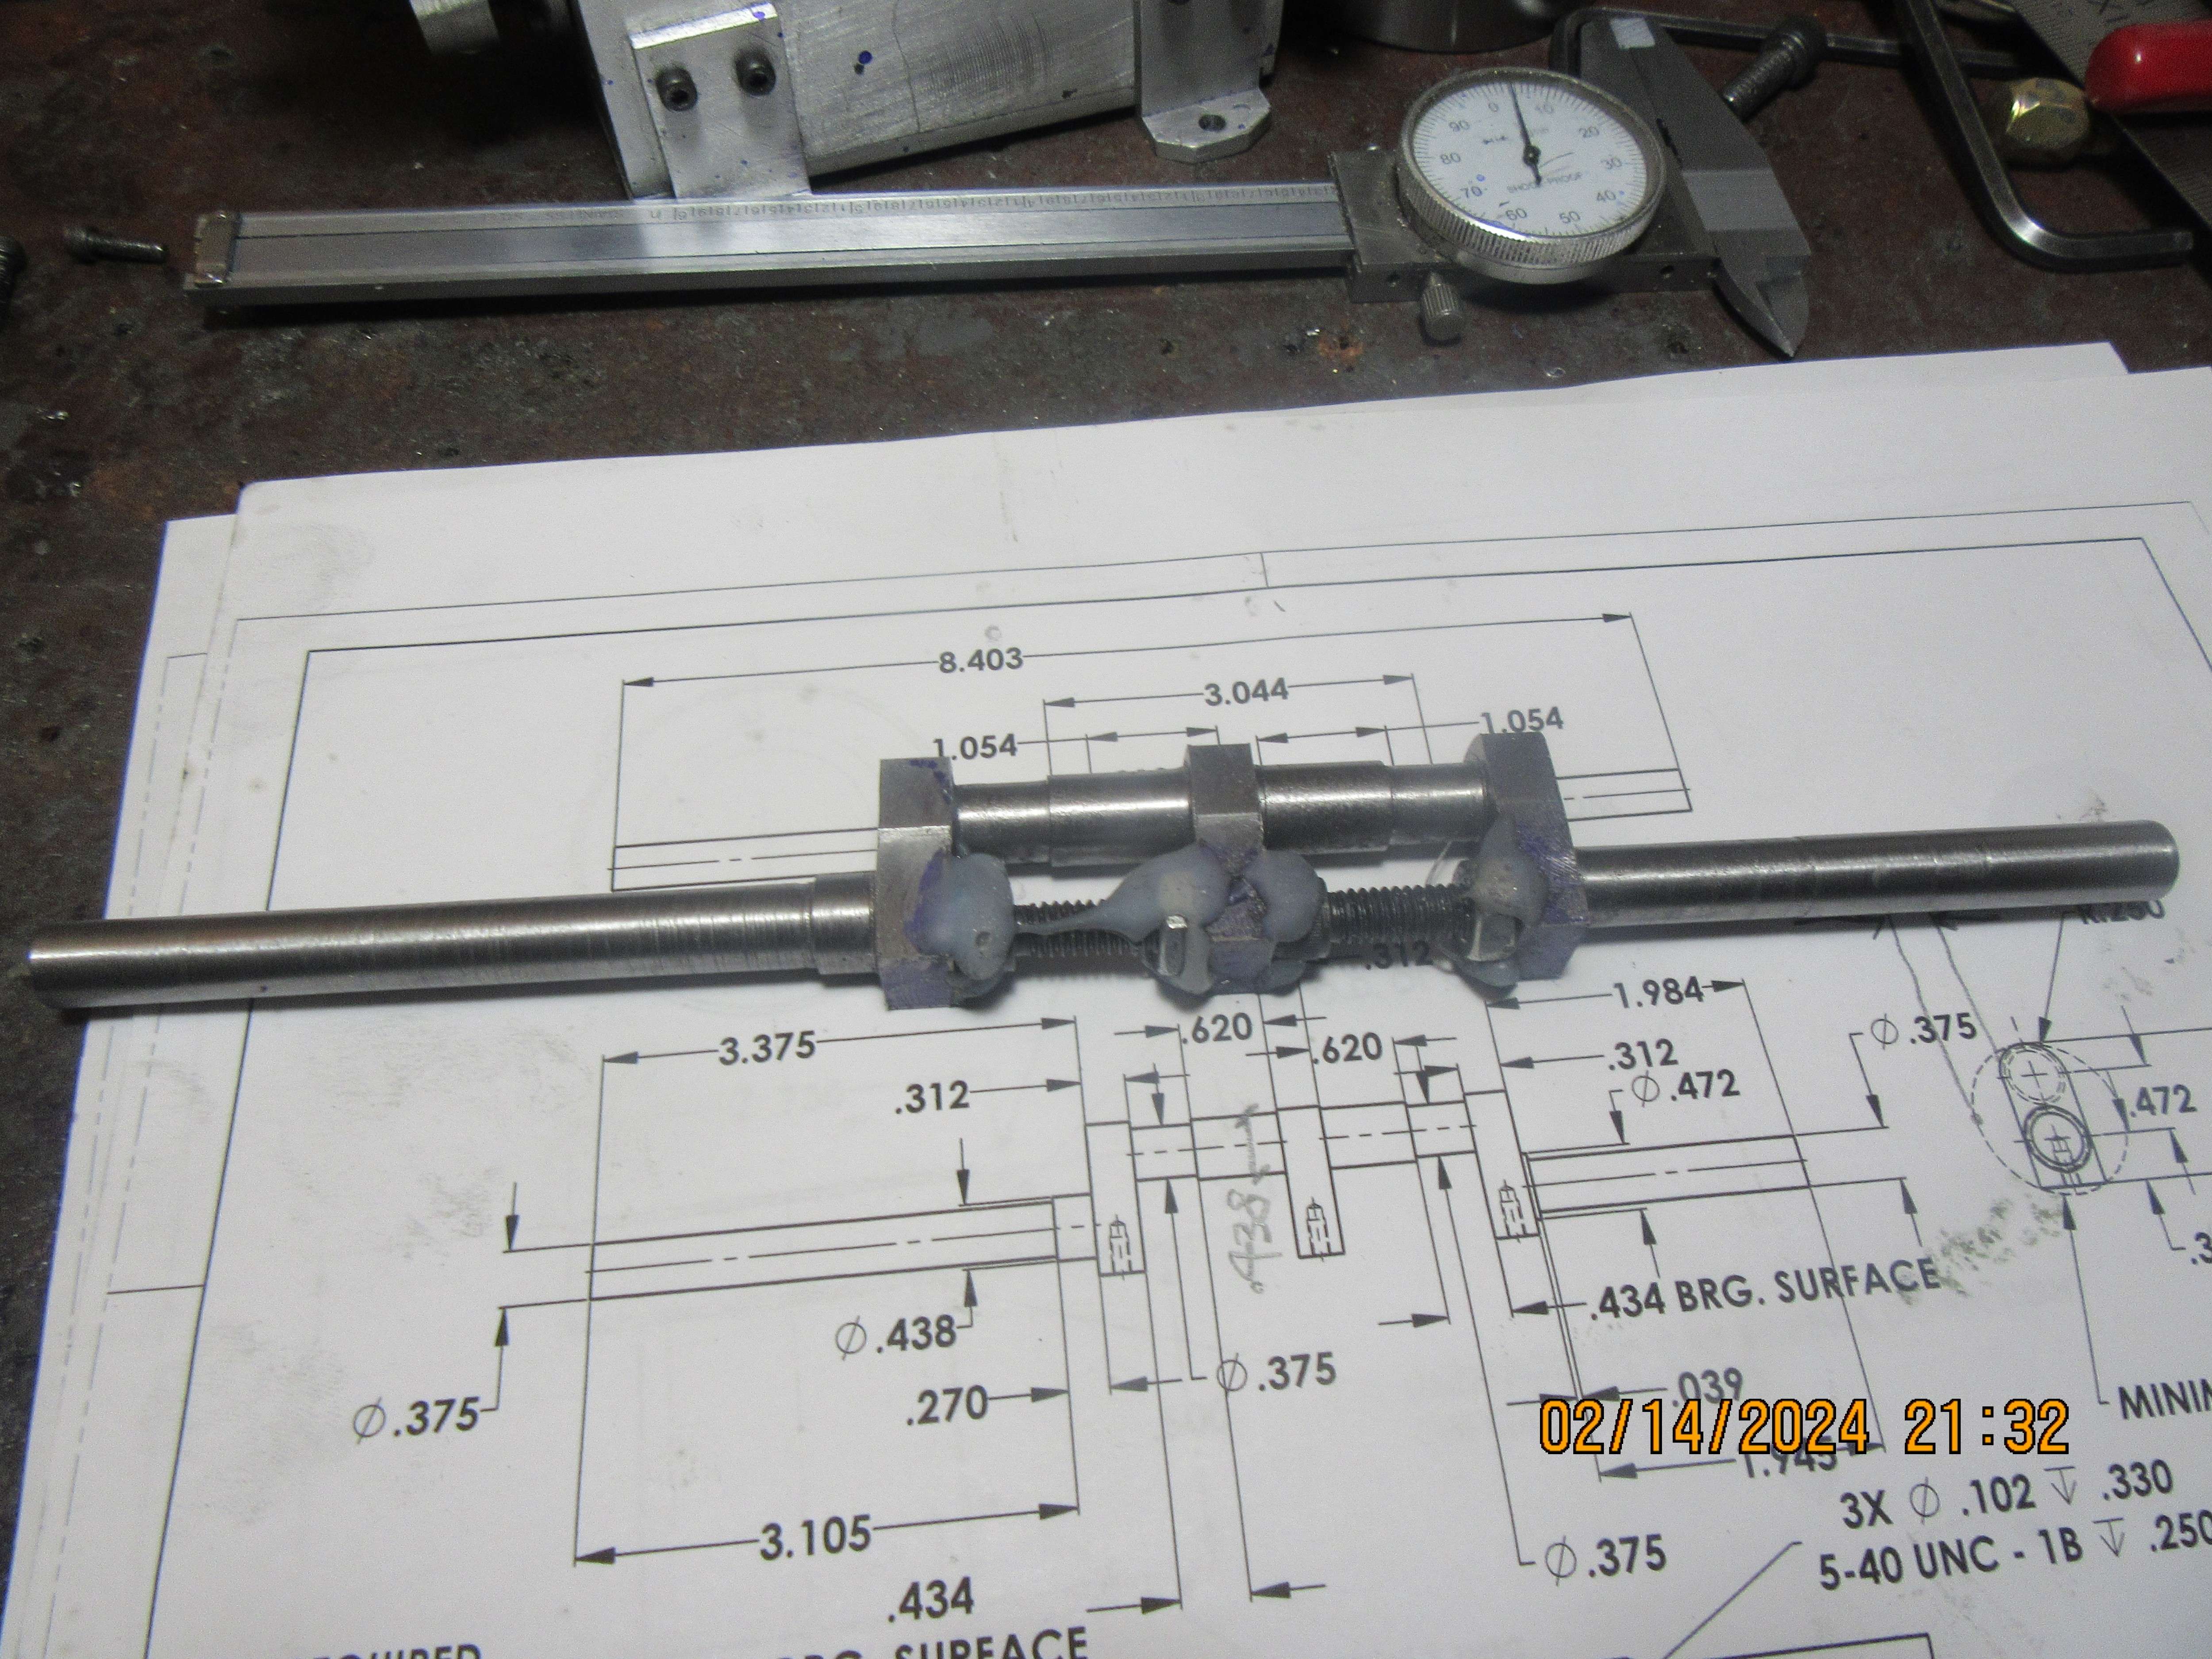
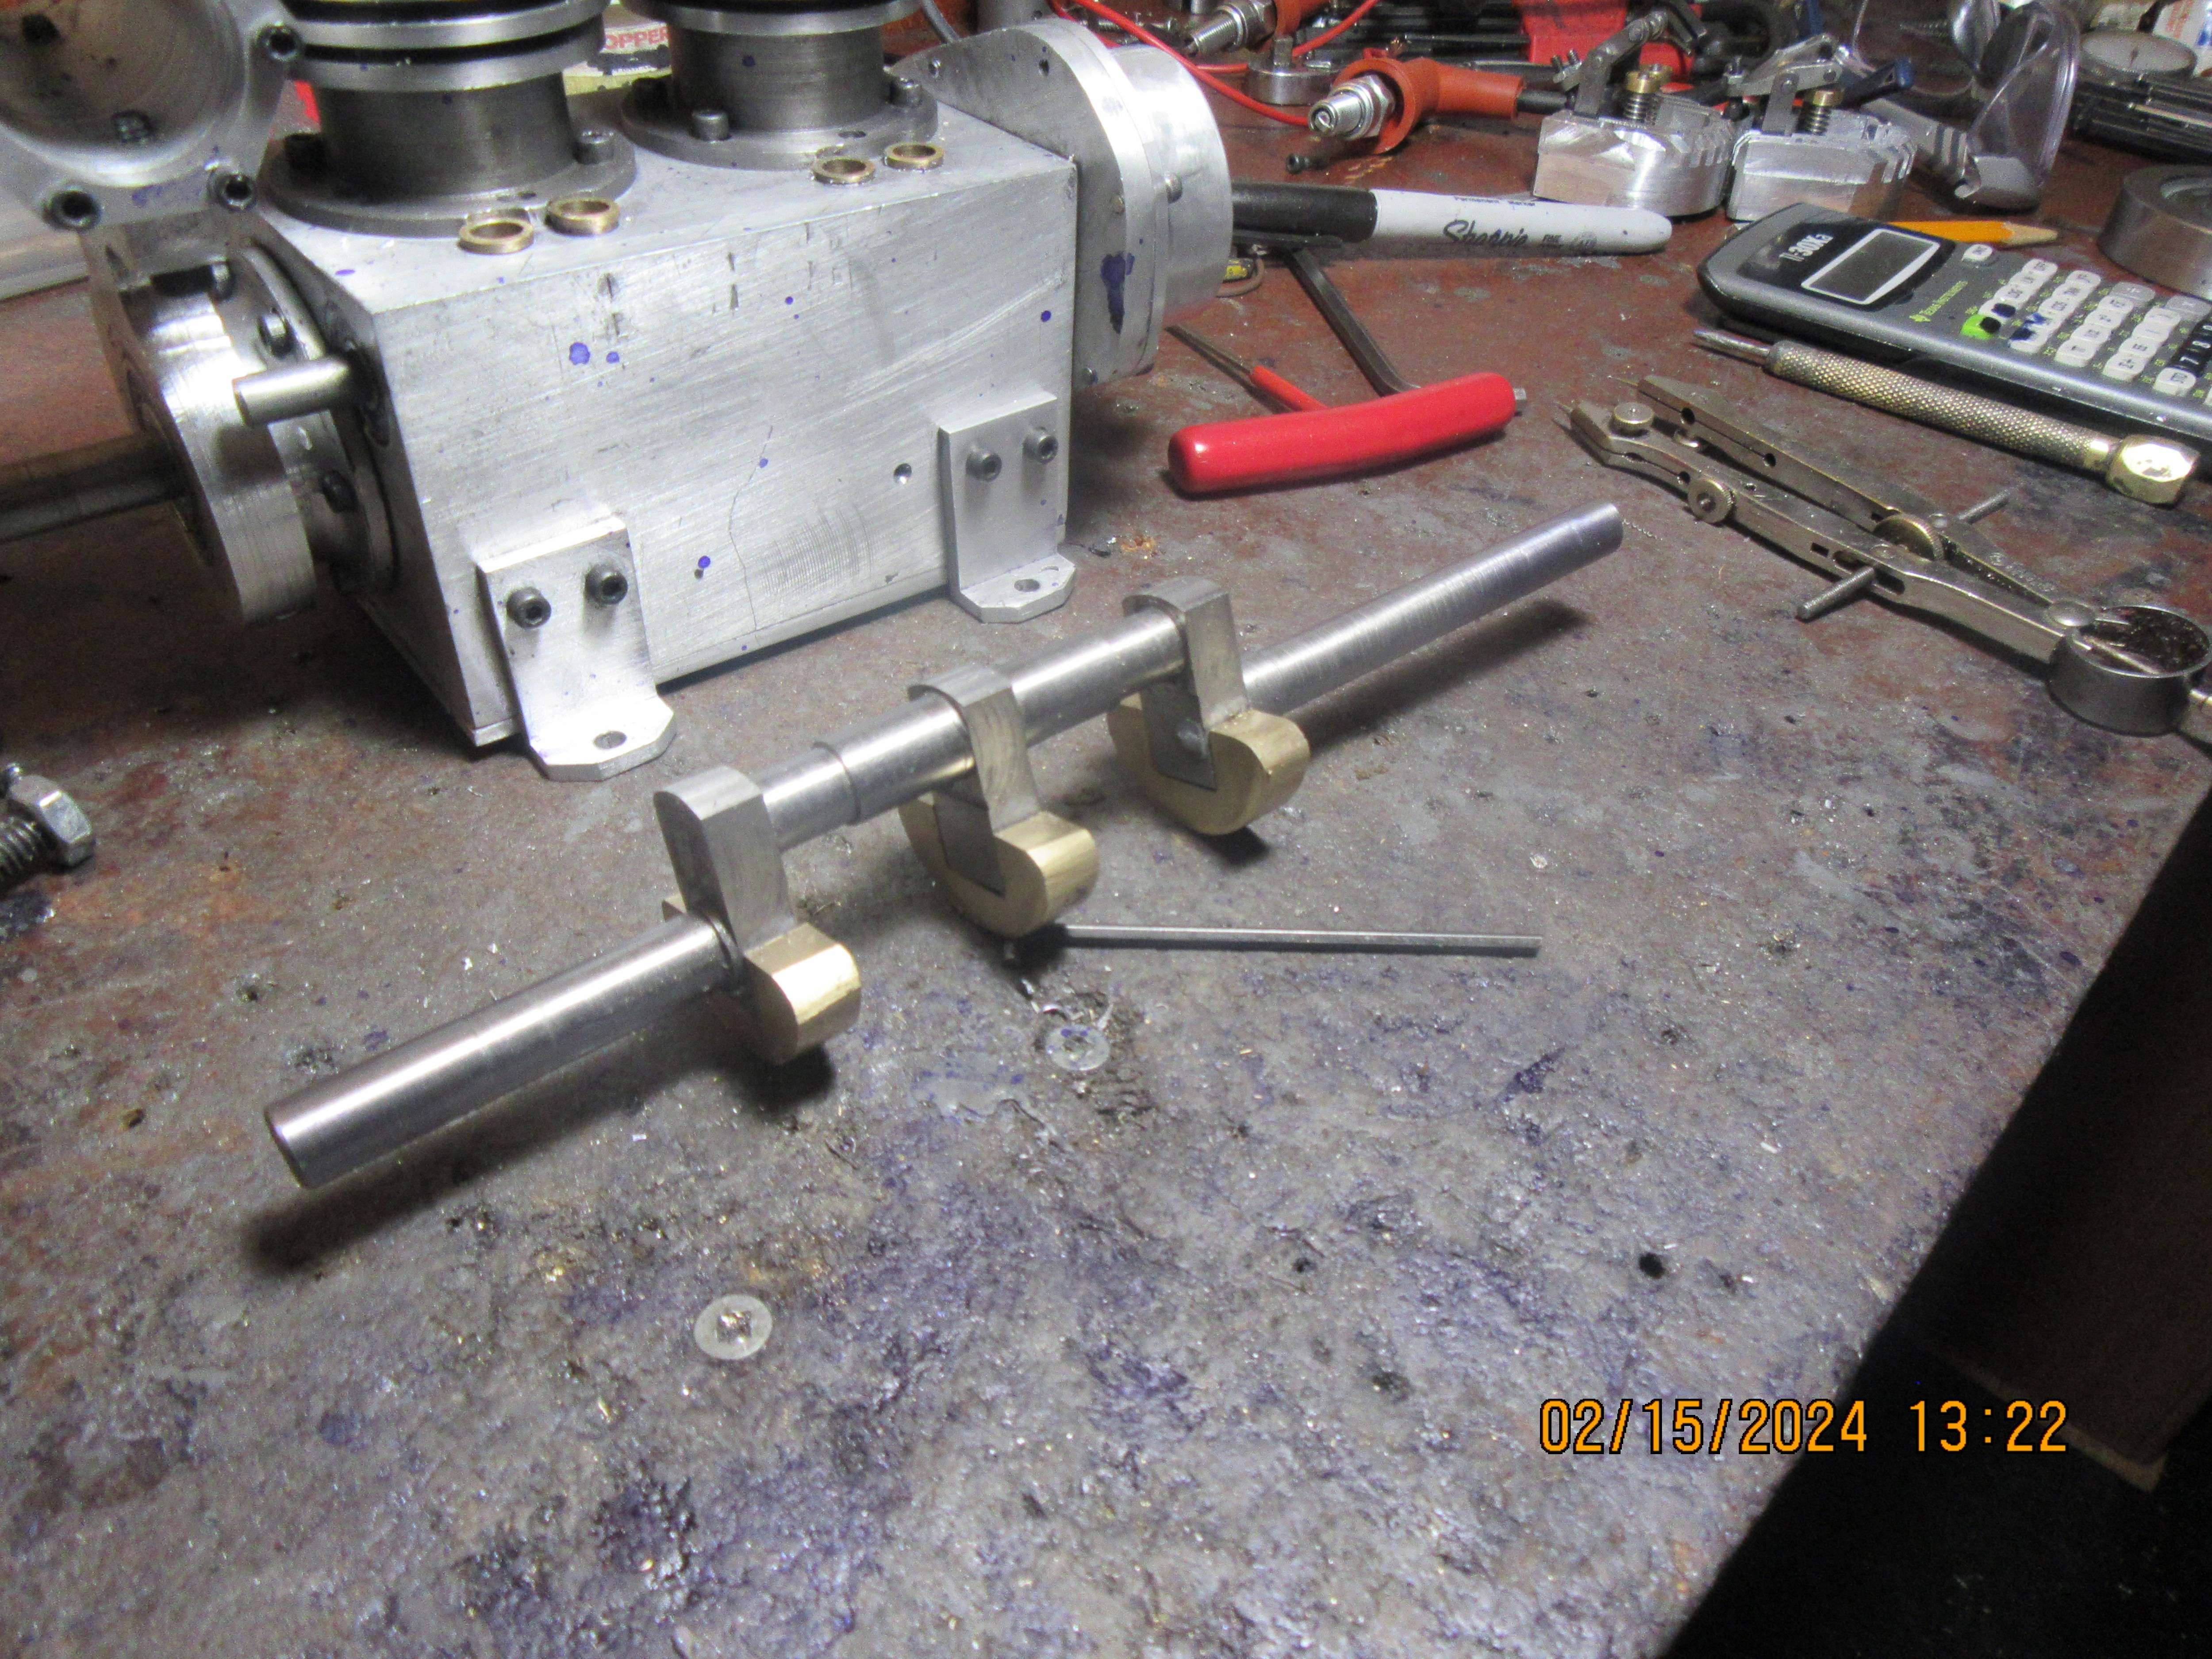
Building a twin cylinder inline i.c. engine.

Home Model Engine Machinist Forum

Help Support Home Model Engine Machinist Forum:

This site may earn a commission from merchant affiliate links, including eBay, Amazon, and others.
Now we get to the scary part---What can be cut away with the milling machine and what has to stay because it's part of the crankshaft. This always makes me check about four times to make sure I'm not milling away part of the crankshaft.
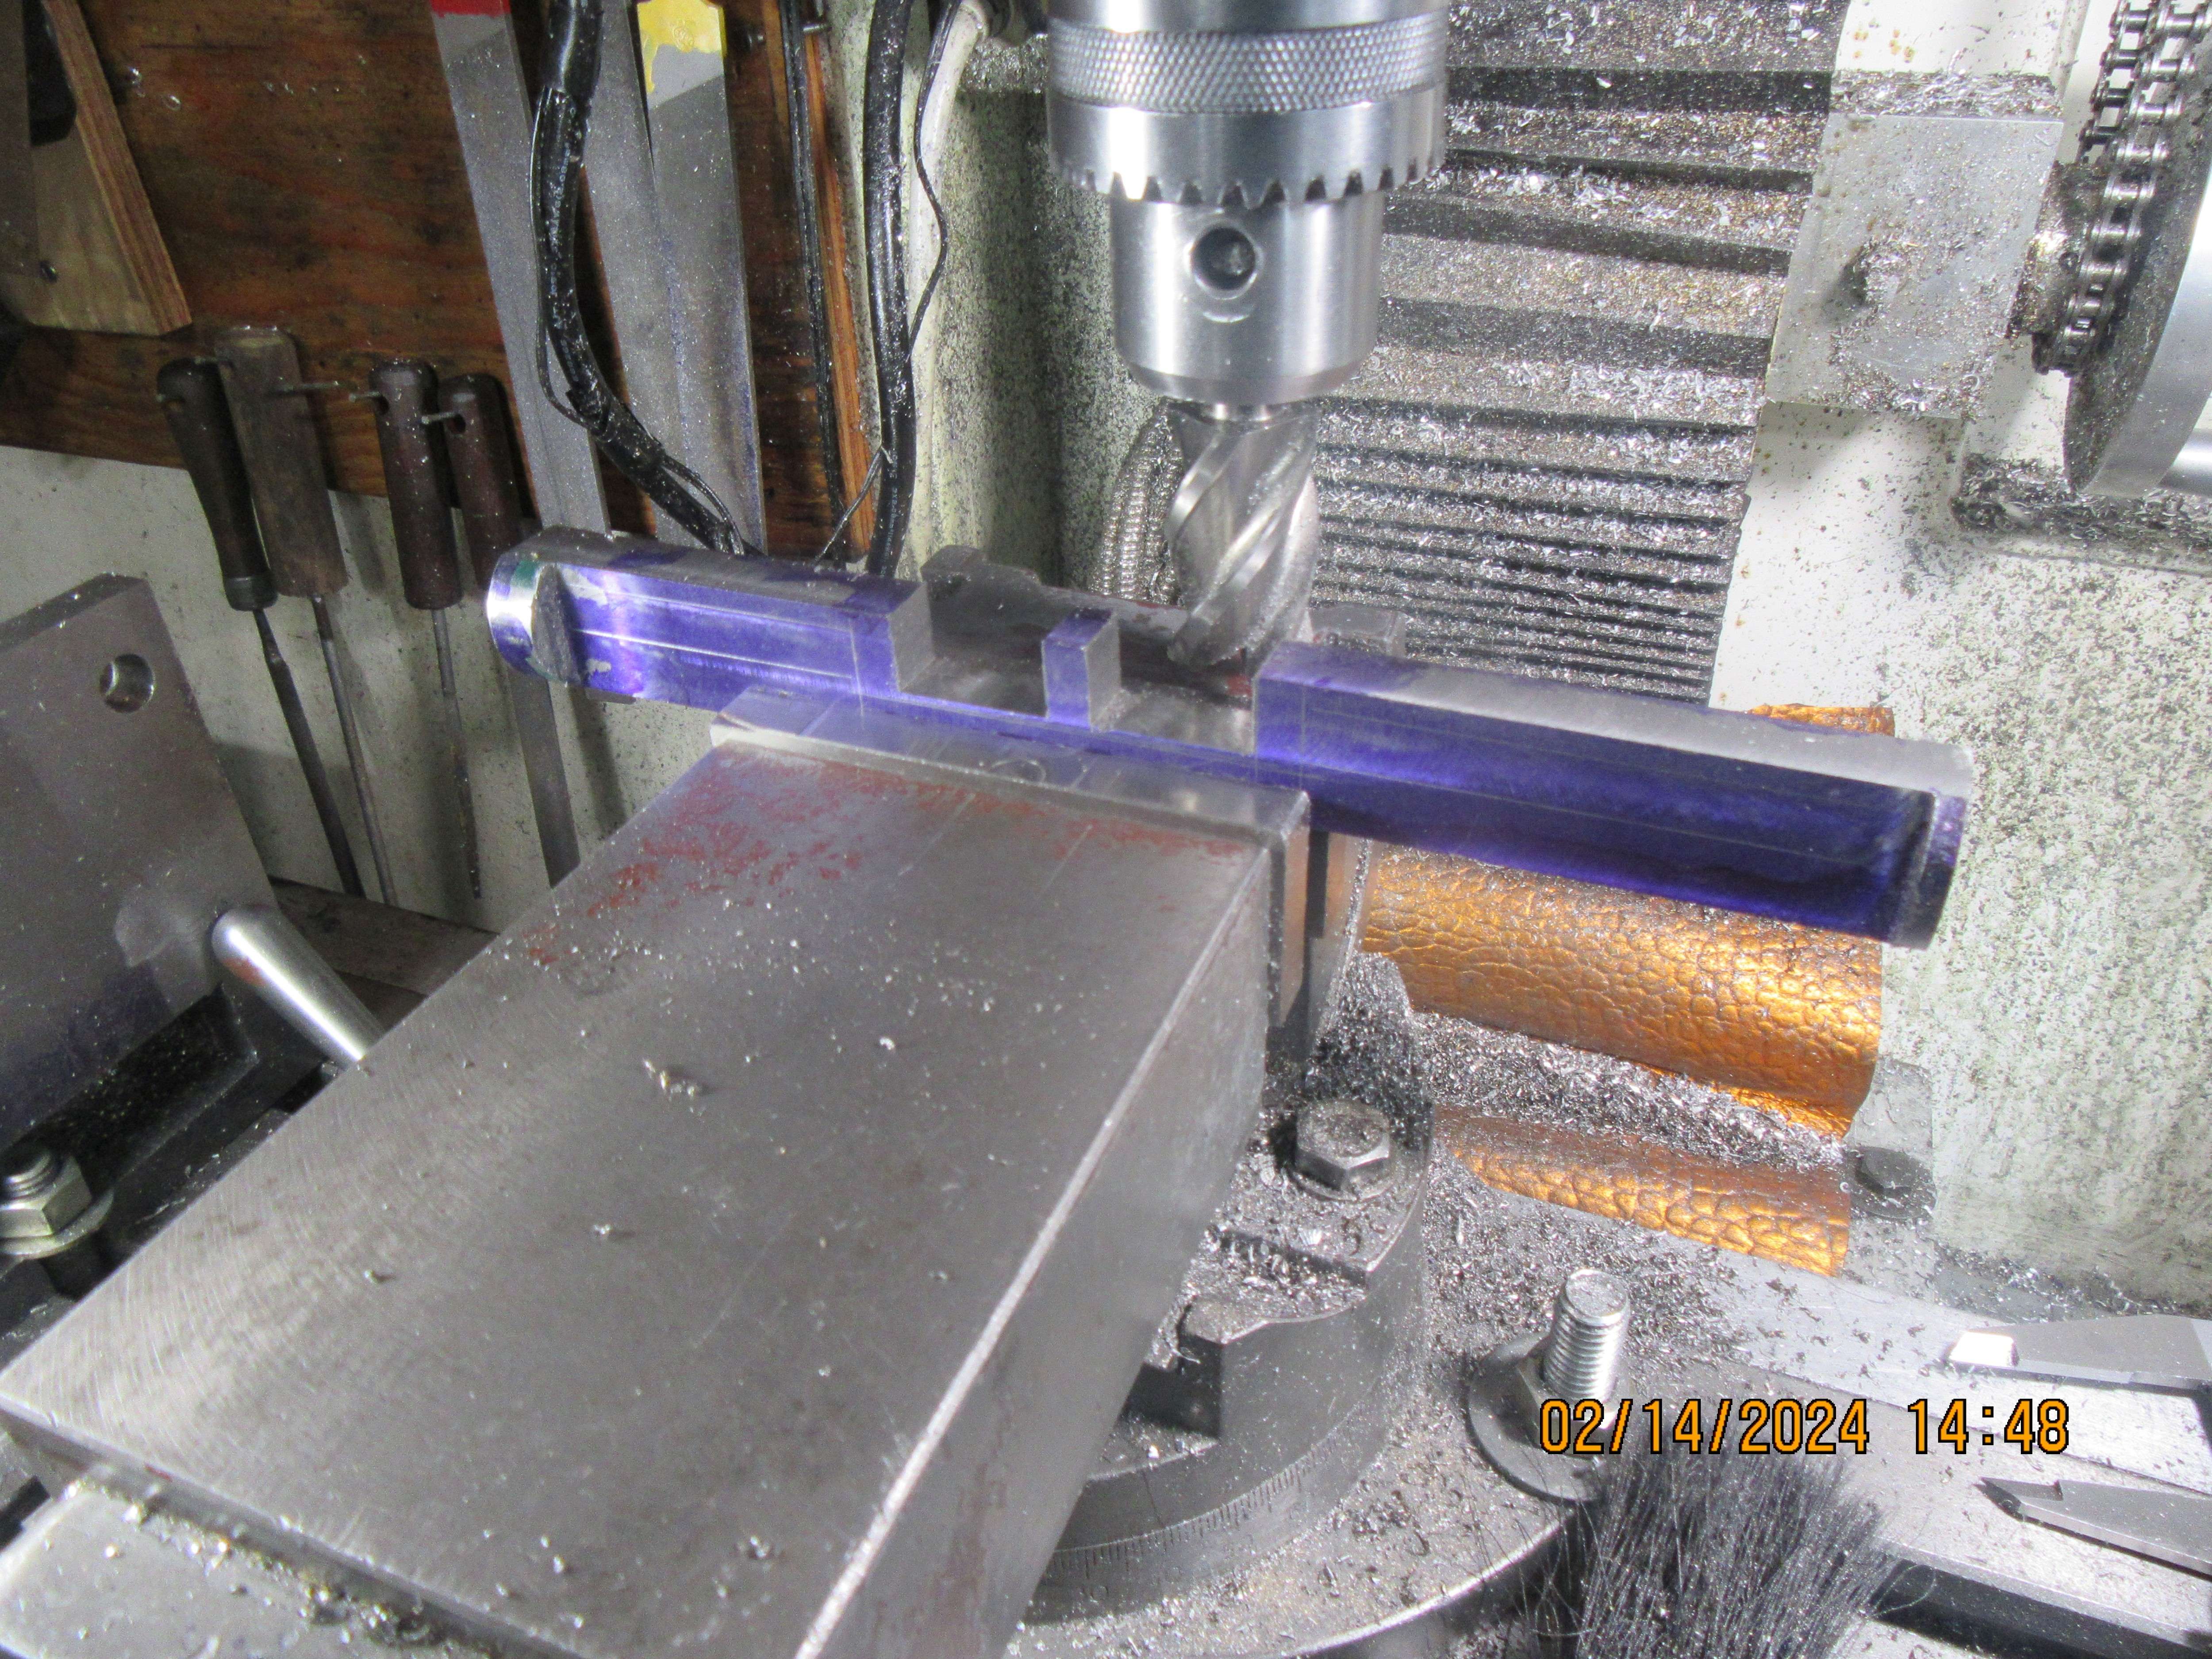
ZnVM6Z.jpg
 
Thanks Brian. I haven't done such a machining operation. So interesting to note your set-up. I should have clamped centrally with narrow clamps, then milled either side... Bowing would have become progressively worse as the material became thinner in the middle. So I guess you have a better set-up? But I do not know how much thicker it would be in the middle than the end under bowing from the tool pressure, doing it "my way"? As the finished crank is machined for main bearings and big-end bearings, I guess that maybe a couple of thou of thicker-in-the-middle isn't a big issue here, but could be on other components? (Unlike the extra 6 inches of thickness in the middle of my body, for example!). I just like to machine as much as possible in a single set-up. Milling the sides in a single set-up should enable the geometry of the machine to give parallel sides?
More than one way to kill a pig, but some are better than others... I am glad to learn from you....
Thanks!
K2
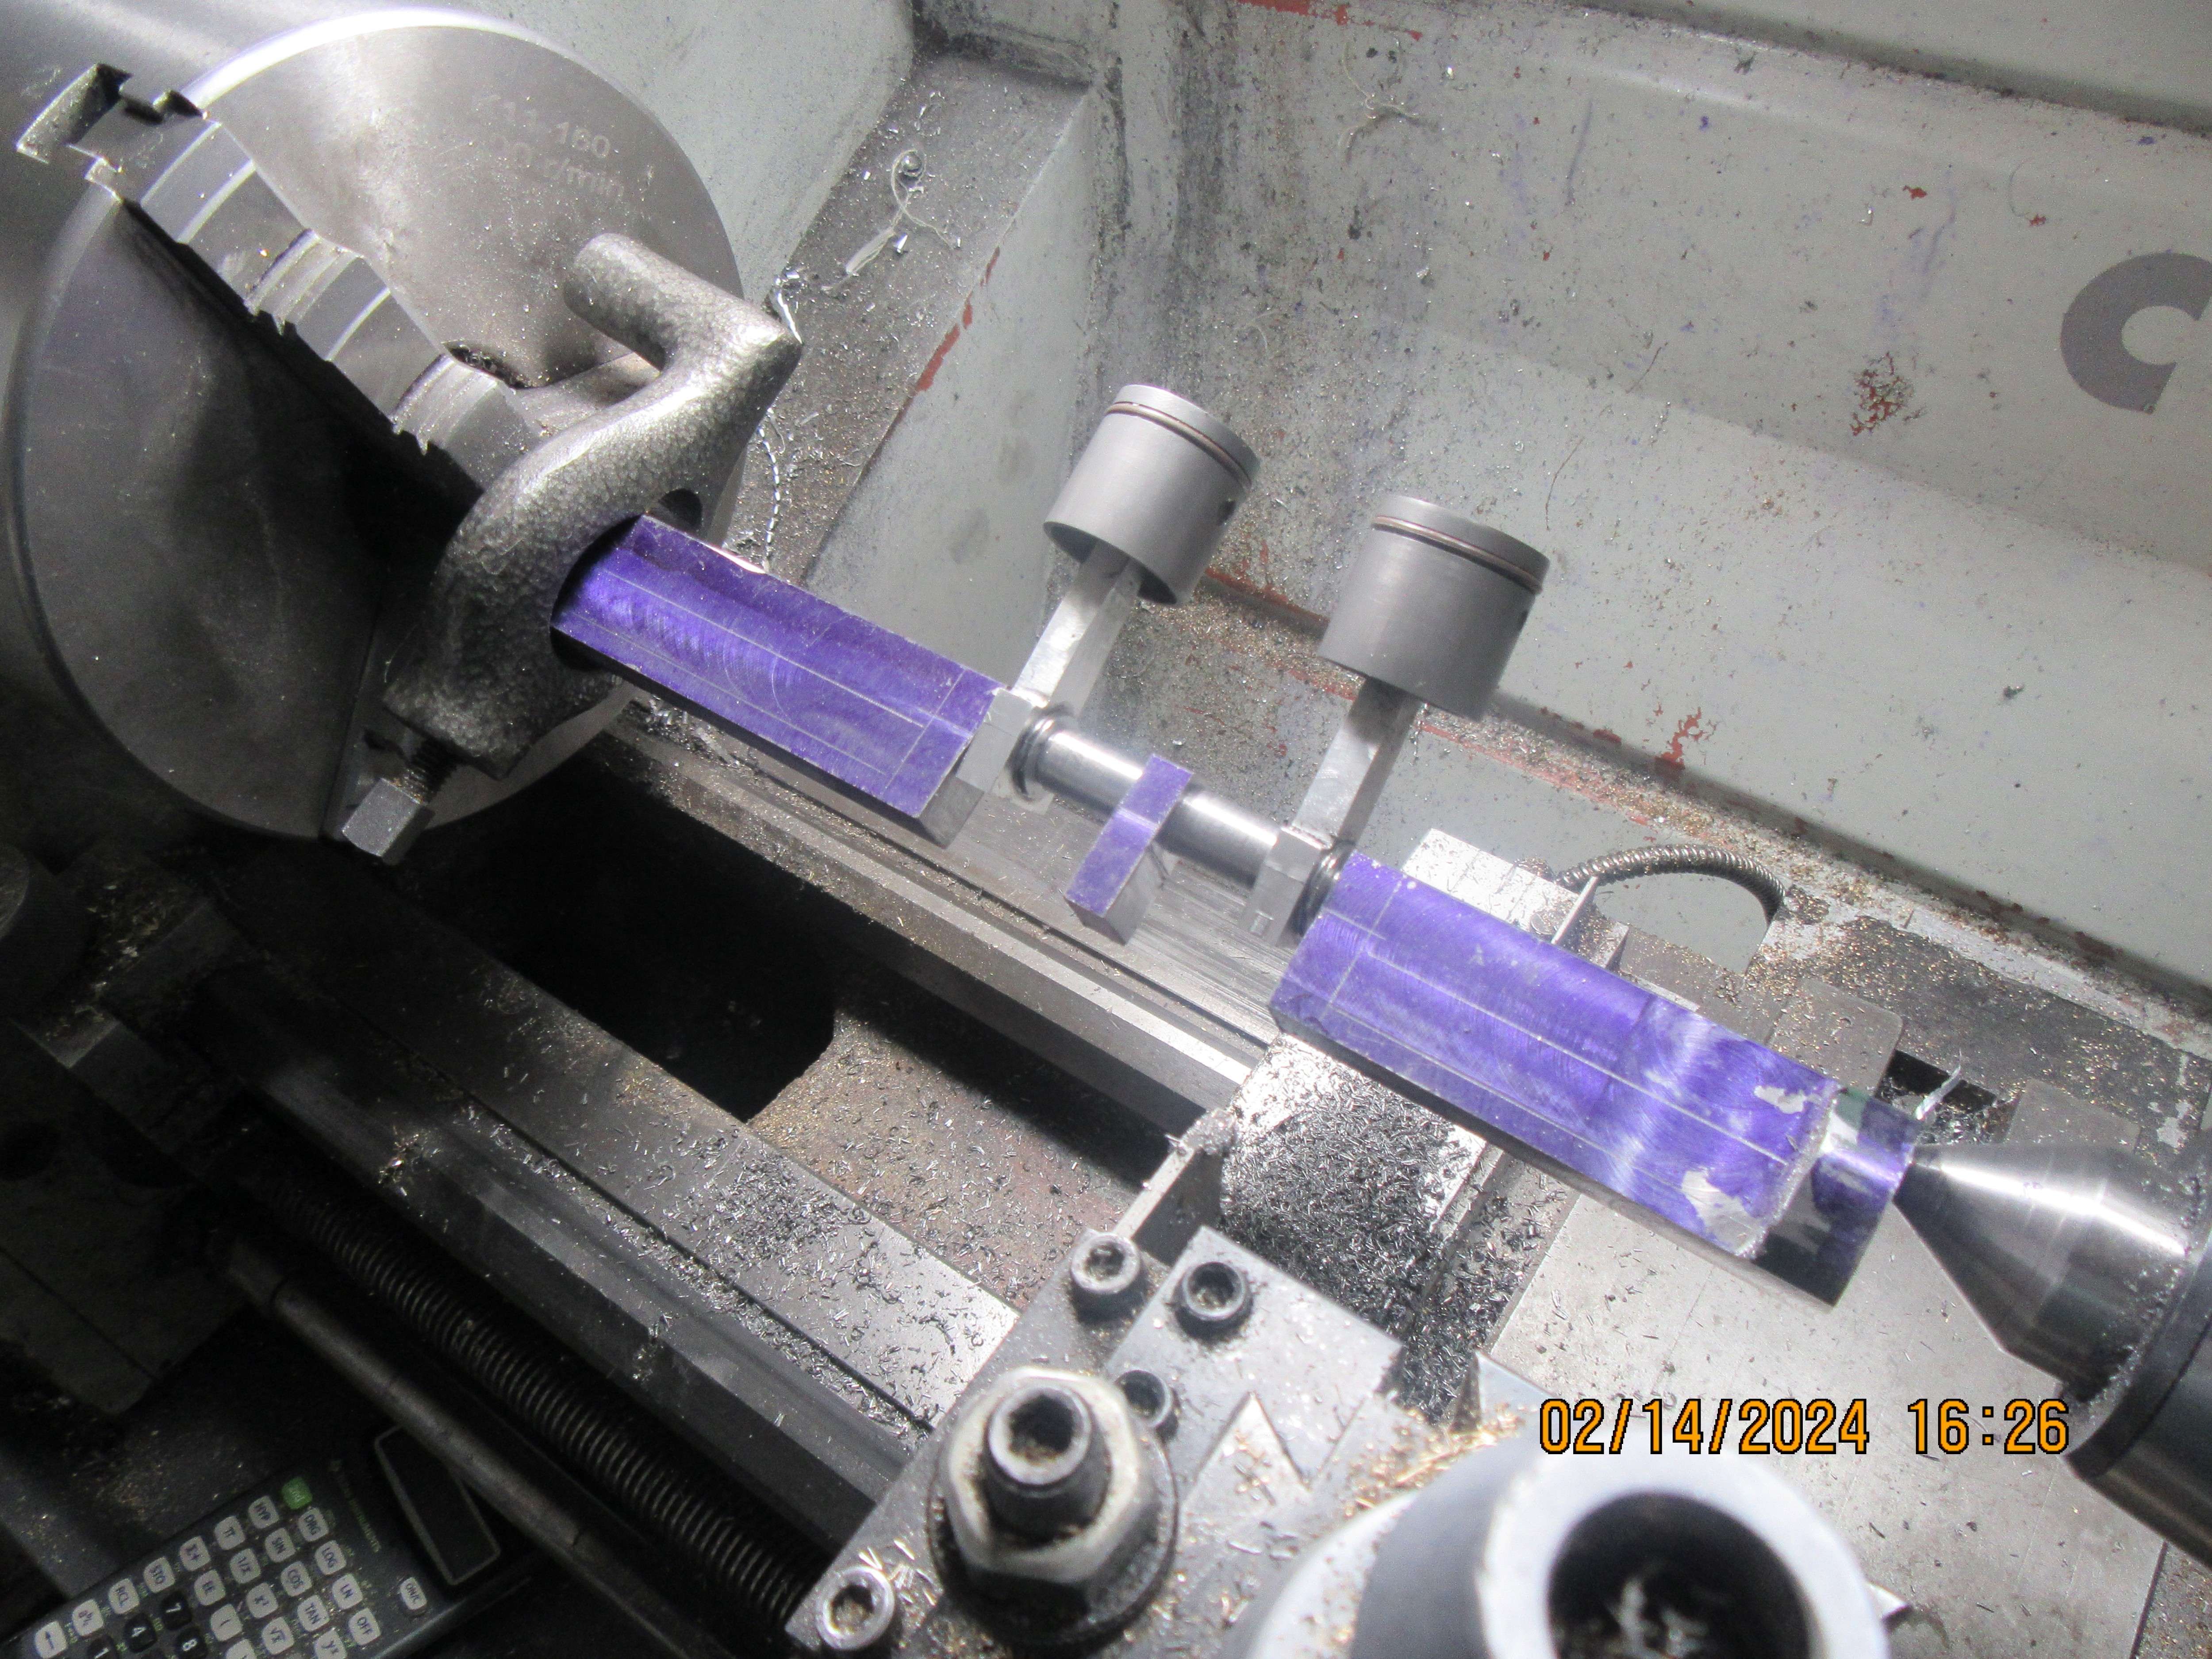
Going another direction, ther we’re sever model plane in line twins years remember right they had a knuckle joint in the crank forvthe cylinders I think there was a pressed in pin for rods these were two stroke glow engines . I can’t even remember the brand O.S I think was one they are very rare today
 
The crankshaft "throws" have been machined to size. To test them for accuracy I bolted the connecting rods into place. The rods will turn with a small bit of force, but they don't flop straight down under the influence of gravity. I'm happy with the machining. Now I tear down my set-up, do some more creative cutting away with my mill and bandsaw, then set up again in the lathe to turn the main portion of the crankshaft.
lGowdE.jpg
 
So there we have it.--Fully machined one piece crankshaft. I thought that I could make one in a day, but it's been a long day. Started about 9:00 this morning, and it's almost 9:00 in the evening now. I still have to trim off the ends with the counterbores and drill and tap for the counterweights, but I'm happy. I'll finish it up tomorrow.
v27Gwj.jpg
 
Hi Brian, my glass is 1/8 spot on. making a full circle in cnc gcode is alot more dificult than i thought it would be but i finally got it sorted out. hope to test cut some glass tonight. just been testing on scratching an old sheet of aluminum.
1708017036723.png


1708017089522.png
 
This morning I finished cleaning up the crankshaft, cut the counterbored ends off, and made/installed the counterweights. After yesterdays marathon crankshaft making day, I'm going to take it easy today.
hvLX0X.jpg
 
Brian i will start my own thread about this but i got an early start and so far bad results. glass scores just fine with the diamond drag bit but just wont break the way i want it to. in fact it breaks all over the place. ill keep trying because id like to be able to do this for my self but just wont post in this thread. also the crank looks awesome

first photo is the glass before it broke into a million pieces
second photo is of one shard that i used a carbide scribe to see if it would help it break properly. no luck that way either. even boiling water to ice bath didnt work.

1708030746956.png


1708030843827.png
 
Brian i will start my own thread about this but i got an early start and so far bad results. glass scores just fine with the diamond drag bit but just wont break the way i want it to. in fact it breaks all over the place. ill keep trying because id like to be able to do this for my self but just wont post in this thread. also the crank looks awesome

first photo is the glass before it broke into a million pieces
second photo is of one shard that i used a carbide scribe to see if it would help it break properly. no luck that way either. even boiling water to ice bath didnt work.

View attachment 153999


View attachment 154000
As an alternative suggestion, maybe you could try using a diamond tipped hole saw to cut the circles? The main thing to watch out for in that case would be that you need constant flood cooling (both to keep things cool and carry away the glass dust) and you should cut only part way through from one side, before finishing the hole from the other- this stops the glass from 'spalling' as the drill breaks through.
 
I used a watch crystal glass for my fuel tank end - very inexpensive on Amazon.com.
I glued it into the tank end recess with Gorilla super glue, not expecting it to last very long.
It's still not leaking after almost 7 years!
Scott
 
no luck that way either. even boiling water to ice bath didnt work.


View attachment 154000

With small sizes it is impossible.
Have 2 way :
1/ Cut along the diameter, then use the end of the knife - it's like a round hammer, (most glass cutting knives have one) and tap the spot where you just made the cut, until you see it has a crack, and tap Continue from the crack to the end of the circle, then use pliers to break each part
2 / Cut along the diameter,, and use pliers to break each small part - from the outside in
- Wear eye protection !
---- Then grind the edge
**** Only suitable for glass from 2 to 5 mm thick
A.jpg
 
I don't know how long this process takes but you are probably taking too much time to score and break. Glass starts to ''heal'' after scoring and the process should be fairly quick. Seconds not minutes.
 
Make the score lines tangental not radial.

Brian, do you have anything to locate the crankshaft axially as you seem to have a longer cavity in your crankcas eso the shoulders on the crankshaft don't locate against the sides of the bearing inners?
 
Probably easier to cut from Polycarbonate or Lexan sheet, at least it can be done with the same tools as metal and it's fuel proof
 
With small sizes it is impossible.
Have 2 way :
1/ Cut along the diameter, then use the end of the knife - it's like a round hammer, (most glass cutting knives have one) and tap the spot where you just made the cut, until you see it has a crack, and tap Continue from the crack to the end of the circle, then use pliers to break each part
2 / Cut along the diameter,, and use pliers to break each small part - from the outside in
- Wear eye protection !
---- Then grind the edge
**** Only suitable for glass from 2 to 5 mm thick
Here's a good video, it doesn't require any special tools apart from a glass cutter, and the diamond should work. The applicable part is at around 8 minutes into the video.
 
Jason--At one end of the crankshaft, there is a collar that rides up against the inner race of the ball bearing. The other end floats right now. The con rods seem to locate the crankshaft so I'm not sure if I need to put a spacer on the crankshaft at the other end.----Brian
 
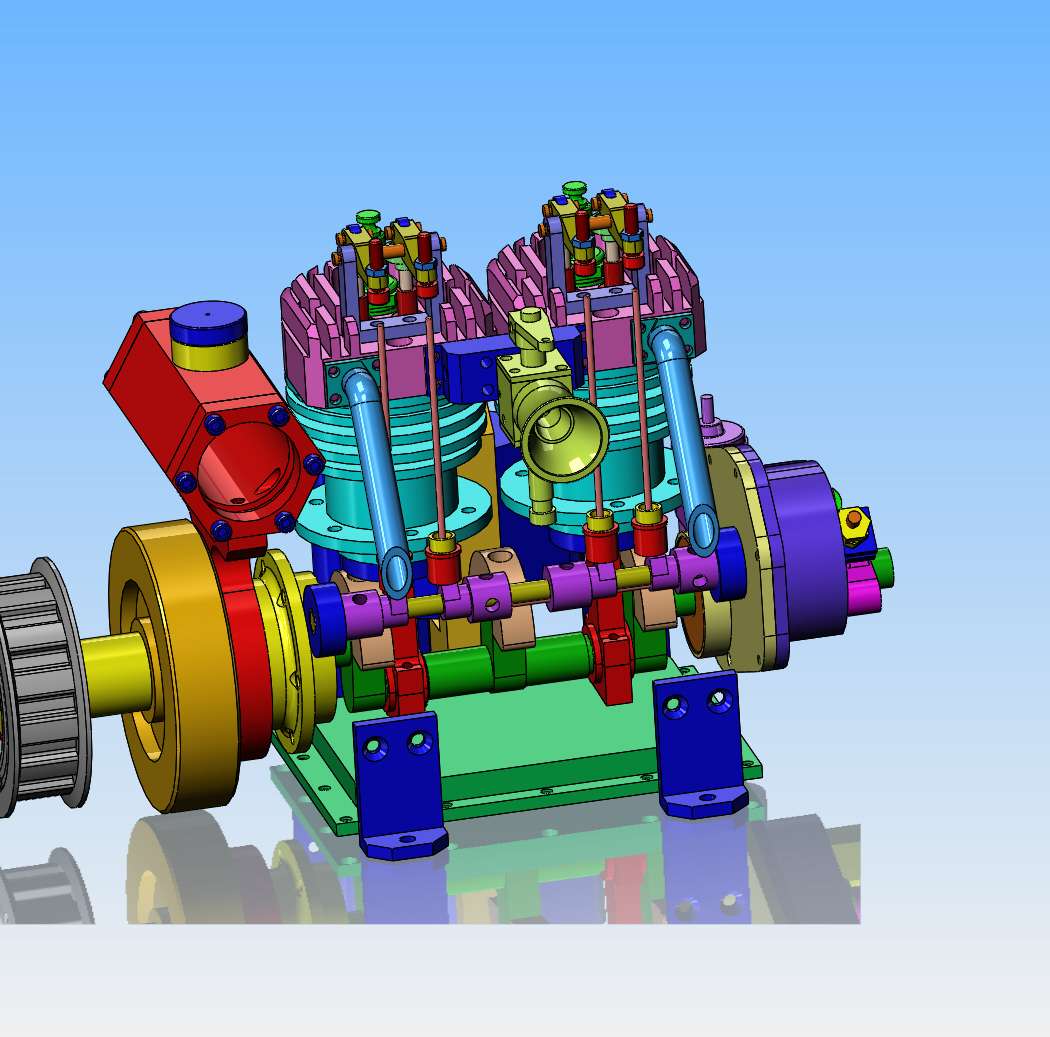
I'm down to the ignition and the cams. The ignition is making me crazy right now, so I've decided on a final design on my cams. I have decided to make four identical cams, each one with a hub attached which has two set screws, That way I can set my time camming to whatever I think it should be. The cut-away model I am posting is cut on the cam centerline, so you can see what I have in mind.
EV9s43.jpg
 
Hello everyone

I also once had the problem that I needed round glass panes to my desired dimensions.
I wanted to turn a rectangular volt and ampere display into a round display to get a vintage design.
A friend of mine owns an optician's shop and he makes glasses.
He has a CNC grinding device where he can grind the shape of the glasses frame from the lens blanks.
I bought a small picture frame with a 2 mm thick glass pane.
He broke this pane of glass into four squares.
He then ground the round glasses from the squares to my desired diameter.
Just ask an optician's shop whether they can grind your round glass panes too.
Such a grinding process only takes a few minutes.
Unfortunately I don't have any pictures of the CNC grinding machine.

With the pictures I show you the way from the rectangular to the round volt display.

Regards
Dieter

Voltmeter_002.jpg

Voltmeter_003.jpg

Voltmeter_006.jpg

Voltmeter_35.jpg

Voltmeter_0001.jpg

Voltmeter__04.jpg

Glasscheibe_01.jpg

Glasscheibe_02.jpg

Glasscheibe_03.jpg

motor-controller.jpg
 
Back
Top