ShopShoe's Shop

Home Model Engine Machinist Forum

Help Support Home Model Engine Machinist Forum:

This site may earn a commission from merchant affiliate links, including eBay, Amazon, and others.
Joined
Oct 1, 2010
Messages
1,342
Reaction score
395
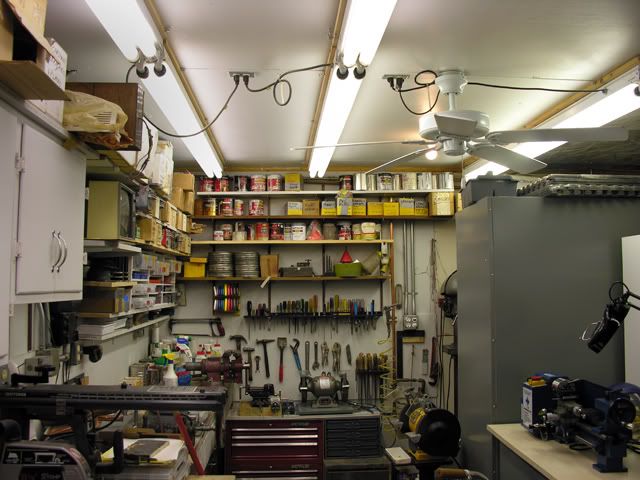
Now to post some pictures of my shop. I have a garage that accommodates 3 small cars I play with and whatever else I do that makes noise and a mess. (I work on electronics and other things in the house, which has climate control which the garage does not.)

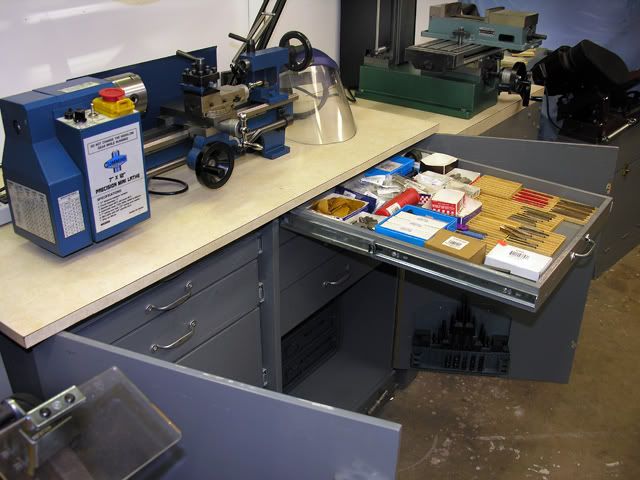
The 7 x 14 Lathe and mill have benches with storage underneath.
Shop_Wide.jpg


LatheCab.jpg


MillDrawer-1.jpg


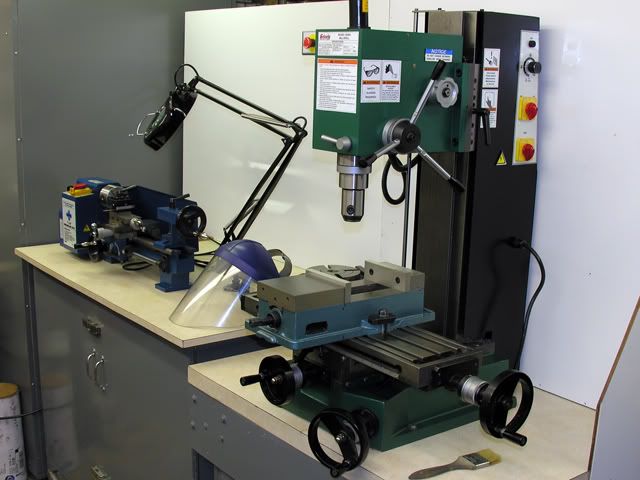
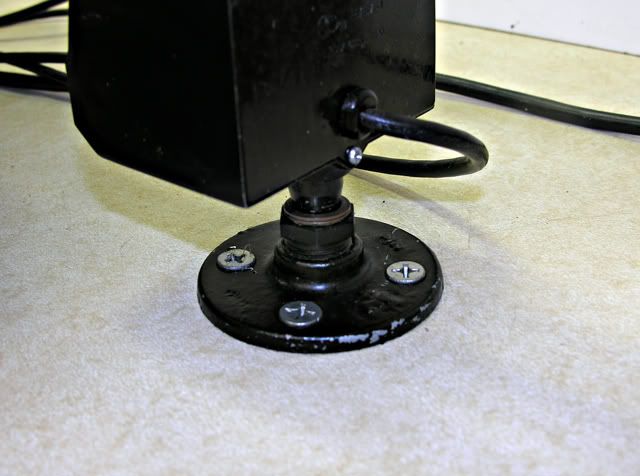
Magnifier Lamp is flange-mounted to lathe bench to cover either machine

MagNiLamp_1.jpg


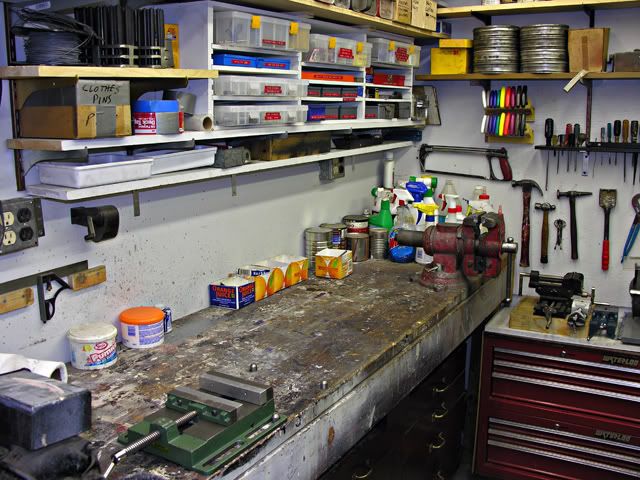
"Everything" Workbench is opposite Lathe. I spill things, paint, screw down projects, cut and drill as the work flows, top is made from two-by planks attached underneath so I never worry about hitting a nail with a precision edge. I periodically clean, scrape, and re-plane the top and will replace it when it gets too bad: This one is 20 years old.

UtilityBench1.jpg


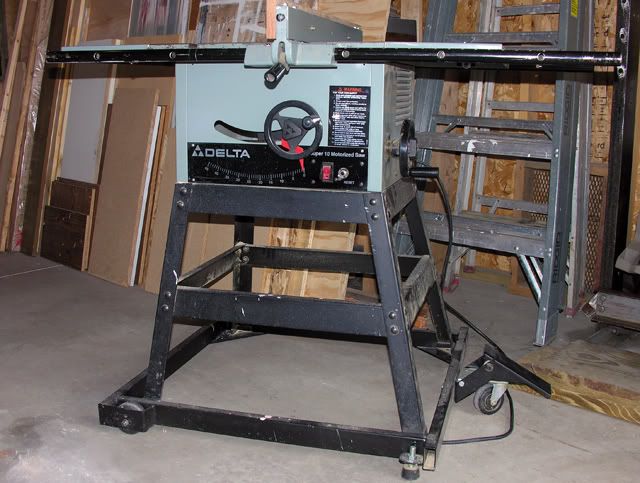
Second bench is to left of main bench and the same height: Great for long lengths of whatever. Small Radial-arm saw was bought before miter saws became popular, but it is great to have set up and ready to go.

SecondBench1.jpg


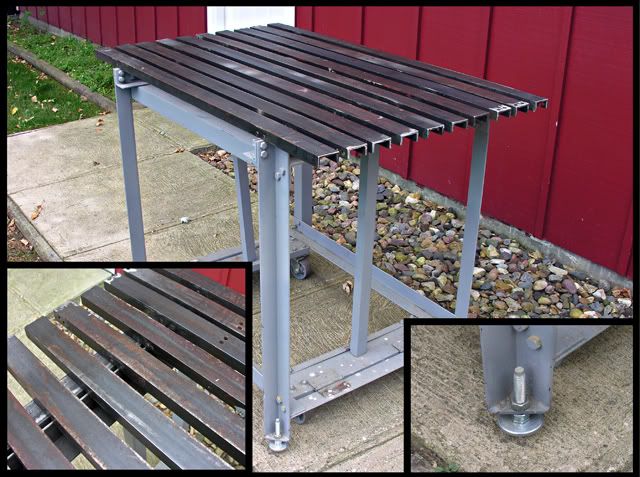
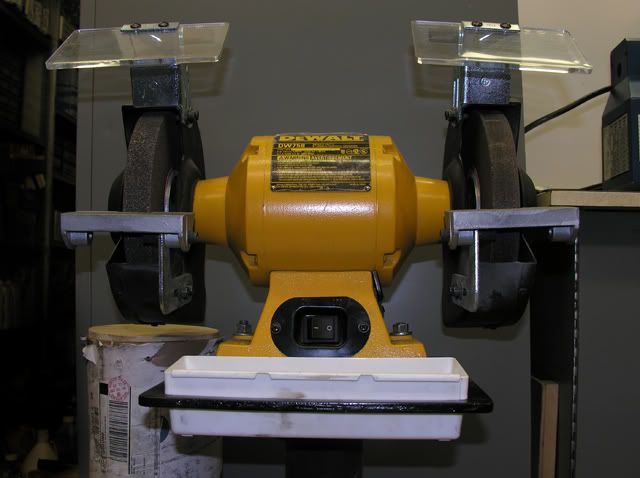
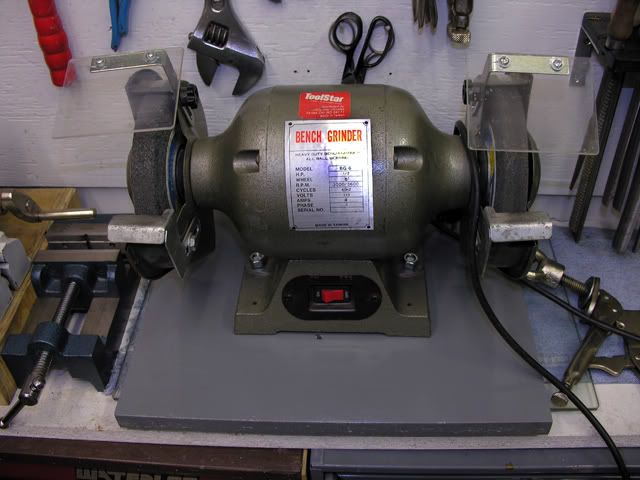
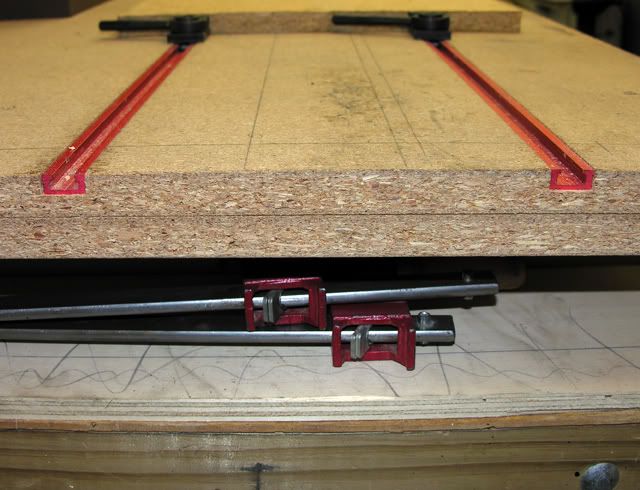
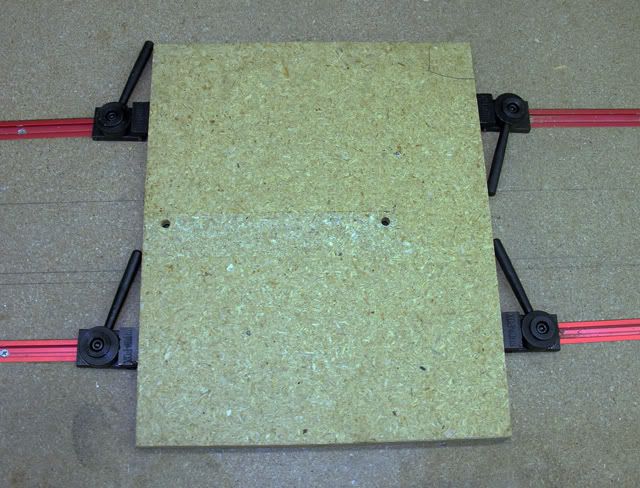
T-slot rails embedded in this bench (New last year) allow clamping grinders and projects (and hopefully soon an engine).

SecondBench3.jpg


SecondBench2.jpg


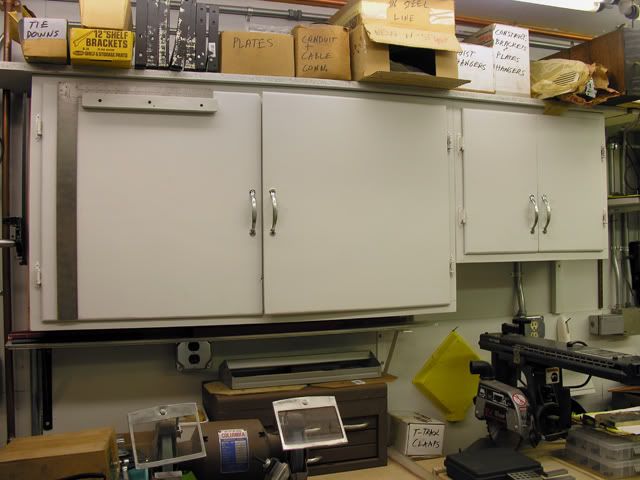
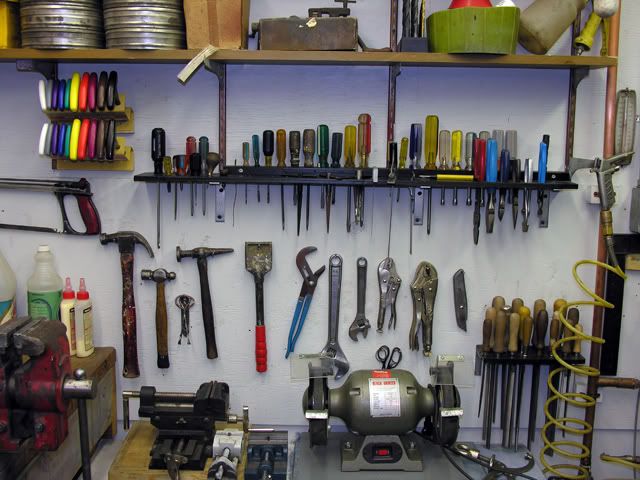
Most-often-needed tools for all home and shop misc. needs are on the wall. Good Tools are in tool boxes.

ToolWall1.jpg


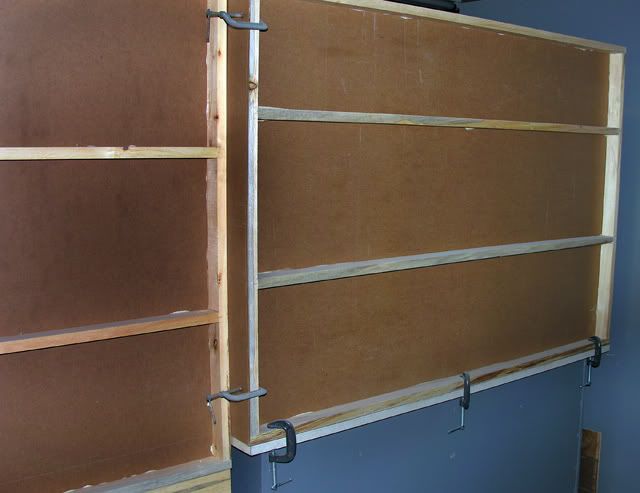
QuickieBuilt cabinets under benches hold more tools and supplies close to where they are used.

ShopStorage_1.jpg


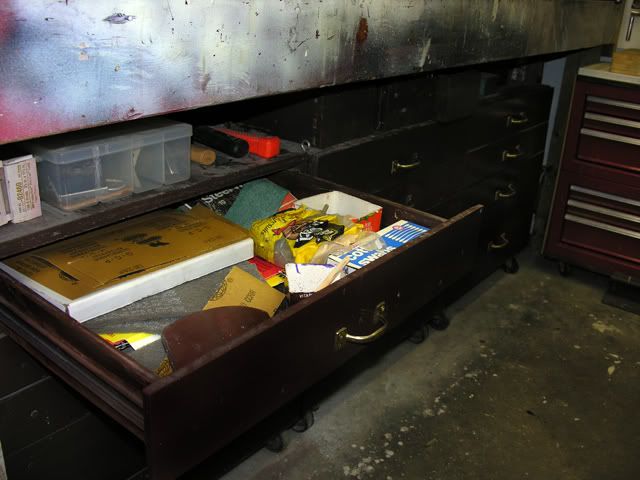
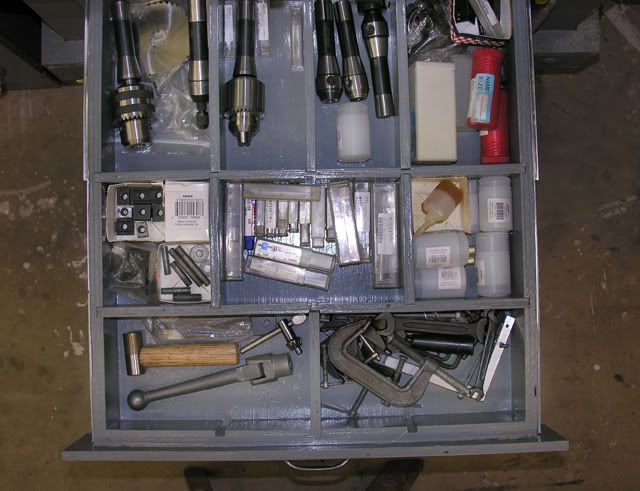
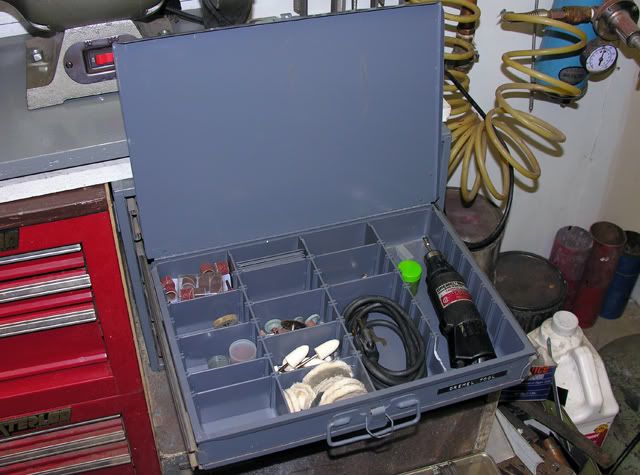
I like these Durham drawer-boxes for some things plus attachments that may be used somewhere else, like the dremel.

ShopStorage_2.jpg


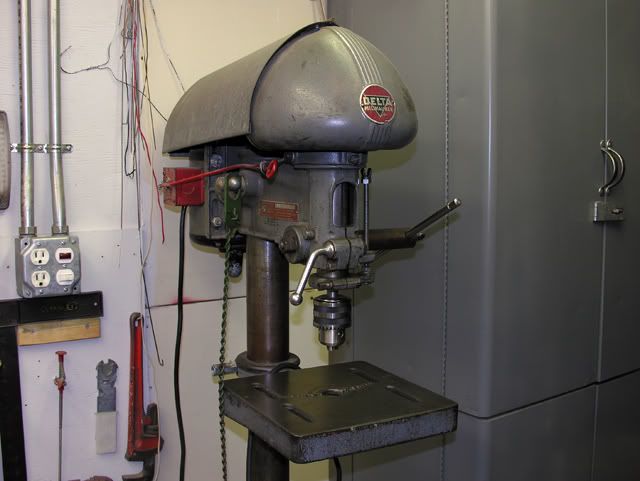
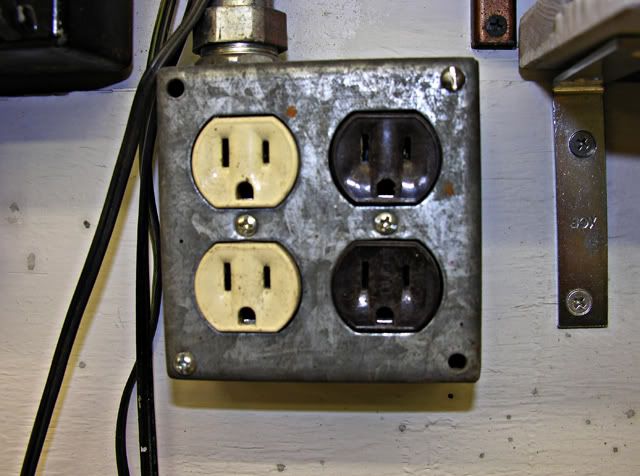
Besides circuits dedicated to things like air compressor, I have two utility circuits that circle the whole place. Ivory and Brown outlets remind me to share the load between the two circuits.

2CktOutlet.jpg


I have more to share, but let's see if photobucket links work ::)

-----

(Later) Whaddayaknow: I got the wrong code and linked to my entire photobucket album. Gotta make sure to get the IMGs.
:'(
 
ShopShoe

Thanks for posting a shop tour for us. Looks like you have things nicely organized there. I like the way you have the "T" slots mounted in the bench top. I am sure that they can come in very handy. :bow:

Cheers :)

Don

 
Welcome Shop shoes!

Glad your here!

Dave
 

Welcome!

looks like a neat and cozy Spot. Diggin' the T-Rails.
 
very nice shop, well organized, and yes, those T-rails seem to be very useful
you have 2 workbenches plus the one where the machines stand: a luxury! ;D

 
Very well organised indeed! Looks like you can even move around in there without tripping over something.
 
:bow: well very nice wood not stay like that with me regards bob
 
(Note to Moderator: If this is a duplicate post, please accept this one and delete the previous "ShopShoe's Shop Part 2" Post. My computer sneezed while I was proofing and it was either posted or deleted.)

--

I have been meaning to get back to this.... I paused my shop post because I wanted to make sure everything with the photos and the process was working. I am one of those methodical people who double-check and test a lot and still make mistakes ...

YA GOT ME -- I cleaned the shop for the photos, after all I needed room for me and the camera. 1 1/2 days later it looked like this:

Shop_ReClutter_1.jpg


I like lots of light, so I use 8-foot flourescent lights: An electrician I worked for once claimed they were more reliable if a pain to deal with the tubes. So far I agree and I have tubes that have lasted longer than 10 years. No ballast problems and very few flickers. I have clear safety tubes on all my 4-ft and 8-ft tubes. I only broke one 4-footer with a rake handle to learn my lesson. (Note: the cheap 4-foot Bargain Shop Light fixtures that are always on sale do not have enough clearance to use the tubes: I had two of those and I relegated those to an out-of-the-way-place in the house where this klutz is less likely to handle a long object.) I use multiple switches to light only the areas where I will be working. Switch closest to the door is the low-wattage "general" light.

Shop_Lighting_1.jpg


I bought this drill press at an auction. A really old Rockwell Delta It has a crossbar on the down feed, not the common 3-handled version. I keep rebuilding this and it keeps getting better and better: When I got the lathe I made a new quill shaft and replaced the shaft and bearings. I tried single-point threading to make a new bearing retainer locknut (oddball fine thread.) It worked and I was encouraged in this new hobby. Now that I see my skills getting better I may have another go at making an even better shaft.

DeltaDrillPress.jpg


Everybody has probably made this press: mine was done a long time ago. It works when I need it, but I need it less and it lives on the far side of the shop in the dark. It didn't turn out well because I used salvaged channel that turned out to be warped and twisted so up and down rough settings are a pain. Floor version - I was able to use it to remove bearings from a steering column for a car project. HF jack is now leaking and I probably have to buy a new one.

HydPress_4.jpg


I like welding, but don't do it as much any more: Every time I start up again I have to work past the "Popcorn and Bubblegum" stage. I use the MIG as flux-cored most of the time. I still use the stick welder for thick metal just to practice. I have a gas setup but is stored away from flammables and heavy objects. For safety's sake, I do not weld in the shop but out in the driveway.

ElecWelders_1.jpg


For quite a while, I made a lot of projects from thin-walled square tubing. I built this jigging table for clamping pieces. Wheels fold out of the way, leaving the adjustable feet on the floor for leveling: I used angle for the legs with the "inside out" to make leg adjustment easier. I wish my shop was even larger so this could be ready to use. (Don't we all

JigTable_Illus_1A.jpg


This Dewalt 8-inch grinder is my main utility grinder. I did have to replace the wheels to get it to run smoothly. I also found part of the from-factory roughness was due to the motor being loose on the cast stand. I reassembled with locktite. I made a 1/4-in wooden (breakaway in case of fall-over) shelf to hold a water tray and this is mounted on a cheap "tool pedestal," which helps keep grinding dust away from other work areas. My former 6-inch main grinder ...

Grinder_1.jpg

Grinder_2.jpg


was rebuilt, repainted, and set up with a green wheel on the left and fine wheel on the right to use with cheap grinding jigs I have acquired over the years. None of these work really well, but once in a while I can use them if this grinder is set up.

--

I got this ridiculously-underpowered 6-inch grinder for $10.00. I keep it around and set the tool rests for special angles in sharpening my small HSS toolbits. some days it seems I am a good sharpener, other days I need all the help I can get.

Grinder_3.jpg


I have had this 4/6 belt sander for a while and it is really useful for wood and for metal. I may upgrade to a 6-inch belt model at some time (Has anyone built one?)

4n6_Sander_2.jpg


I also heavily use this table saw for woodworking, especially shop cabinets. Once again, I try to work outside when possible to keep down the dust. (Dream wood shop would have better saw, jointer, planer, and really good dust collector: Oh, well)

Tablesaw_3.jpg


Wood and Metal sharing a shop means dust is my constant companion. I have started replacing more open shelves with cabinets. In many ways they slow work down, but less cleaning. I use that framing square a lot and keep it handy within reach of the bench where I do a lot of layout.

ShopStorage_OverBench_2.jpg


Dust also required box for surface plate. I keep it covered whenever it is not being used. 9 x 12 size can be moved around or slide to back of bench. So far, I am not making anything that requires a larger one.

SurfacePlate_1.jpg


Chip Shield behind lathe and mill is tileboard (1/8-in. tempered masonite with factory-baked-on finish.) I made a frame from 1 x 2s and stapled the tileboard on and attached this to table with clamps. This keeps chips from being shot into car-storage area and is easy to wipe clean.

ChipShield_1.jpg


Projects in the works will no doubt require more changes. I'll post updates.
 
Nice setup, ShopShoe. I like all that storage directly underneath your lathe and mill. Very convenient. Thanks for the tour. Enjoyed it.

Regards,
Rudy
 

Latest posts

Back
Top