black85vette
Well-Known Member
- Joined
- Jan 18, 2009
- Messages
- 1,084
- Reaction score
- 24
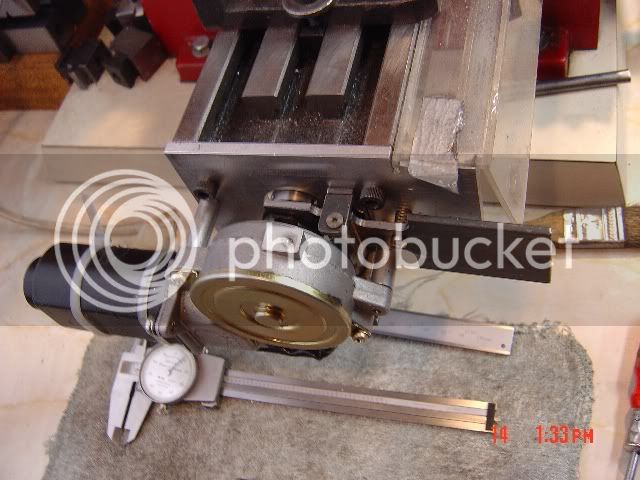
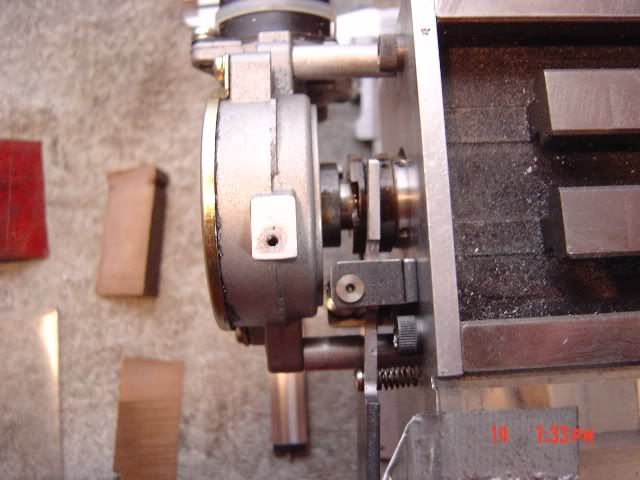
Little bit of clean up on the wires. I wanted a quick disconnect at the motor so I could both remove the motor easily and disconnect the wires going to the motor if it not being used. I use Anderson Powerpole products for all of my Ham radio and portable equipment so I always have some on hand.
If you are not familiar with them check out the web sites below. They have become the standard in Ham radio so that we can move and install equipment quickly without having to use every radio manufacturer's power connector. They are genderless (no male/female connector) each is symetrical and plugs into the other. You can connect them side by side with built in dovetails or mount them on a panel. They come in many colors and sizes so you can connect just about anything. They make them big enough to supply power to battery run fork lifts.
Hope you find this useful.
http://www.powerwerx.com/
http://home.comcast.net/~buck0/app.htm
Edit; the tapered dove tails on each side allow you to link them together to make a multi pin connector of whatever size you want quickly.