Wallaby

Home Model Engine Machinist Forum

Help Support Home Model Engine Machinist Forum:

This site may earn a commission from merchant affiliate links, including eBay, Amazon, and others.
Thanks Bogs
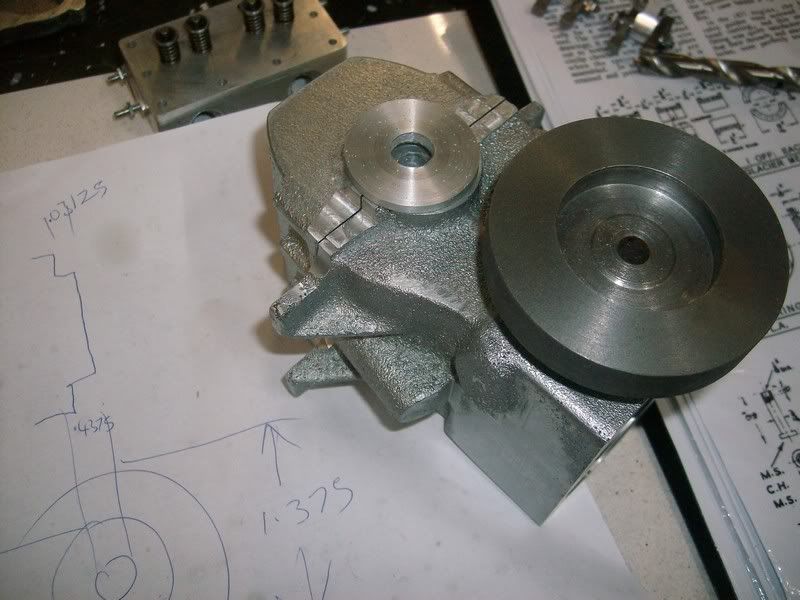
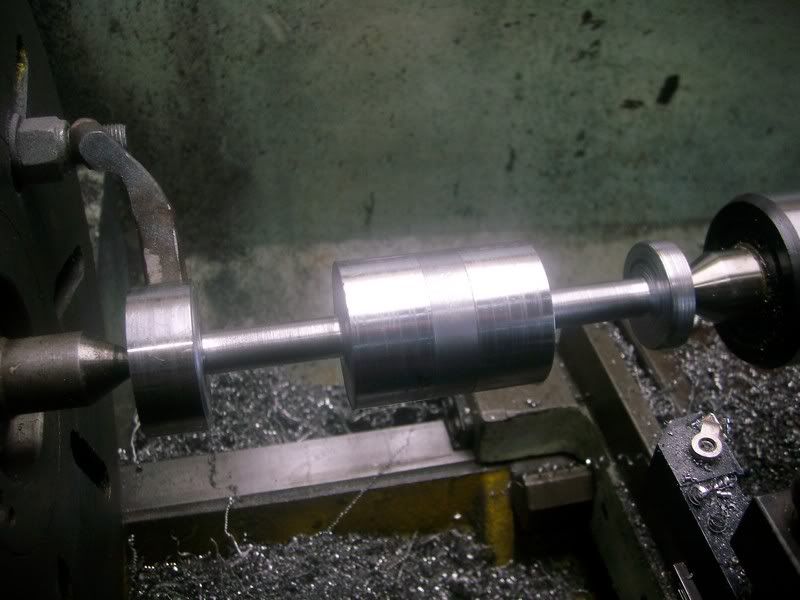
I'll never be content with just drill n ream for the Big ends again.
but i think I'll eather add the boring head to the mix next time or grub screw or both . I was not happy with the way i adjusted the cutter this time, but wanted to keep it as simple as possable for my first attempt.
Pete
 
Congrats Pete!
I knew you could do it!
A karma from me!

Dave
 
Looking good Pete.

I guess I've gotta read Westbury's version sooner or later.

For some reason I imagined you boring it with the sump bolted in place.

Bez
 
Hi Bez
The sump only holds in the oil Mate, and i like to see whats going on :big:
Pete
 
Good job, exactly how many times do you have to check the setup on something like that before you begin to cut?
 
Bezalel said:
Looking good Pete.

I guess I've gotta read Westbury's version sooner or later.

For some reason I imagined you boring it with the sump bolted in place.

Bez

metalmad said:
Hi Bez
The sump only holds in the oil Mate, and i like to see whats going on :big:
Pete


You still can bore the sump in position now if you want! Leave it set up and bore the headstock side. Then take the bar out and turn it end for end and rotate the tool and bore the other side.

Dave
 
Hi Danstir
I first used my height gauge to find the height i needed then milled the bit of scrap to size and miked that on the lathe,then after installing the block i miked that, both along the bottom deck and on the side ( the side was done at the same sitting as the bores)
I then locked up the slide and rechecked the side.
after that i just took it slow.
it will do the job Buddy :)
 
Hi Dave
the sump just sits on the big ends and is not involved with the line bore at all.
The lathe has been put back together and cleaned ready for the crank
pete
 
OK I thought there were oil retention bushings on the ends? ???

Dave
 
Hi Dave
One end has the timing cover and if it doesent leak oil into it, ill drill a hole and the other end has a bolt on cover that sits under the flywheel.
If that weeps any oil, i may machine a counterbore for a rubber seal :)
Pete
SANY0061.jpg
 
Don't have the article in front of me at the moment but that sounds right.

Make sure you make the crankcase breather valve as it will keep the sump at a negative pressure...that should help with oil retention too.

Dave
 
danstir said:
Good job, exactly how many times do you have to check the setup on something like that before you begin to cut?

check once for each dollar or each hour you spent on the casting thus far

Bez
 
danstir said:
Good job, exactly how many times do you have to check the setup on something like that before you begin to cut?

I don't know about everyone else, but I start to plan machining in my head from the day I get my grubby claws on the castings.

I will be making an engine, hopefully in the new year, which I bought the castings for last year. Almost every part has been machined in different ways in my head ever since. When I hit on a good strategy for the cutting, I write it down in my notepad (your best tool in the workshop) just in case I forget about it over time.

Just a little note, castings are not an easy way to make an engine, OK it saves a bit of machining time, but in the long run they are more difficult because there is not usually one square or straight face you can work from, so extra time has to be spent getting those datums sorted out first. One wrong move at the wrong time can mean a ruined casting and more money being spent buying a replacement.
I find it much easier working from barstock, which is usually easy to hold and to get datums machined onto them, but unless you use a heavy grit blast on some parts, it is difficult to get your engine to look like it was made from castings, it will usually always look like a barstock engine.


John
 
Bogstandard said:
I don't know about everyone else, but I start to plan machining in my head from the day I get my grubby claws on the castings.

I will be making an engine, hopefully in the new year, which I bought the castings for last year. Almost every part has been machined in different ways in my head ever since. When I hit on a good strategy for the cutting, I write it down in my notepad (your best tool in the workshop) just in case I forget about it over time.

Just a little note, castings are not an easy way to make an engine, OK it saves a bit of machining time, but in the long run they are more difficult because there is not usually one square or straight face you can work from, so extra time has to be spent getting those datums sorted out first. One wrong move at the wrong time can mean a ruined casting and more money being spent buying a replacement.
I find it much easier working from barstock, which is usually easy to hold and to get datums machined onto them, but unless you use a heavy grit blast on some parts, it is difficult to get your engine to look like it was made from castings, it will usually always look like a barstock engine.


John

Amen, John, amen.

Serious model engineers will not only copy this post into their notebooks, they will scratch it on the inside surface of their safety glasses so they are reminded every time they enter the shop.
 
Hi Bogs
Hope you post your new build :bow:
and i agree its much easer to build with barstock if only because its so much easer to remake a bit after a stuff up.

Hi Mk
today i started on the crank by welding on a broken stumpgrinder tooth
( i have a never ending supply :big:)
So far i have rougthed out the main shank to half inch and this time, im better prepared with hi tensile indexable bits but i still need a sharper tool to get into both left and right corners etc.
Pete
SANY0067.jpg
 
I don't want to hijack your post, but here is a little sampler.

I bought these castings at the same time last year, and I am now nearly at the painting stage, I am a very very slow builder nowadays. This is just after I made the burner and wanted to try the engine out.

[ame]http://youtu.be/Mi_T60n52jg[/ame]


John
 
Hi Bogs
very nice runner :bow: :bow:
would you be able to paint much on the engine ?
that burner looks hot enough for my foundry :big:
I painted my first engine, the "Webster" and the fuel has destroyed the paint so badly i try not to use paint now except maybe for flywheels.
Pete
 
How ya making out Pete?
Haven't had my Wallaby fix in a while...........

Dave
 
Hi Dave
Been getting some work the last week or so.
The only thing I've done since i posted last, is rough out the middle main journal to half inch.
With any luck, ill get a chance later this week to do the big end journals, if so ill put up a pic :)
Pete
 
No worries mate.....just wanted to make sure you hadn't been kicked by a Wallaby or something..... ;D.....I don't know how you Aussie's deal with all these animals that are just dying to kill you like snakes and spiders and sharks and such....

Anyway

Do what you gotta do buddy....I'm not going anywhere.

Dave
 

Latest posts

Back
Top