Tailstock Lock

Home Model Engine Machinist Forum

Help Support Home Model Engine Machinist Forum:

This site may earn a commission from merchant affiliate links, including eBay, Amazon, and others.

Brian Rupnow

Design Engineer
Project of the Month Winner
Joined
May 23, 2008
Messages
14,997
Reaction score
8,295
Location
Barrie, Ontario, Canada
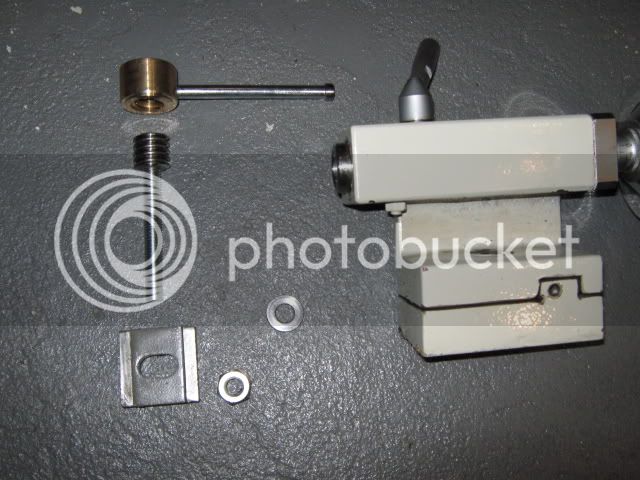
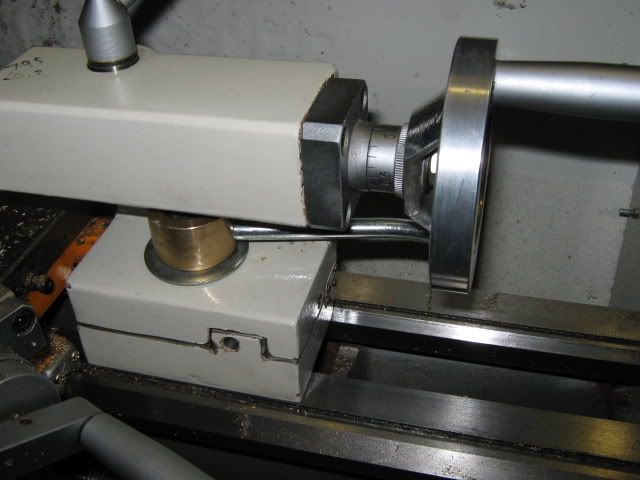
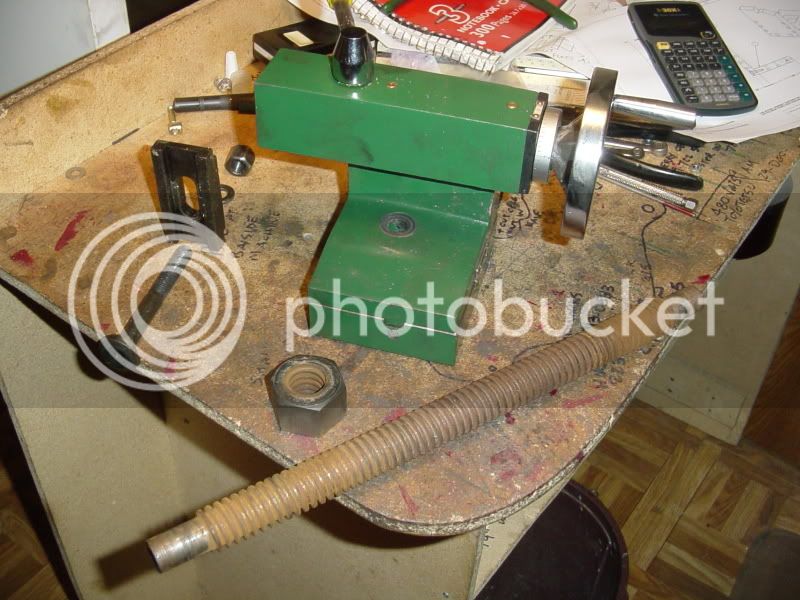
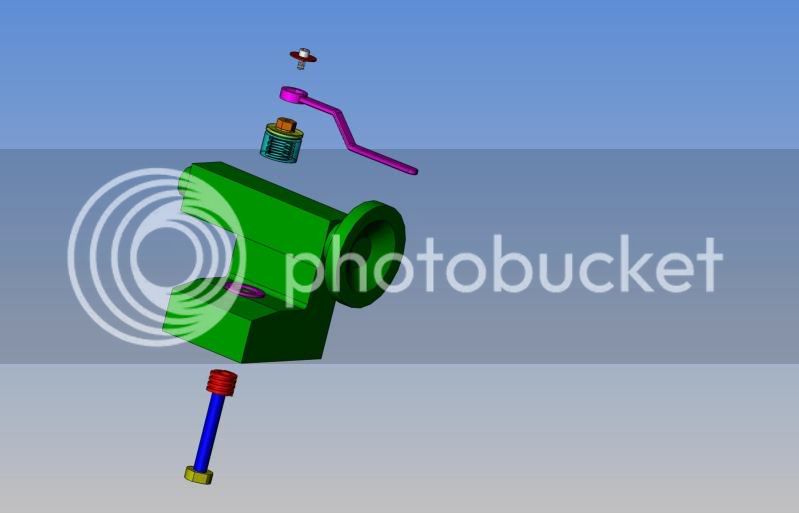
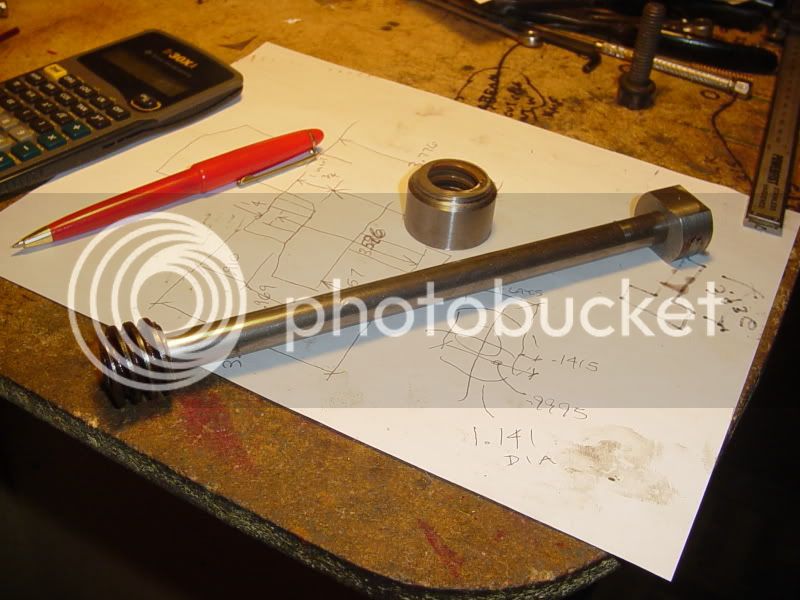
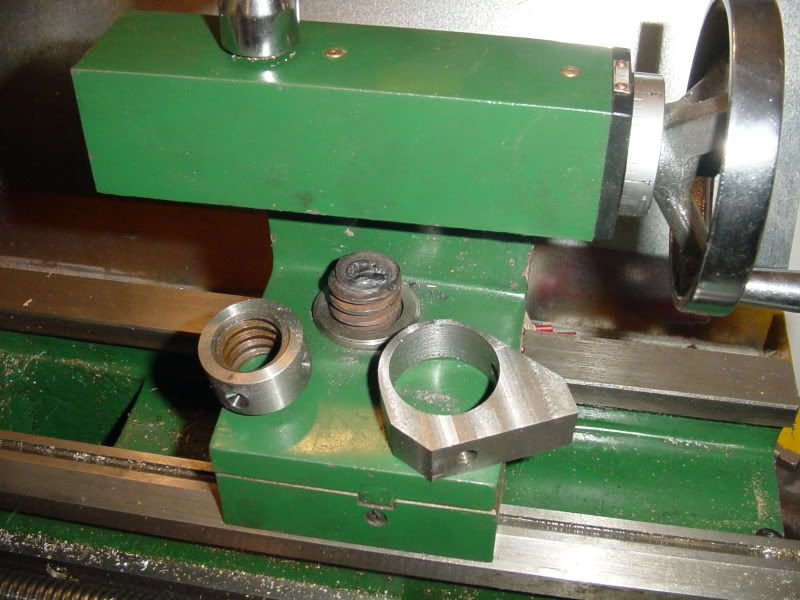
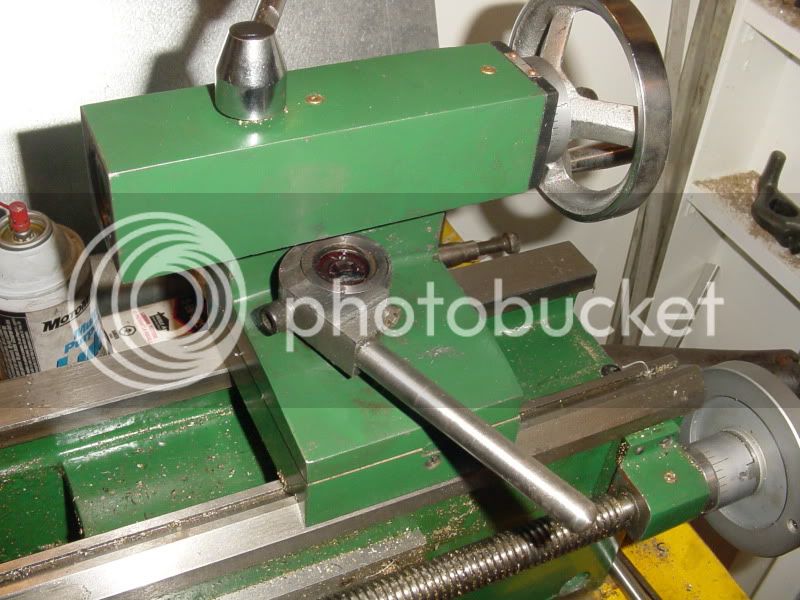
In addition to hanging out and posting on this forum, I also frequent the "Home shop Machinist" website. Earlier this week, a clever gentleman posted some pictures of a system which he devised to quickly lock the tailstock in place on his lathe without having to modify the lathe in any way, and without using a wrench. It struck me as being a very clever solution, and got me digging though my scrap bin. I have a peice of 1" Acme threaded rod and follower nut that I have been saving for years to use on "SOMETHING", and this may be it!!!
TAILSTOCKLOCK001.jpg
 
This is the "other guys" locking system, and he has been kind enough to provide an "exploded view" showing all the components in their relative positions.
assembly.jpg

 
The coarse pitch of the Acme thread allows the tailstock to be "locked" with only a very small rotation of the nut. I like the idea of not having to modify the lathe in order to accomplish this. ---Of course, I've already modified the tailstock by milling a slot in the spindle and gluing in a peice of machinists rule so that I can quickly see how far I have advanced the spindle without counting graduations on the dial, and I've added a set screw as per Bogstandards excellent tip on how to keep the tailstock chuck from rotating in the MT2 taper---
 
The only problem I see with that idea is getting enough tension on the clamp. US made small lathes (9" - 12") use a 1/2" x 13 TPI clamp bolt that you put a pretty good torque on when you are drilling. With 1 x 5 bolt you will need a long handle to get a clamp force equal to the 1/2 x 13 to keep the tailstock from slipping.
 
I have a similar mod I want to make on my mini-lathe. But the picture you have shows a tailstock with a single wall. The mini-lathe has an L-shaped wall and prevents the lever from moving in that direction.

I bought the mod (lever etc.) and I have to drill a hole in the wall.

Up to now I've been reluctant (okay terrified) to modify my machines. But I recently modified the apron on my mini-mill and that worked out fine.

I expect to do the mod after my current project.
 
looks like a good idea could a square thread offer more hold than a Acme thread ???

cool idea thanks for showing
 
I've made a couple of those just by making a new nut-with-handle for the existing tailstock bolt. Going to a different thread is a good idea that would be useful if that didn't give enough travel.
 
This is what I have to work with. The parts on the left side of the tailstock are the existing hardware---not much to it. Just a shoe that slides on the underside of the lathe bed, a through-bolt, flat washer and hex nut. In the foreground is the peice of 1" square thread rod and the nut for it which I plan on using. It won't work to just weld a handle onto the existing nut, because the thread pitch on the existing nut and bolt is such that the nut has to turn about 2 revolutions from full lock to no lock, and a handle can only swing in about a 90 degree arc (1/4 revolution) before it hits something. (The "something" being the lathe apron, in situations where the tailstock is up tight against the end of the apron.)
tailsock004.jpg
 
The hardest part of this is going to be establishing exactly where the handle will be at the time the nut gets in the correct rotational position to fully clamp the tailstock in place-----But---I have a plan!!!
 
A repositionable handle and a head with multiple holes for the insertion of the handle. You could put in whichever hole was facing the right way and keep moving it back to another hole until you have it "locked".

At least, that seems like a method with very few mods involved.

Am I close to the "the plan" you dreamed up? :D


Curious, and nosey too,
Kermit
 
Kermit said:
A repositionable handle and a head with multiple holes for the insertion of the handle. You could put in whichever hole was facing the right way and keep moving it back to another hole until you have it "locked".

At least, that seems like a method with very few mods involved.

Am I close to the "the plan" you dreamed up? :D


Curious, and nosey too,
Kermit

Well---kind of close. Instead of a welded handle, the top of the square thread nut is going to be a hex shape. A box end wrench fits over the hex and is held in place by a 1/4-20 capscrew and washer. That way I have a multiude of positions I can select at 30 degrees untill I find the sweet spot. The only trick thing is that the peice of 1/2" shaft with the 1" acme threaded bit welded to one end and the special guide "head" welded to the other end has to be assembled in the tailstock before welding, or you can't get it in. I could mess around with cross dowels, etc., but it is easier by far ro weld it in assembly.--(And yes, the tailstock is removed from the lathe and wrapped in a damp rag when I do that.)---The slider that rides against the underside of the lathe bed has to be on there too before welding---I just haven't shown it in the exploded model.
FULLASSYTAILSTOCKLEVERLOCK.jpg
 
Hey Brian,

Built one just like that for my 12" Logan...works a treat!

I used 8 pitch , but 4 pitch might have been better for me...

Dave
 
I got this far and decided to stop for lunch, That 1/2" shaft will be considerably shorter. I just counted pitches, and it looks like my threaded rod is 5 pitch????
stage-1a001.jpg
 
I think if you don't put a ball thrust bearing under it, it will lock up nicely.

Otherwise she might "overhaul" with some vibration

Great minds think alike.... ;D

Dave
 
Well, plans have changed a bit as the job progresses. I am greatly hampered on this particular tailstock because the spindle housing overhangs the hold down bolt, meaning that nothing can be inserted from the top side, and that I simply run out of available headroom with my initial plan.--So---when plan A fails, go to plan B---even if you have to make it up as you go along!!! I thought I had better stop and take a picture now, or when its all together it will be very difficult to show whats actually going on.----Brian
almostthere001.jpg
 
I'll send a picture of mine....it's similar....

Dave
 
And there we are--all finished. I have shown it in the 'full lock" and the "full release" positions. It seems to work very well, but it has turned out to be a two day job.--It will be worth it if I don't have to use a wrench every time I move the tailstock.!!!
tailstocklockfinished001.jpg

tailstocklockfinished002.jpg
 
WOW!!! This thing works slicker than whalepoop!!! It has very good locking power, and it is just wonderfull to not have to track down my wrench every time I go to lock the tailstock in place. This is a modification that I can definitly recomend to all lathes.---Brian
 

Latest posts

Back
Top