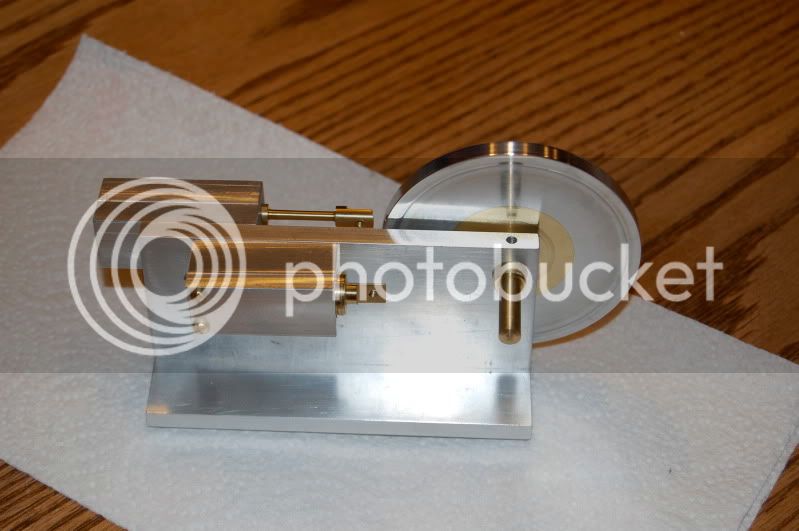
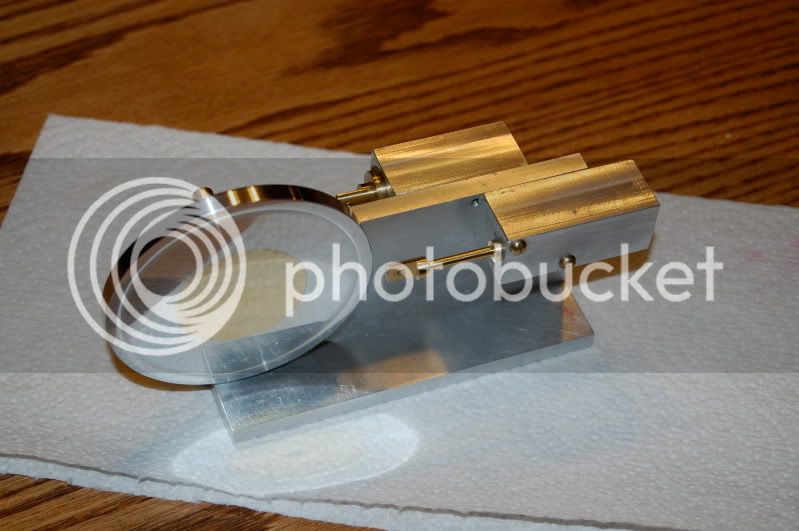
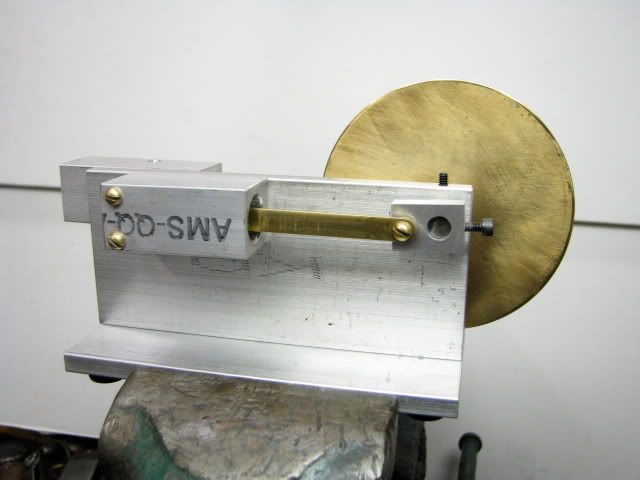
Started the EZ_ENGINE build.

Home Model Engine Machinist Forum

Help Support Home Model Engine Machinist Forum:

This site may earn a commission from merchant affiliate links, including eBay, Amazon, and others.
Woodknack, that looks great! What a terrific idea.

As far as your carriage.... That is one of the issues that the little 7x asian lathes suffer from. However, you can pretty much permanently fix that. It requires a good bit of work but is so worth it when done.

Also, do look into getting a proper carriage lock. The 7x machine is nowhere near rigid enough for consistently accurate/good facing/parting without using a carriage lock.

I had one of those horrid little lathes and did the mods to the carriage retaining gibs. Well worth the effort. Too bad the rest of the machine fell to crap.
 
black85vette said:
How did you fix the brass into the flywheel?

I just turned it with in a couple thousands. then used your trick for the shaft, and used 5 minute epoxy. pressed them together, chucked it back in the lathe and trued it up. The other side is still in rough form. Im going to make my shaft and press it through from the other side then turn it and put the shaft in the chuck and true the other side and I will be done with the flywheel and shaft. Then I'll only have a few more parts to finish her off!!! woohoo1 I am learning alot. And having fun too.
 
Twmaster said:
I had one of those horrid little lathes and did the mods to the carriage retaining gibs. Well worth the effort. Too bad the rest of the machine fell to crap.
Oh really. What happened to it? What are you using for a lathe now?
 
woodknack said:
Oh really. What happened to it? What are you using for a lathe now?

Well, since you asked.... The cross slide and carriage would never stay adjusted. even after spending hours to lap them. Then the slop came back in the CS lead screw. Then the motor controller failed.... Total crap these machines are (In -MY- opinion).

Right now I do not have a working lathe. It's very frustrating. I'm going to look at a little Atlas tomorrow morning. I do have three antique Rivett lathes I'm working on restoring. They however are nowhere near ready to make chips.

Thankfully my Taig mill is letting me still make some stuff.

I can write up a tutorial on how to replace that retarded setup for carriage gibs on the Asian 7x lathe if you want.
 
Twmaster said:
Thankfully my Taig mill is letting me still make some stuff.

I can write up a tutorial on how to replace that retarded setup for carriage giobs on the Asian 7x lathe if you want.

I too have a taig mill. 2019 I believe. It is cnc. I have not used it in like 3 years. After I finish this engine I am going to play around with it again. I am thinking about going with mach3 to run it. I was running it with turbocnc and a very old computer. Kind of a pain switching between dos and windows.

and YES a write up would be very helpful. though it only took me about 30 minutes to adjust it. And part of that time was cleaning some of the parts under the carriage.
 
woodknack said:
I am learning alot. And having fun too.

That's a great part of this hobby. The fact that you end up with a cool little engine is just icing on the cake.
 
woodknack said:
I too have a taig mill. 2019 I believe. It is cnc. I have not used it in like 3 years. After I finish this engine I am going to play around with it again. I am thinking about going with mach3 to run it. I was running it with turbocnc and a very old computer. Kind of a pain switching between dos and windows.

I have a 2017 (in fact it's the very last 2017ER Taig had for sale) I've since upgraded to a 12" X-Axis travel table making mine a 2019ER. So far I love the thing. Amazing machine for it's size. If Taig ever decided to sell a 6-8" swing benchtop lathe I would be in heaven!

and YES a write up would be very helpful. though it only took me about 30 minutes to adjust it. And part of that time was cleaning some of the parts under the carriage.

I'll be happy to write something up over the next few days. I have a lot of stuff going on right now.

While it only took a little bit of time this time wait until the gib breaks... The solution to this problem fixes it just about forever.
 
That flywheel looks great, Woodknack. Nice job! You're coming along with it pretty quickly, too.

Take care when you go to clean up the other side with just that small shaft to chuck on. Really light cuts are called for. It's a lot of leverage against the shaft, peeling metal off at the extreme diameter. Might be better if you could chuck the whole fly wheel, but I don't know your setup.

Keep up the good work!

Dean
 
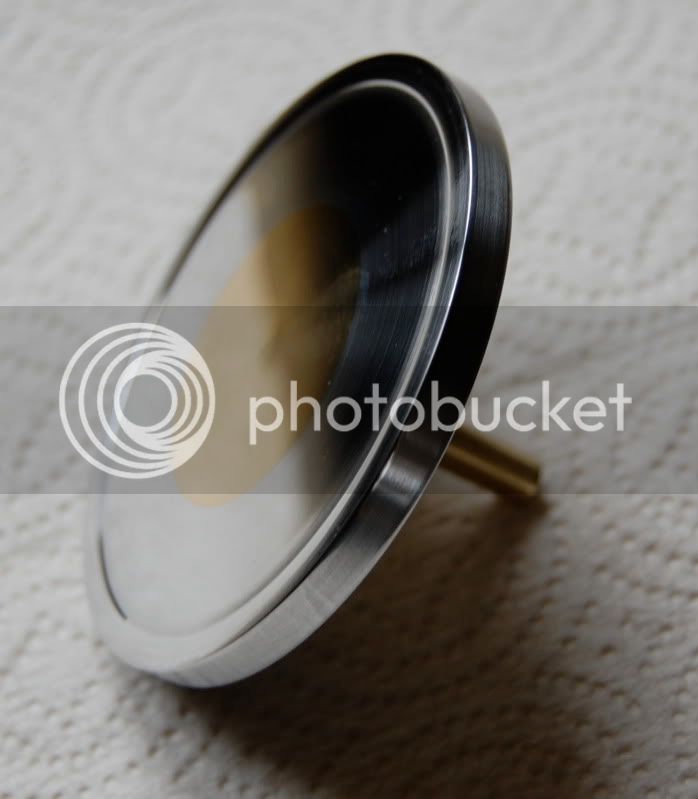
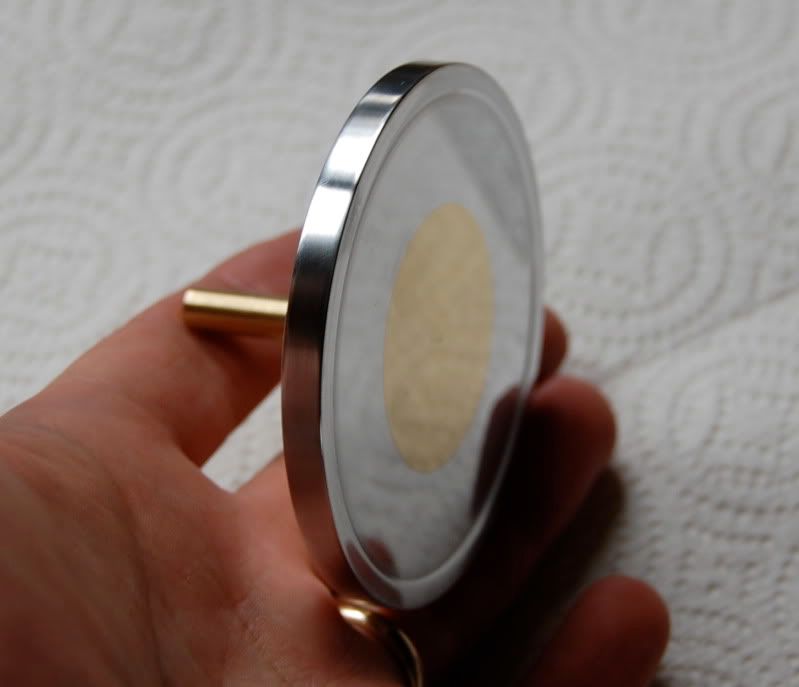
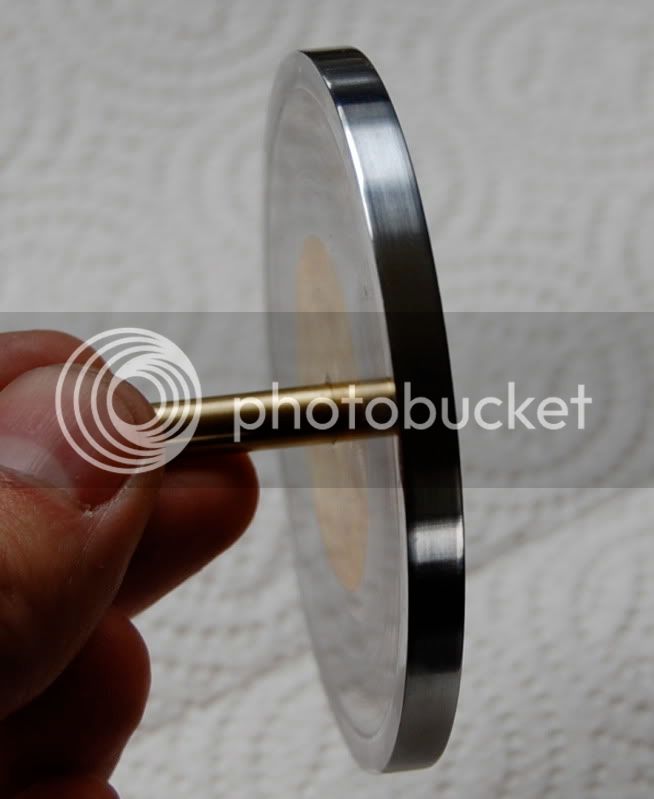
Well got my flywheel and shaft all done.

DSC_0001-4.jpg


DSC_0003-1.jpg


DSC_0004-2.jpg


Ever notice that one project leads to another! I noticed my tailstock was off a little so I decided to adjust it. Now its way off and I don't like how you adjust it. Looks like I may need to stop work on the ez engine to redo my tailstock. Man I am so close. But I dont want to rush things.
 
Nice finish.

You're not stopping the EZ build. You're preparing to do the next part. ;D
 
Look really nice, Woodknack. Very nice finish!

Re; getting the tail stock adjusted. That's just the way it goes! Keeping your machines in good trim is all part of the game, and it's good to take the time for it whenever they need attention.
You'll get there!

Dean
 
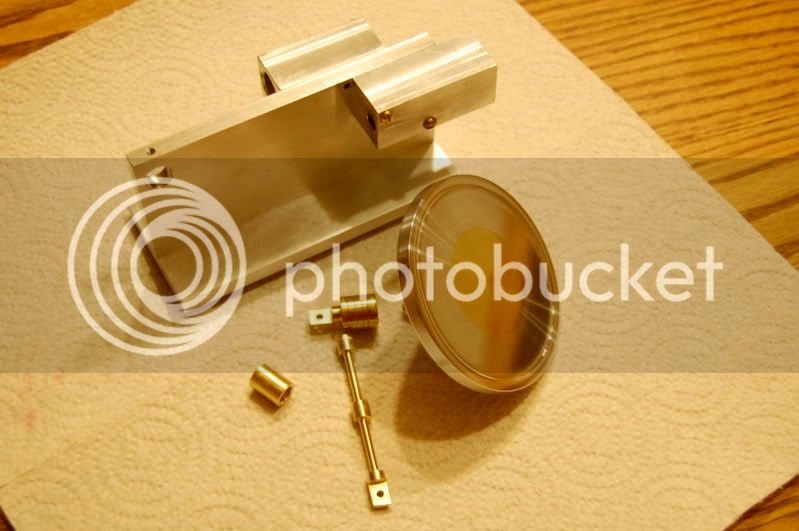
Ya I am gaining. I managed to get my tail stock adjusted. And got some more work done on the EZ. I only need to make the rods and the crank. ;D

DSC_0005-2.jpg


DSC_0003-2.jpg


DSC_0002-2.jpg
 
That contrast of the aluminum and brass on the flywheel looks great!

Really nice job so far.
 
Twmaster said:
That contrast of the aluminum and brass on the flywheel looks great!

Really nice job so far.

Thanks!

I keep looking at the cylinders thinking, what can I do to make those look really nice. Not just square looking. Got a few ideas on dressing the frame up too. But before I go hog wild. I would like to see it run first. :big:
 
woodknack said:
I keep looking at the cylinders thinking, what can I do to make those look really nice. Not just square looking. Got a few ideas on dressing the frame up too. But before I go hog wild. I would like to see it run first. :big:

Oh no! You caught the bling bug. And so SOON! :big: Seriously, this is some nice looking work. We will expect a video of it running soon. Good to hear the tail stock is taken care of.
 
black85vette said:
Good to hear the tail stock is taken care of.

Tail stock was a pain and I really wanted to make some mods to it. But I just lapped it in and kept fiddling around with the locking set screw ( got it to repeat every time when locked down). Got to with in 1/2 of thou. That is as good as I can get it with what it is. Took me 3 hours to get it there! I think I may get a new tail stock and totally redo it and make the adjustment mods to it. But that is a whole other project! ;D
 
Hey Black85vette,
I have a question for ya. I am at the point where I need to make the rod for the piston. I already have made the rod for the valve. I am a little confused on how to measure for the piston rod. On the directions you said this.

"Do almost the same thing for the piston except position the piston .063” before it
hits the bottom of the cylinder and put the crank pivot towards the piston. Measure
and make a connecting rod for that side also."
ezenginebuild.jpg


How did you get in there to measure the distance? This is what is confusing me. Just a newbie thing.. LOL

So do I take the valve cylinder off and but in a .125 drill bit then push the piston up to the bit and then measure from there? If this is right, how do you get a measuring devise in there?


woodknack said:
How did you get in there to measure the distance? This is what is confusing me. Just a newbie thing.. LOL

So do I take the valve cylinder off and but in a .125 drill bit then push the piston up to the bit and then measure from there? If this is right, how do you get a measuring devise in there?

To do the piston side I just put the piston in then pulled it back .063" and measured from that position. The amount is not critical. Just be sure that when the piston is at top dead center it does not hit the end of the cylinder. You can always "cheat" on some thing like this if you cannot get to the pivot on the piston. Make the connecting rod a little longer than it needs to be and only drill one end. Attach it to the piston and push it in all the way until it stops. Then pull it out 1/16th of an inch. Hold the connecting rod up to the crank and mark the position the other hole needs to be in and you are done. You don't even have to measure it. Eyeball is close enough on this.

On the valve side I removed the piston / cylinder body and used a drill to "feel" for the inside edge of the valve. Once in position you just measure from the pivot point of the valve to the pivot on the flywheel. Check the picture below. Once you have the valve in the fully open position and the flywheel pivot at 9 o'clock. Just measure between the pivots. Or, you can eyeball this one as well.

Maybe this is a drawing that would be useful. What do you think?

Looks like you are getting really close.

f2.jpg
 
Ya I got the valve side all done. That photo helped for that one.

Does the piston want to stop just before the air hole?
 

Latest posts

Back
Top