Started my first engine

Home Model Engine Machinist Forum

Help Support Home Model Engine Machinist Forum:

This site may earn a commission from merchant affiliate links, including eBay, Amazon, and others.

willburrrr2003

Well-Known Member
Joined
Jun 10, 2011
Messages
113
Reaction score
9
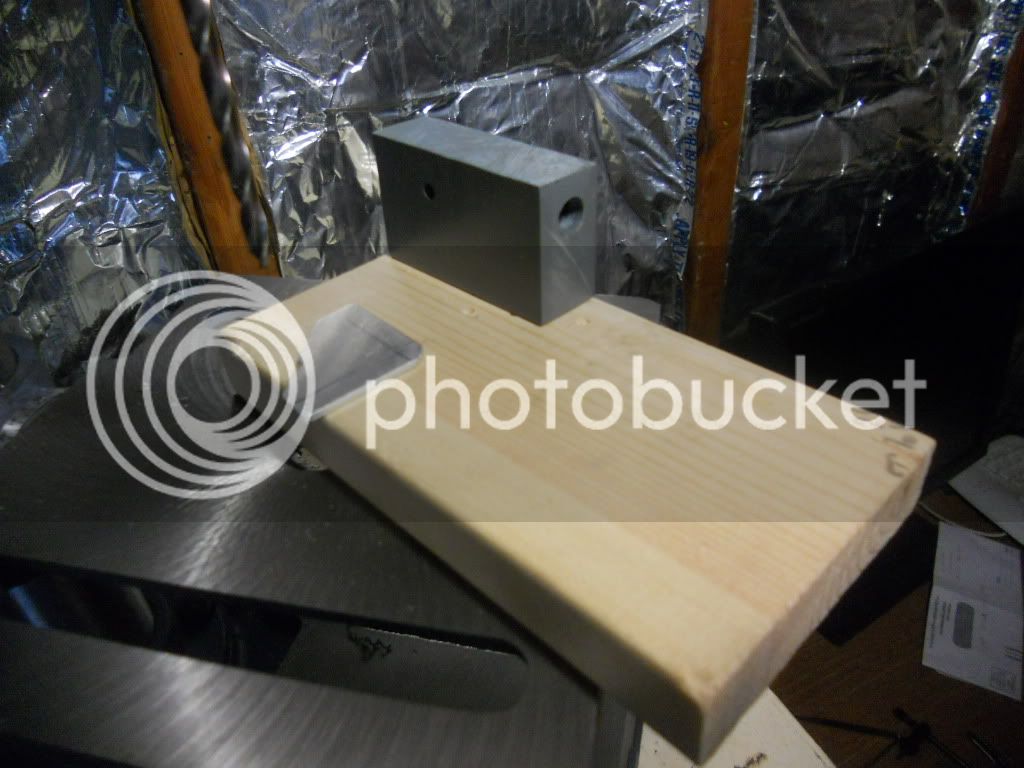
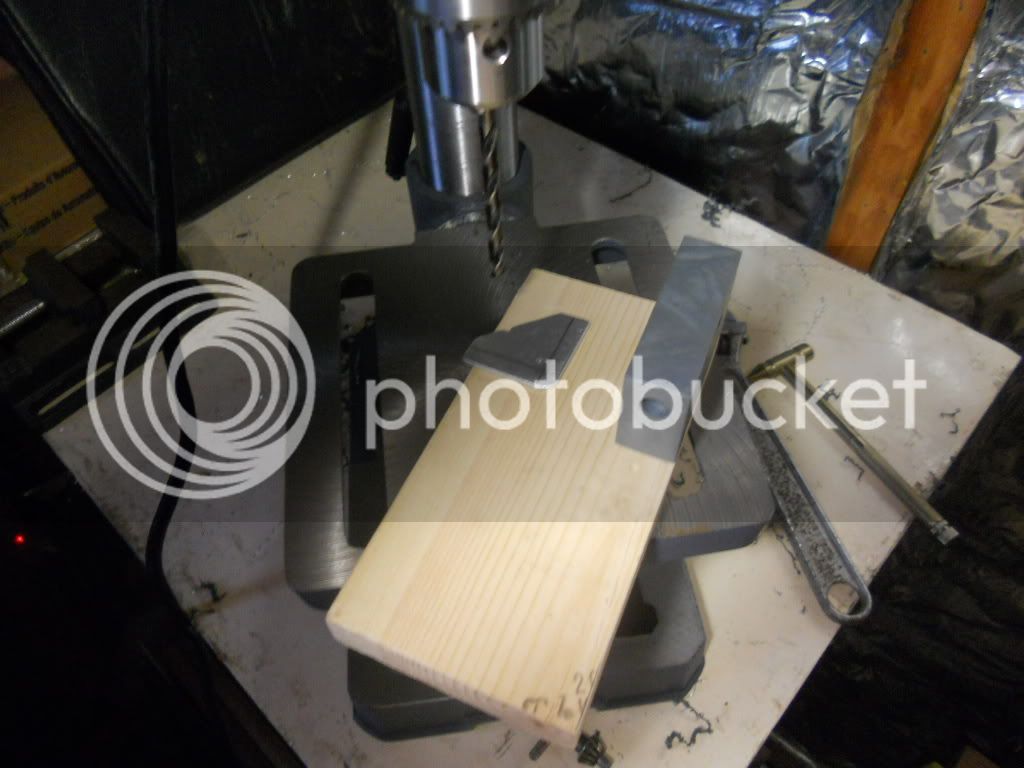
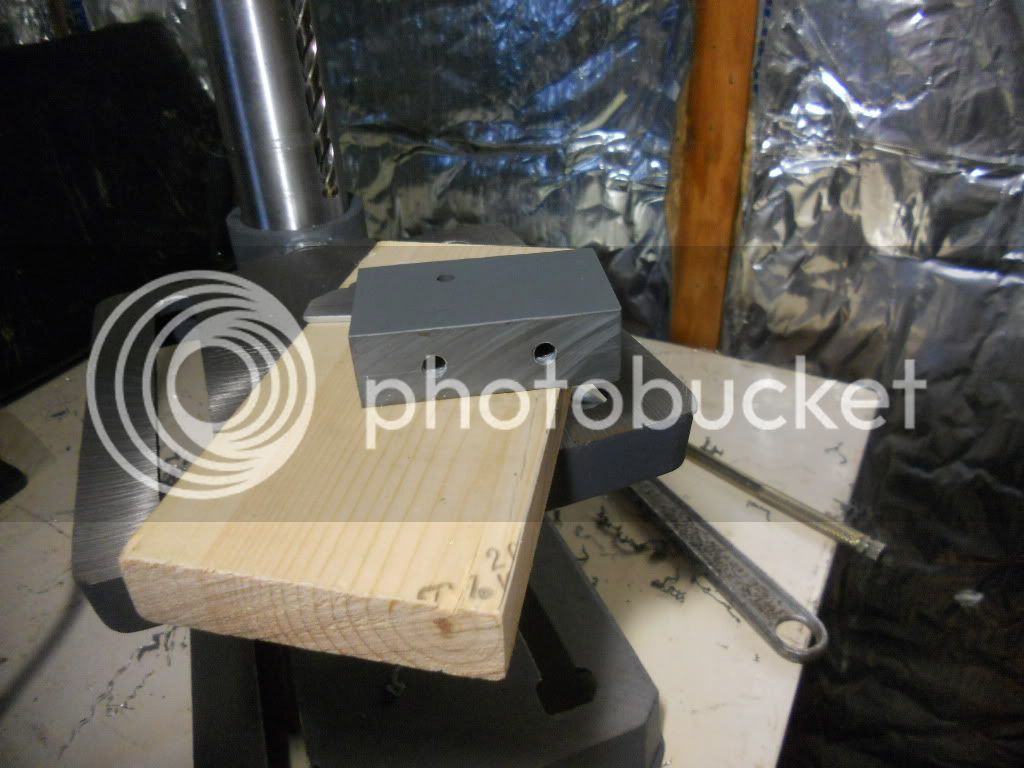
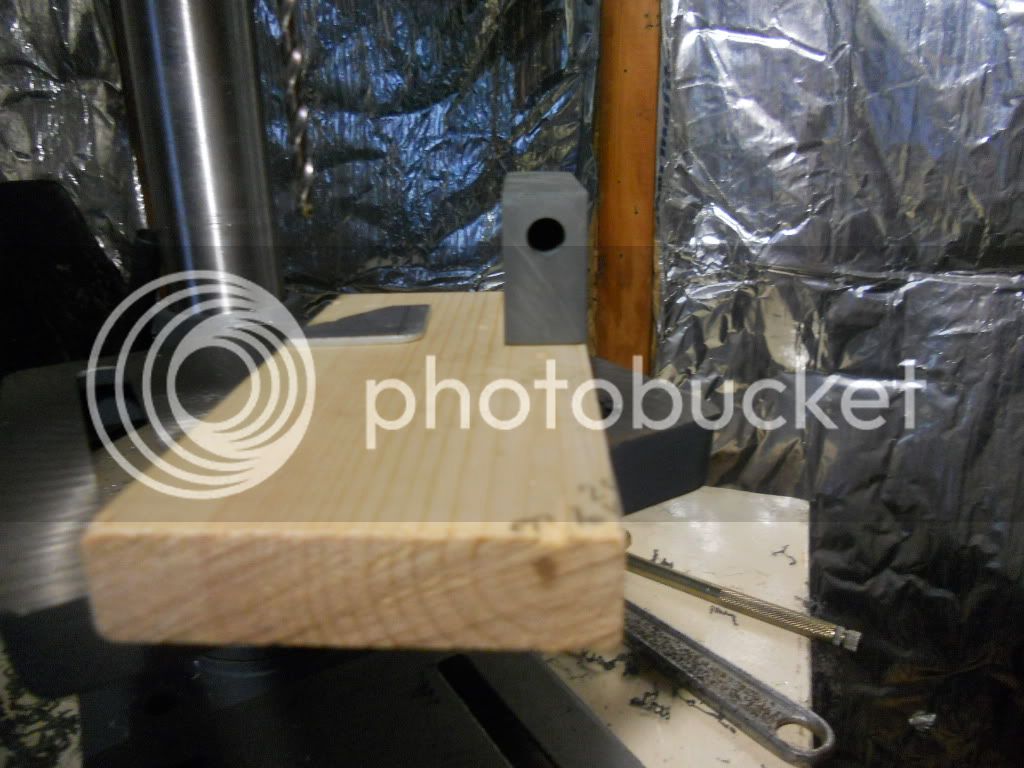
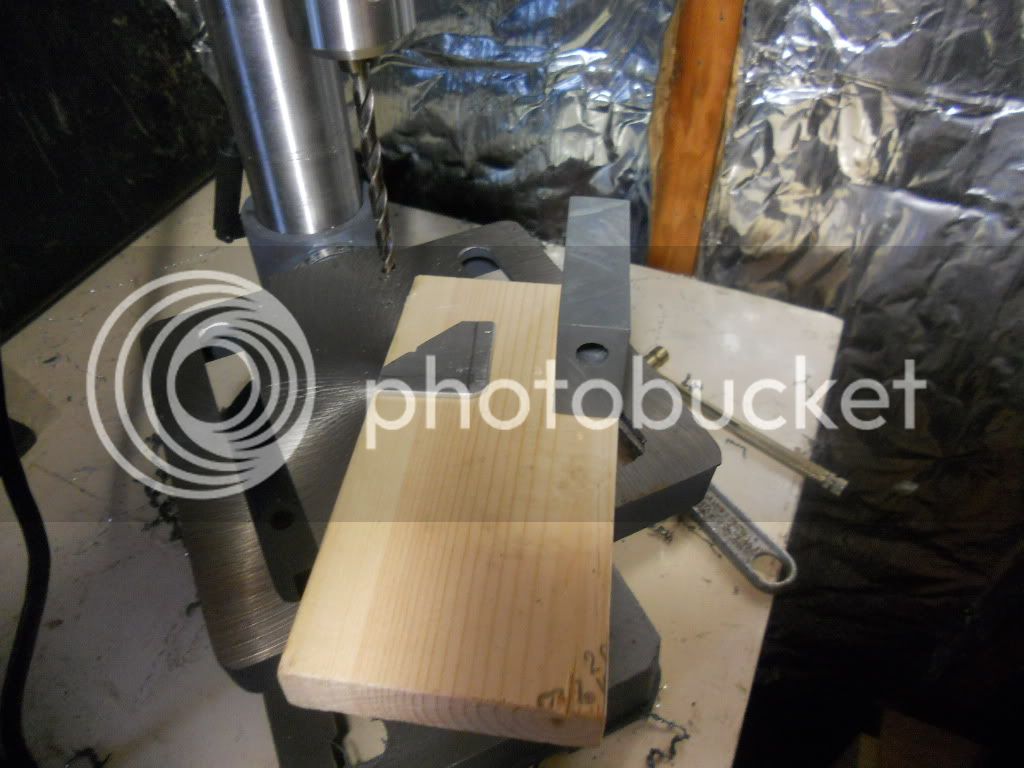
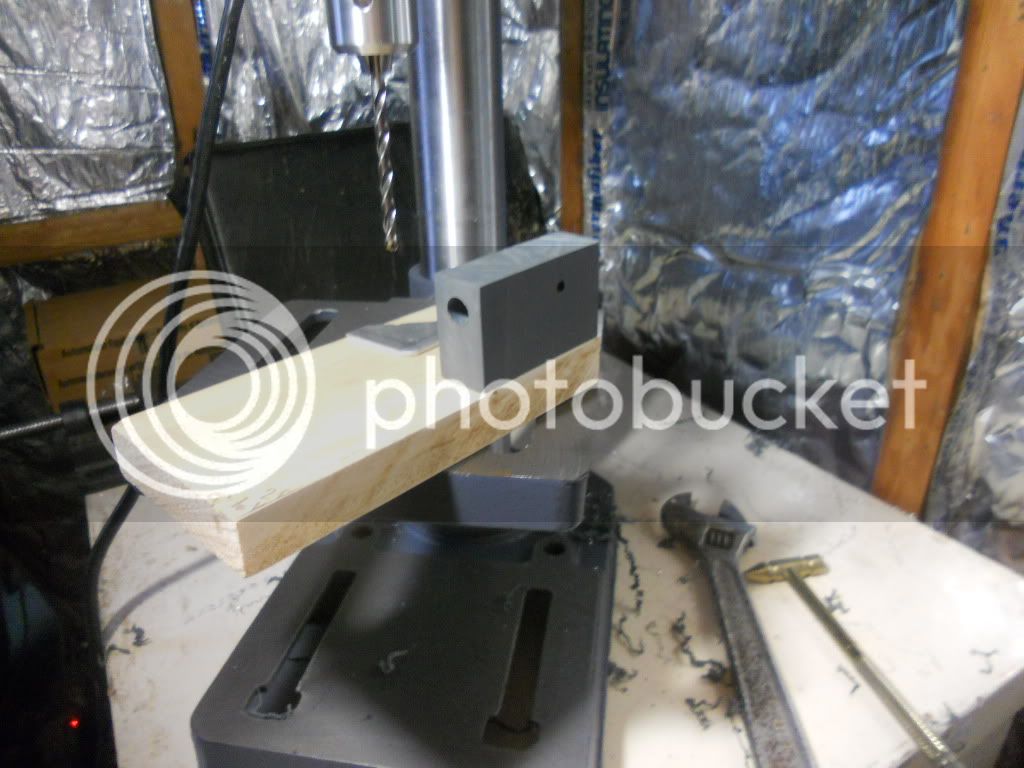
I decided to start with a really basic air/steam engine for my first project. I figure this will let me get used to using and setting up my newly converted to CNC mini-lathe. My choice for an engine is the Mccabe's Runner. I have downloaded the prints, and printed out a nice set on our plotter at work :D Yesterday I made the blank for the mounting base, the blank for the engine block, and the blank for the rocker arm that controls the valve. I will post pics tonight of my progress, and show tonight's work as well. Tonight I plan on the cylinder with matching piston, the air valve passage, the stand for the rocker arm and one or both of the fly wheels, depending on time.
I figure the piston, the fly wheels, and the rocker arm stand will all be made on the lathe, and the block work will all be on the drill press. Looking forward to making and sharing progress with you all tonight.

Regards,

Will R. Everett, WA.
 
Well, life got in the way of my plans and just now getting back to my Mccabes runner project. I see on the plans that I am supposed to ream out the cylinder to 3/8" , my question is should I ream out the valve hole too as the plans don't say to ream it out? Found the 3/8 reamer on Grainger's web site, and will order it on Friday. That should come in by Wed, and I can finish up the cylinder right :) Still having issues parting off on my lathe, one of the problems I found is that my parting blade is bent.... that would explain why my last 3 part off attempts went at an angle....despite taking the time to set up the tool holder square against the work...and checked with dial indicator that it is indeed adjusted correctly. Pics will get up loaded tonight, though it's nothing spectacular yet just the beginnings of the project still.


Regards,

Will R. Everett, WA.
 
Every engine has to start somewhere mate!!
Have at it :big:
Pete
 
When I made the cylinders for team build 4 I just drilled the hole and inserted a brass tube. Then the pistons were made from aluminum. Made things a little easier and gave a real smooth bore.

DSCN1011s.jpg


DSCN1014s.jpg


Pete, I am in good hopes that this neat little engine will run just fine when I finish it :)

Steve, thanks for the tip :) I never thought of inserting a sleeve into the cylinder :idea:

On a side note I am looking at project ideas for future builds...one I came onto last night while wandering the web, Seemed to be a college students cad drawings of one of the Wright Brothers engines, 150 very detailed pages.... a little scaling and a lot of work, would make one hell of a cool project :D Though I think I need to get my hands on a mill before I try to tackle an engine like that I think, or add a Y axis table to my lathe.... ahhh thoughts of the future :) Off to the shop now to see what I can get done, will take pics while I am out there and post them when I get back in.

Regards,


Will R.
 
Just a foot note on the Wright Engine. The engine on the 1903 Wright Flyer was designed and built by Charlie Taylor in 6 weeks. My father spent 14 years of his life researching Charlie and then wrote a book about the man and the engines he built. Charlie was the mechanic working in the back of the Wright Cycle Shop in Dayton, Ohio. The Wright brothers asked Charlie if he could build them an engine for their flyer and he said he could and knew just how he would do it. The only machinery Charlie used was a lathe and a drill press. The rest was all done with hand tools. I could go on and on. Like I said just a foot note. Oh by the way, the engine has no carburetor, no cam shaft, no spark plugs yet it is a 4 cycle horizontal 4 cylinder engine, first of its kind. If you are interested in the book, google "Howard DuFour".

Looking forward to the completion and running of your first project.
 
I don't remember the site that I found the WB drawings on, though I did download them. Thanks for the fill in there Steamin, always nice to get a bit o history :) The engine I downloaded is not the WB 1903, but their 1911 verticle inline 4 cylinder water cooled engine.

Regards,

Will R.
 
I got in some shop time lastnight, was good to make some progress on my Mccabes runner :) Picks will be attached at end of message. Before starting out on my engine, I decided to check my parting tool to see why I am experiencing drift of cut. Turns out that my blade is bent. I put my dial indicator on the holder, got set perfect with now movement from front of holder to back of holder...then I put my indicator on the blade itself and the amount of movement was huge 8-9 thou from middle of blade to cutting tip. I have just ordered a carbide insert style parting blade comes with holder. Should make a nice difference in cutting....I hope ;)

DSCN0328.jpg

DSCN0327.jpg

DSCN0326.jpg

DSCN0325.jpg

DSCN0324.jpg

DSCN0323.jpg


Regards,

Will R. Everett,WA.
 

Latest posts

Back
Top