


LMS Oscillating Engine kit which included all of the materials, drawings and DVD instructions. http://www.littlemachineshop.com/products/product_view.php?ProductID=3485&category=
I didnt think to take pictures when I first started on this air motor though I will do a better job on the next build. I would not have been able to do this if it were not for all of the members builds that I read, and saw, on the forum. Thank you.
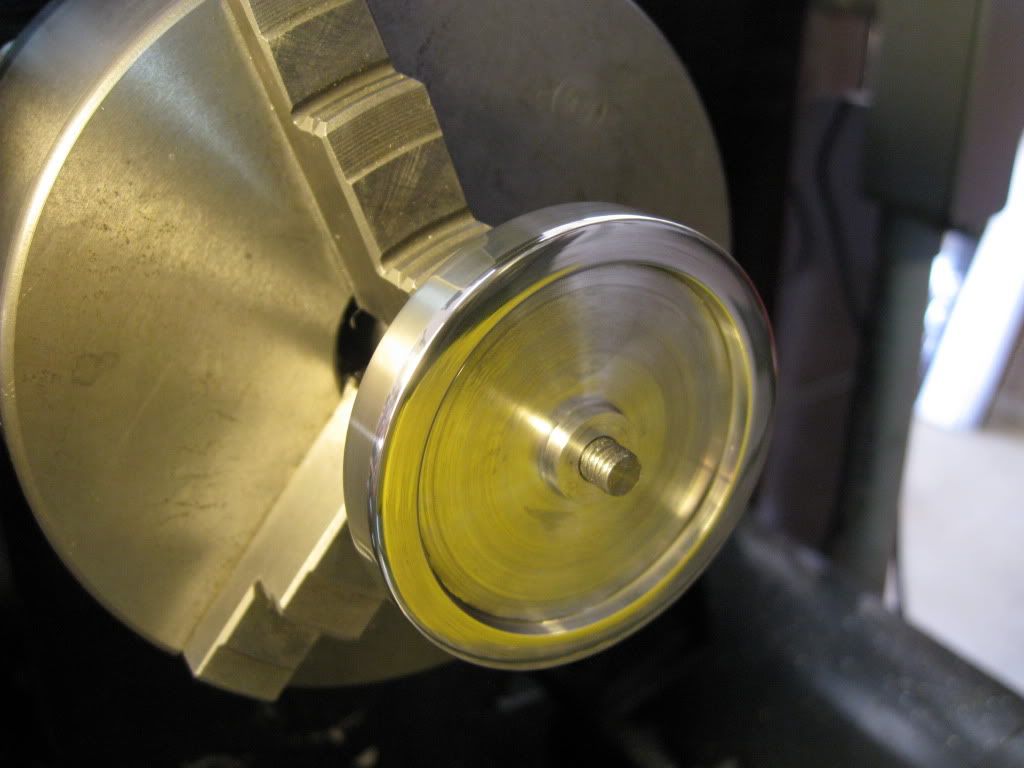
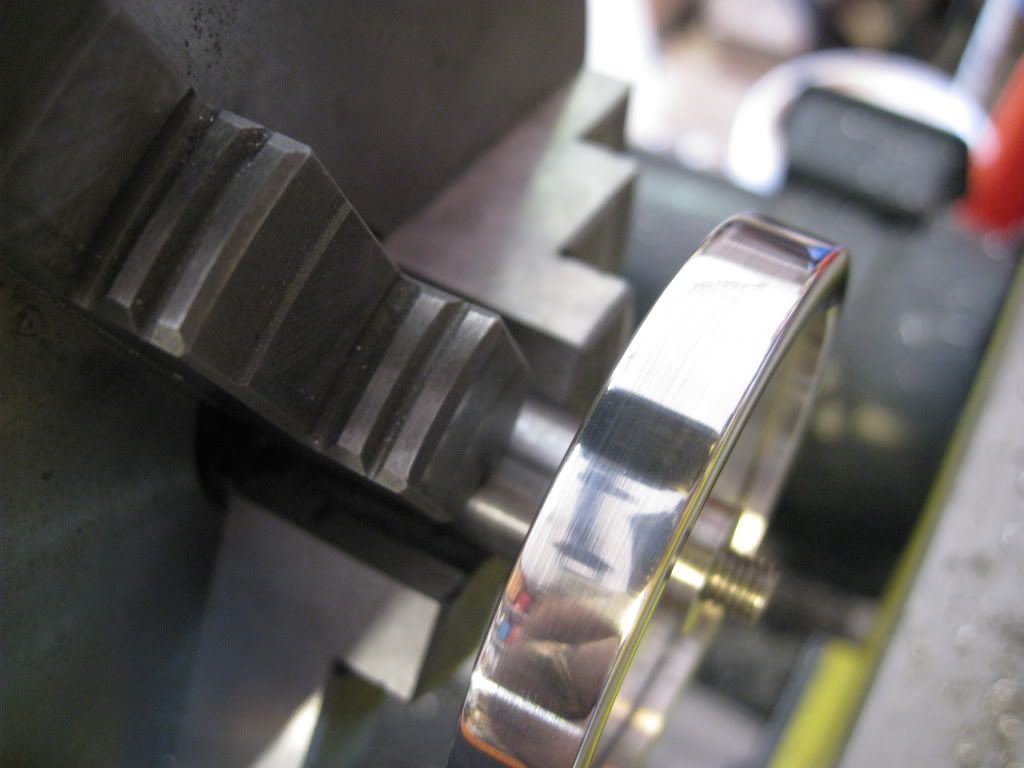
I started with the flywheel and faced one side then flipped it over to face the other side. I drilled and tapped for the shaft, and cut the recess. I threaded a stub shaft to mount the fly wheel too, so I could recess the other side. This photo shows the flywheel mounted on the stub shaft and being polished.
 
I turned the crankshaft eccentric and drilled and tapped for the set screw.
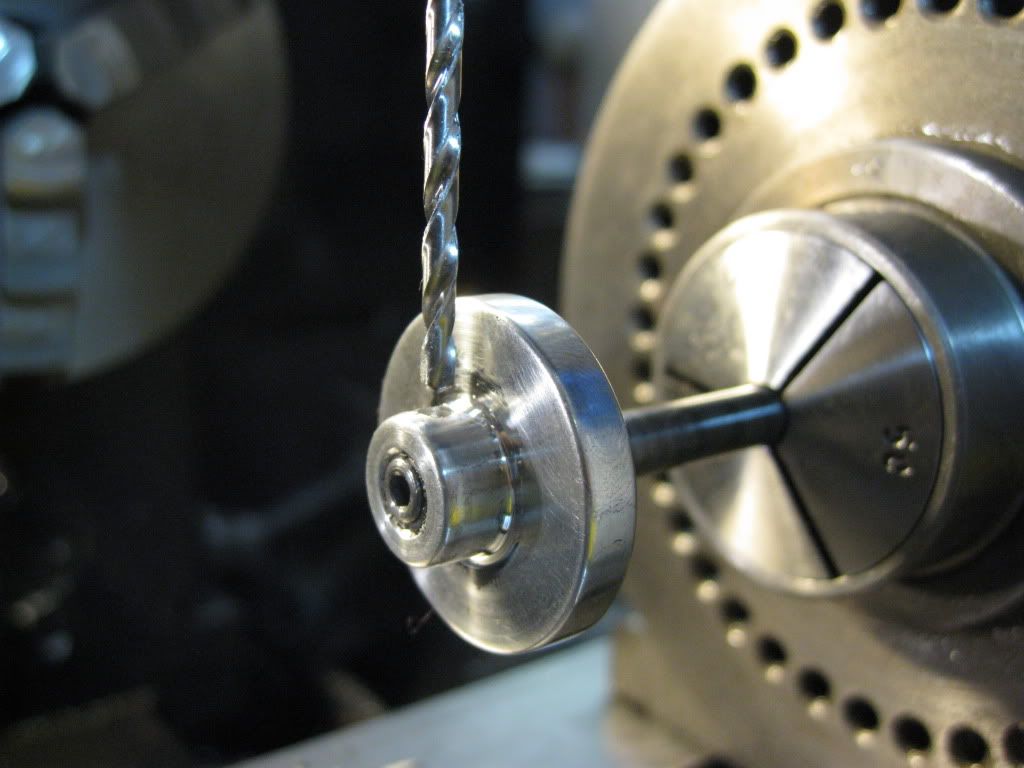
I had to let this part overhang so the drill chuck would have enough clearance.
 
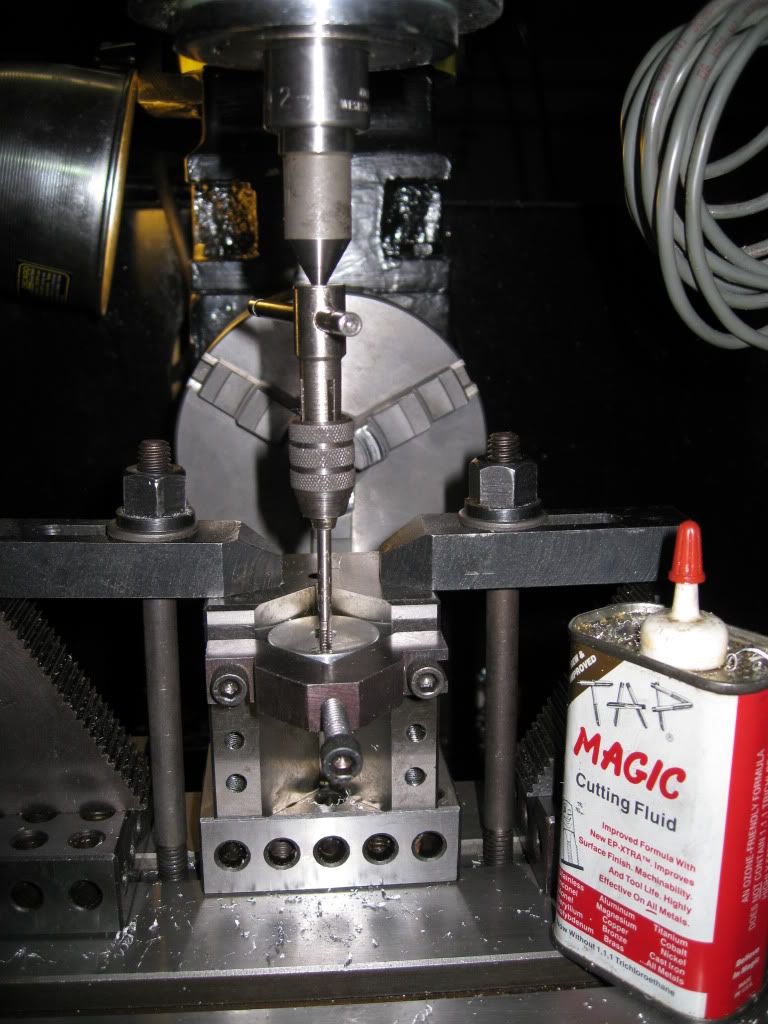
I then set this part up so I could D & T for the crank arm.
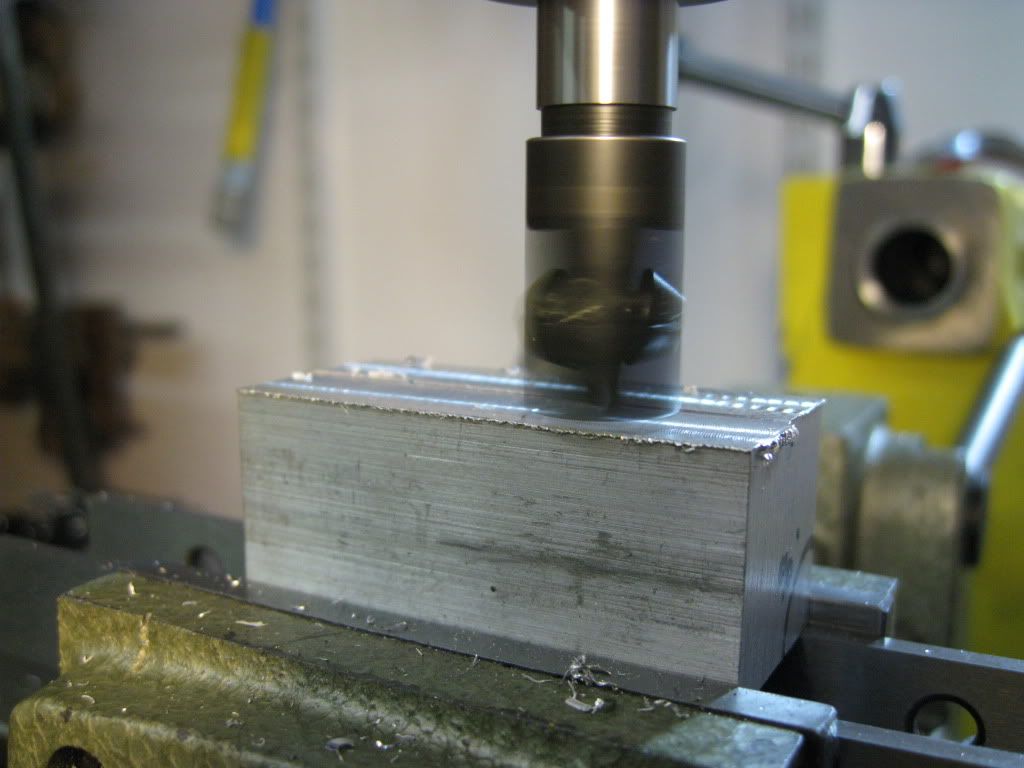
Time to square up the block for the cylinder.
 
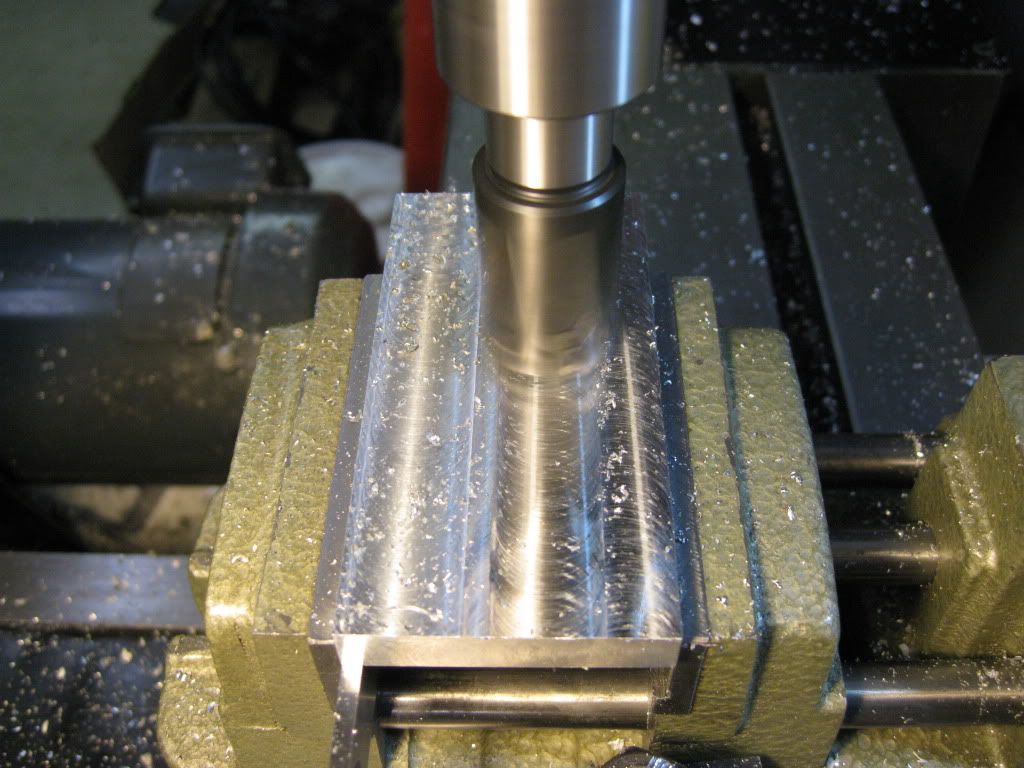
Squared up the vertical plate.
 
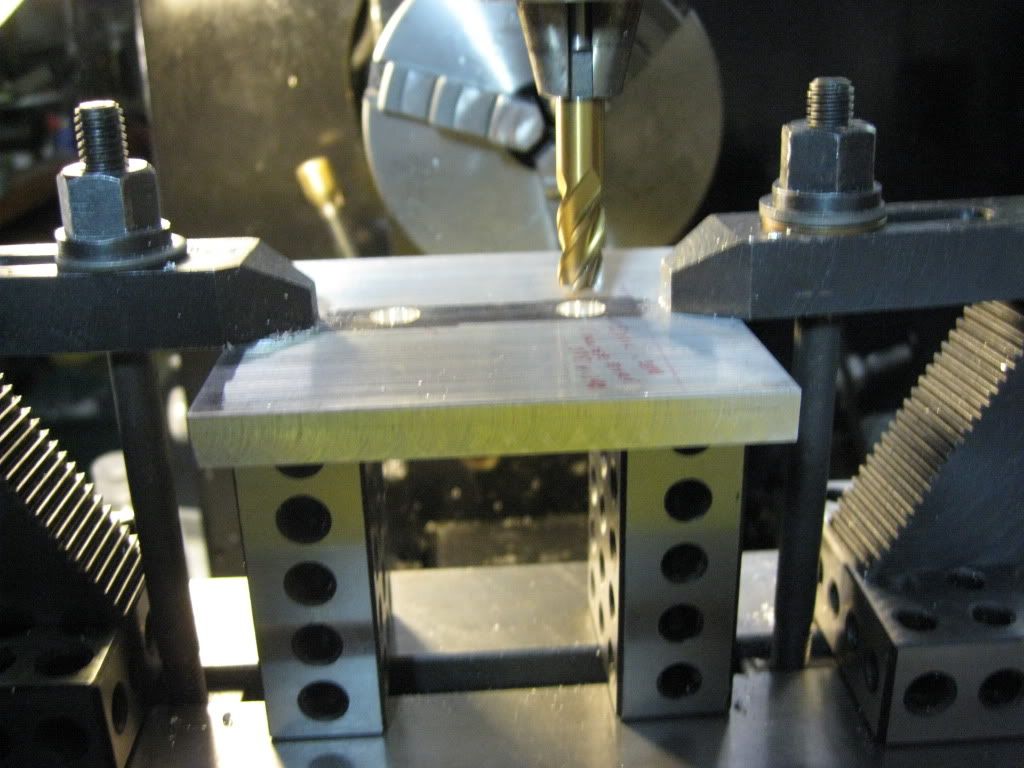
Drill, counter bore through the bottom of the base plate. The vertical plate will be fastened with the socket head screws through these holes.
 
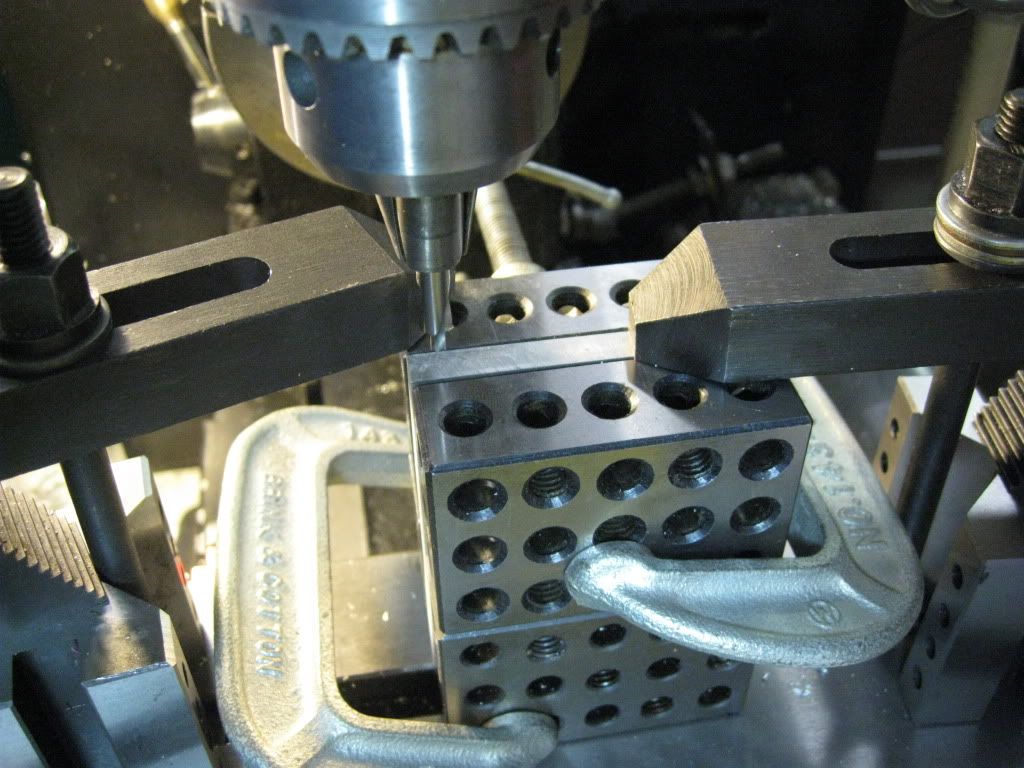
The next setup shows how I had to mount the vertical plate so I could drill and tap for the screws that come up from the base plate. The AL plate is clamped between 1-2-3 blocks. It took me a while to figure out how to do this with what I had. The next time should be easier.
 
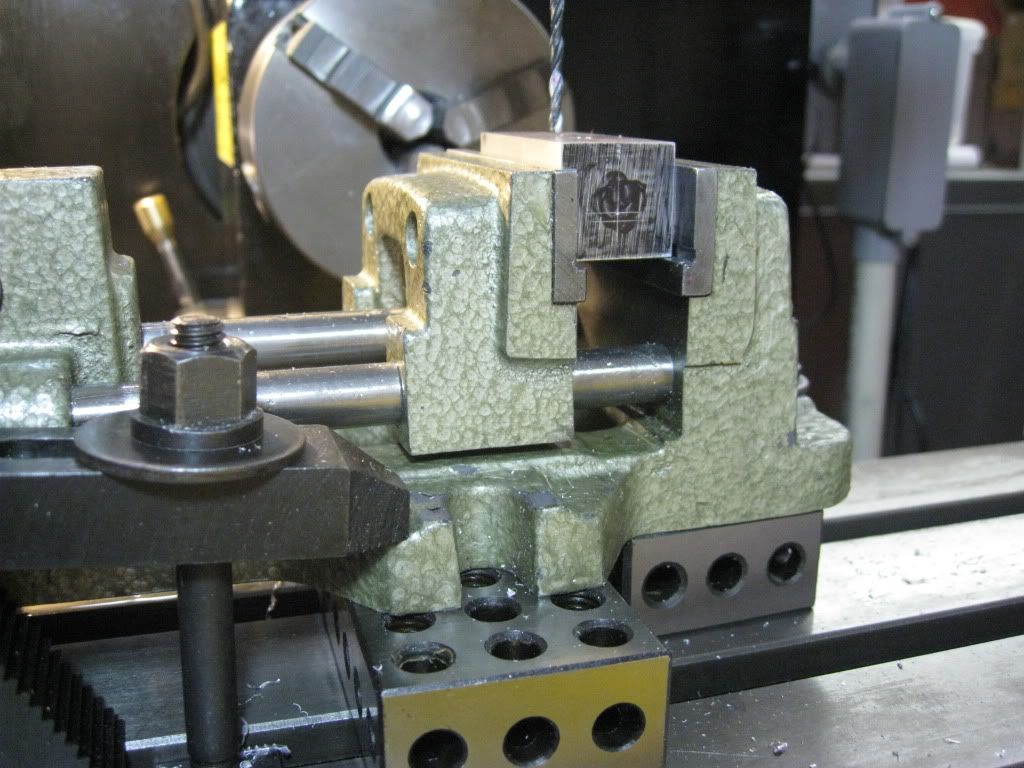
Next, I drilled the inlet/exhaust port and D & T for the cylinder pivot. I had to raise the vice so the drill would reach it.
 
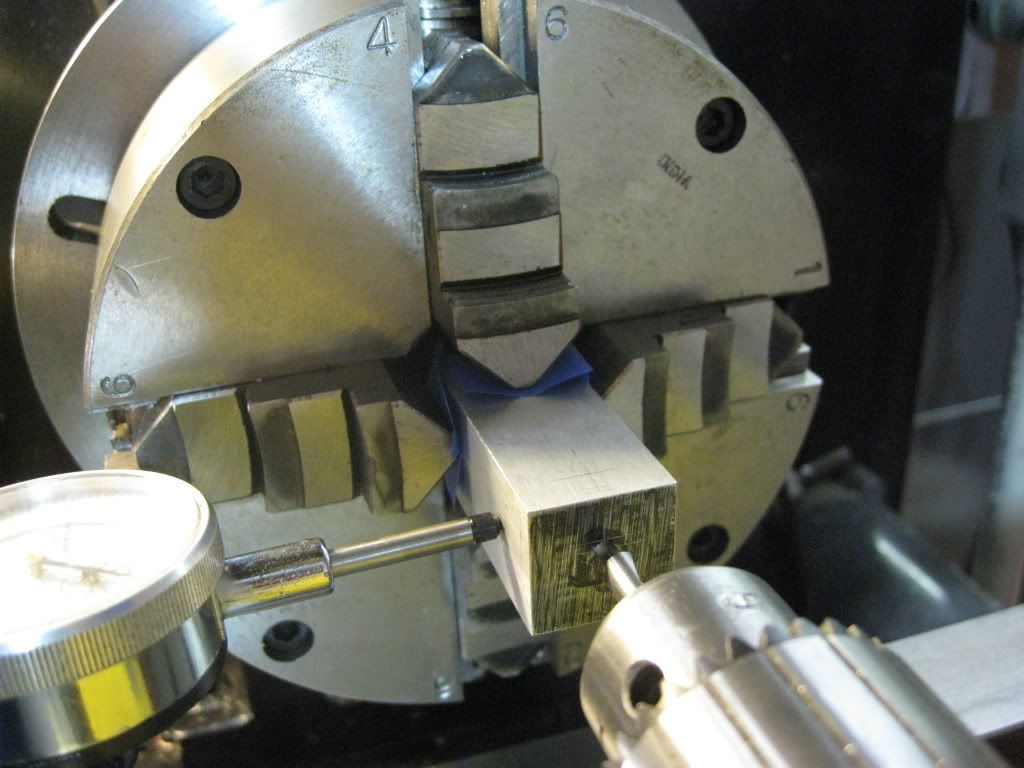
I had the use my four-jaw chuck to offset for the cylinder. This was not as hard to do as I feared. You just have to get it straight in your head which way the indicator is telling you to move the piece.
 
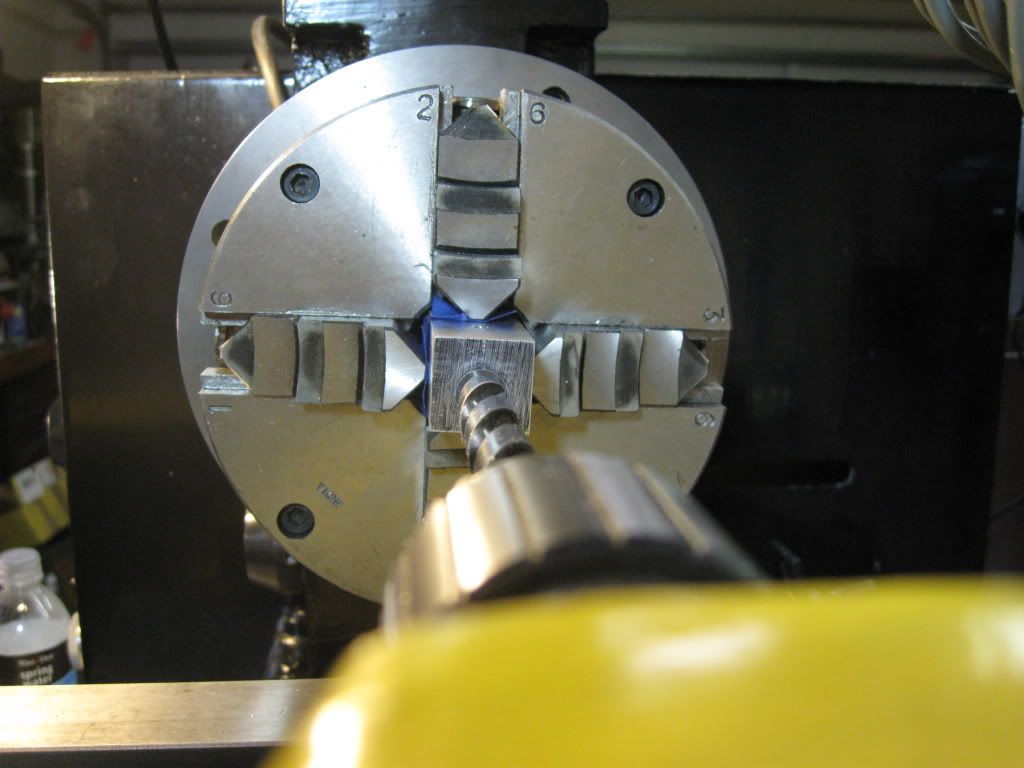
Drill ½ inch for the cylinder. I do not have any reamers at this time, so I used nice sharp bits to drill the hole. I stepped up in size from ¼ inch to ½ inch to make the hole as straight as possible.
 
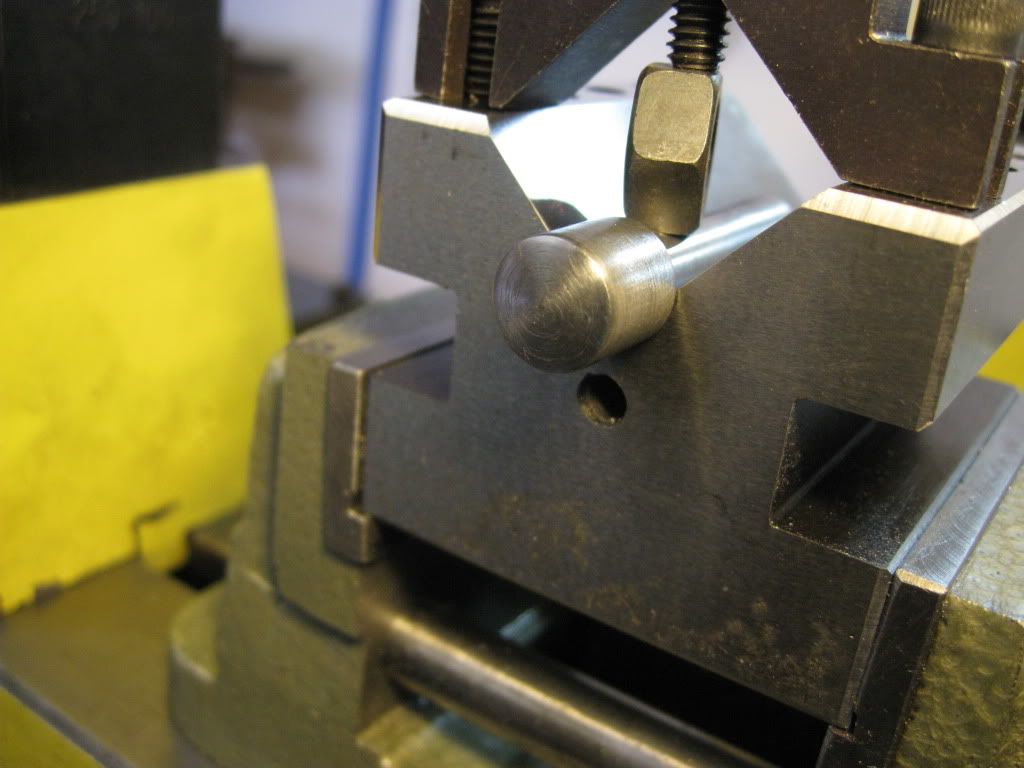
I then turned the piston and rod. I made the piston with 0.002 clearance to the cylinder. The picture below shows how I held the piston to drill the hole for the pin that connects the rod to the eccentric. I should have used a piece of AL rather than a hard nut as a spacer to hold the rod down.
 
Here it is assembled, warts and all.
To get it running, I used lots of light oil and about 20 psig air. Once it started, I let it run for about 20 minutes. The set screw that locks the crank eccentric to the shaft would not tighten and was causing problems with it running. I dimpled the shaft and that helped a lot.
I posted a video on YouTube, once it was running; I cranked the air pressure up to 110 psig.
[ame]http://www.youtube.com/watch?v=wBRRpVssJyA[/ame]
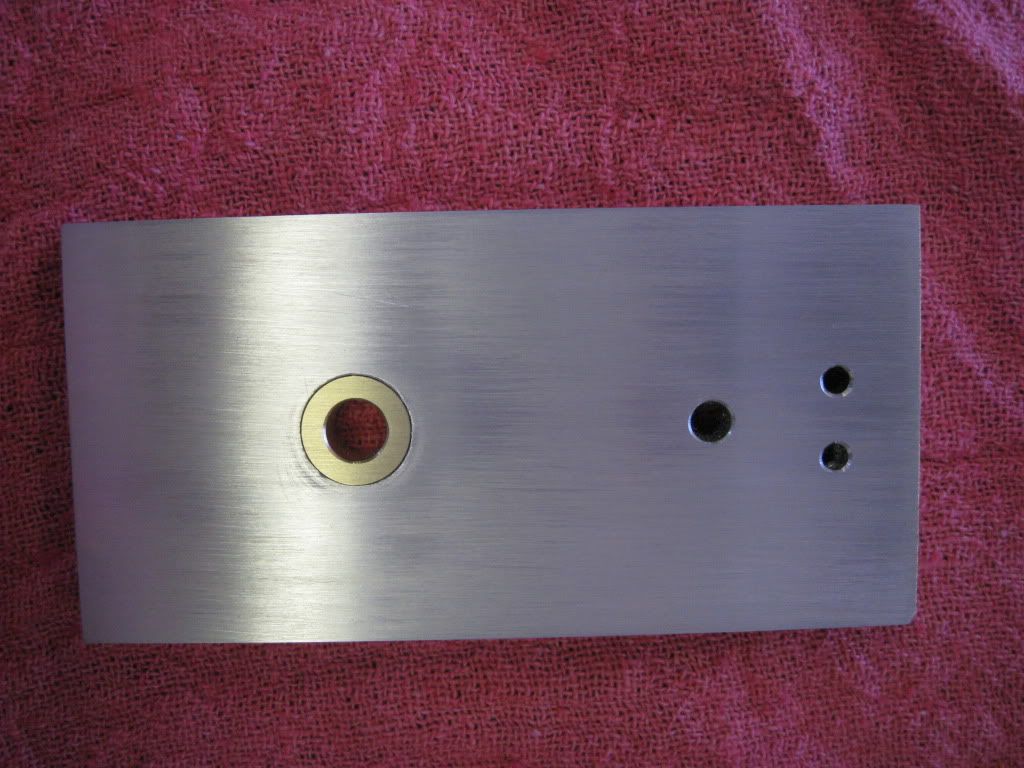
The motor loosened up quite a bit after this run. So I decided to put an AL/Bronze bushing in the upright and make a new shaft to tighten up the clearances. I also cut out some of the uneeded material on the sides of this piece. You will see it a few photos down.
 
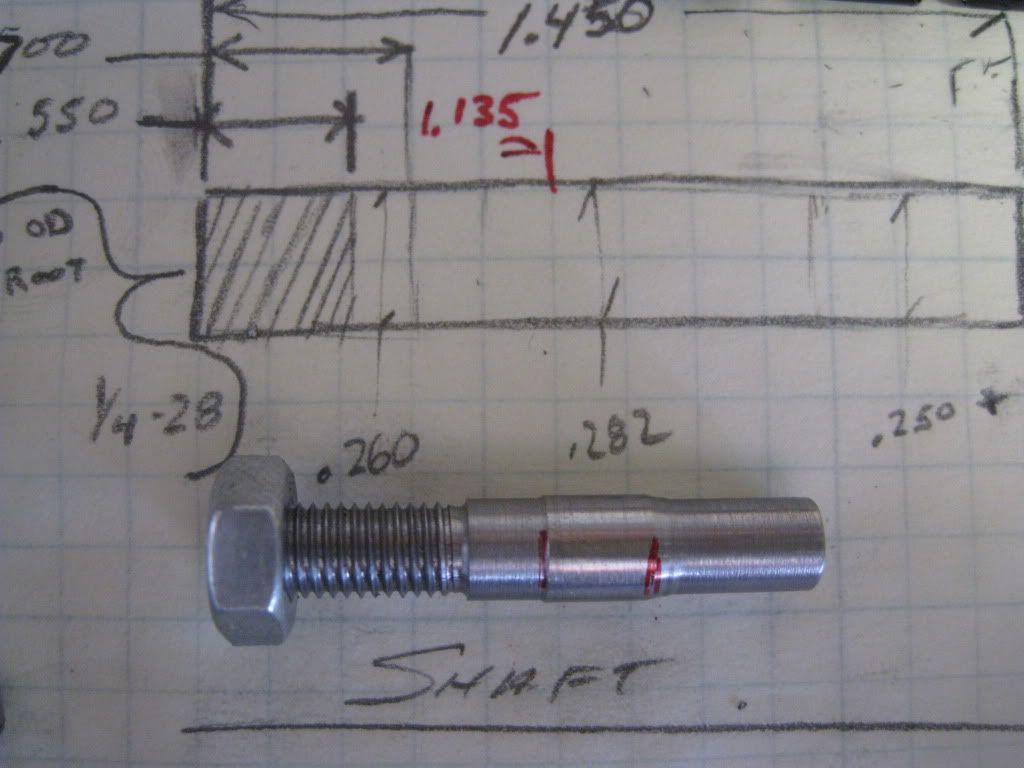
I threaded the new shaft using the pivoting threading tool I built last month.

 
Here is the finished shaft along with my C-o-C.
 
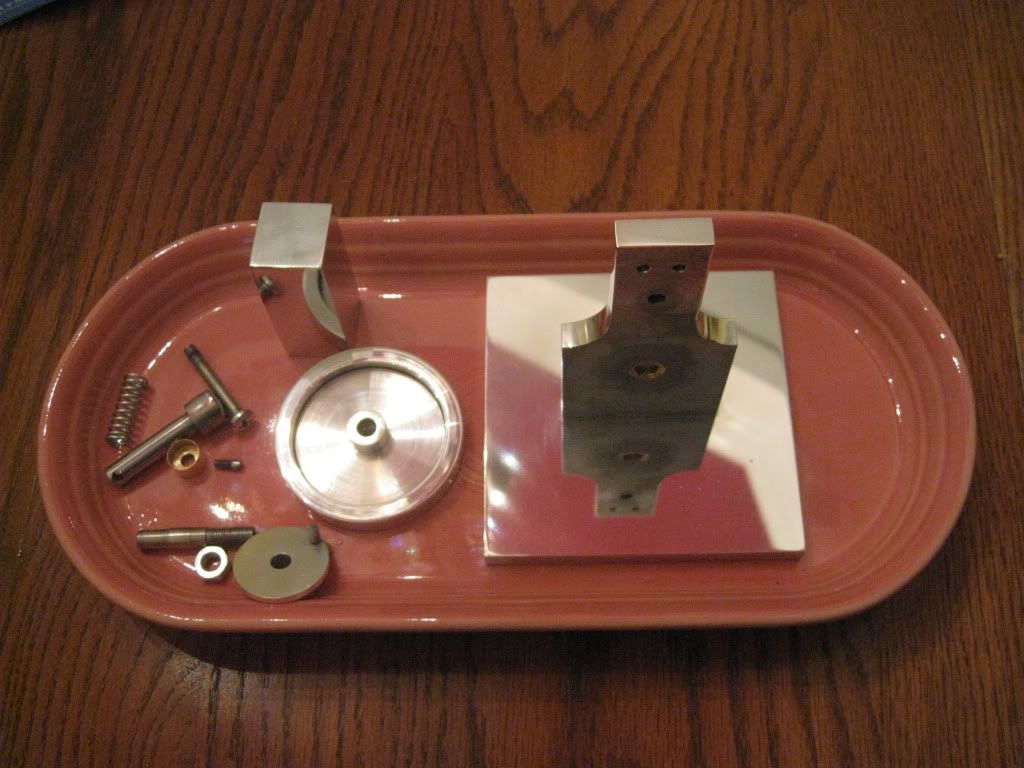
Here are the pieces all polished up.
 
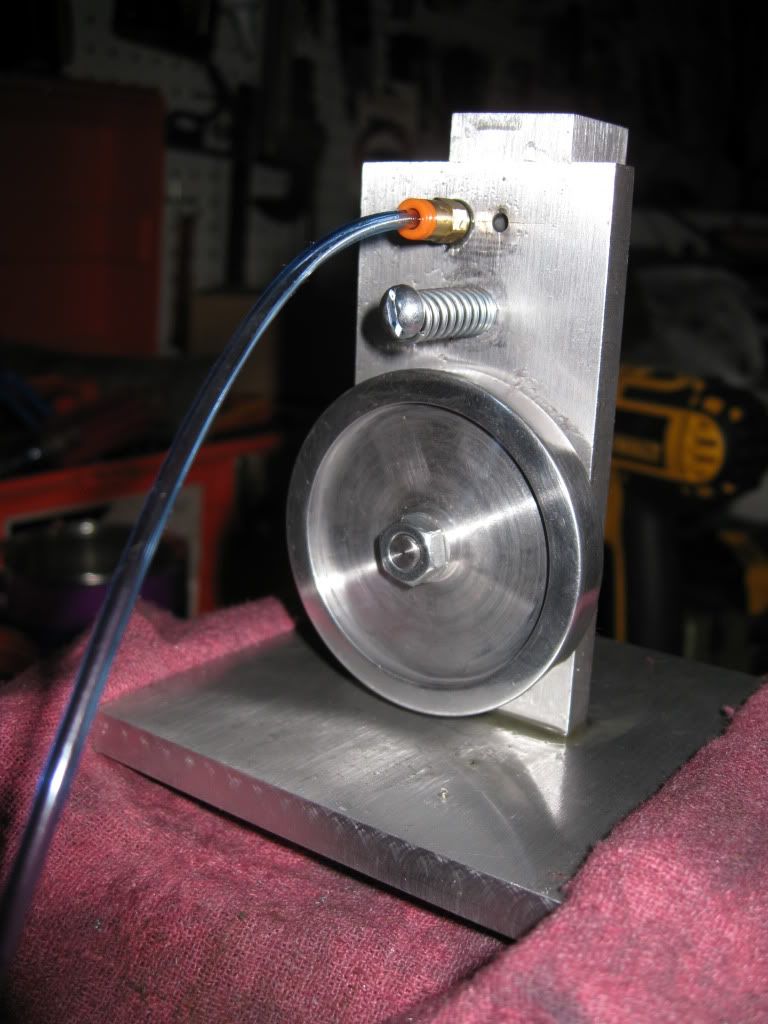
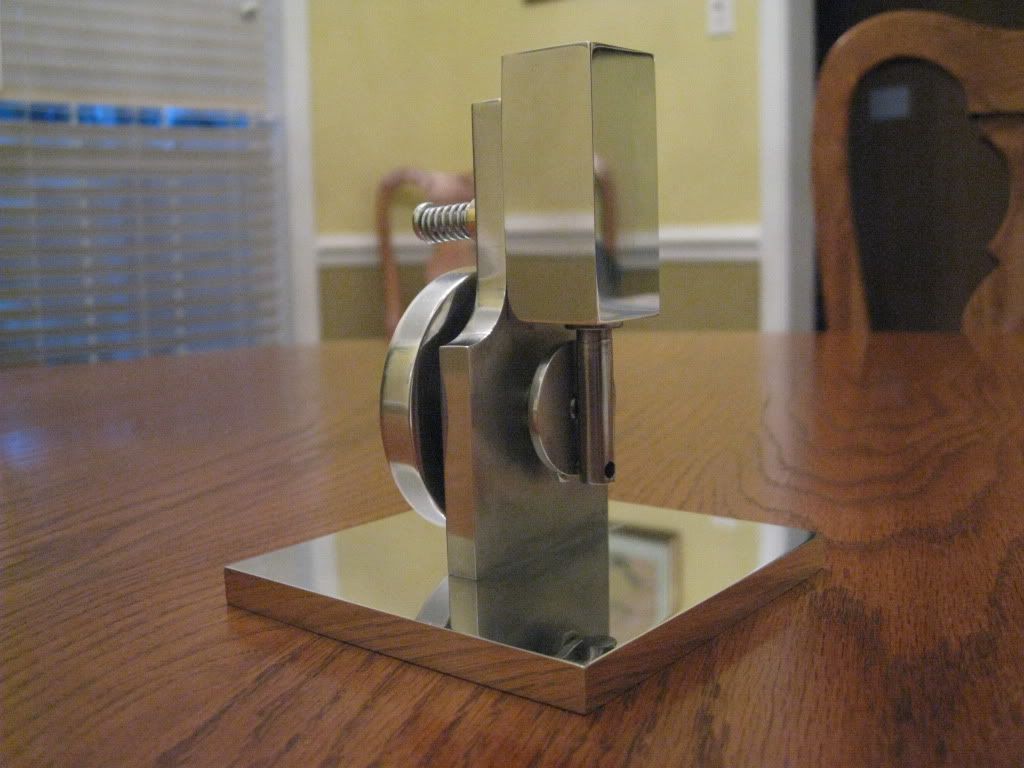
Here is a shot assembled.
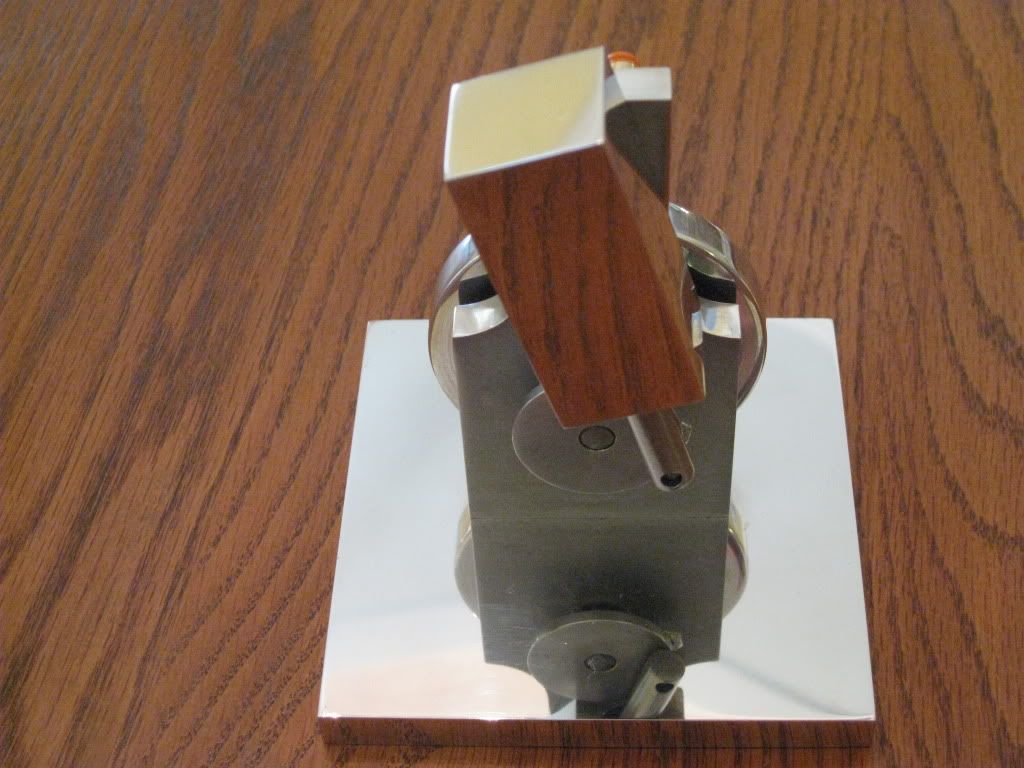
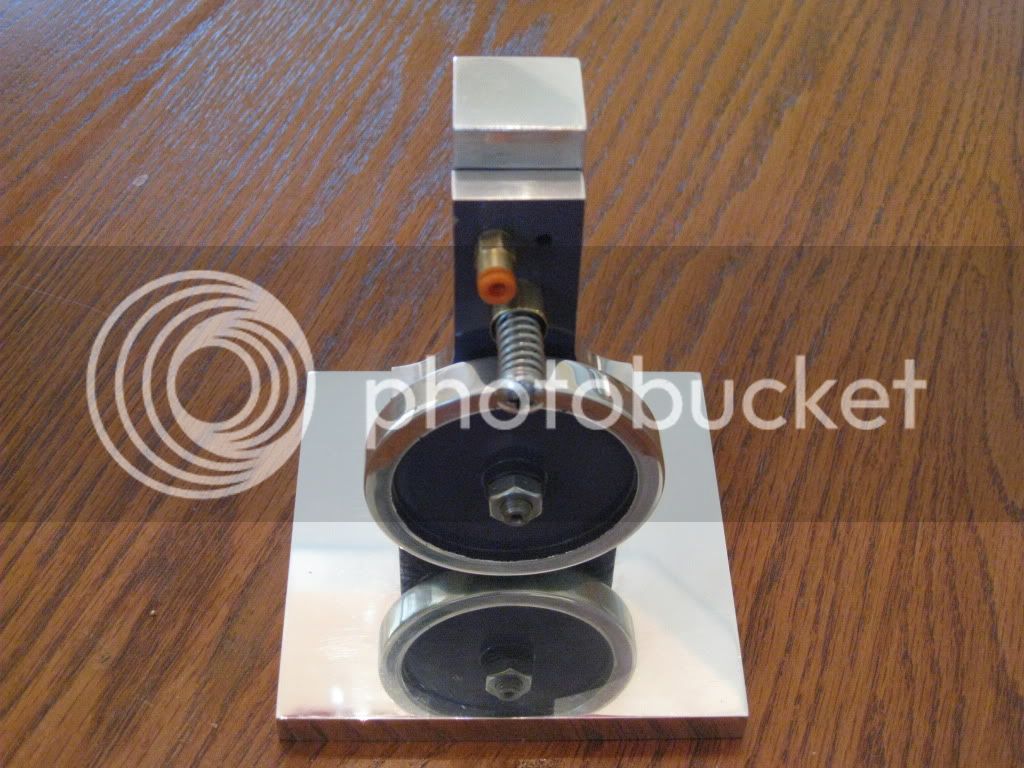
 
After looking at it for a while, I thought that it needed a little color, rather than just polished AL. I had some purple spray paint, so that made the choice easy.
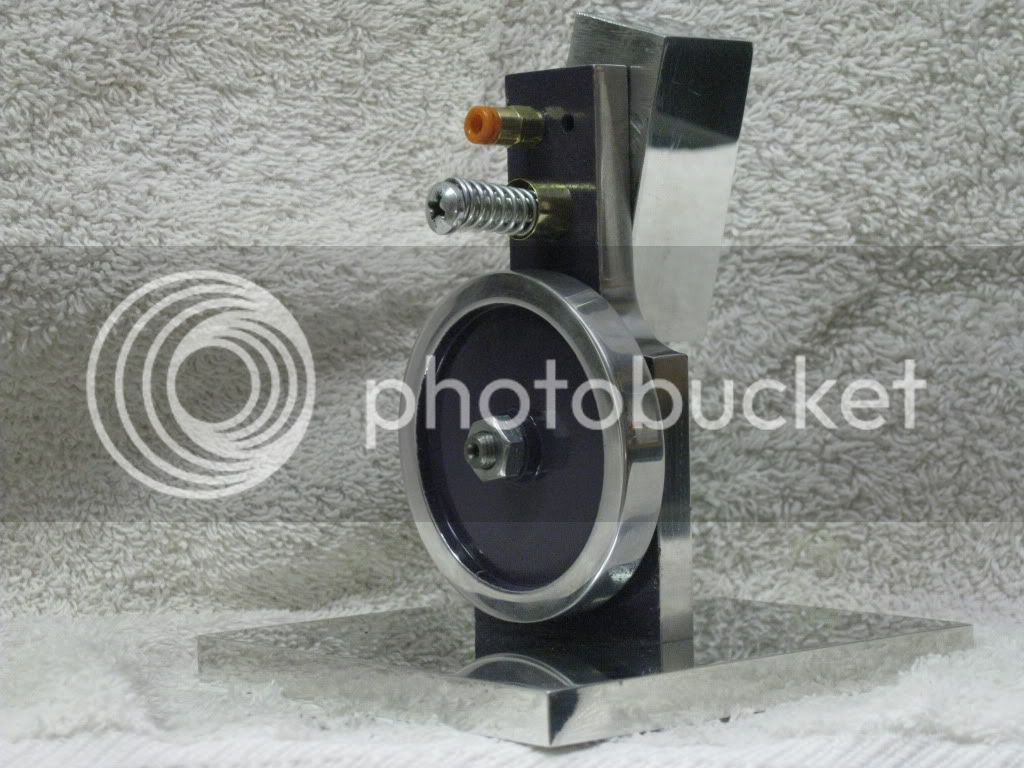
Here it is running with its final set of clothes.
http://www.youtube.com/v/1Ly4GfjSID0&hl=en_US&fs
This has been fun. I learned a lot and how to adapt. Thanks to all of you that posted your builds. If I had not read them, I doubt I would be where I am now.
SAM
3/15/2010
I didnt think to take pictures when I first started on this air motor though I will do a better job on the next build. I would not have been able to do this if it were not for all of the members builds that I read, and saw, on the forum. Thank you.
I started with the flywheel and faced one side then flipped it over to face the other side. I drilled and tapped for the shaft, and cut the recess. I threaded a stub shaft to mount the fly wheel too, so I could recess the other side. This photo shows the flywheel mounted on the stub shaft and being polished.
 
I turned the crankshaft eccentric and drilled and tapped for the set screw.
I had to let this part overhang so the drill chuck would have enough clearance.
 
I then set this part up so I could D & T for the crank arm.
Time to square up the block for the cylinder.
 
Squared up the vertical plate.
 
Drill, counter bore through the bottom of the base plate. The vertical plate will be fastened with the socket head screws through these holes.
 
The next setup shows how I had to mount the vertical plate so I could drill and tap for the screws that come up from the base plate. The AL plate is clamped between 1-2-3 blocks. It took me a while to figure out how to do this with what I had. The next time should be easier.
 
Next, I drilled the inlet/exhaust port and D & T for the cylinder pivot. I had to raise the vice so the drill would reach it.
 
I had the use my four-jaw chuck to offset for the cylinder. This was not as hard to do as I feared. You just have to get it straight in your head which way the indicator is telling you to move the piece.
 
Drill ½ inch for the cylinder. I do not have any reamers at this time, so I used nice sharp bits to drill the hole. I stepped up in size from ¼ inch to ½ inch to make the hole as straight as possible.
 
I then turned the piston and rod. I made the piston with 0.002 clearance to the cylinder. The picture below shows how I held the piston to drill the hole for the pin that connects the rod to the eccentric. I should have used a piece of AL rather than a hard nut as a spacer to hold the rod down.
 
Here it is assembled, warts and all.
To get it running, I used lots of light oil and about 20 psig air. Once it started, I let it run for about 20 minutes. The set screw that locks the crank eccentric to the shaft would not tighten and was causing problems with it running. I dimpled the shaft and that helped a lot.
I posted a video on YouTube, once it was running; I cranked the air pressure up to 110 psig.
[ame]http://www.youtube.com/watch?v=wBRRpVssJyA[/ame]
The motor loosened up quite a bit after this run. So I decided to put an AL/Bronze bushing in the upright and make a new shaft to tighten up the clearances. I also cut out some of the uneeded material on the sides of this piece. You will see it a few photos down.
 
I threaded the new shaft using the pivoting threading tool I built last month.
 
Here is the finished shaft along with my C-o-C.
 
Here are the pieces all polished up.
 
Here is a shot assembled.
 
After looking at it for a while, I thought that it needed a little color, rather than just polished AL. I had some purple spray paint, so that made the choice easy.
Here it is running with its final set of clothes.
http://www.youtube.com/v/1Ly4GfjSID0&hl=en_US&fs
This has been fun. I learned a lot and how to adapt. Thanks to all of you that posted your builds. If I had not read them, I doubt I would be where I am now.
SAM
3/15/2010
")