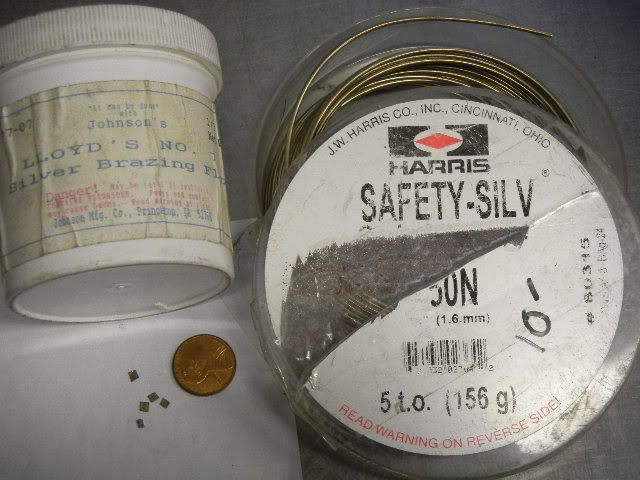
I am working on an engine that requires a fair amount of silver soldering. I was wondering if someone could point me in the right direction in the way of supplies. I suppose I'll need everything; although I have a propane torch, but I don't know if I need something special or not.
It would be nice to be able to find a kit somewhere to get me started. Also, if anyone knows of any websites or posts on this site that explain (on a beginners level) how to do the actual soldering, that would be great too.
I'm really at a loss here until I can get this stuff figured out. I keep coming up with electronic soldering supplies and directions online, but I think what I need is a little different. I figured for sure someone here could point me in the right direction.
Any help would be much appreciated! Also, I'm in the US.
Thanks,
Dan
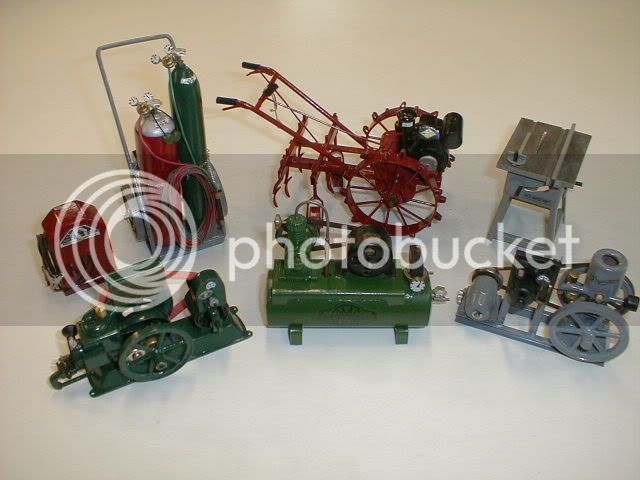
") No, they don't run, they're just for looking, part of the big picture.
No, they don't run, they're just for looking, part of the big picture.