RUBY KOUHOUPT MARINE ENGINE

Home Model Engine Machinist Forum

Help Support Home Model Engine Machinist Forum:

This site may earn a commission from merchant affiliate links, including eBay, Amazon, and others.
Some Karma from me for stickin with it!

:bow: :bow:
 
Thanks Dave for the karma I had not given up yet, it would take a whole lot more that that to make me stop.

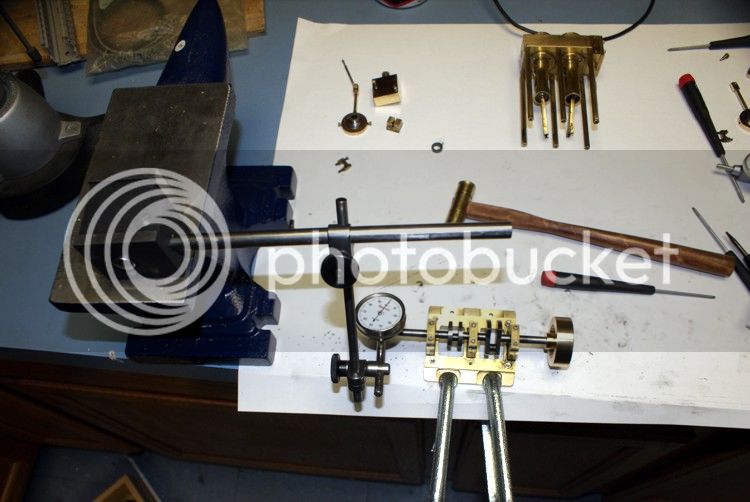
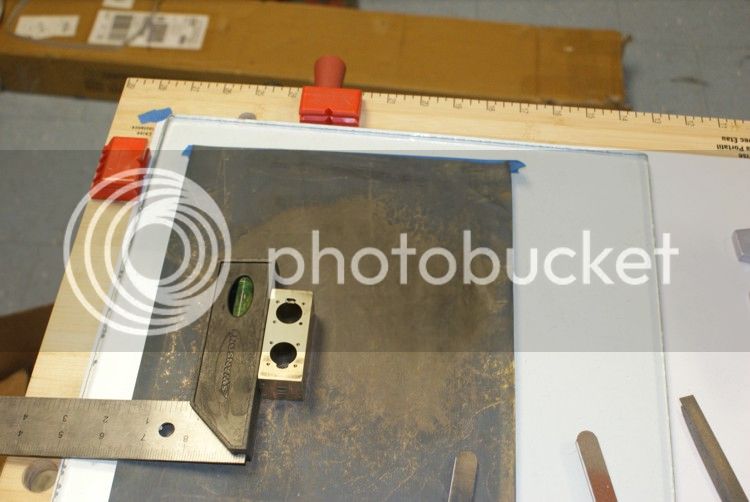
Well had some more time in the shop. First off was the straighten out the shaft. When the engine fell it also pulled the air regulator with it, so this help break the fall. It did hit the flywhell and this is how it bent the shaft. I set the bedplate up on my bench and clamped it down and using my anvil to support the DTI. I rolled the shaft with the flywheel and started hitting the shaft with a brass hammer litely on the high spot till I noticed the reading start to change. Then it was just a matter of repeated taps till the reading was at .001 and that was good enough. I also repeated this on the opposite shaft just to make sure. I was very happy with it as is. The amount of time to straighten the shaft was 30 minutes.
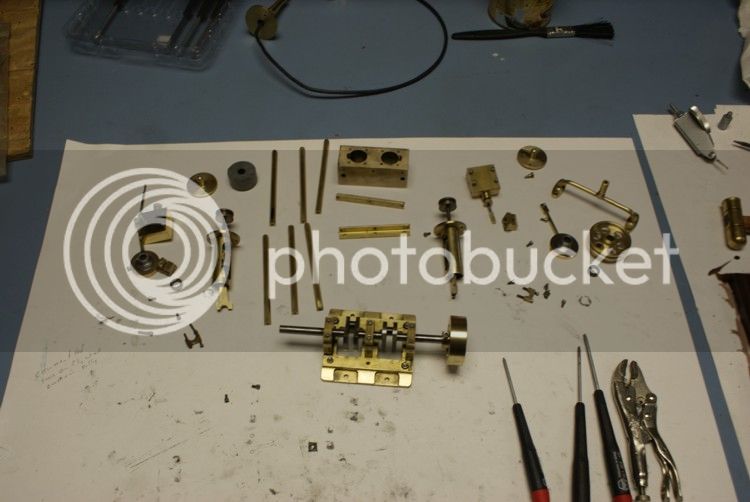
Next I started disassembling the engine and set my finishing bench up to start polishing the engine parts. I shot some photos of some of my progression and ways of polishing.
This photo is the setup of for straightening the shaft.
NO102.jpg

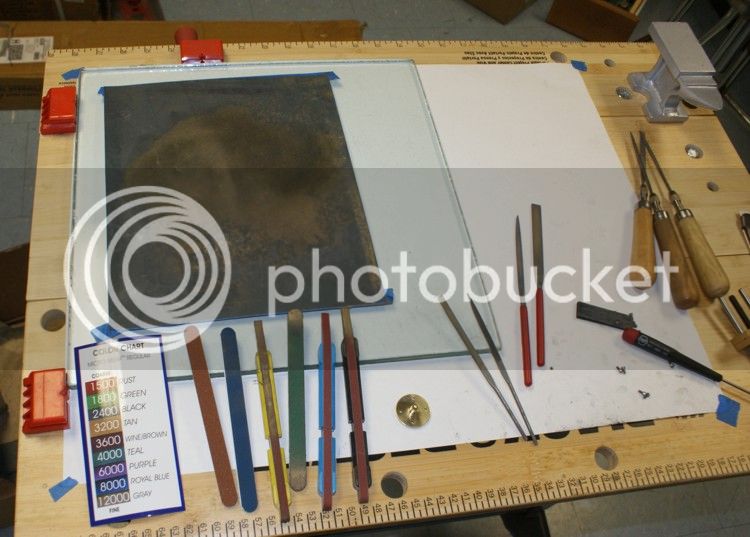
This photo is my finishing bench. The bench is a B&D workmate and perfect for finsihing. I have a piece of saftey glass to sand and a vice for work holding with soft jaws. I also have an assortment of sanding sticks and wands. I am showing the color chart to show you the different grit sizes. I also havwe a small hand held vise made of brass to hold small parts with.
NO100.jpg

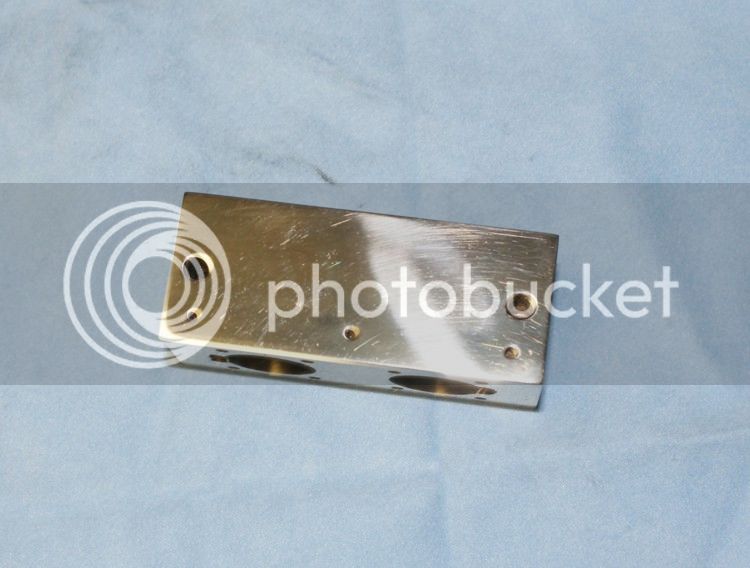
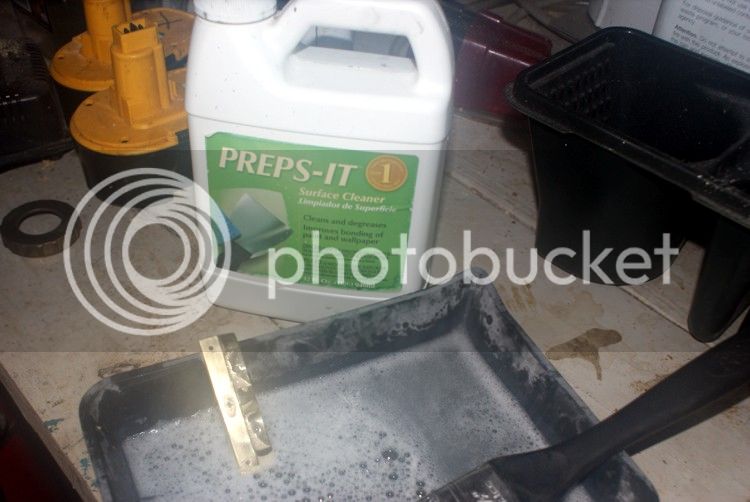
This photo is a shot of the cylinder and I purposely polishing it with marks on it to show that any scratched in the brass will show up like a sore thumb. The brass has to be polished until all scrtatches are removed. This take a lot of work.
NO105.jpg

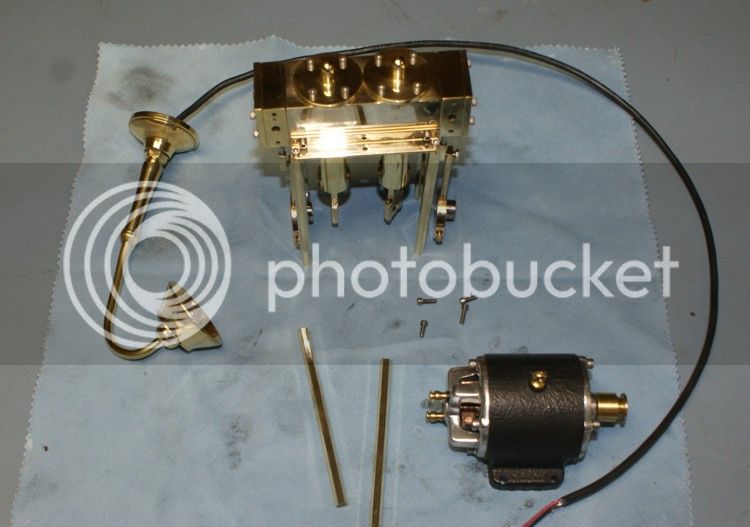
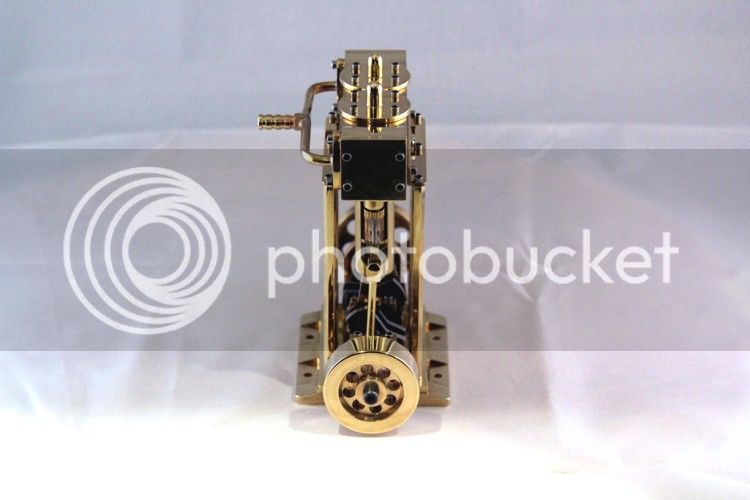
A shot of the disassemblied engine.
NO103.jpg

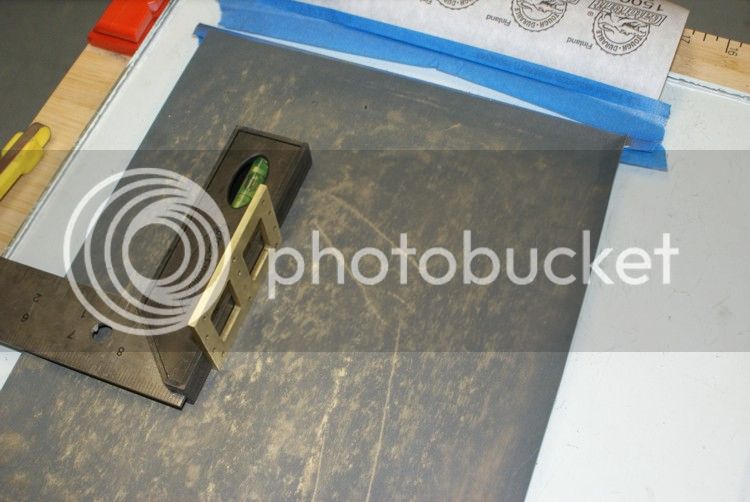
Using a square edge to sand the cylinder.
NO104.jpg

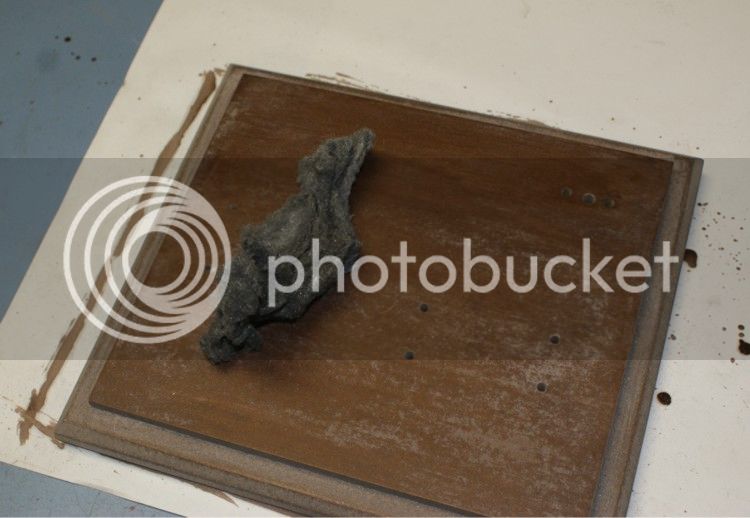
First coat on the base.
NO101.jpg

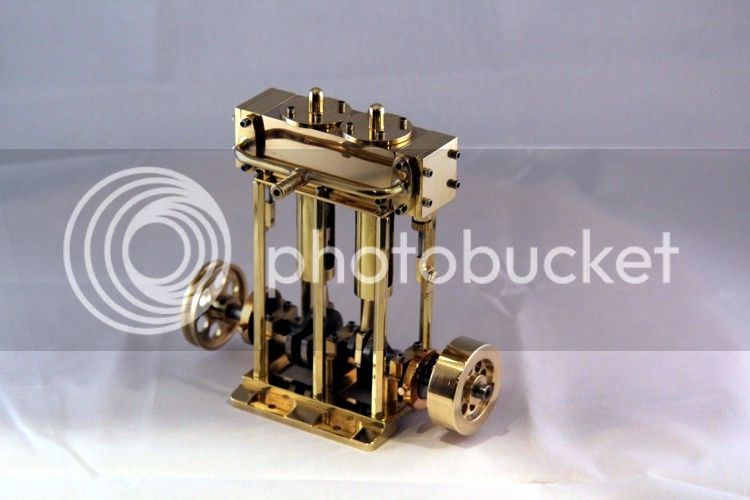
This is the progress so far you are looking at 10 hours of work to get to this point. I will probably have another 15 hours left to finish polishing the engine and assembling it.
NO106.jpg

As of now the engine has a total of 121 hours total in it to get it to this stage.

Don
 
Don. I have complete faith. Like the sun is coming up tomorrow!
:bow:
 
I'd say you know your way around the polishing tools Don. This is not something I am very good at.

Do you lacquer your parts when you are done?
 
Thanks Dave for the vote of confidence. I will try not to let you down.

Brian I do not lacquer any engines, not as lone as they have moving parts. I perfer to clean them when they need it.

BTW today I had 8 hours in the shop, so I managed to finish polishing the engine. I also will continue to show the process of cleaning brass.
I started with the bed plate today and laided it on the glass plate. I grabed the bed plate with all three fingers and putting a small amout of pressure on it while making a figure eight pattern. I start with 600 grit WD and if I have deeper scratches I will use 400 grit and work down to 1500 grit. Even using 1500 grit as the metal is removed from the plate it will create problems because it is still between the work piece and the sanding. The metal that is being removed is still scratching the surface. So cleaning of the sandpaper has to be done frequently to avoid this. Or keep frequent water flow on the work as you sand. I will used the soft sanding wands to finish it with before I use the dremel to polish with MAAS metal cleaner. After the polishing I use Preps-it a surface cleaner and degreaser to clean the MAAS off using a soft brush then flush it with water and blow dry with air.
This first photo is the bedplate being sand using a figure eight pattern and holding with all three fingers.
N0107.jpg

Then I stand it on end against a squares edge to sand the sides, but pulling it towards me only.
NO108.jpg

Now I make use of the dremel to buff spots my regulator buffer can not get to. I still use the dremel to finish all parts even after I use the regulator buffer.
NO109.jpg

Then it is a matter of cleaning it with the Preps-it using a soft brush and flush it with water. I also use a soft rag like terry cloth to keep from putting my fingers on it or I would lose the shine.
NO110.jpg

This is the engine all cleaned up.
NO113.jpg

NO112.jpg

I still have to finish mounting the engine and Dynamo for final comnpletion.
Don
 
That is fantastic Don :eek:

Thanks for showing the steps you use.
 
Hey the Sun came up! ......looks like a glorious engine! :bow: :bow:

Thanks for the blow by blow, safely packed away for when I need to do that...hopefully I won't let you down!

:bow:

Dave
 
Thm: That's pretty as a picture Don - WELL DONE!

Kind regards, Arnold
 
Thanks Dave, Arnold and Brian for your interest and standing behind me on this built. When I get more time I will finish mounting the engine and video the engine and Dynamo.

Don
 
beautiful!!!!! can you post a picture of how the valve hooks to the valve spindle does it just slide in to a slot? im making the same engine thank you
 
That's correct the valve has a 1/16th slot and the rod is turned to the same diameter. Thanks for the kind comment.

Don
 
does the eccentric spin inside the brass strap?
 

Latest posts

Back
Top