Allen
Well-Known Member
- Joined
- Jul 14, 2008
- Messages
- 128
- Reaction score
- 55
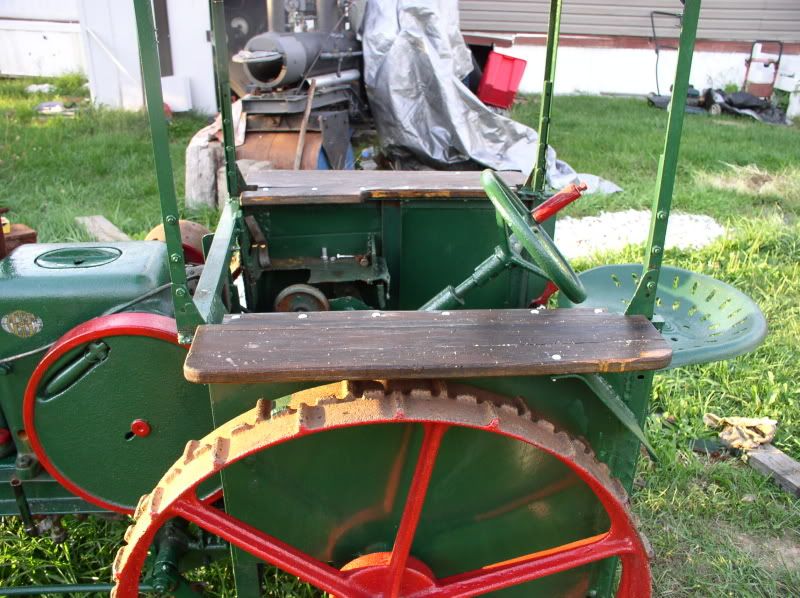
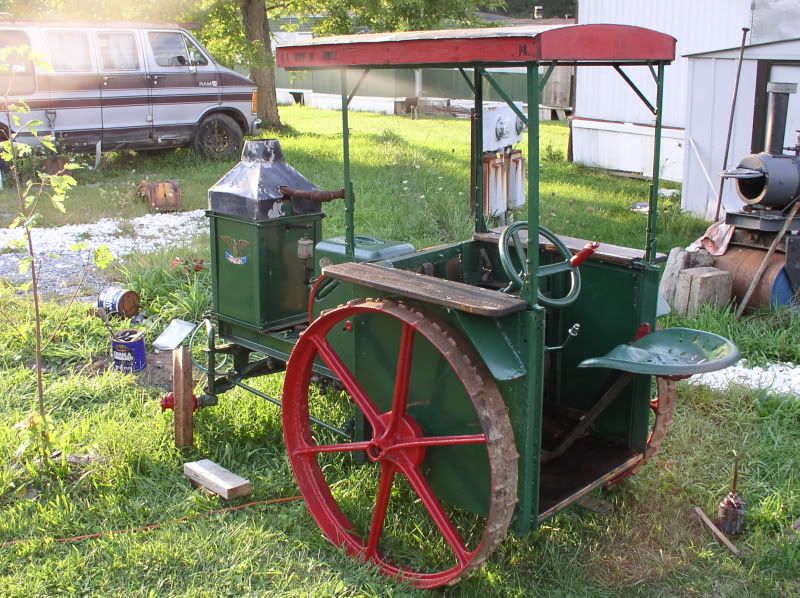
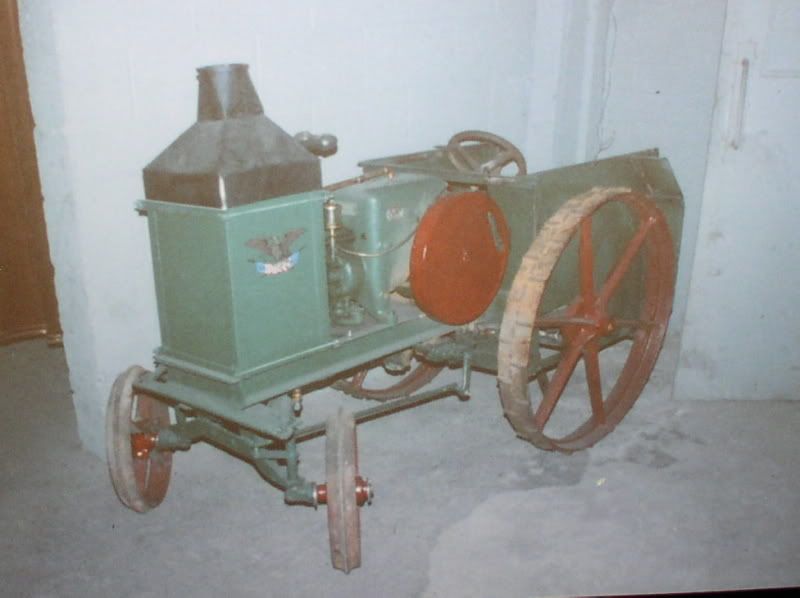
Way back about '97 or so I built a 2/5 size tractor based on a Rumely Oil Pull. These things are commonly called 'pups'. Like most folks I used a lot of lawn tractor parts. Unlike many, I completely scratchbuild the frame from odds n ends - including a couple bed frames and an electrical cabinet.
The engine is a 1935 IHC LA of 1-1/2 - 2-1/2HP size (output depends on what speed you set it to run at)
The front axle and wheels were a cut down McCormick-Deering horse forecart. It was cheap enough at an Amish auction, and just too cool not to use. This would prove a fateful decision.

The rear wheels were from a McC-D horse drawn mower. The transaxle an Eclipse 4 speed from a lawn tractor.
When it was completed, I took it to two shows. The Clarion County Fair - where it won a Best of Show ribbon as a "recycling project", and our home antique machinery show at Portersville. During the second show I was busy elsewhere and it was sitting on display unattended -- BIG mistake! Some mutton heads decided it was there for their brats to fool with... One of the things about steel wheels with a frost band is that you can't turn them when you aren't moving. They tried anyway, and broke the teeth on the steering gear. They also forced the clutch lever and broke the linkage.
I was so mad that it got brought home and parked -- for almost 15 years! It got moved as I went through two moves and a divorce, but never got repaired or anything else done with it.
Until this month.... Kim had been bugging me all winter to fix it for her to play with. I had a heavier steering box from an Allis-Chalmers B in my scrap stuff, but installing it would require re-arranging things.
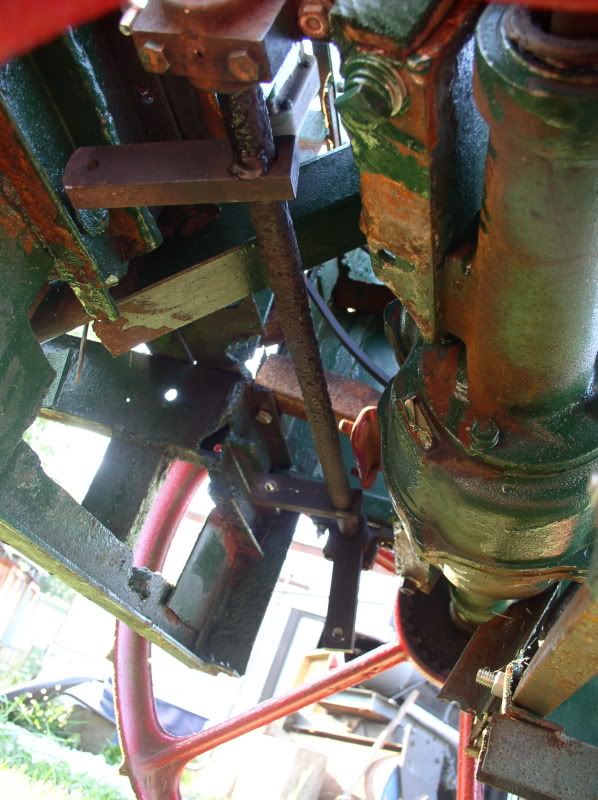
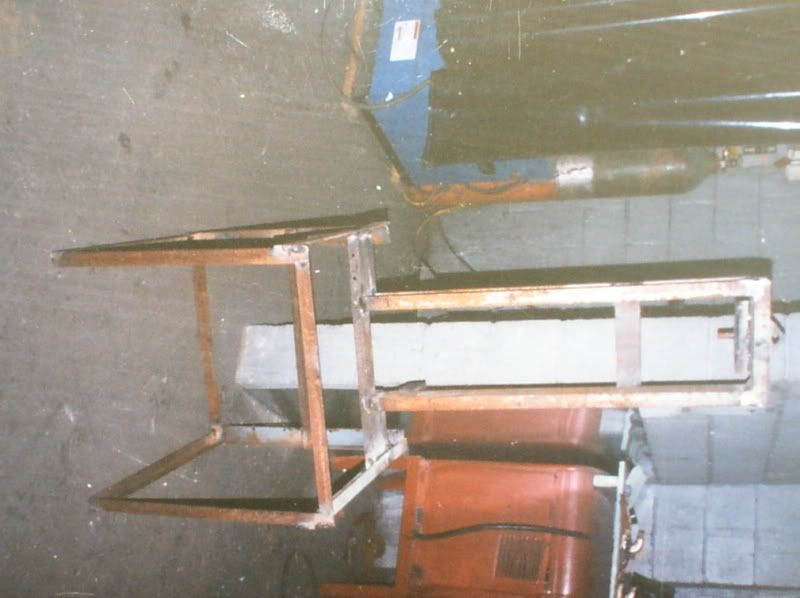
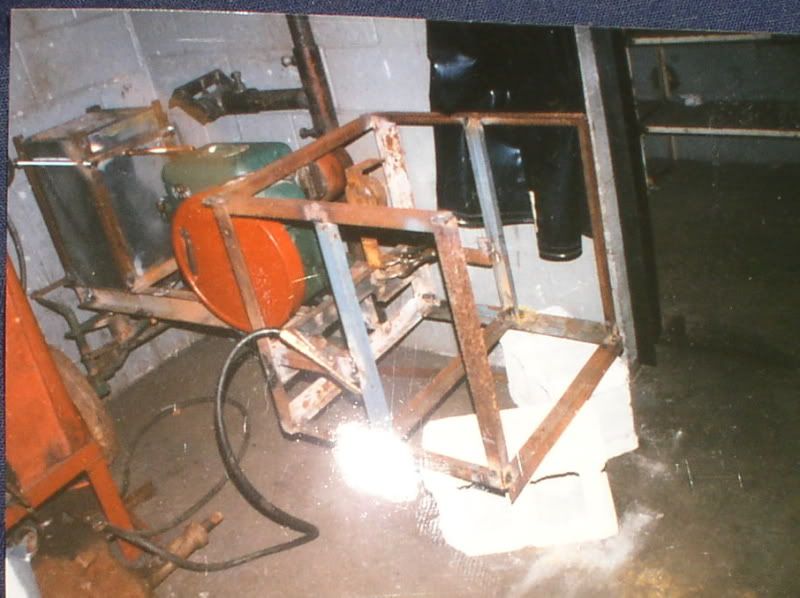
It took me two days to pull the rear wheels, shields and wood trim, cut out the transaxle mounts and remove the broken clutch and steering stuff. -- It's taken another three to fabricate new brackets for the steering box and transaxle, especially since I'm hampered by lack of access to a decent welder here (a little 110v AC buzz box isn't what I'd call 'decent'), and it's too heavy to be loading and unloading it in Kim's Quest 3 or 4 times. Yes, the transaxle is crooked in the pic, I hadn't finished adjusting it when the rain chased me inside...
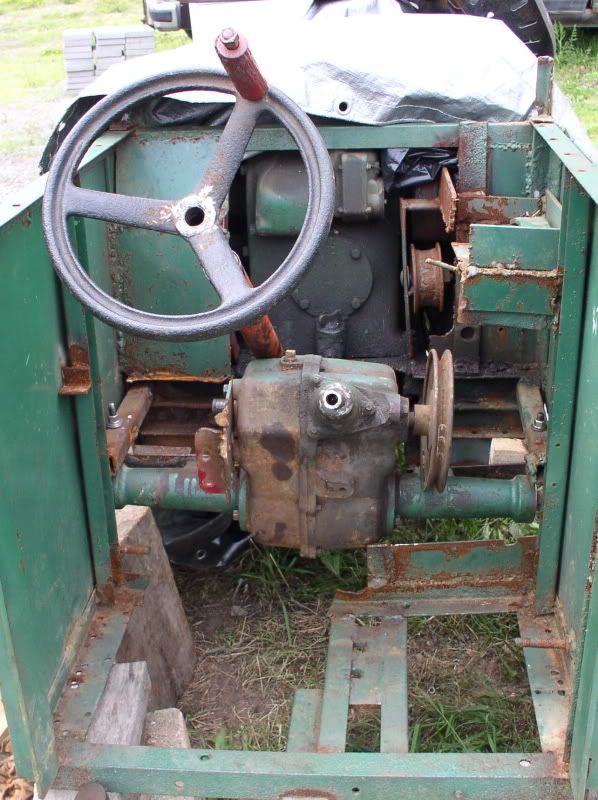
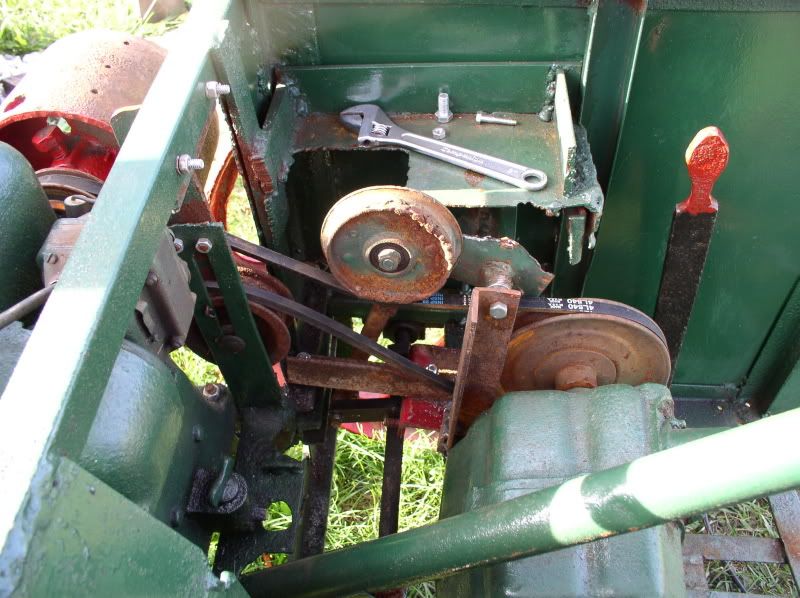
The engine had also stuck from sitting, but that was a quick fix. Some Kroil and rocking the flywheel freed it up in about 15 minutes. I want to re-do the drive using v-belts instead of flat belts, and need to get a short pitman arm for the steering box, yet. With luck, it might be running again by mid-July, since I need to do some serious scrounging.
And I haven't got a blessed thing done on the roller yet, this year....So many projects, so little positive cash flow.....
The engine is a 1935 IHC LA of 1-1/2 - 2-1/2HP size (output depends on what speed you set it to run at)
The front axle and wheels were a cut down McCormick-Deering horse forecart. It was cheap enough at an Amish auction, and just too cool not to use. This would prove a fateful decision.
The rear wheels were from a McC-D horse drawn mower. The transaxle an Eclipse 4 speed from a lawn tractor.
When it was completed, I took it to two shows. The Clarion County Fair - where it won a Best of Show ribbon as a "recycling project", and our home antique machinery show at Portersville. During the second show I was busy elsewhere and it was sitting on display unattended -- BIG mistake! Some mutton heads decided it was there for their brats to fool with... One of the things about steel wheels with a frost band is that you can't turn them when you aren't moving. They tried anyway, and broke the teeth on the steering gear. They also forced the clutch lever and broke the linkage.
I was so mad that it got brought home and parked -- for almost 15 years! It got moved as I went through two moves and a divorce, but never got repaired or anything else done with it.
Until this month.... Kim had been bugging me all winter to fix it for her to play with. I had a heavier steering box from an Allis-Chalmers B in my scrap stuff, but installing it would require re-arranging things.
It took me two days to pull the rear wheels, shields and wood trim, cut out the transaxle mounts and remove the broken clutch and steering stuff. -- It's taken another three to fabricate new brackets for the steering box and transaxle, especially since I'm hampered by lack of access to a decent welder here (a little 110v AC buzz box isn't what I'd call 'decent'), and it's too heavy to be loading and unloading it in Kim's Quest 3 or 4 times. Yes, the transaxle is crooked in the pic, I hadn't finished adjusting it when the rain chased me inside...
The engine had also stuck from sitting, but that was a quick fix. Some Kroil and rocking the flywheel freed it up in about 15 minutes. I want to re-do the drive using v-belts instead of flat belts, and need to get a short pitman arm for the steering box, yet. With luck, it might be running again by mid-July, since I need to do some serious scrounging.
And I haven't got a blessed thing done on the roller yet, this year....So many projects, so little positive cash flow.....