- Joined
- Jan 19, 2010
- Messages
- 1,193
- Reaction score
- 41
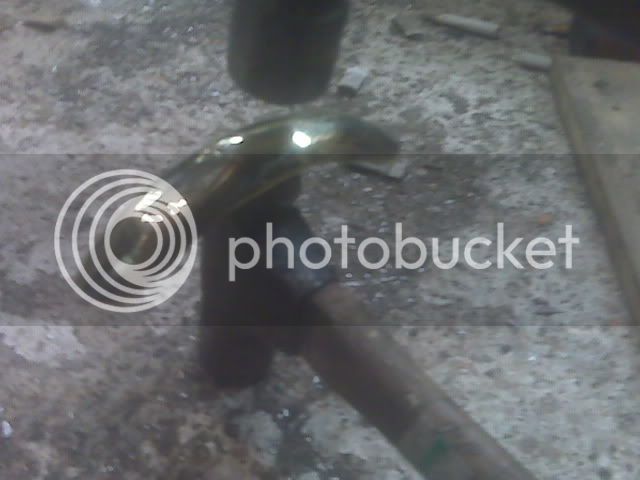
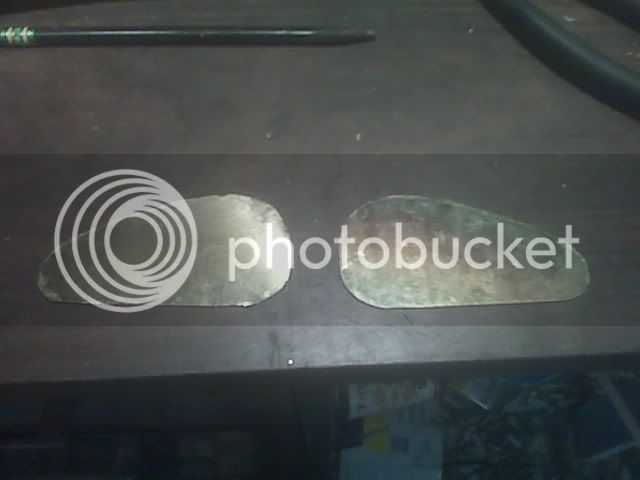
Started work on the gas tank today. I am using .030 thick brass I stole from my backdoor. (kickplate)
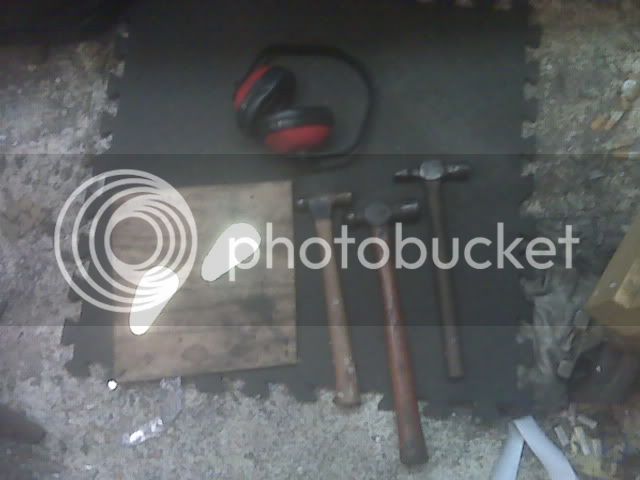
As you can see I have a highly sophisticated set of sheetmetal working tools, including 2, count them, two ball peen hammers, and some other hammer with a flat end. I am using a peice of oak covered mdf and a rubber floor mat to "beat the brass" on.
I am going with a Heat, Beat, Repeat method. By heating the brass and then letting it cool down, or sometimes beat it hot, I hope to anneal it and make it easier to work.
dont forget the stylish earmuffs.
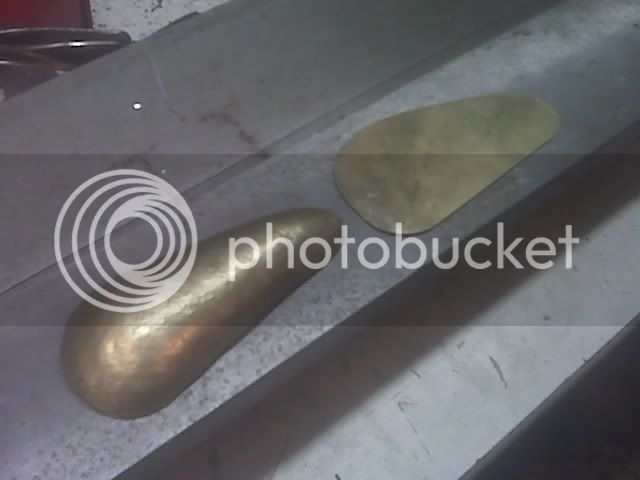
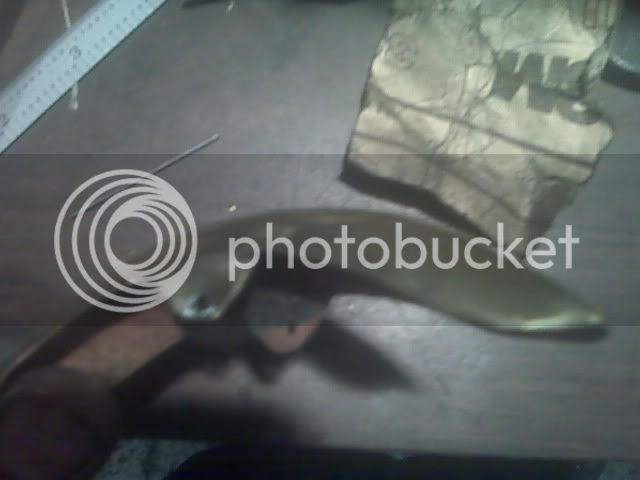
fine electricle solder was used to put the three peices together.
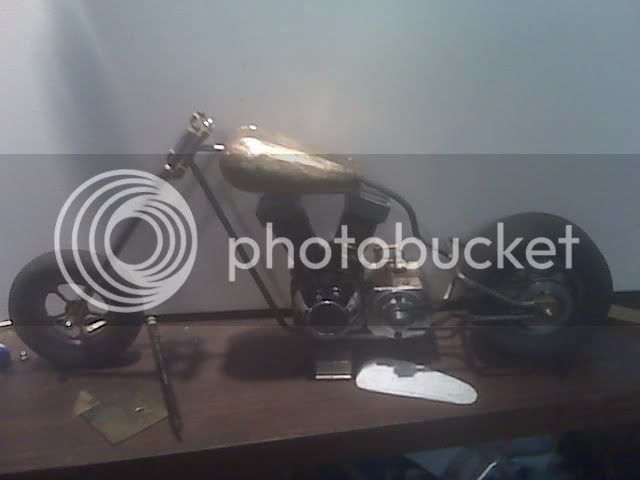
here it is on the bike. (pre sanding and polishing)
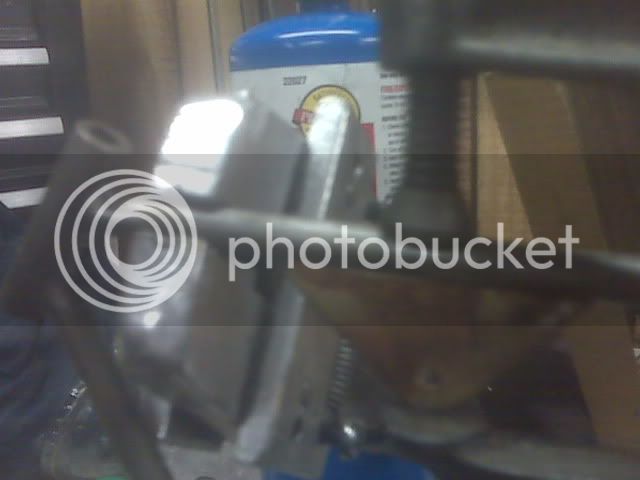
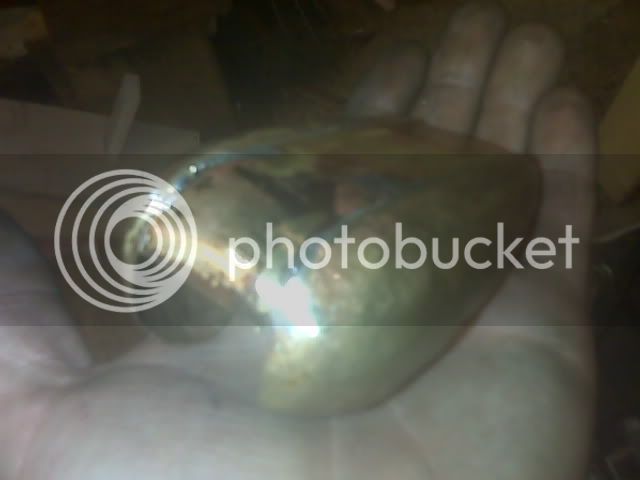
since I dont currently have an english wheel, I used a belt sander to take down the high spots, and then a buffing wheel to see my progress.
I am pretty happy with the result, however, the possibility of it falling to peices is a possibility, considering there will two open flames underneath a soldered gas tank.
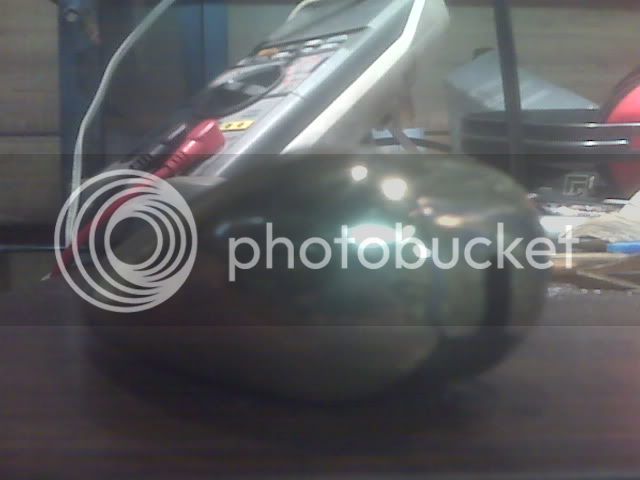
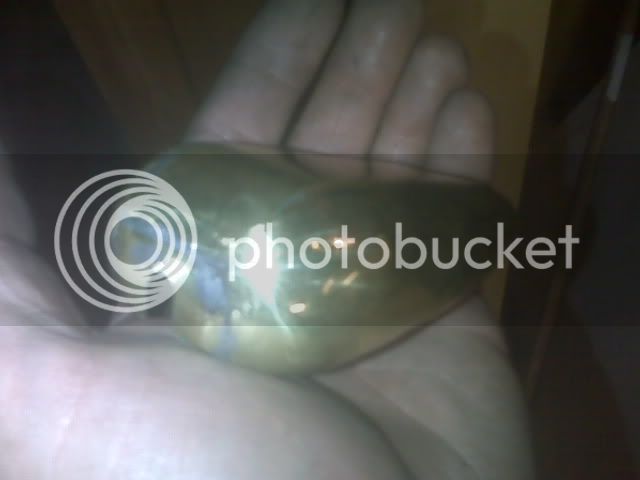
Well its got personality to say the least, the two halves are not quite the same, and a few dents gives it that "vintage" look.
if you notice, my hands are not bleeding, there was a few close calls though, that hammer is coming down pretty fast, one slight mistake, and youll end up with a nicely peened fingernail.
thats it for know. I still have to find a way to mount it, I plan on leaving it hollow, so well see how it works.
Kel
As you can see I have a highly sophisticated set of sheetmetal working tools, including 2, count them, two ball peen hammers, and some other hammer with a flat end. I am using a peice of oak covered mdf and a rubber floor mat to "beat the brass" on.
I am going with a Heat, Beat, Repeat method. By heating the brass and then letting it cool down, or sometimes beat it hot, I hope to anneal it and make it easier to work.
dont forget the stylish earmuffs.
fine electricle solder was used to put the three peices together.
here it is on the bike. (pre sanding and polishing)
since I dont currently have an english wheel, I used a belt sander to take down the high spots, and then a buffing wheel to see my progress.
I am pretty happy with the result, however, the possibility of it falling to peices is a possibility, considering there will two open flames underneath a soldered gas tank.
Well its got personality to say the least, the two halves are not quite the same, and a few dents gives it that "vintage" look.
if you notice, my hands are not bleeding, there was a few close calls though, that hammer is coming down pretty fast, one slight mistake, and youll end up with a nicely peened fingernail.
thats it for know. I still have to find a way to mount it, I plan on leaving it hollow, so well see how it works.
Kel
")