Poppin Hoglet Display

Home Model Engine Machinist Forum

Help Support Home Model Engine Machinist Forum:

This site may earn a commission from merchant affiliate links, including eBay, Amazon, and others.

kcmillin

Project of the Month Winner!!!
Project of the Month Winner
Joined
Jan 19, 2010
Messages
1,193
Reaction score
41
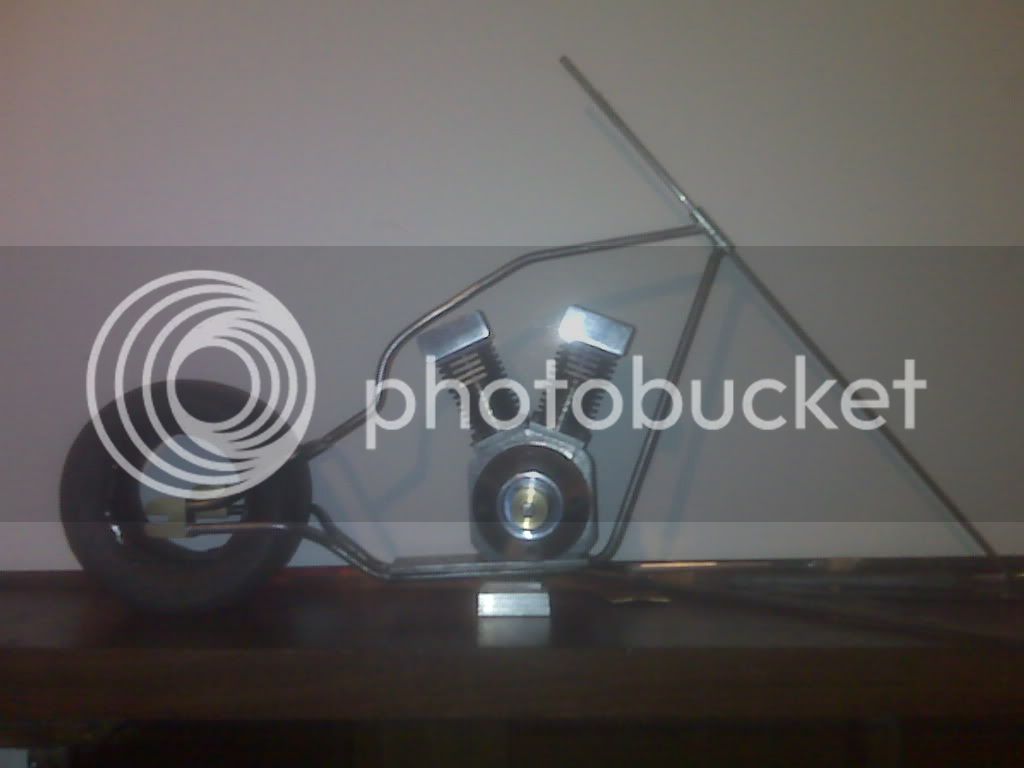
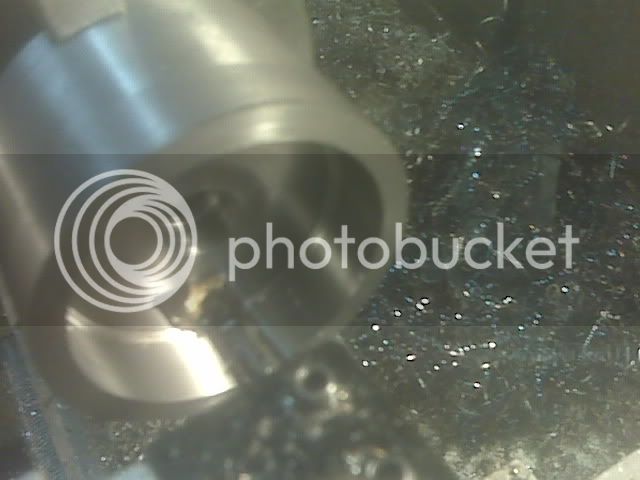
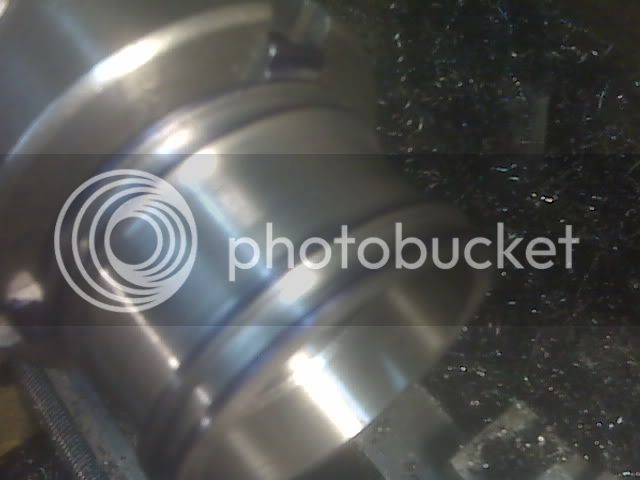
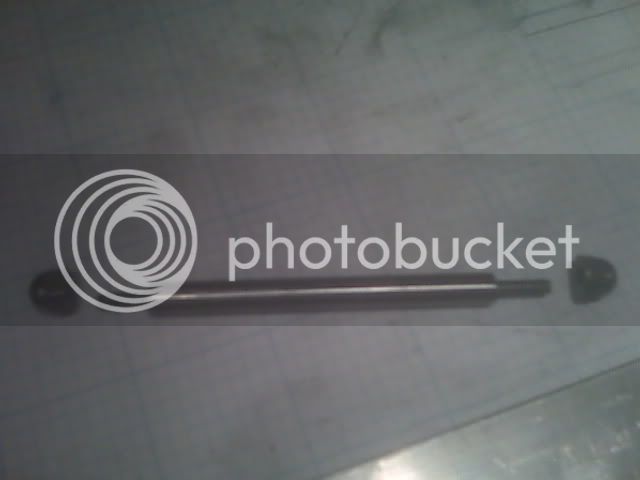
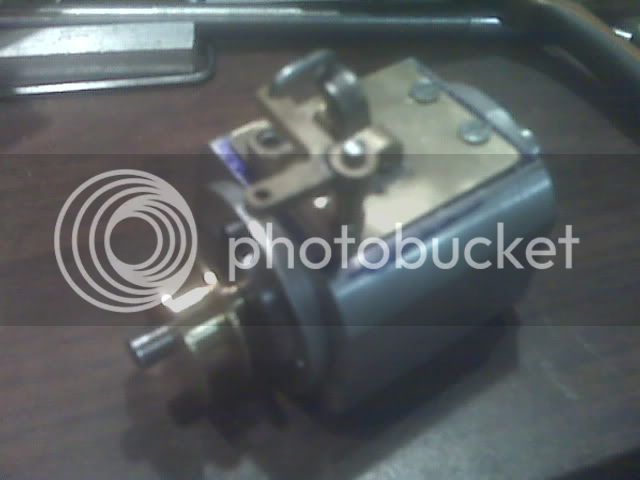
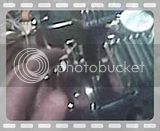
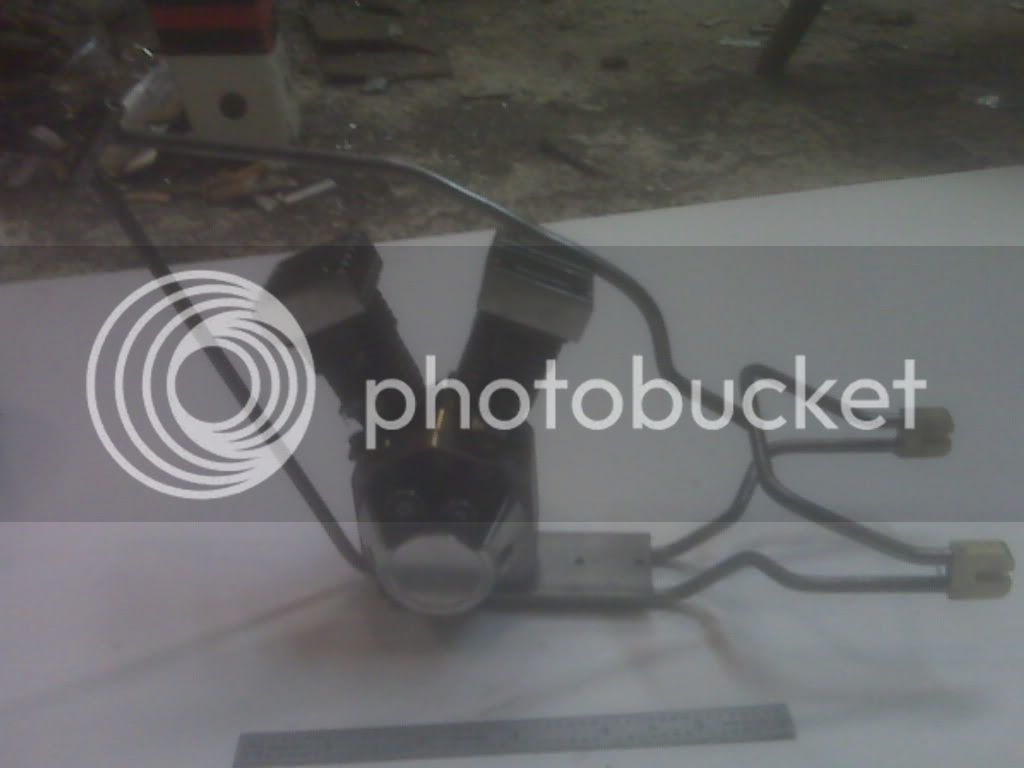
After completing the V-Tiwn flame eater engine I decided it needed a good home.

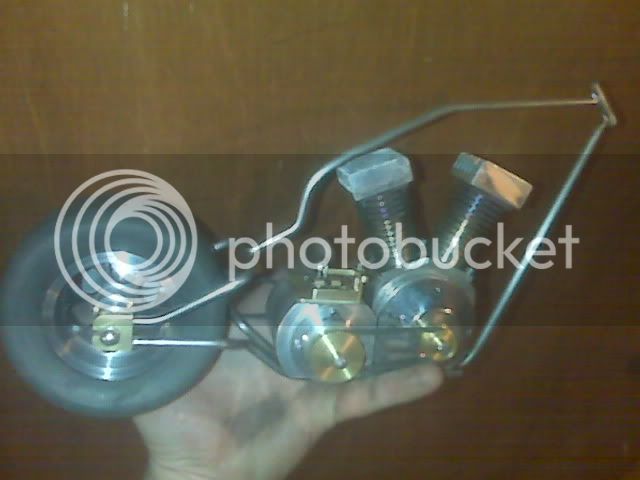
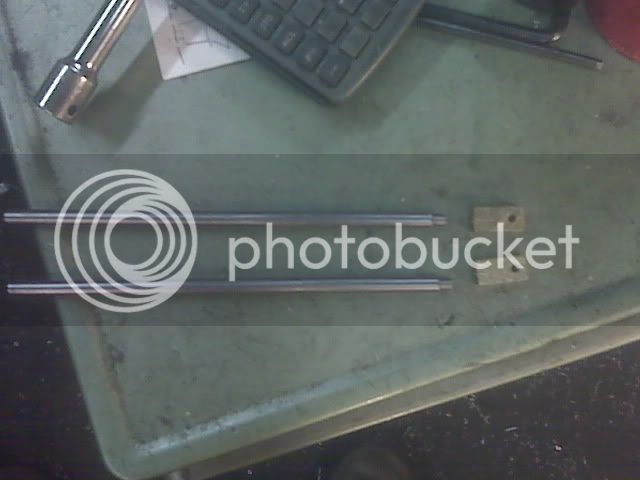
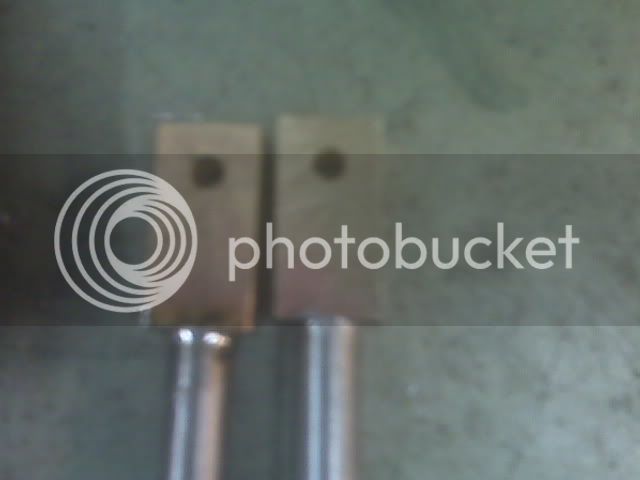
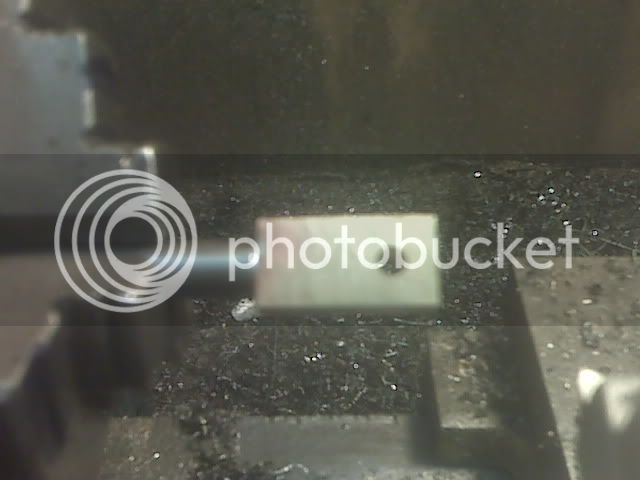
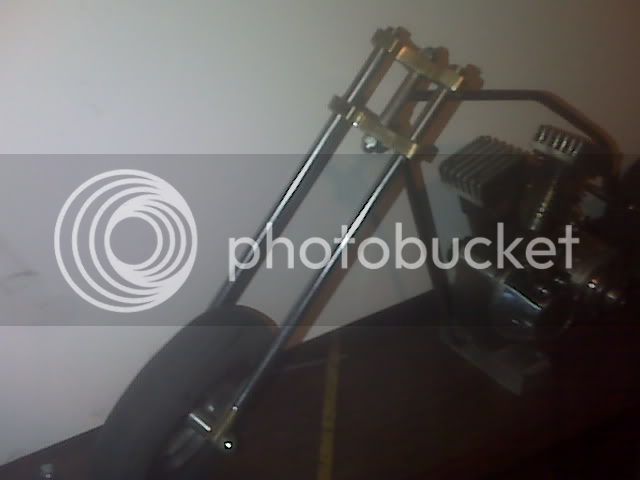
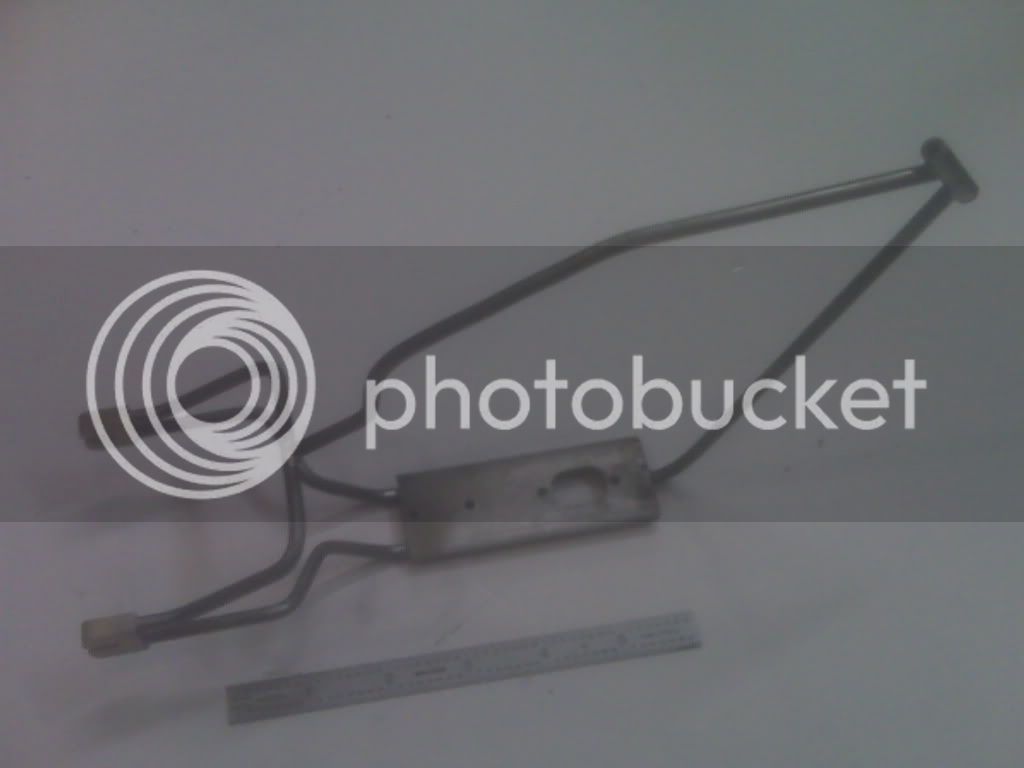
Started by making the frame. Soldered together CRS.

pophoglet2.jpg


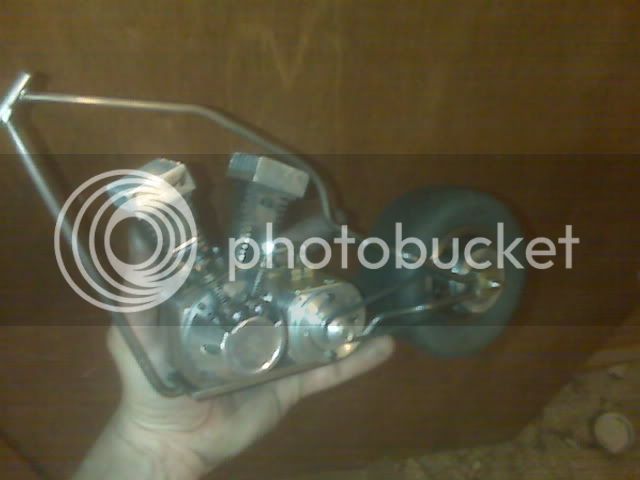
and with the engine in place...
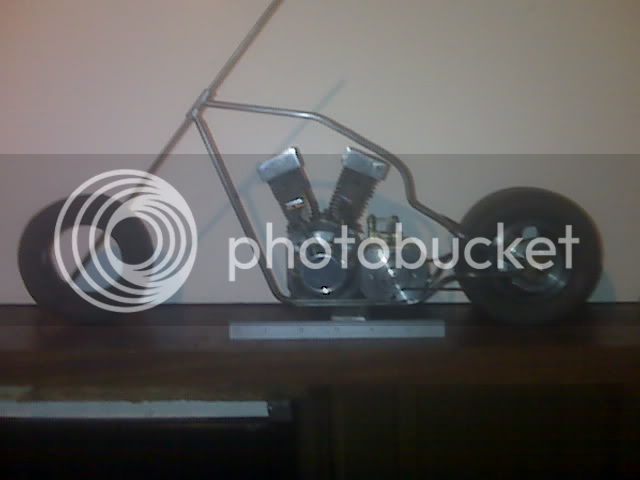
pophoglet1.jpg


Thats it for know.

I need to learn how to do miniature sheet metal work for the fenders and gas tank.

Kel
 
here is another pic for proportion. With the tire and a rod to show the rake.

pophoglet3.jpg


Still need to make the tranny, and figure out if I want to use a chain, or a belt.

kel
 
I like that idea Kel.

Flames at the cylinders instead of popping out the exhaust pipes.. scratch.gif

Oh Yeah. Works for me! Thm:

Now you need to build a tiny English Wheel for the sheet metal work.
I'm sure that has been done before, but I can't come up with a reference
to it. Maybe someone else here can.

Rick
 
Thanks Rick, this puts a hole new meaning to flames on a motorcycle.

I have never done any english wheel work before, I might just wing it, using a hammer and whatnot. I plan on using .030" brass, but copper also crossed my mind.
Which material would be best, and how thick should it be?

Anyway, I needed to make a rim for the rear tire. The only material I had big enough was a 2.5" steel round bar. A little overkill for the purpose, but it will do.

I hope it acts as a flywheel. The motor I made does not require a flywheel to run, and should have enough power to turn this wheel. But I guess I will find out.

here are the pics.
pophoglet4.jpg

pophoglet5.jpg

pophoglet5.jpg


pophoglet6.jpg

the rear axel.

For the tire I used an RC truck tire. 4" round by 2" wide.
I did not like the tread so I sanded it off with the belt sander (a tool I use constantly)

As a bonus, sanding the rubber tire cleaned the belt on the sander very well.
pophoglet7.jpg

pophoglet8.jpg


Thats it for now. I still have not decided to put spokes in the wheel or not, there wont be much room once I make the hub.

kel
 
I've been watching kel and it's looking good.
I'll be interested in seeing your sheet metal work.
 
Got a few more bits done today.

The hub for the rear wheel, with a pully.

pophoglet9.jpg

pophoglet12.jpg

pophoglet13.jpg

pophoglet11.jpg


Now on to the tranny bit.

sheetmetal soon.

kel
 
Started work on the tranny case. This will just be a simple single shaft. Nothing fancy. Two caps and a case.

started with 2 inch aluminum and bored a .8" hole and made 3 sides flat.
pophoglet14.jpg

pophoglet15.jpg


More to come
 
Got some more work done on the tranny today.

There will be a simple clutch so I can disengage the rear wheel.

Milling out the inside of the case so I can have room to make the clutch.
3.jpg


Here is the engine input side, just a simple pully on the outside, and a brass "clutch" plate on th inside.
5.jpg

4.jpg


Milling the 1/8" keyway for the clutch to ride on.
2.jpg

6.jpg


Broaching the keyslot in the moving side of the clutch.
7.jpg

8.jpg

9.jpg


here it is installed for friction and running testing.
10.jpg


Thats it for today.

hope to figure out the linkage for the clutch tomorow.

Kel
 
Pretty cool stuff you're doing here, Kel. The rim for that rear tire turned out rather spectacular. Very nice.
I like your idea for the clutch, too. That might be a neat one to draw up for the forum downloads section.

Dean
 
Got some more of the clutch bits done today. Ill try to draw up some plans for this, all my dimentions are specific to this but can be used for a variety of applications.

The clutch plates are both brass, this is so they will slip easy but still grab to turn the wheel.

here is the clutch closed.
16.jpg

here is the clutch open.
15.jpg


Clutch fork, I cut off half the fork to decrease friction, the clutch only needs to move .010, so this will do.
13.jpg


Linkage for clutch fork
14.jpg


assembled tranny.
12.jpg


here are pics off where I am in the build.
17.jpg

18.jpg


mockup with front tire.
19.jpg


Video of clutch in action.


Thats it for today.

Kel
 
Very very nice Kel. I didn't realize it was as big as it is. thought it was smaller.

Keep up the good work.

Ron
 
Thanks for replying Ozzie (and everyone)

The proportions are turning out to be a little cartoonish, with the big engine and all. I wanted to make it smaller but it just would have ended up too goofy lookin.

This started out being just a display for my popping hog motor, but its turning out to be an even bigger project than I had imagined.

I hate to dissapoint anybody, but I have zero sheet metal experience, aside from bending flat angles in a brake. (I am a sider by trade, and using a brake is a weekly thing)

So.. I am probobly going to go with a sharp angle style fender, and gas tank.

I would like to make the gas tank functional, but I have concerns about filling a tank full of alchohol, and then starting a fire underneath it.

Kel
 
Your clutch looks like it works great. There could be a lot of applications for that.

I don't know how you're equipped there, Kel, but KustomKB has a pretty good bit of info about bending and hammering sheet into shapes on his Hoglett thread. You've got some experience already. Maybe you'll see something there that gives you some ideas.

...but I have concerns about filling a tank full of alchohol, and then starting a fire underneath it.
I reckon you're onto something there...

Dean
 
Awesome Kel.

And thanks for the pics on the clutch...I know next to nothing about them so I found that pretty helpful.
 
Hi Kel, with the way that choppers are built today I don't think it looks cartoonish at all. It would be neat to build something like that for my engine but I'm afraid it would shake itself apart. :big: :big:
gbritnell
 
Nice...an engine that really does something. :bow:

The rubber tire looks great. Have you considered making it out of something more lightweight though so it doesn't bog down the engine so much?

Waiting for the next update...
 

Looks and works great!

I'm hoping to sneak a little shop time in this weekend for my Hoglet.

I hear what you saying about the display becoming a project in itself...

Nice job!

 
Thanks for commenting guys.

Winklmj, The bog of the engine is something In was going for, its kinda fun to let the clutch out slow, just like the real deal. Too fast, and you will kill the engine.

kustomkb, I gotta admit, you project is an inspiration for mine. I hope you dont mind I borrowed the "Hoglet" name.

kel
 
got some more time today, Decided to get the front end done.

I figure a rigid frame would be even more badass with a rigid front end. Plus it will be eaiser to make. I was looking at making a springer but decided against it. I did not want it to get too busy.

the forks are made from steel with brass ends.
20.jpg

21.jpg


After soldering, it was put in the lathe for a taper to be turned onto it.
22.jpg

23.jpg


here is the triple tree parts
24.jpg


the assembly soldered together.
25.jpg


the front tire.
26.jpg


and installed on the bike.
27.jpg


thats it for know.

onto the handlebars.

Kel
 

kustomkb, I gotta admit, you project is an inspiration for mine. I hope you dont mind I borrowed the "Hoglet" name.

Thanks Kel, I'm flattered. Randall Cox, the designer, coined the name though.

Really cracking it off eh?

Nice!


Latest posts

Back
Top