


Sshire
Well-Known Member
- Joined
- Jun 29, 2011
- Messages
- 936
- Reaction score
- 259
While I'm waiting for the new boiler tube and end plates, I started on the feed pump. If you've missed the saga of "The Bass Ackwards Boiler Build", search for PMR Horizontal Boiler.
The feed pump is also a PM Research kit and is up to their usual quality level and completeness of parts. The only change I'm going to make is to the pump handle's clevis pins. The plans show them retained with cotter pins. I'm not wild about the look of those, so they will be replaced with .125 E-clips. Wait. There is one more change. Im going to try Viton balls instead of the stainless ones in the kit. Thanks for that suggestion goes to fcheslop on the MEM Forum.
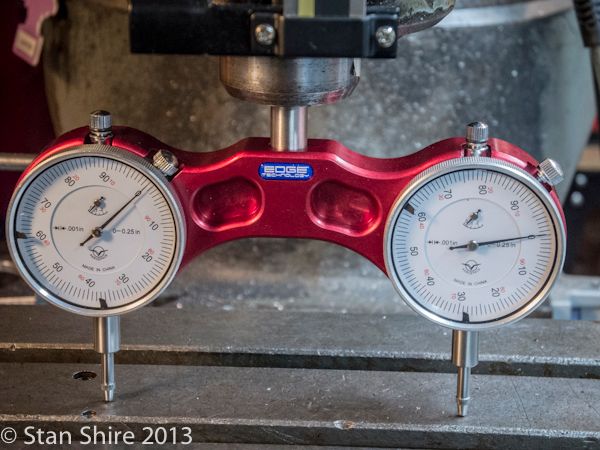
As with every build I've done, I try to start with a trammed mill whether it needs it or not.
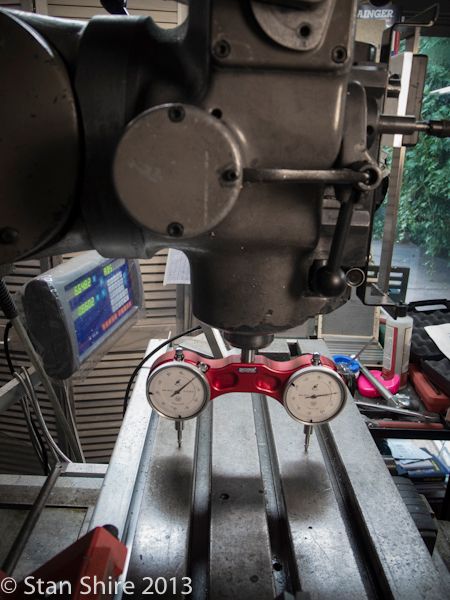
And that's close enough. The BP has to be the easiest mill to tram.
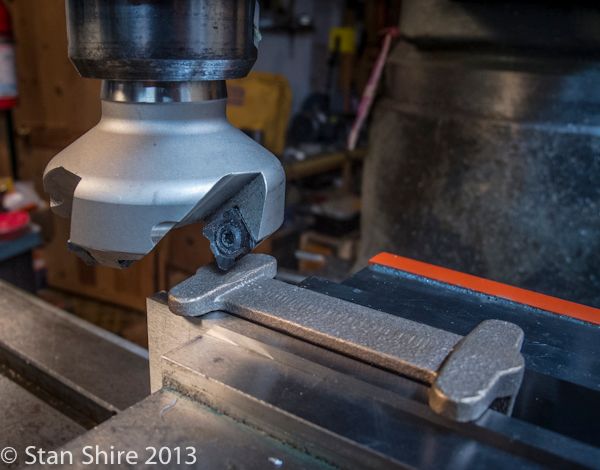
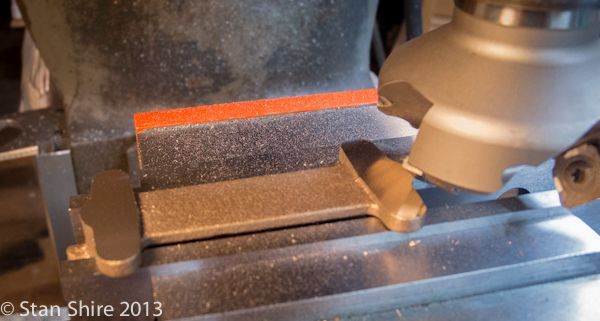
First step; flatten the bottom so I have some sort of reference surface. I'm using a Glacern 2" 45 degree face mill.
With the bottom flat, I mounted the casting on an angle plate and used a square to get it straight. I did try to indicate it with a DTI but the rough surface of the casting had the Interapid doing some sort of Swiss fertility dance. I'm calling this close enough.
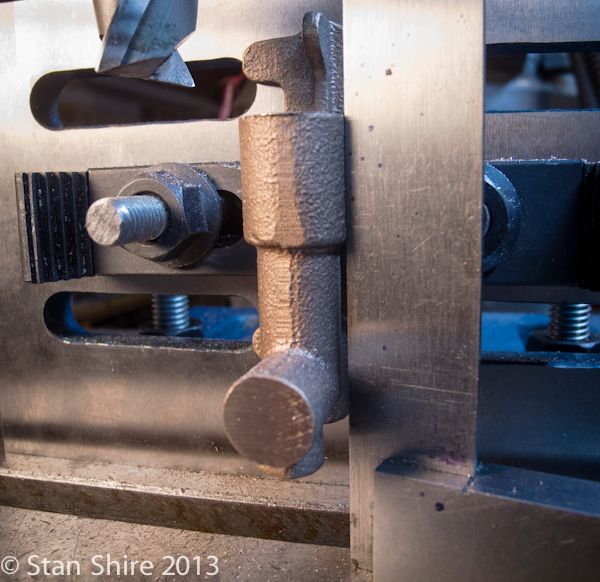
After milling the piston housing flat, I flipped the casting over, straightened it again and milled the inlet and outlet port housings.

The Foredom flex shaft tool with sanding drums and various brass brush wheels, files and sandpaper got me to this point. I'll do the final cleanup when it's all done and ready for primer and paint.
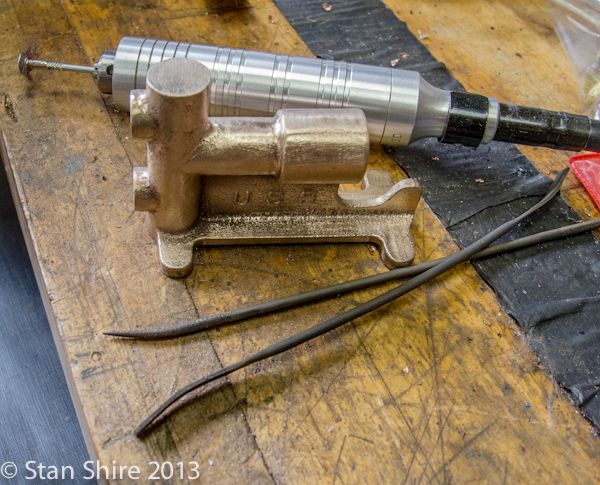
There are very few parts to make for the feed pump; drilling and tapping of the main casting, handle, piston, ball valves, and gland nuts. Should be a fairly quick build and then back to the boiler.
More pump parts tomorrow. Stay tuned.
The feed pump is also a PM Research kit and is up to their usual quality level and completeness of parts. The only change I'm going to make is to the pump handle's clevis pins. The plans show them retained with cotter pins. I'm not wild about the look of those, so they will be replaced with .125 E-clips. Wait. There is one more change. Im going to try Viton balls instead of the stainless ones in the kit. Thanks for that suggestion goes to fcheslop on the MEM Forum.
As with every build I've done, I try to start with a trammed mill whether it needs it or not.

And that's close enough. The BP has to be the easiest mill to tram.

First step; flatten the bottom so I have some sort of reference surface. I'm using a Glacern 2" 45 degree face mill.


With the bottom flat, I mounted the casting on an angle plate and used a square to get it straight. I did try to indicate it with a DTI but the rough surface of the casting had the Interapid doing some sort of Swiss fertility dance. I'm calling this close enough.

After milling the piston housing flat, I flipped the casting over, straightened it again and milled the inlet and outlet port housings.

The Foredom flex shaft tool with sanding drums and various brass brush wheels, files and sandpaper got me to this point. I'll do the final cleanup when it's all done and ready for primer and paint.

There are very few parts to make for the feed pump; drilling and tapping of the main casting, handle, piston, ball valves, and gland nuts. Should be a fairly quick build and then back to the boiler.
More pump parts tomorrow. Stay tuned.


