Thank you for all the kind words. More progress with follow. I'm still not sure as to a flywheel design.....I may just start whittling on it and see what I can come up with.
hopeless said:
very nice runner. Once the air leaks are sorted are you going to run on steam or air?
Well done :bow:
Pete
Well as embarrassed as I am to say, I don't know nearly enough about steam power. So I'm limited to compressed air until I can gain further knowledge, which appears there is probably a vast amount on this site that would be willing to help.
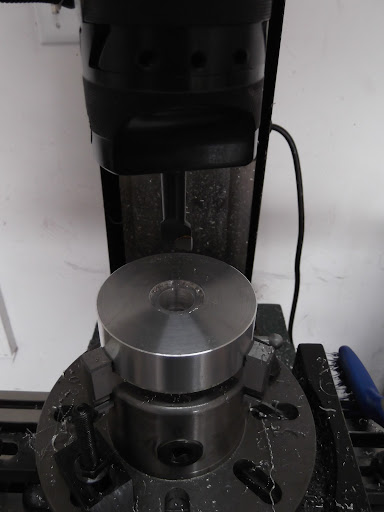
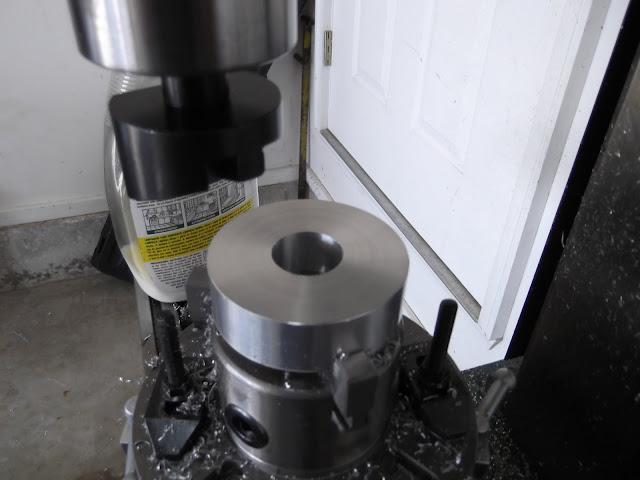
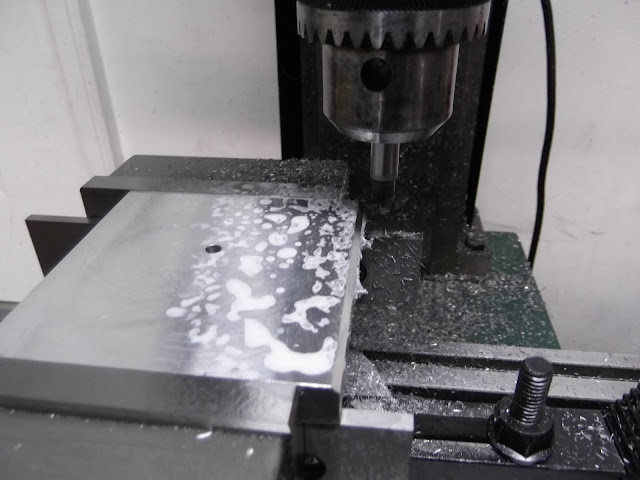
Well today I got a little more progress done. I fitted the flywheel cylinder to the flywheel today...it was quite boring...haha pun intended.
Then flycut to the thickness I desired.
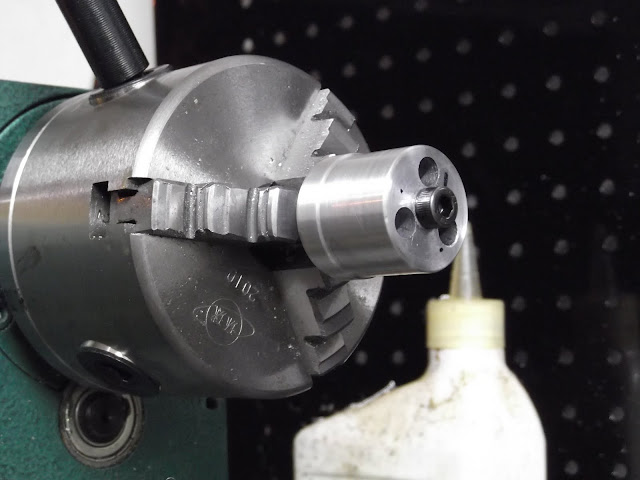
Again ADD kicked in, and I decided to turn up a mandrel for polishing my cylinders.
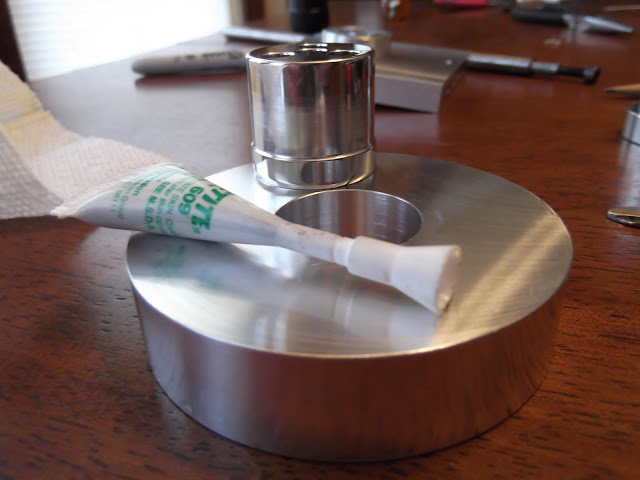
Assembled the flywheel with sleeve retainer, and left it to sit.
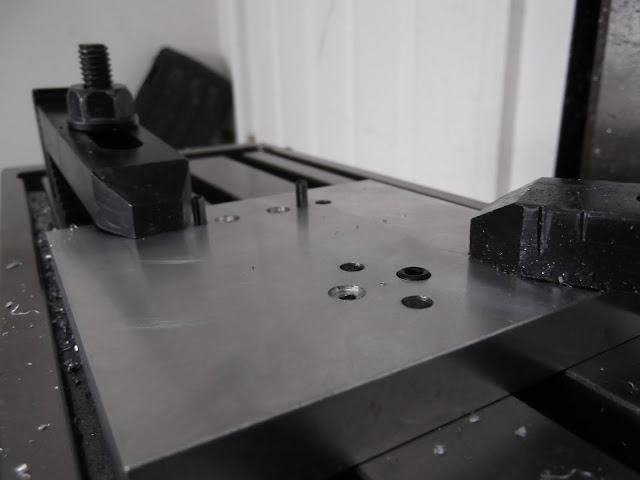
While I let that set up, I decided that I should get more work done the base. Fit for o-rings.
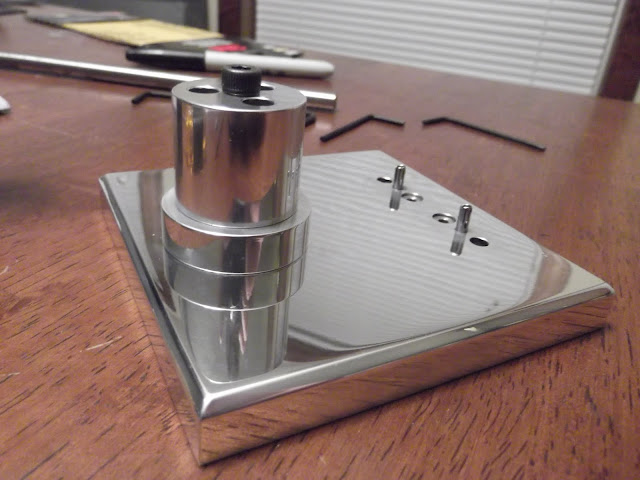
Then, I chamfered the bases edges and I got out the ol' elbow grease (ok I didn't see that pun coming till I typed it) and did some polishing.....the result?
A few days ago I went ahead and shaped my flywheel post. beveled all the edges and such
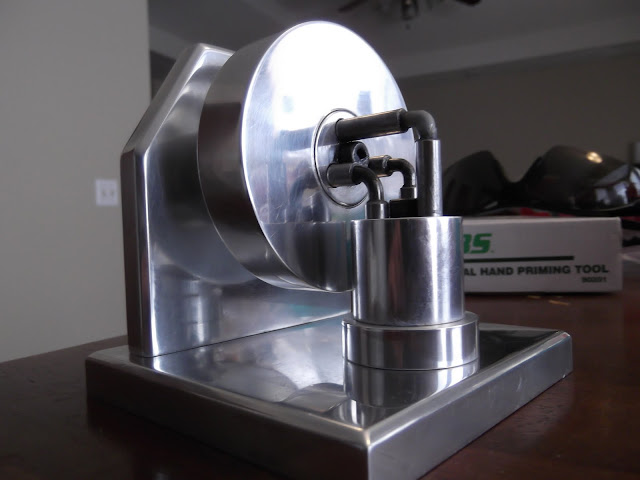
The engine is now complete.
I must say.....its pretty incredible how perfect everything must be. I probably spent two hours last night getting it to run again.
I had gotten the cylinder play to the valve ports down to .001" which was not nearly good enough. Polishing the faces where the cylinders and valve ports meet was a HUGE mistake. Massive, air leak....so massive it would not run. I had to to take and sand each one flat on a piece of glass. Then take a file and sand paper to the axle pins to make them just drag against each other......Then the timing was off and it took a little rotation of the flywheel valve port to get it going....But now she is a runner and I'm calling this project completed.
My polishing arsenal consisted of sandpaper starting at 220, then 320 then 600. Followed by Tripoli compound on a laminated sisal wheel, then fine compound on a spiral sewn, then red rouge on a loose muslin. Followed by a hand buff with mothers aluminum wheel polish.