Light my (little) fire.

Home Model Engine Machinist Forum

Help Support Home Model Engine Machinist Forum:

This site may earn a commission from merchant affiliate links, including eBay, Amazon, and others.

Deanofid

Well-Known Member
Joined
Jul 18, 2009
Messages
2,673
Reaction score
16

Hi all;

I wanted to make something today. I didn't have anything in mind, except I felt like something simple. Looking
at "The List", I see I have the words 'alcohol lamp' written among a hundred other things, and that sounded easy
enough for how I felt when I got out of bed this morning.

It's not an engine, but was a "Work" while it was in "Progress" this morning.


1.jpg


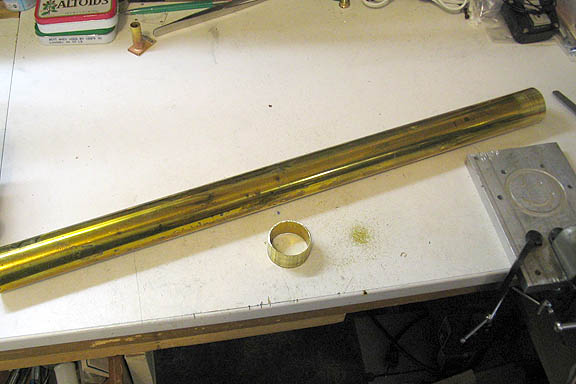
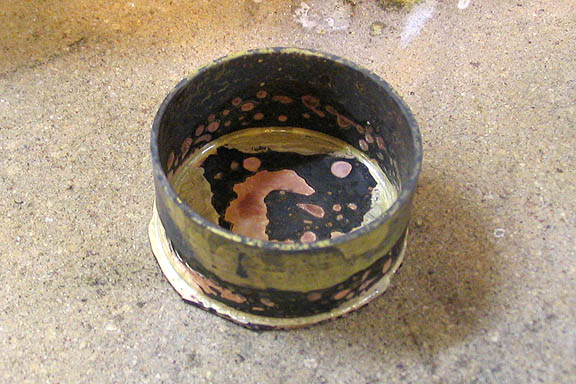
Last summer, I found this piece of brass tubing at a yard sale. It's 1.5" dia and .040" wall. It was made for
a shower curtain rod, and the guy had cut off what he needed and this was left. For $5 I couldn't leave it lay.


2.jpg


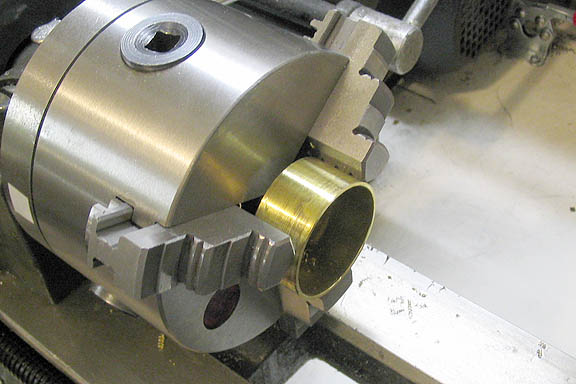
Cut off a piece and faced the ends.


3.jpg


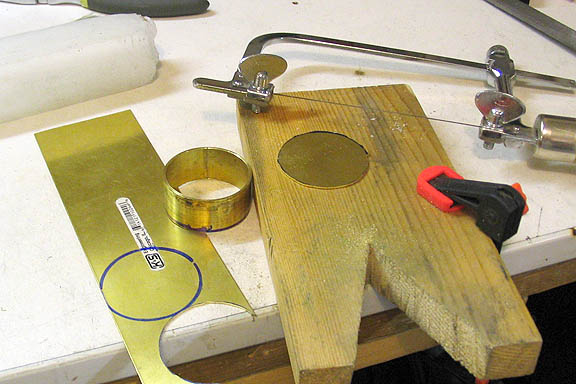
Then cut out a couple of discs from .025" brass sheet.


4.jpg


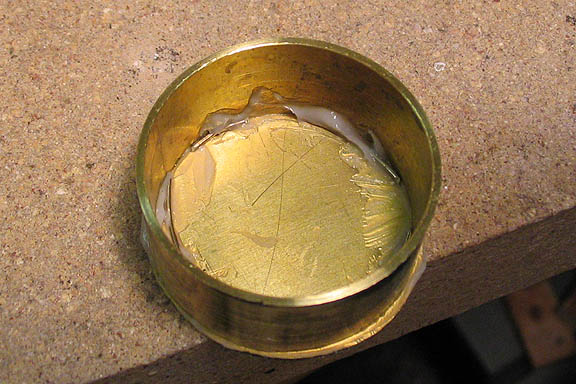
Silver brazed one end on using a few pieces of 45% silver bent into arcs to approximate the ID of the tube.


5.jpg


Well, it needs to go into the pickle for about 20 minutes.


6.jpg


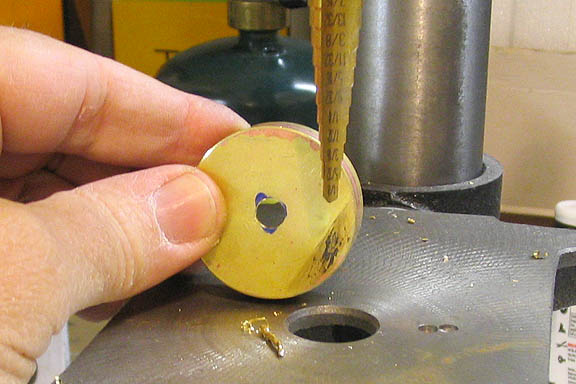
Used a step drill to put a hole in what will be the top. This hole is for the wick tube.
I've had this step drill for years, but I often forget to use it. Every once in a while Stew or Bogs will
mention them. I finally put the thing next to my brass drill bits a while back so I'll see it.

The hole is 1/4", and I have some modeling tubing the same OD to fit.


7.jpg


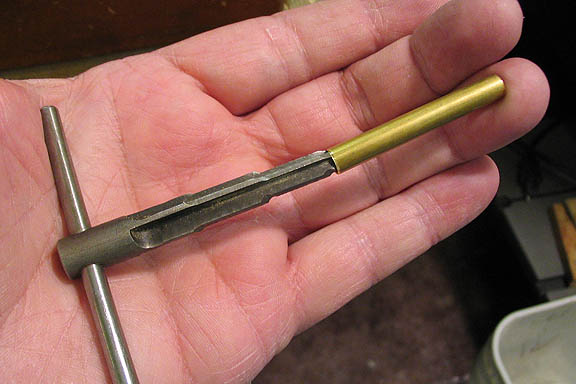
With the wick tube cut to length, a step reamer is used to clean up the edges inside. The reamer is also
used on one end to expand the tube so that end will be slightly larger than the hole that was drilled in
the previous step. To do that, I just tapped the reamer in a few thou using a small plastic mallet.


8.jpg


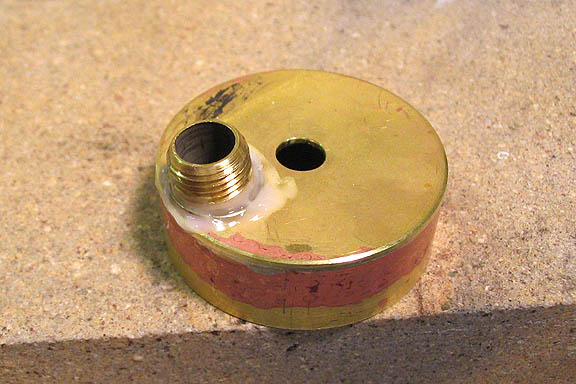
Next step is to drill another hole to tap for 1/8" NPT. This will be the filler. I tapped it at a slight
angle so the filler neck will cant slightly away from the wick tube. Probably not needed, but I thought I
should do it, so did it.
I used a 1/8" brass pipe nipple. The reason for that is, electric lamp fittings are made with that thread.
Things like finials, little caps, and decorative dingle-bobs for people who make or restore table lamps and
such are threaded to fit 1/8" NPT. Kind of handy, and I'll use a table lamp cap for the filler cover.


9.jpg


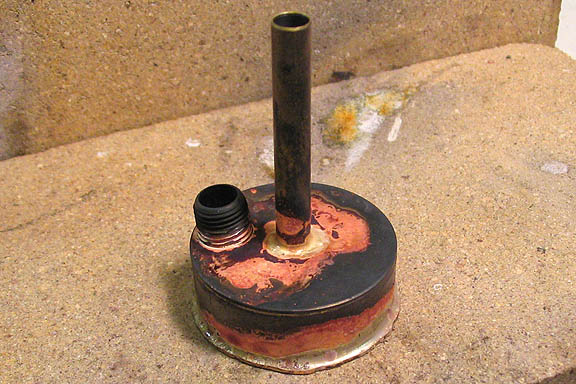
Another brazing heat, and then into the pickle again.
In the above pic, the base has also been brazed on. I did that last piece with 56%. It melts a couple
hundred degrees below the 45%. I didn't want the smaller pieces coming loose on the last heat.
As you'll see, it wouldn't have mattered. A goof is imminent.


10.jpg


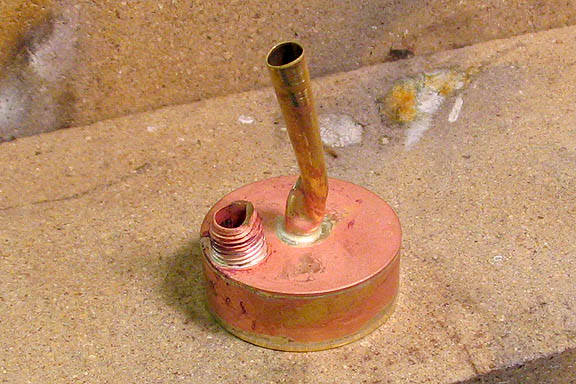
Ahhh-ha-ha-ha! Ugh. Very funny. Obviously, something didn't go right when I was finishing this up
in the lathe. This stuff happens, sometimes. Nooo, I wasn't on my meds. Not when I did this stupid
thing, anyway. I was taking bitsy little cuts and all was fine. Then I bumped the cross slide handle
as I backed out of the last cut, and suddenly, Chubby Checker was singing "The Twist".

So I fixed it. Filed off a bit of the threads on the filler and cut off the wick tube. Putting in the
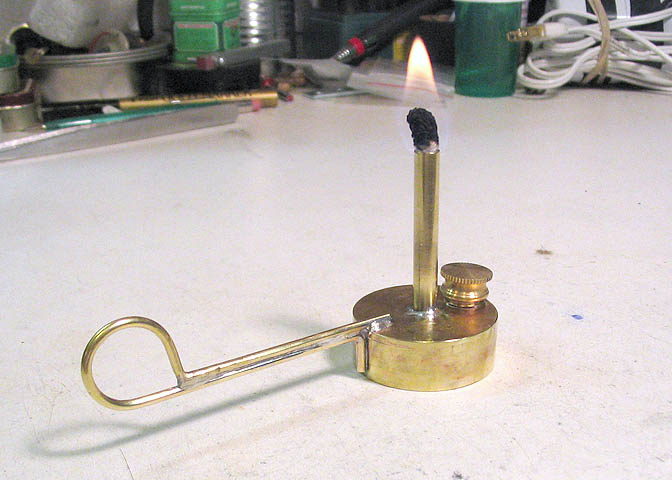
new wick tube, I just used regular solder. Also made a loop handle from 3/32" brass rod, and put it on
with regular solder too. None of this needed brazing silver anyway. I did the other parts with it for
the fun of it, and for practice. The whole thing could be done with plumbers solder.


Well, it came out okay, after all that. I'm not very good at polishing all the pink out of heated brass,
but it will have to do.


11.jpg


12.jpg


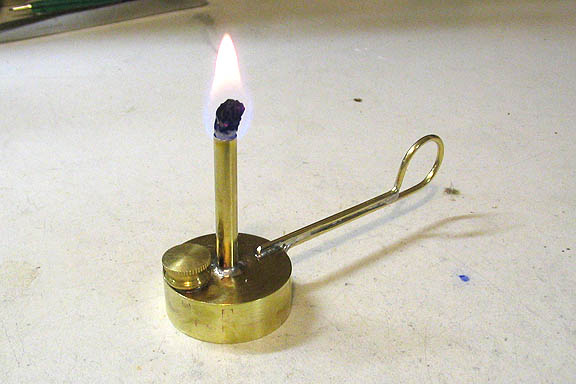
I don't think it will hold an ounce of alcohol, but it burns for over 15 minutes.
Last time I made a lamp type thing, it was the small Jerry Howell propane burner.
Then I had to make an engine to go with it...

Thanks all, for having a look.

Dean


Nice little project there Dean.

An engine for it now?

Ron
 
I don't expect that crash was the first one you ever made. You made a good recovery on the repair.

I guess you didn't see my comment some time back suggesting that filler holes should be made with the female thread and a male plug, so that you get a much larger hole to pour the fuel into with the same overall size. I have a couple of burners that I have to fill with a hypodermic that are a pain to use.
 
Very neat Dean.

Sorry for the boo-boo.

I was going to say something like 'what are you doing putting my boo-boos in your thread' but realized it still looks too good to be mine.

I didn't know step reamers existed. So that was a nice tip.
Also glad to see Stan's tip about filler tubes.
 
Very nicely done Dean

Also a good recovery from the "goof".

A small, quick project can satisfy the need to just get something done.

Thanks for sharing

Eric
 
Carl,

Those step reamers are common in the RC plane hobby for reaming propellers. Believe it or not they come in Imperial and Metric.

Example here: http://shorterlink.org/15213

Dean, nifty little lamp. Did you have a project in mind for it?
 
Nice little lamp, Dean.

Do I smell a new project coming? Will it fit under the Stirling?
 
Dean, Great looking lamp burner. Wish my work could look that good. Thanks for the pictures, all of them. Larry
 

Thanks for your comments, guys!

ozzie46 said:
An engine for it now?

Ron, and Mike, really don't know yet. I just want to be good and ready when I need to 'lamp' something!


Stan said:
I don't expect that crash was the first one you ever made. You made a good recovery on the repair.

You're right, Stan! I goofed something on a lathe about 20 years ago. I celebrate the anniversary
about 209 times a year, too.
I may have read your post about the filler. The 1/8" pipe is about .3" ID. I filled it with a
measuring cup.


zeeprogrammer said:
I was going to say something like 'what are you doing putting my boo-boos in your thread' but realized it still looks too good to be mine.

Ha! I earn those 'boo-boos', every one of 'em. You git yer own.
You know your stuff looks good, dude..


TuxMan said:
A small, quick project can satisfy the need to just get something done.

You got it, Eric. After a longish engine build, I need a number of smallish jobs before starting the
next big project. It's good for my head.


ksouers said:
Do I smell a new project coming? Will it fit under the Stirling?

I think the smell is alcohol, Kevin. ;D There's always something coming! I dunno what yet.
I have to cut about 1/4" off the wick tube to fit the Duplex. Just a touch too tall. I didn't
measure quite right after the doink on the first one. Probably will do that tomorrow to see
if that engine will run on alky.


larry1 said:
Wish my work could look that good.

It will, Larry! (And thank you.)
This is pretty plain jane, really. I don't know where you are in the game, but there
are a lot of (better) examples of shop work on this great forum. I know you're looking
around a bit. Be encouraged, take your time, and have fun. We all started somewhere!

Dean


May all your future boo-boos (if any) finish up as good as this one. ;D

Regards Ian (seagar).
 
Very nice Dean. Great recovery.

BTW what sort or saw was that which you used to cut the circles out with? It looks like a cross between a fret saw and a coping saw and the blade looks tiny.

Nick
 
Nice job on the lamp Dean.

njl its a jewelers saw, very good for that sort of work
Cheers Pete
 
Thanks guys.

Nick, you can get those saws at places that sell clock and watch repair parts and supplies. At a jewelers supply, too, I would think, 'cause like Pete said, it is called
a jewelers saw.

Dean
 

Kevin asked in a previous post if this lamp would fit under my stirling. I cut a little off the top
of the wick tube today, (and made a snuff cap, too). It runs the Duplex very well, and actually
keeps it at a steady speed longer than the propane burner I built for it.

I timed one run on the alky lamp, and after 7 minutes got tired of waiting for something unusual
to happen, so blew it out.

Just did a very short vid of the end of that run.


[ame]http://www.youtube.com/watch?v=ttM_akP-oOc[/ame]


Dean
 
Great stuff Dean ;D - that's a nifty side-line project :bow:

I couldn't get the video to run; my Internet's on the blink a bit - I'll keep trying though!

Regards, Arnold
 
Very cool, Dean. Thanks for the video.

What did you use for a wick?
I'd like to use cotton clothesline when I build one but I don't think I will find any, everything is all plastic now days.
 
I'm not sure what this wick is made of, Kevin. It came from another lamp I have here. It
looks like cotton clothes line, though. You can still get that stuff from Ace Hdwe. The store
here has it on rolls and is sold by the foot. It's real cotton, too. Also, you can buy round
cotton wick at craft stores. The kind used in small decorative oil lamps.

I have yet another alky lamp I made that I use with flat wicks from kerosene lamps. Cut it to
a width that will give correct diameter when folded in half. That works very well for me.

I think some folks here have used knitting wool twisted together to make proper diameter.
You would want real wool, I suppose. Not rayon or some other synthetic.

Dean
 
Oh great. Now that loverly engine is a booze hound....

*beer*
 
Nifty Dean.
I was surprised how much longer it ran once you removed the heat.
Speaks to the quality!
 
Thanks Dean. I never thought of a craft store having lamp wicks (blasted one-dimensional thinking again...)

There's a Hobby Lobby near by, that should work.
 

Latest posts

Back
Top