


I've been lurking around this forum for a while, leeching all sorts of good information. I think its time I contributed.
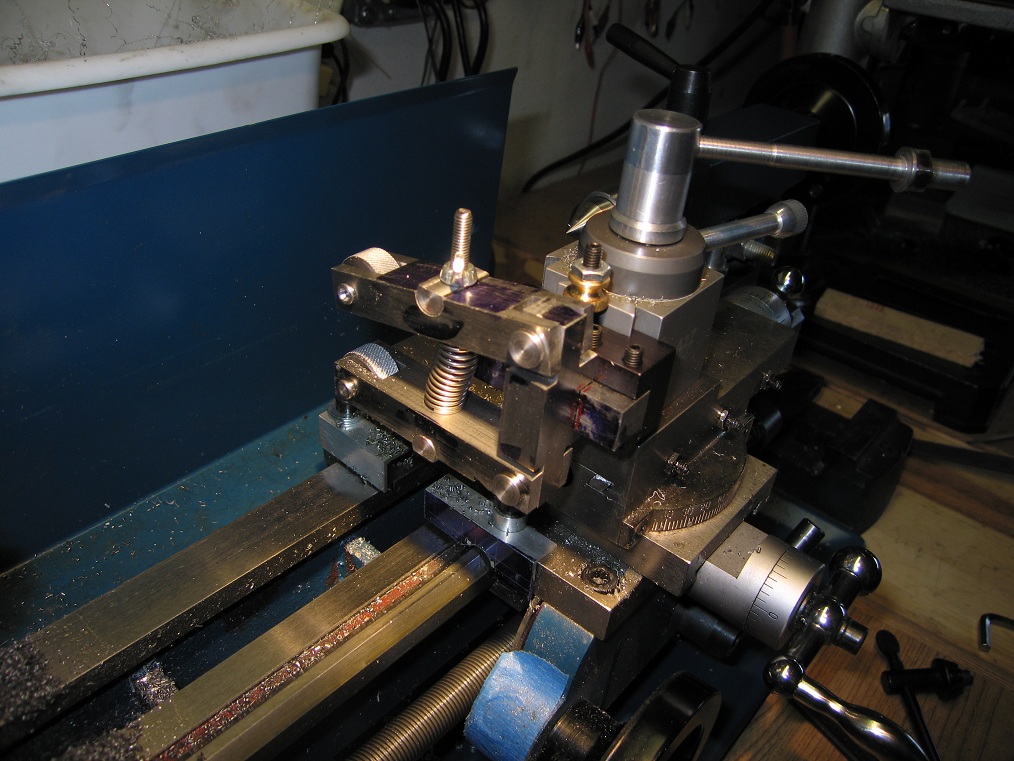
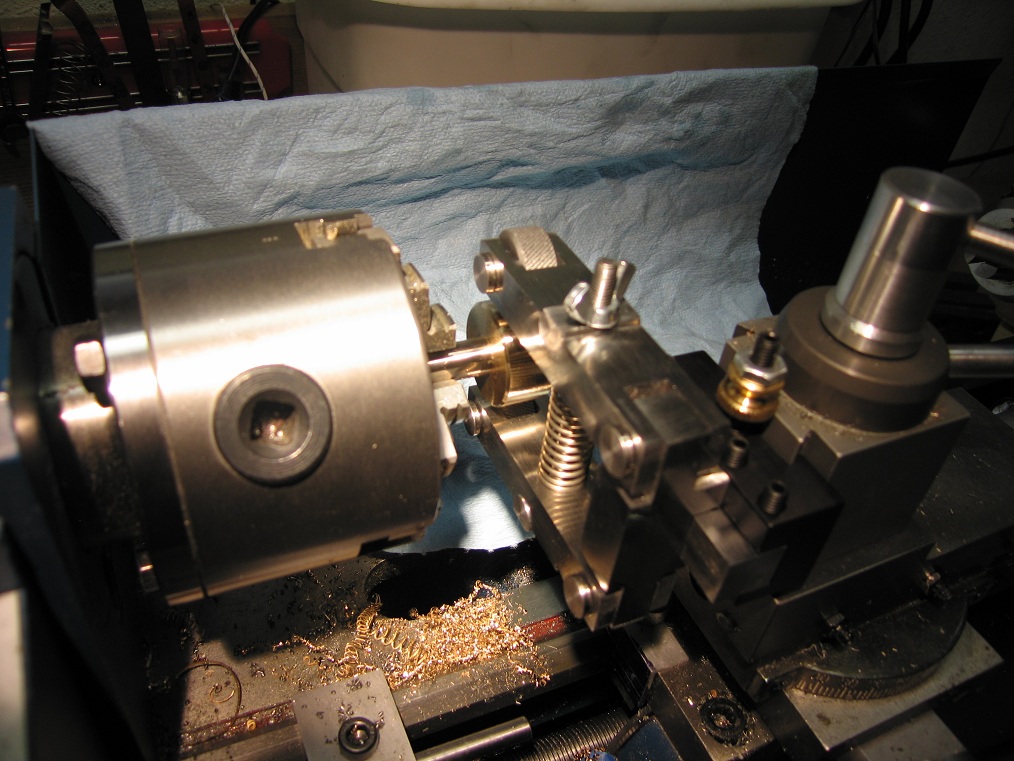
I've had my knurling tool done for a couple weeks but I haven't got around to getting the pics in order. Here are a few pics from my knurling tool adventure. Sorry about the quality, I have a 5 year old point and shoot and poor lighting.
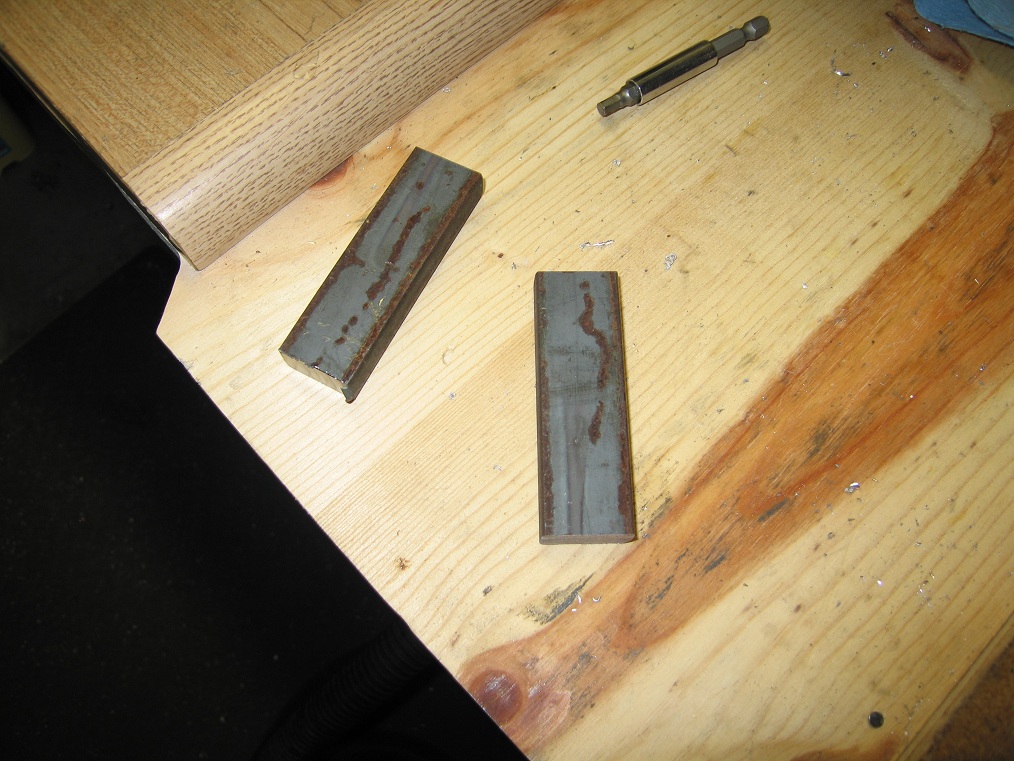
I started with some mild steel flat bar. This is my first time trying to mill steel. Most everything else I've made is from aluminum or brass. I have stayed away from steel because up until last week I only had an X1 micro mill.
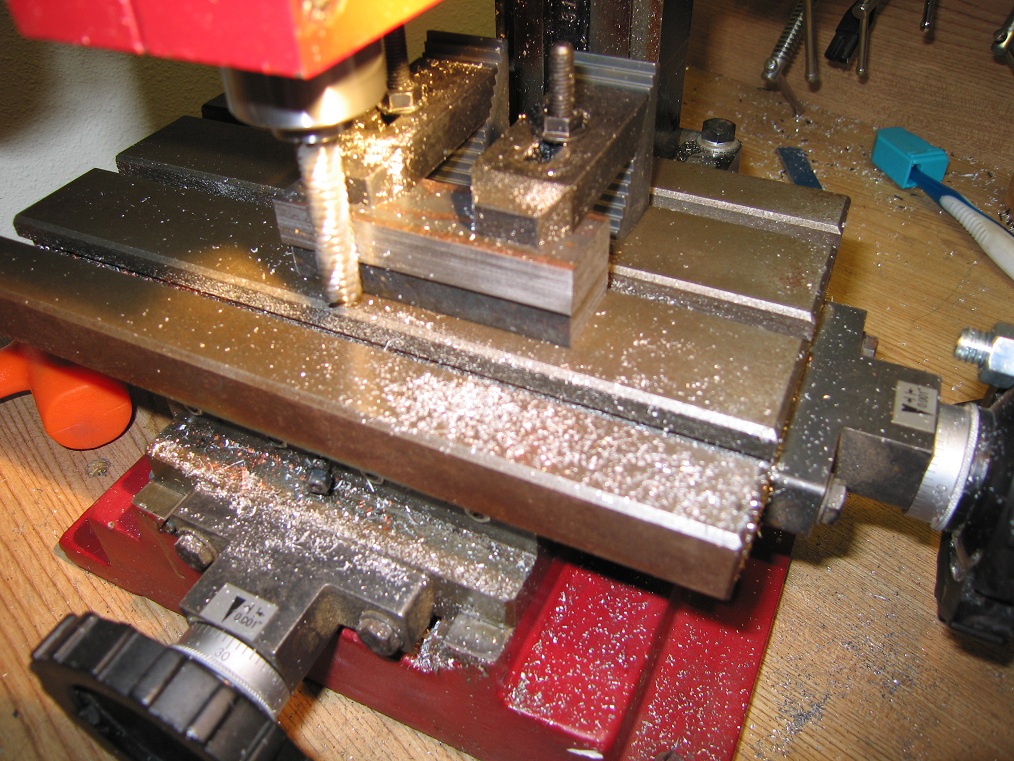
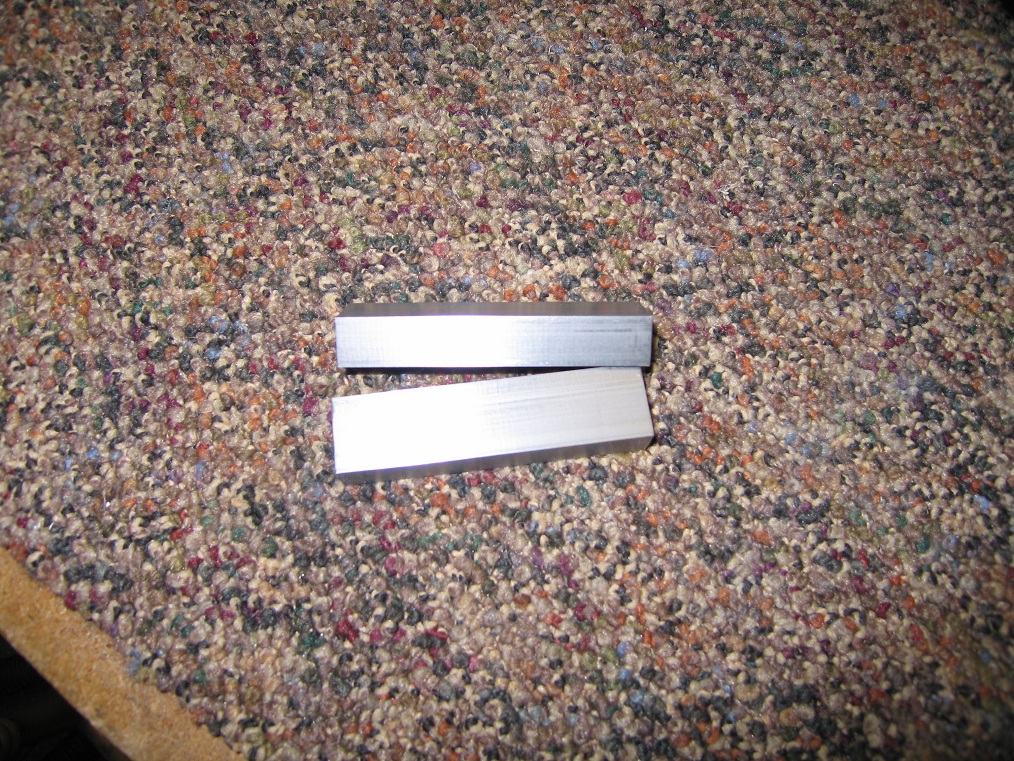
Here are the bars cleaned up. Cutting the steel in my small mill isn't as hard as I thought.
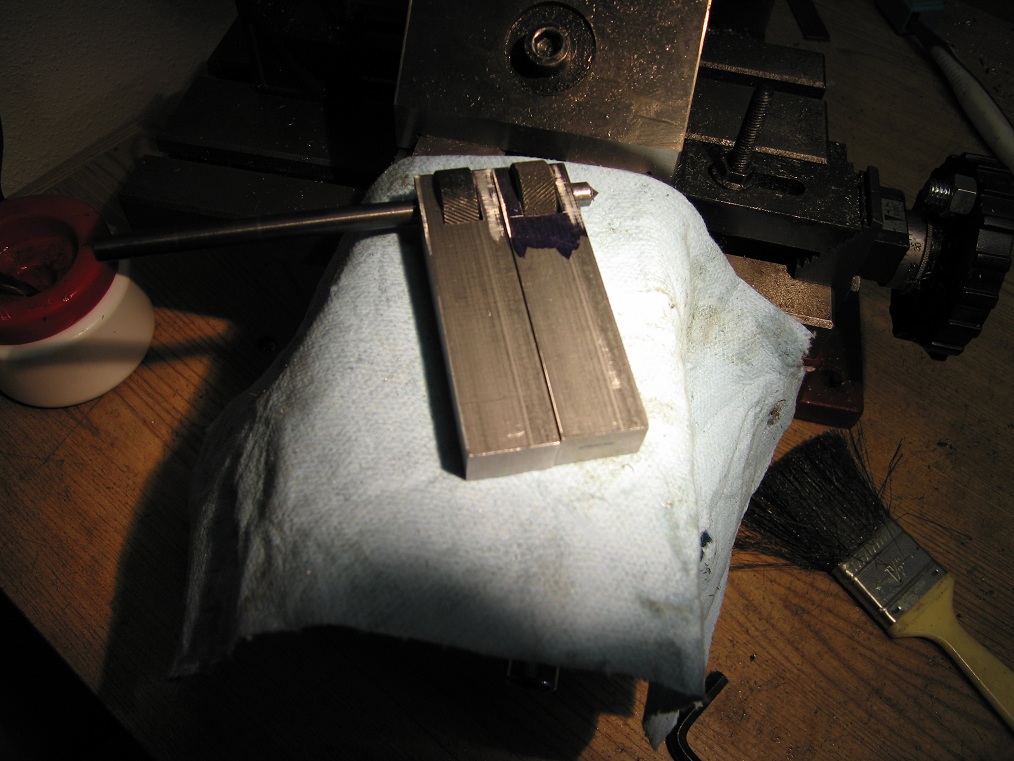
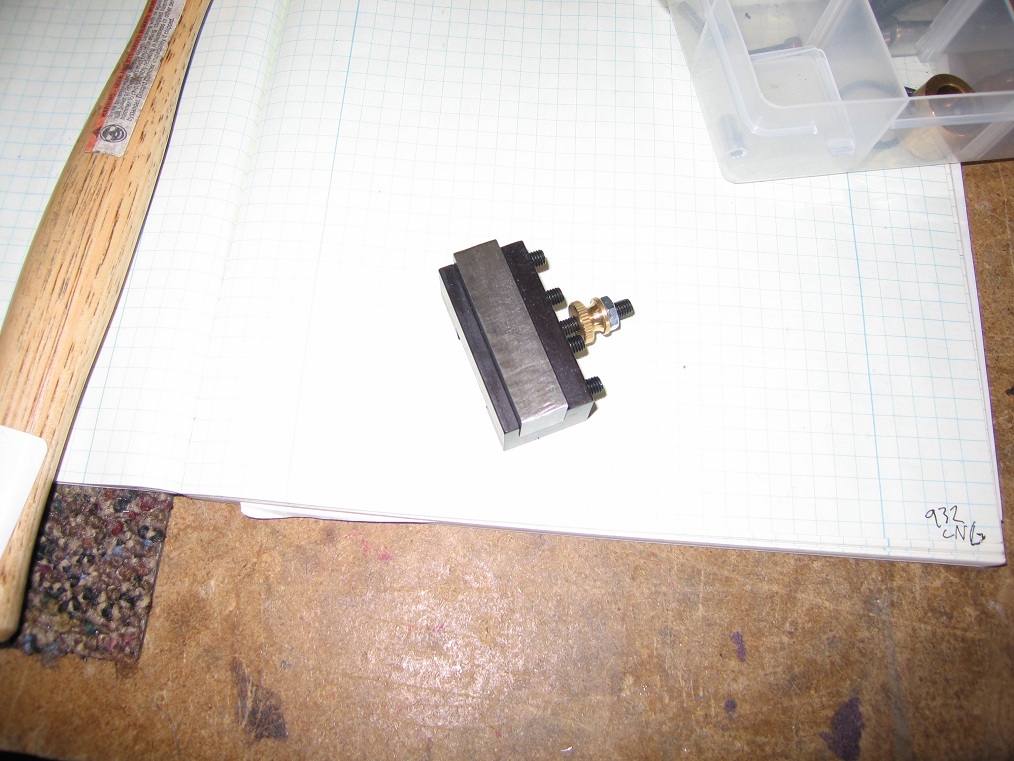
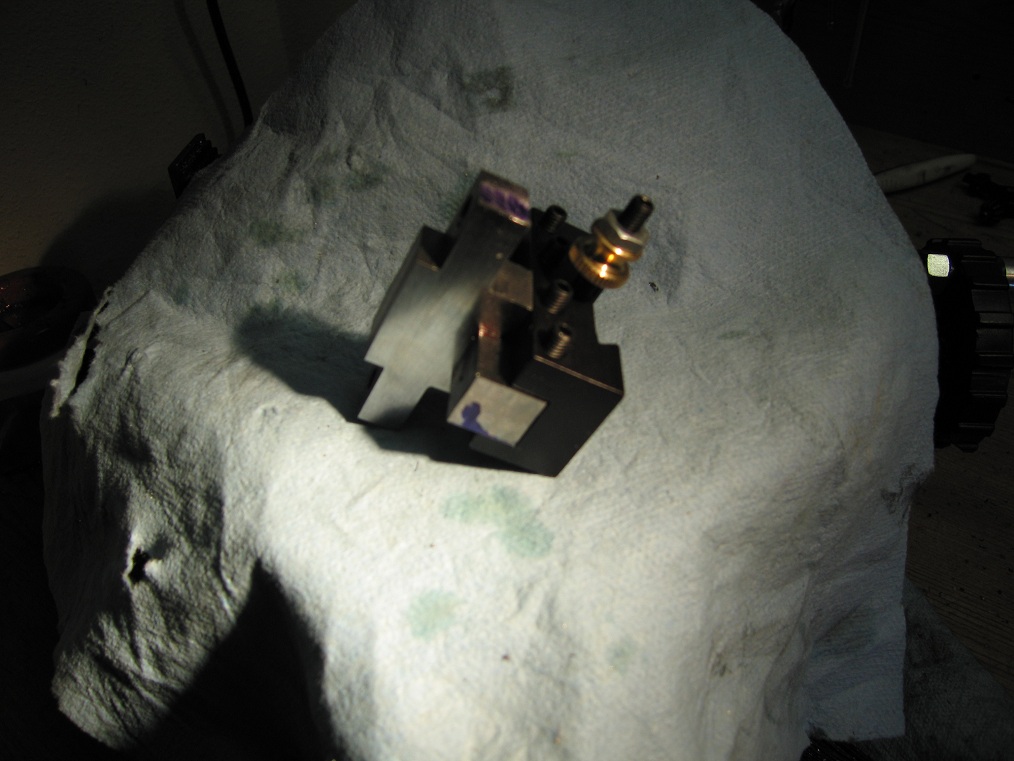
Next I drilled the holes and cut the slots for the knurls. Here I'm using a transfer punch to test the fit of the knurls.

I've had my knurling tool done for a couple weeks but I haven't got around to getting the pics in order. Here are a few pics from my knurling tool adventure. Sorry about the quality, I have a 5 year old point and shoot and poor lighting.
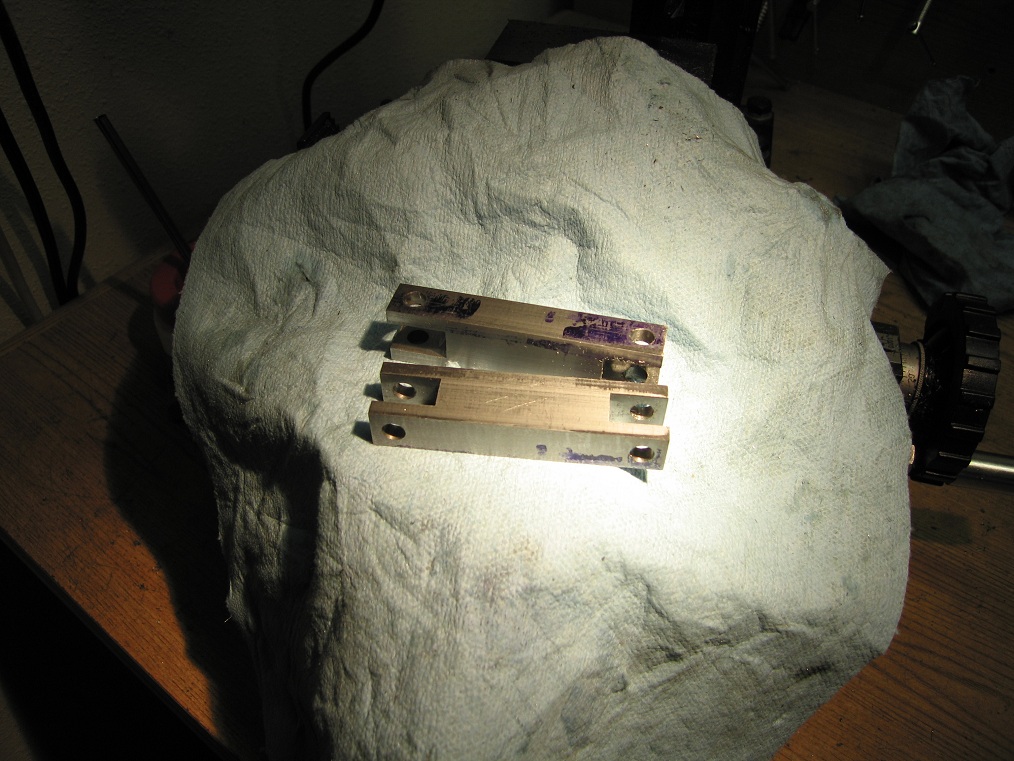
I started with some mild steel flat bar. This is my first time trying to mill steel. Most everything else I've made is from aluminum or brass. I have stayed away from steel because up until last week I only had an X1 micro mill.
Here are the bars cleaned up. Cutting the steel in my small mill isn't as hard as I thought.
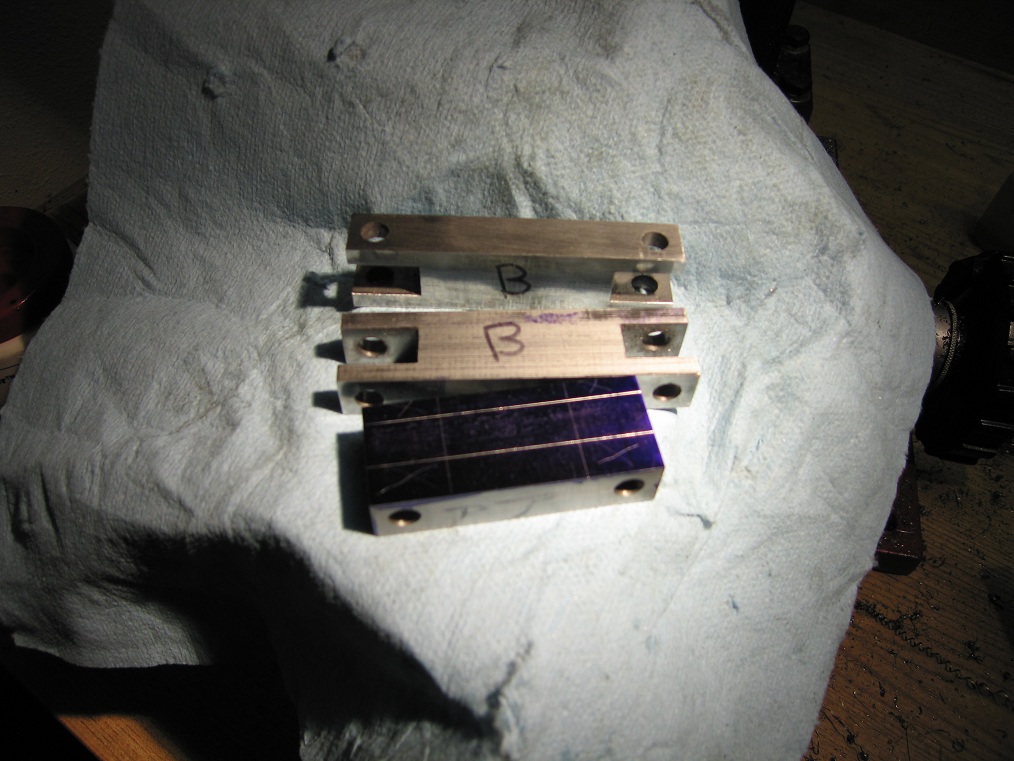
Next I drilled the holes and cut the slots for the knurls. Here I'm using a transfer punch to test the fit of the knurls.
")