Knurling Tool For Mini Lathe

Home Model Engine Machinist Forum

Help Support Home Model Engine Machinist Forum:

This site may earn a commission from merchant affiliate links, including eBay, Amazon, and others.

keys

Active Member
Joined
Sep 24, 2009
Messages
41
Reaction score
0
I've been lurking around this forum for a while, leeching all sorts of good information. I think its time I contributed.

I've had my knurling tool done for a couple weeks but I haven't got around to getting the pics in order. Here are a few pics from my knurling tool adventure. Sorry about the quality, I have a 5 year old point and shoot and poor lighting.


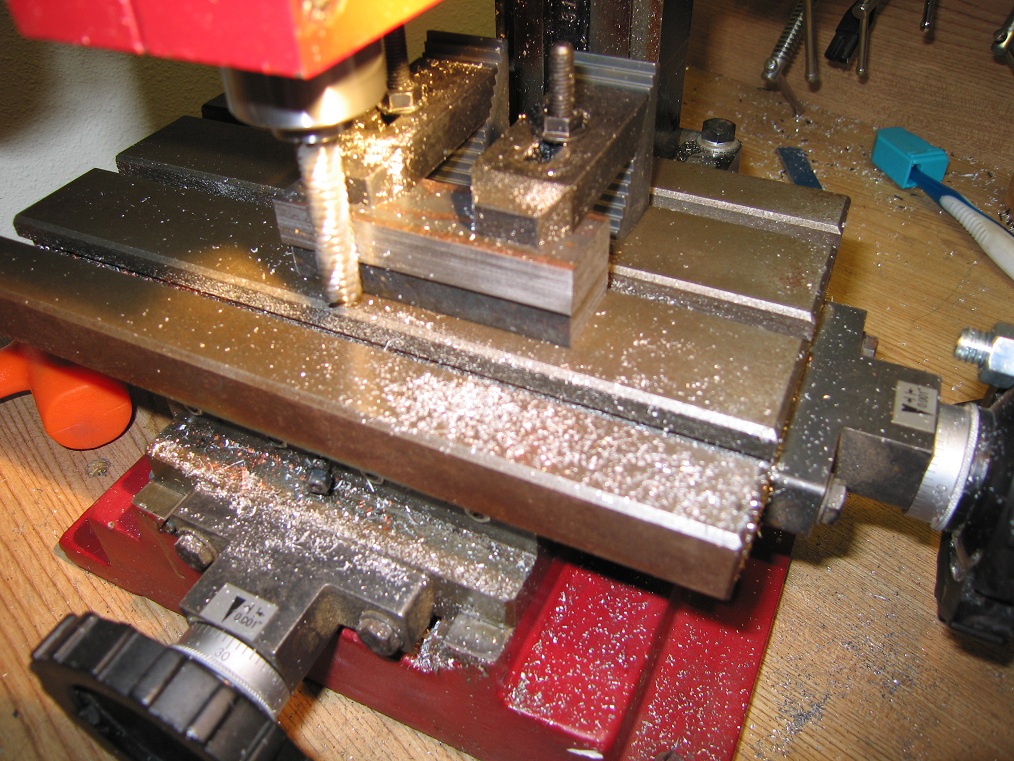
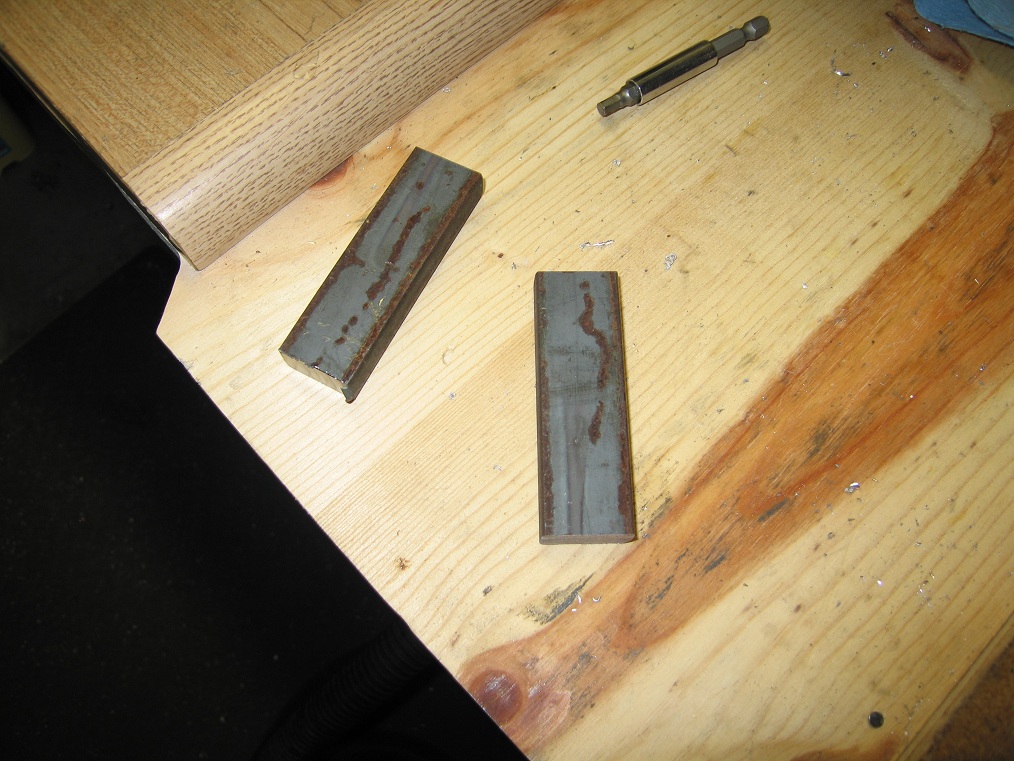
I started with some mild steel flat bar. This is my first time trying to mill steel. Most everything else I've made is from aluminum or brass. I have stayed away from steel because up until last week I only had an X1 micro mill.
bars.jpg


millingbars.jpg


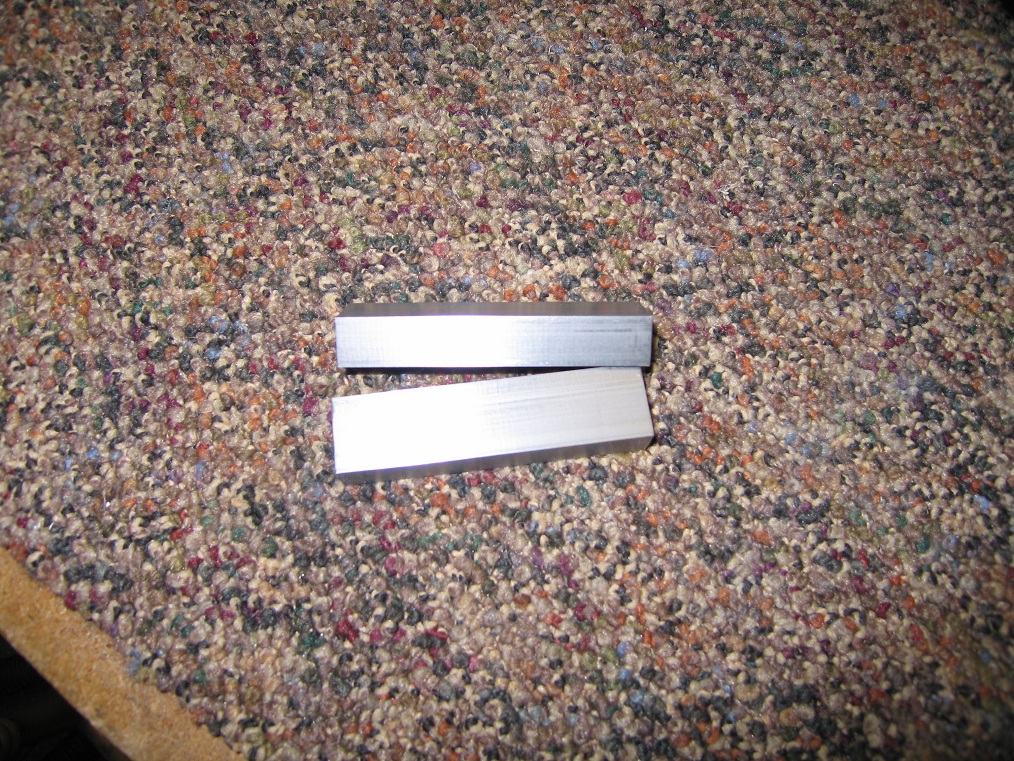
Here are the bars cleaned up. Cutting the steel in my small mill isn't as hard as I thought.
bars2.jpg


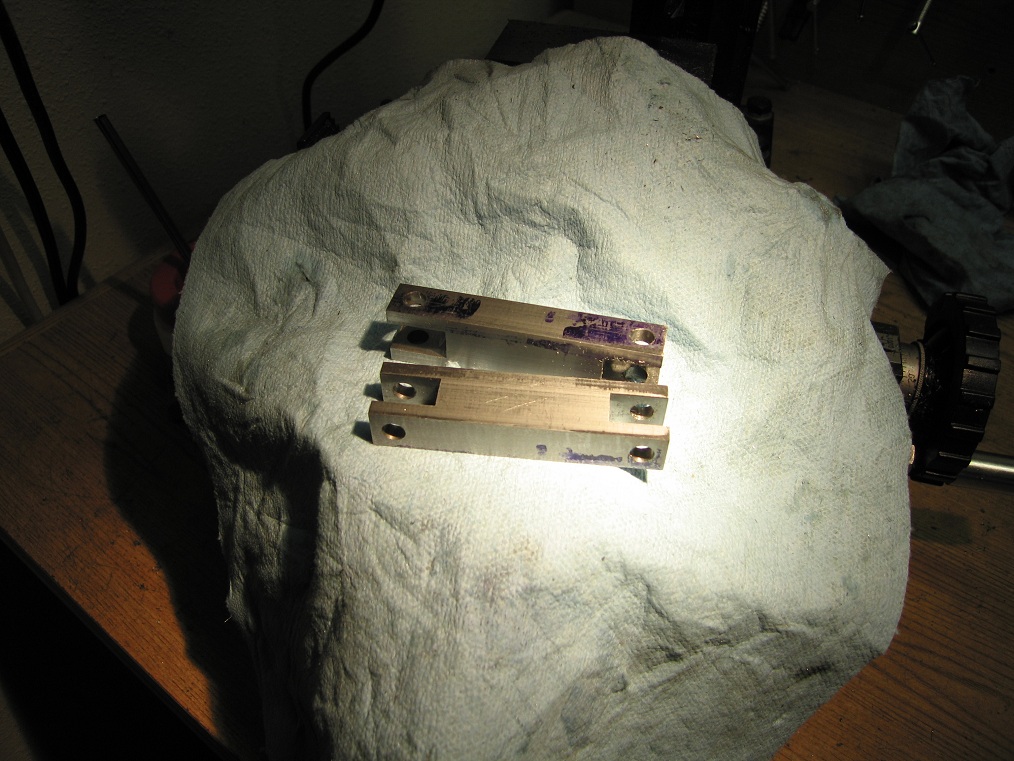
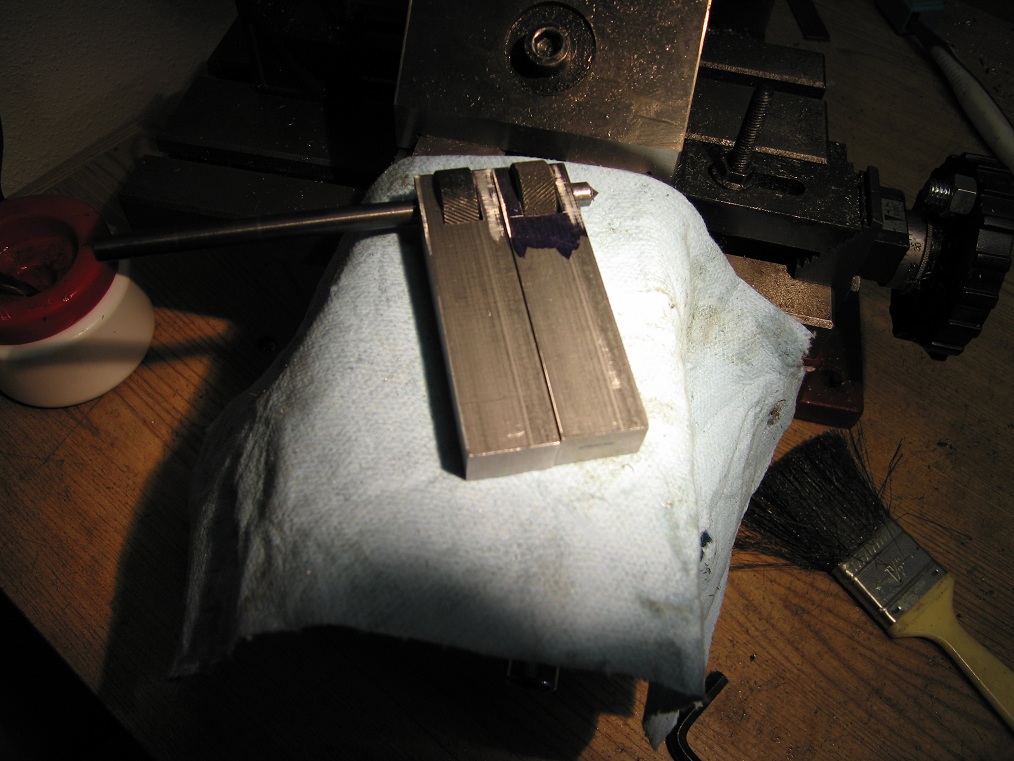
Next I drilled the holes and cut the slots for the knurls. Here I'm using a transfer punch to test the fit of the knurls.
bars3.jpg


bars.jpg
 
Next I drilled the holes and cut the slots for the bar that will support the upper and lower arm.

bars4.jpg


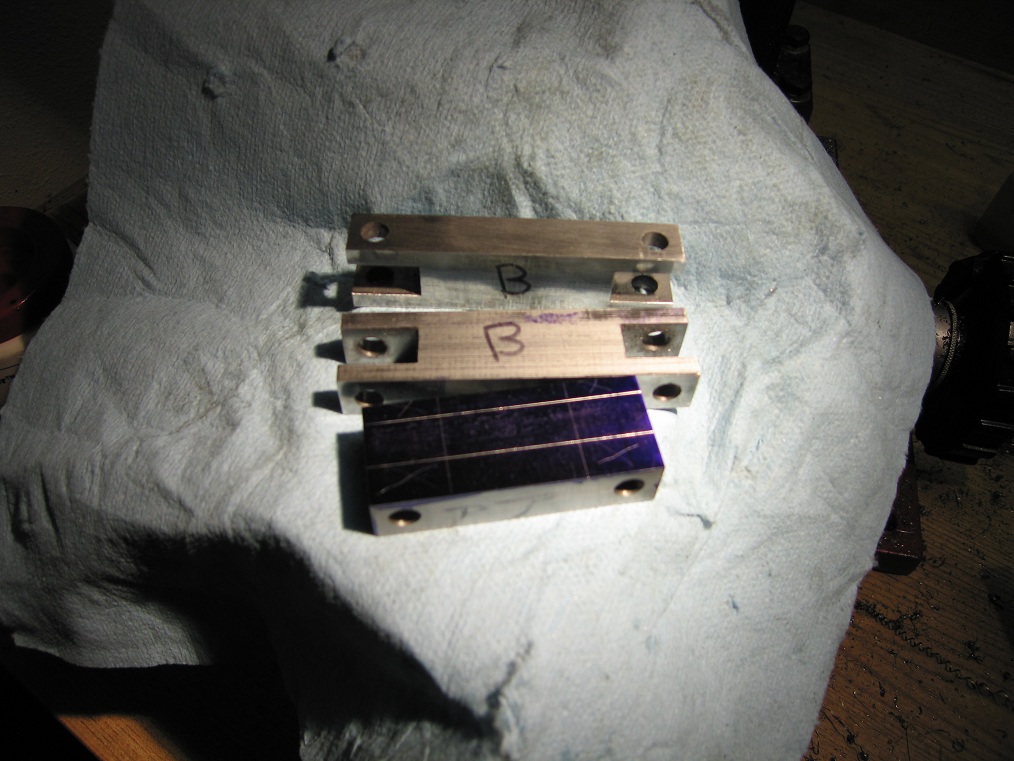
Here I'm getting ready to start wracking away at the support for the arms. Notice I had to start labeling everything. I started getting confused when test fitting pieces back together.

bars5.jpg


comingtogether.jpg


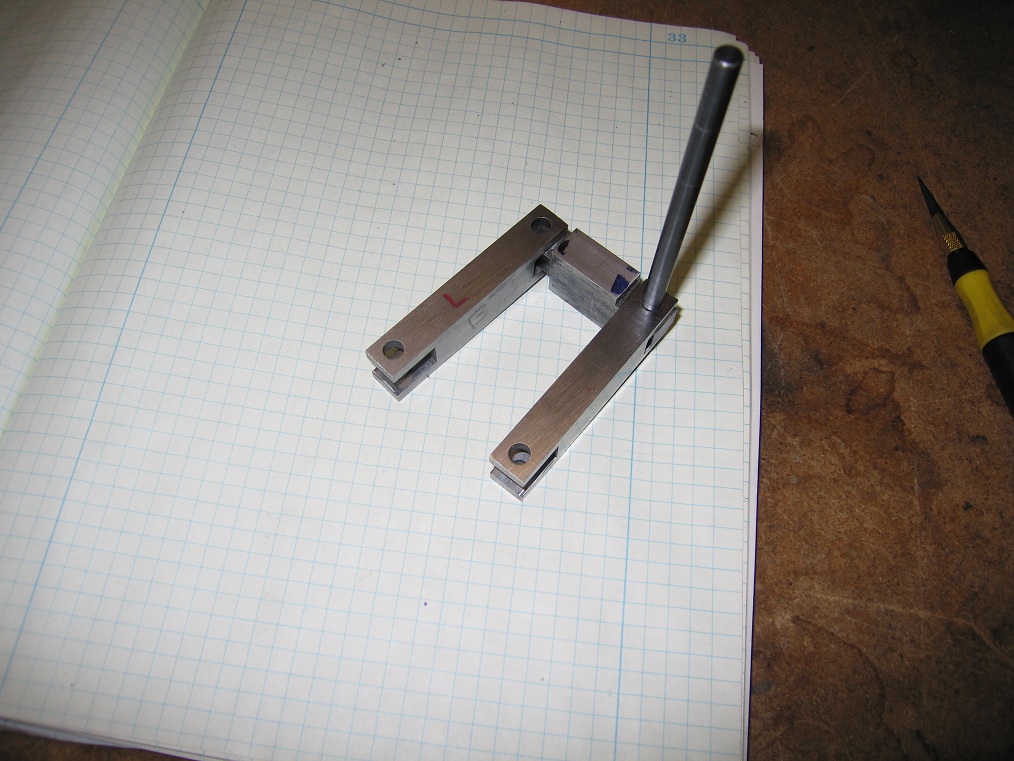
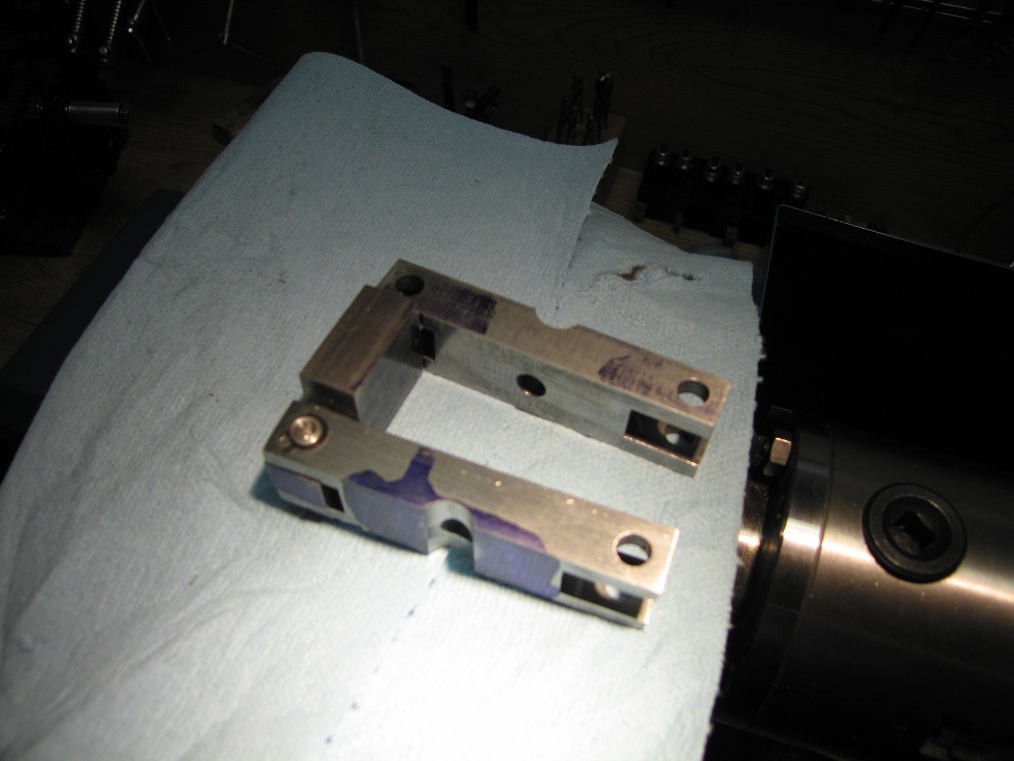
I had just finished cutting the half circle holes in the arms with a ball end mill. The ball end mill was a tedious ordeal. The chatter was terrible! I ended up cutting the half circle slots deeper after I took this picture. Should I expect chatter will a 3/8th ball end on a X1?

bars6.jpg
 
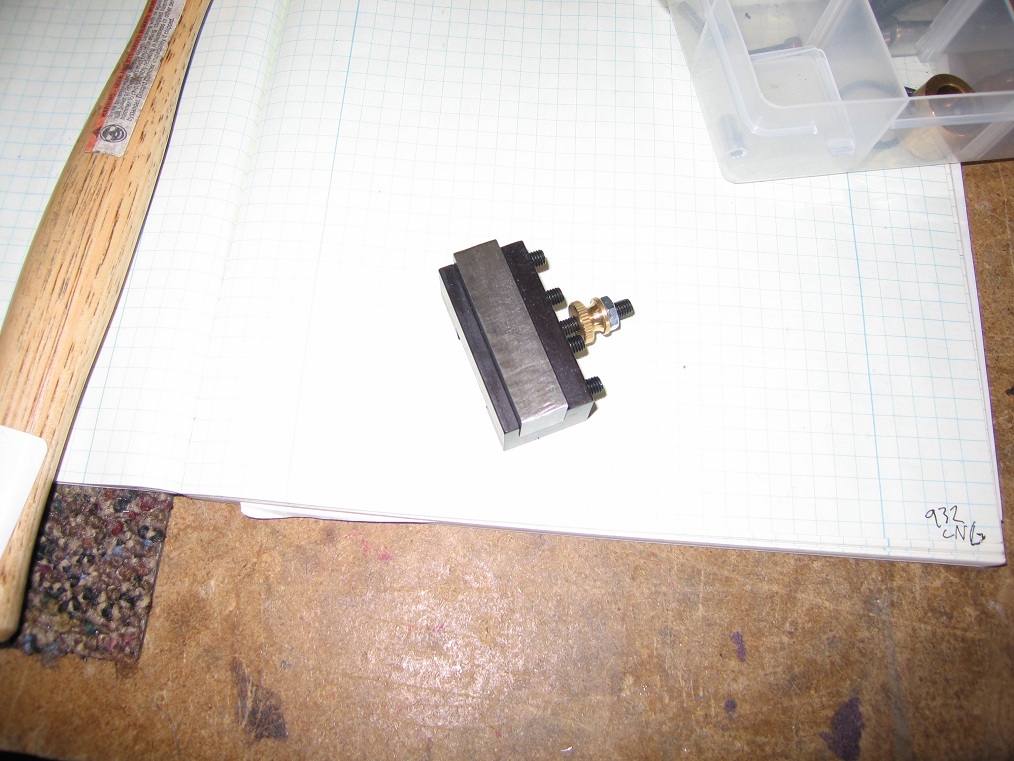
As things started to come together I stopped remembering to take pictures. This always seems to happen to me. Here is the piece that mounts in the tool holder.

toolholder.jpg


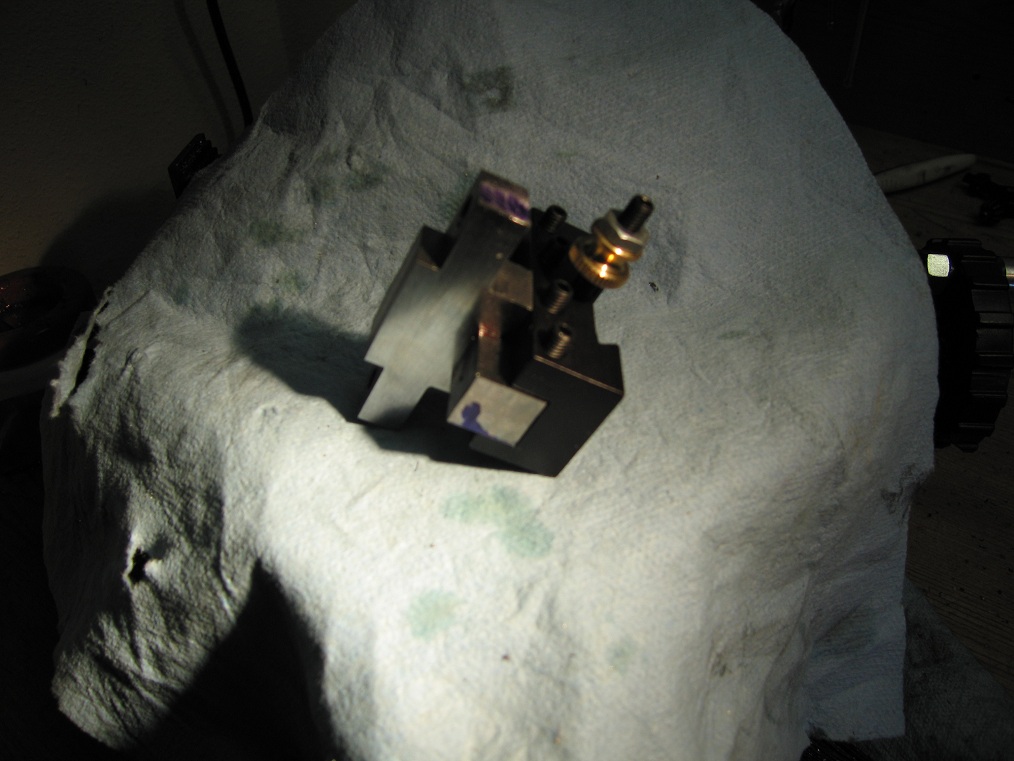
Here is the tool holder mounted to the bar that supports the arms. The two pieces are connected together by a tight slot and a 3/4 inch 8-32 screw. Unlike other designs, I opted to hide the 8-32 screw to clean it up a bit. The screw is hidden by the tool holder.

toolholder2.jpg


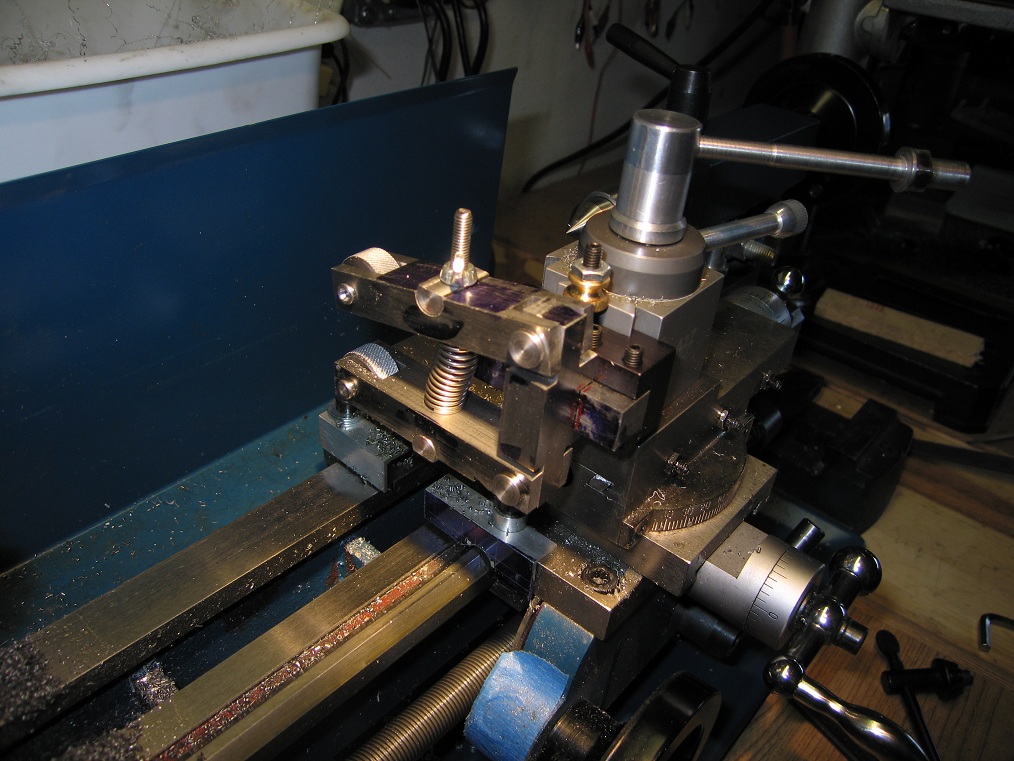
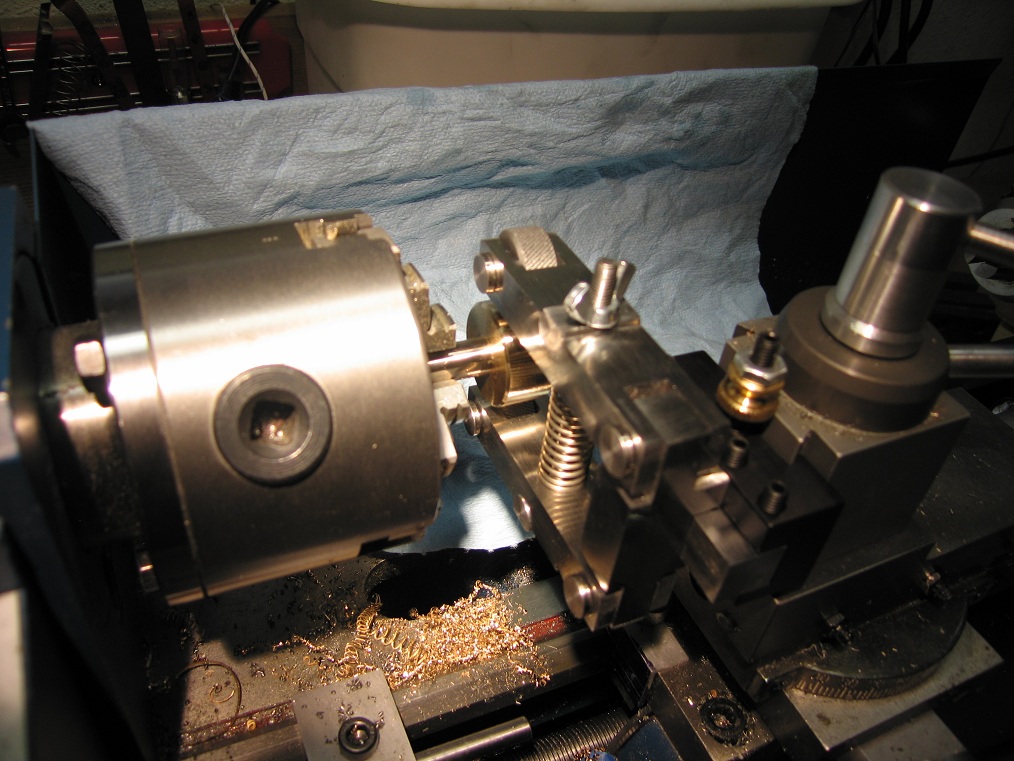
Before cleaning up the parts, I mounted the knurling tool to the lathe and gave it a quick test run. I turned the pins for the tool using a shiny piece of 1/2" steel rod I pulled out of a printer. The pins are held in place by 1/4" c clips. The bolt going through the center is a SS 3" 10-32 counter sunk screw. I'm temporarily using a wing nut on top so I can knurl a better handle. ;D

testing.jpg


Here it is all cleaned up and knurling its own handle. Of course I forgot to take a picture with the brass knob replacing the fancy wingnut.

wingnut.jpg


I'm very happy with the outcome of this project. Its given me the confidence to start making more of my own tools instead of buying them. I spent more on cutting tools and materials than The cost of this item at LMS, but I learned a lot in the process.

Dustin
 
Very well done indeed Dustin Thm:, and thank you for posting ;D

Making tooling can be just as much fun as building engines ;)

Kind regards, Arnold
 
Great post sir. I was actually looking into buying a knurling tool, but after seeing how easy it is to make, I will give it a shot. Thanks for the inspiration!!
 
Nice one, Dustin!
I'm with Arnold, making tools is as fun as making engines.

Dean
 
Very Nice Work Keys. Nothing better than a hand made tool.

Did you make the knurlers?

Kel
 
Thanks for the kind words guys. I haven't started on a new engine in months. I've been busy making tools, and improving my machines, to make tools to improve my machines, to make more tools........ Does it ever end?

Kel,

I bought the knurls from LMS a couple years ago before I had purchased a mill. I'm not sure how I thought I was going to make the tool before the mill. Maybe I had some crazy idea of using the drill press and hand filing for days.

Bartlett,

I'm glad you are thinking about making your own and that I could add some inspiration. It makes me glad I did the write up!

Arnold,

Keep up the nice work on the RT. I've been enjoying watching your progress on that. I agree with you and Dean, making tools is a lot of fun.


Hey this is really nice Keys. Some really neat looking work. I should send you my address just in case you ever get tired of it. I would give it a nice home! :D
 

Latest posts

Back
Top