How to drill off-center holes using mini lathe

Home Model Engine Machinist Forum

Help Support Home Model Engine Machinist Forum:

This site may earn a commission from merchant affiliate links, including eBay, Amazon, and others.

coolgoose

Well-Known Member
Joined
Oct 25, 2010
Messages
48
Reaction score
0
Guys,


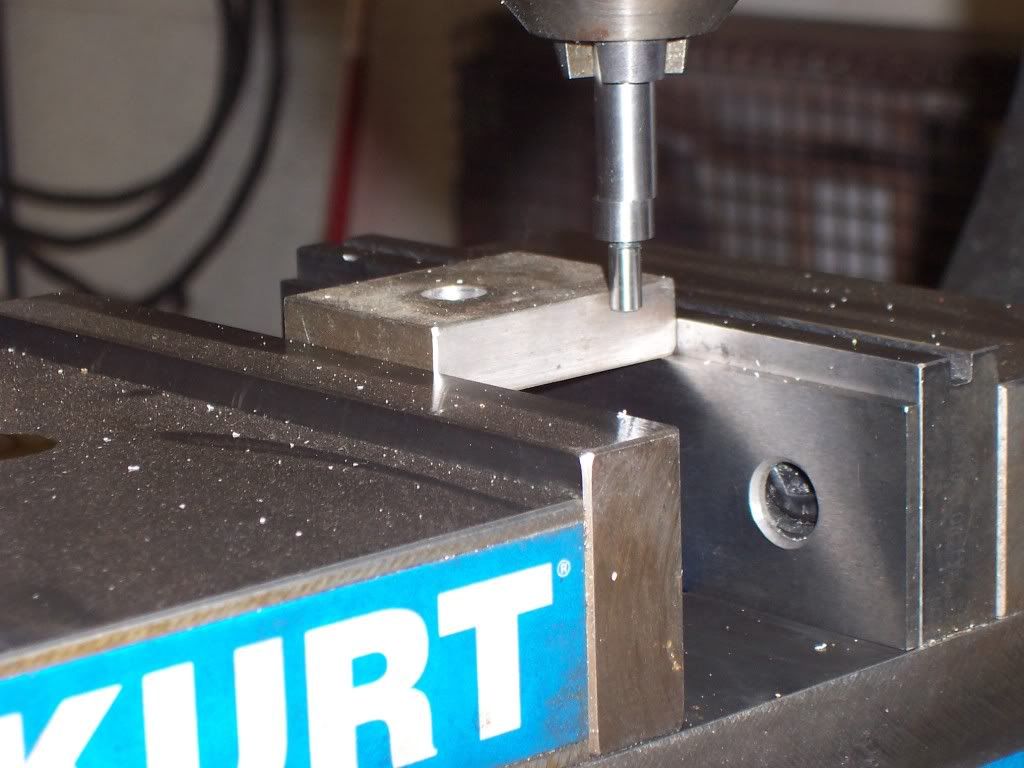
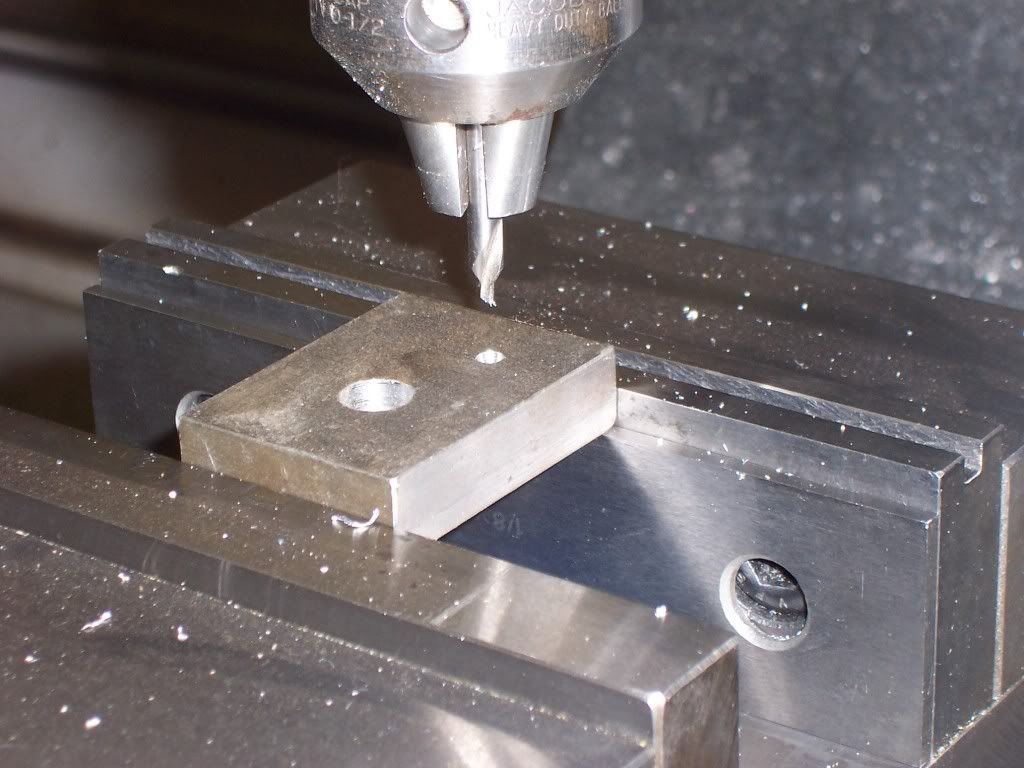
I have to drill two holes one 0.5'' wide and another 0.25'' wide in a round aluminium stock. 0.5'' wide for the piston and 0.25'' one for piston valve. I am working on building my first engine project and I found some instructions and plans here http://books.google.com/books?id=Se...page&q=popular mechanics steam engine&f=false

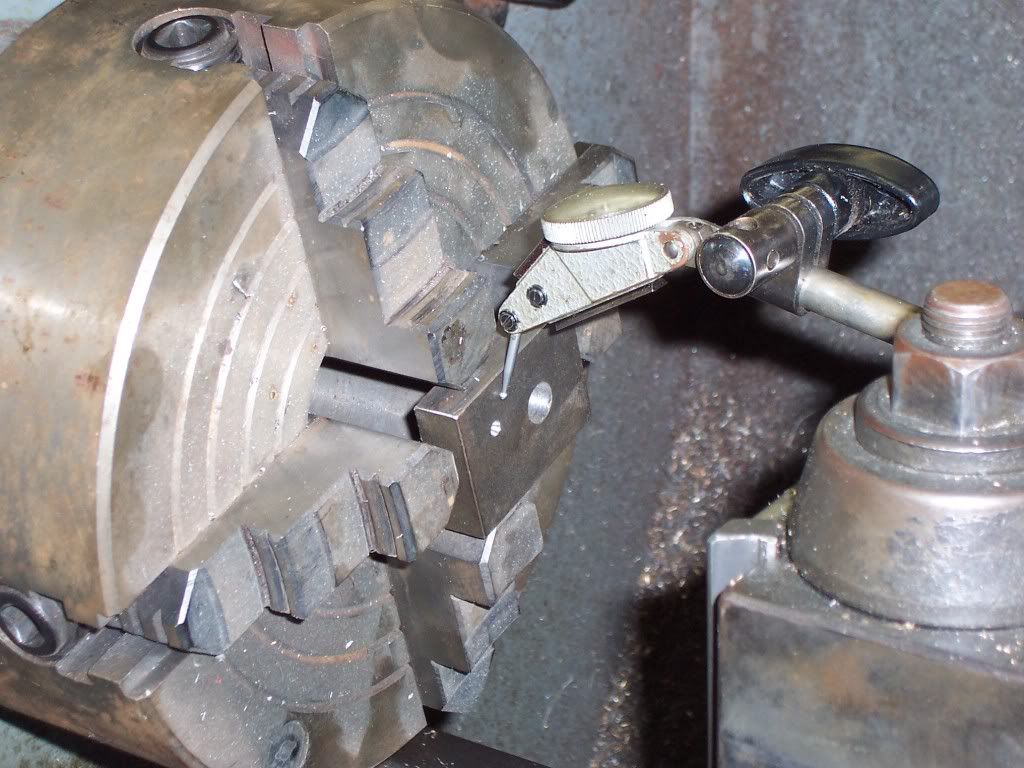
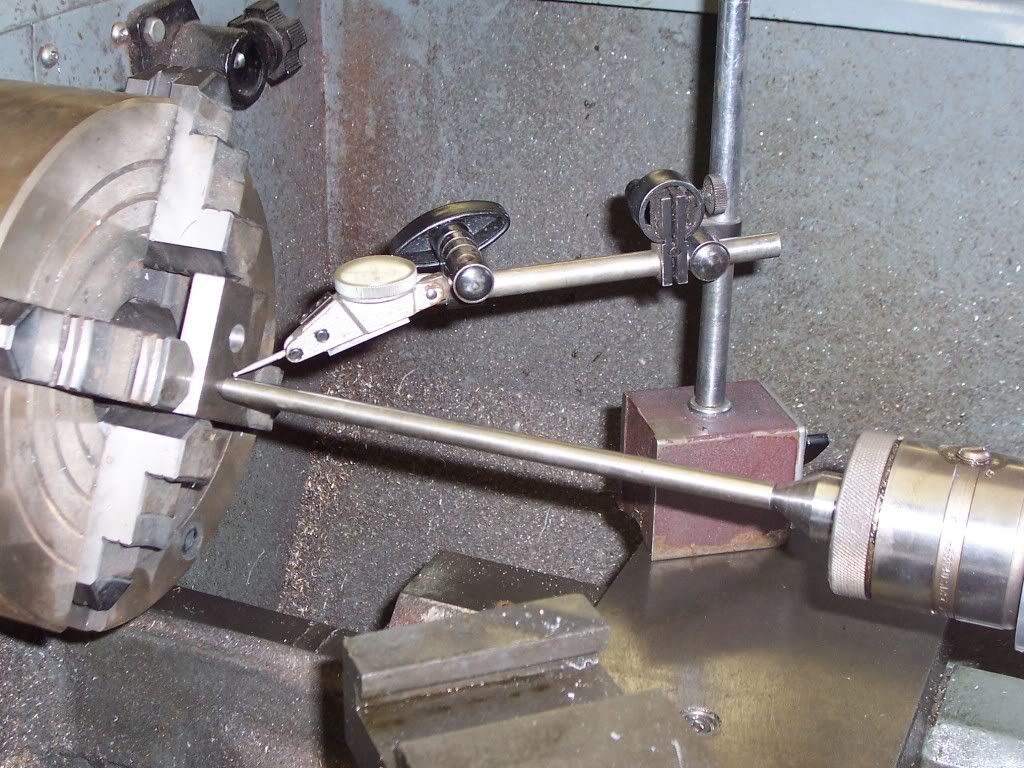
Now my questions is how do I drill these two off-center holes using my 7X14 lathe? The step I have, a 4-jaw chuck, Tail stock drill chuck, center drills and some drill bits. I recently learned how to center a job in 4 -jaw chuck and now I am fairly good at it :)
 
Lay out and center punch the centers of the two holes on the end of the cylinder stock. Mount in 4jaw and get center punch mark running true*. Since these holes will need to be smooth for proper engine operation, drill undersize and then ream for best results.

---
* There are many ways to accomplish this...

Rough centering can be done with the dead center in the tailstock.

The pointy (i.e., conical) end of a double-ended edge finder works well.

I prefer a pump center and DI for this job. It's been discussed before so you can learn more about it with the search function.
 
Hello CG' Glad to see that you are jumping in with both feet and are not afraid to get wet in the process ;D Hole sizes are usually referred to in 'diameters' and not 'widths' in order to avoid confusion. Now then, do you know how to locate and mark out a center line on the end of a round bar? And do you have a means of indicating and setting true the hole locations such as a 'wiggler' using a dial indicator? (BTW, the valve hole in the drawing is .265" (17/64) and not .250" (1/4) as you describe, should be Ok but I just wanted to point that out to you.

BC1
Jim
 
Coolgoose, that is a neat engine. I built a couple opf them from those magazine plans years ago. Still have them.

Keep working at it, you will be proud when it runs.

ironman (Ray)
 
'Goose, here are a couple of images that show the setup that has been referred to using a dial indicator and wiggler to locate a hole center in a four jaw chuck. I think these will assist in visualizing what has been described, If you have any questions, do not be afraid to inquire.

normal_5a.JPG


normal_7.JPG


normal_7a.JPG


These are of two different setups but the idea is the same, that is by using the needle point running in the center location mark, and adjusting the piece in the four jaw chuck until the dial indicator runs with zero clock, the location is truly centered.

BC1
Jim


bearcar1: Thanks for correcting me on measuring the hole sizes. You have to excuse me ..I am still in learning phase :) I thought of building a wobbler for my first project but then decided to take on some thing slightly complex so I can learn most out of my first project. I have a combination square with center finder for locating center on the round stock. I use it to to find the center and marked it with a center punch. I drew a line through center and located the two holes that I need to drill with center punch. After that, I centered the round stock in my 4 jaw chuck and them moved the stock so that the indicated center for the hole to be drilled is aligned with my dead center in tail stock. This is where I have problem :( It appears my center punched mark never aligns perfectly with dead center my tail stock. I will try to get a picture once I go home and upload it here for reference.

Thanks ironman for your encouragement.

Thanks mklotz for suggestion. I will search this forum for information.
 
You could of course use a piece of short rod that is straight and turn down a narrow thin taper on it and use that in your tailstock drill chuck to 'spot' the center spot you are attempting to locate. A magnifier and some patience will go a long way toward a successful ending. The tip of your dead center is a bit large to gauge accurately as to its position. Using a smaller rod with a finer tip will yield a much better visual. These techniques are not perfect by any means but sans a dial indicator it is all relative anyway. 'Goose, do you have any reamers? If not, you should begin by drilling a series of undersize holes, incrementing up to a larger size before using the very sharpest bit that you have (if not a new, unused one) to bring the hole to final size. Use plenty of lubricant and a moderate spindle speed and a slow infeed. This will produce the finest finish to the hole short of using a small boring bar. Best of luck in your efforts and we are all looking forward to seeing and hearing of your progress.

BC1
Jim
 
When I have a hole such as this to bore I like to set the part in the mill and use an edgefinder or an indicator to find the edges needed to set my datum. Once the datum is found I will move to my hole location and drill a 60 degree center drill hole in the part. Next the part is chucked in the 4 jaw in the lathe loosely and an indicator rod inserted into the centered drilled hole and the other end is placed on the center in the tailstock of the lathe. The indicator rod can be made from any kind of steel as long as it is straight, mine is 3/8" dia. It should have a 60 degree male point on the end inserted into the center in the part and a 60 degree female center on the other end that fits onto the tailstock center. My rod is about 8" long. Once the rod is in place, you hand rotate the chuck and the indicator rod will wobble. An indicator placed on the OD of the rod close to the part will allow you to adjust the chuck jaws until there is no movement of the indicator needle when rotating the chuck by hand. I have found I can get very good accuracy using this method. This is just one of the ways to do what you are attempting and is the method I normally use. If you have any interest in this method I would gladly set it up on my lathe and take photos to give a better description. Dave
 
Thank you Dave G for explaining your method. If you can spare some time, please post some pictures of your setup for this method and I am eager to learn about your method and use it in my engine build :)

bearcar1: I do not have any reamers at this point of time. Actually I am looking on ebay to to buy some. Do you have any recommendations on sizes that I should be buying? Also, can you please elaborate on the setup you have posted here with dial indicator? I have heard before in this forum about wiggler but do not know how to use it. I have searched the Internet and found this http://www.metalwebnews.com/howto/wiggler/wiggler.html but most of it went above my head :(

 
Of course. A wiggler is a tool that is used to find the edge of a piece of material or in the images that I posted, used to centrally locate a part on the exact center of a lathe or mill spindle. A wiggler consists of two main pieces, the holder, that looks very much like a drill chuck at first glance but has no gripping fingers, and a pointer that has a ball on one end that gets secured in the holder allowing the pointer being used to swivel and rotate much like a ball in a socket. In my example, the holder is being gripped by the tailstock chuck of my lathe. The pointer I am using has a needle point. Other pointers that can be used in the holder can have a ball or pin of known size on the end that are used for any number of other uses such as edge finding. Anyway, the needle point I am using is placed into the center pop of the hole location I am attempting to locate to center axis. With this being the case, any out of alignment condition of the center pop mark will cause the pointer to wobble around the true center point I am wanting to indicate to. By attaching my dial indicator to a fixed location on my lathe saddle (i usually use the tool post as it is handy) I bring the button end of the indicator to bear on the needle pointer of the wiggler. What happens is that the dial indicator will now show the high and low conditions of the pointer (until truly centered the center pop mark will 'orbit' around the center axis) as the chuck holding the part is hand rotated. I normally set the dial indicator to face outward and have it as close to center height as possible, but it can be set to face up if one is more comfortable doing it that way. The piece being held in the four jaw chuck is then moved using the chuck jaws until the DI needle does not move anymore when the chuck is rotated. A true zero clock as it were. Do not turn the machine on as it will destroy the inner workings of the DI due to excessive mechanical stresses, only rotate the chuck by hand.

BC1
Jim
 
use a face plate and a small keats angle plate then the bore will be parallel don't forget to face the end of the bar after you have bored the piston hole to ensure that the bore and end are square , mark that end the other is not so critical

the face off end become the face for the end plate that carries the rod and gland


Stuart
 
After looking at the plans, I can suggest the following:

1) The spacing of the holes is not super critical, so being off a few thousands will not have a negative effect. In any case, a larger separation can be adjusted easily by move the piston and valve rods to match.

2) The diameter of the holes need not be totally exact either. In general it's much easier to fit a shaft to a hole than vise versa. It's a good idea to ream the holes, but then turn the piston and valve material carefully to get a sliding fit.

3) While the plans show the valve rod soldered to the eccentric, it might be easier/better to use a tapped hole in the eccentric and thread the end of the rod.
 
I did a similar cyinder for a rudy Kouhoupt engine . I centered the piece in the four jaw then moved off center for the first hole4 with a dial indicator. drilled and reamed, then re centered the par then offset in the other direction for the second hole. Clear as mud right.
Tin
 
Thank you bearcar1 for explaining the setup. I am going to purchase a wiggler this weekend and will follow your steps.

Thanks Kvom & lordedmond for those suggestions.

Tin: I tried the same way but did not use a dial indicator. However, I have punch marked the two holes on the diameter line of the cylinder before mounting it on my 4 jaw chuck. Then I tried to move the chuck jaws in such a way that the punch mark for one of the off center hole to align with the dead center tip in my tail stock. But this never happened. When I rotate the chuck with my hand, I observed a small spiral being traced by the tip of the dead center around the punch mark. :(

 
to line up on a center mark use a pump center. and a dial indicator.
Tin
 
Coolgoose,

I am learning myself and have now reached the point where I am getting the four-jaw setups faster. When I was and starting and when I get "lost," I put a "needle" scriber point in the tailstock chuck and get close, then go back to the indicators and fine setting and usually get it in just a few steps.

Since you have a 7 x minilathe I tell you that I had lots of 4-jaw setting problems, then took a good 6 or 7 steps back and a long coffee break, then checked the lathe chuck: Whattaya know it was mounted with an adapter plate and the faces of the plate were not parallel AND the chuck was not concentric with the spindle. A little cleanup with information from others on this site and it's better now. Neeeevvvvveeerrrr Assume anything.

--ShopShoe
 
Hi Coolgoose, Lets see if I can give a little more detail here. Lets say I have a piece of steel .5 x 1.5 x 2" long and I want to bore a hole in it .5" from the edge in both axis. First I set the piece in the mill and use an edgefinder to establish my datum.
100_09622.jpg


Next I will use a #2 center drill to put a 60 degree center in the part at the proper location.
100_09632.jpg
 
Now I move to the lathe and place my part in the 4 jaw chuck. I eyeball the center drilled hole and adjust the jaws to get me close, then I place my indicator on the face and tap the face of the part until it runs true.
100_0964.jpg
 
Once I have the face running true I place my indicator rod into the 60 degree center in my part and the other end goes over the 60 degree live center in the tailstock and lightly rotate my tailstock handle until the rod is seated on both ends. Next I place my indicator on top of the indicator rod and rotate the chuck by hand. I can now adjust my chuck jaws to achieve an indicator reading of zero or as close to zero as I can get. The indicator rod has a 60 degree point on one end and a 60 degree center in the other end and is about 8" long. If you choose to make your own indicator rod, try to keep the centers concentric with the OD of the rod for best accuracy.
100_0965-1.jpg
 

Latest posts

Back
Top