Hit me - Miss me?

Home Model Engine Machinist Forum

Help Support Home Model Engine Machinist Forum:

This site may earn a commission from merchant affiliate links, including eBay, Amazon, and others.
Gavin,

Thanks for the sympathy vote. :bow:

I was going to finish the jig - until I realised I would have to tear down my mill vice set up for the rotary table. :(

Soooooo...... decided to make a start on the crankshaft whilst the vice was ready.

Squaring up the crankshaft lump.

IMG_0722.jpg


Marking out the crankshaft.

IMG_0723.jpg


Drilling the centres.

IMG_0725.jpg


The setup for sizing the webs.

IMG_0726.jpg


Why this way ??? ??? ??? Well mainly because it gave me the opportunity to ensure and/or adjust the tailstock was true for parallel turning especially over such a nice long 8 3/4" length.

The crankshaft OD roughed out to past the crank webs.

IMG_0727.jpg


Now or rather tomorrow back in the mill and an attack of the slitting saw to remove some of the excess and the middle of the webs.

Best Regards
Bob
 
Bob

That would have been "interesting" doing the interrupted cuts combined with the out-of-balance factor of the clamps - I assume very slow rpms and small depth of cut to nurse the HSS tool?

Rgds - Gavin
 
Gavin,

Not too bad, 200 rpm and 0.040" depth of cut.

Best Regards
Bob

 
I hate doing cranks too Gavin...for the same reasons....


Looking good Bob!.....what kind of counterweights does she have....seperate or one piece.....or any!.....many didn't.

I am off this week, and if it ever stops raining here, I'll snap a photo of my Dad's hit n miss....
 
:eek: Please tell me you are not driving that blank between centers using that parallel clamp. I'd hate to have to pick that thing out of someone's brains. Egad.
 
Dave,

I'm not a crankshaft fan but they make for an interesting life. ::)

rklopp,

Sorry but I did drive the plate that way. Probably what I should have done was take a picture of the mass of copper wire I used to bind everything together as well as through the tommy bar holes on the clamp to prevent them unscrewing.

More cranky moments. ;D

Milling out the webs.

IMG_0728.jpg


Slitting away some of the excess.

IMG_0729.jpg


Back in the lathe and the 1st cut using the RH tool.

IMG_0733.jpg


About as far as I can or I want to go with that tool.

IMG_0734.jpg


Now the LH tool.

IMG_0735.jpg


When I have sized the web gap, I intend to use my parting tool rounded off to complete the journal.

Best Regards
Bob


Bob,

Quite amazed with the crankshaft! I wouldn't have dared to try it that way but now I've seen you do it, I can see the benefits and might even try it on a lighter scale one day!

Great work,

Nick
 
Nick,

Thanks for your continued support and interest. :bow:

Smaller/lighter cranks are more difficult as there is less strength in the crank journal when it comes to turning the main shaft. A neat fit packing piece is vital.

Best Regards
Bob
 
Hi Bob,
I'm just a little curious as to why you have all the dots on you layout scratch.gif
Tony
 
cobra428 said:
Hi Bob,
I'm just a little curious as to why you have all the dots on you layout scratch.gif
Tony

A very old school classic layout technique that is certain to never smudge with greasy/oily handling. Works every time and if the layout lines in the blue wipe off, you just reconnect the dots.
 
Rob, Tony and Dave,

Thanks guys for your continued support and interest. :bow: :bow:

steamer said:
A very old school classic layout technique

After that I feel like Methuselah. :big:

Not much today only managed to finish the journal and webs, the journal will need a polish but I need to remove a heap of metal and balance things before that.

The final web sizing cut.

IMG_0737.jpg


The finished turned crank journal.

IMG_0738.jpg


IMG_0739.jpg


Next is to make a packing block for the web and cut off the crank centres to minimise the out of balance and interrupted cuts on the main shafts.

Best Regards
Bob
 
that crankshaft is going to be very well done
(better than my english for sure ;D)


Ariz,

Thanks for your interest and support. :bow:

I hope it will be as good as your English.

Best Regards
Bob
 
No slight intended Bob......Actually, when using a casting or a rough piece of steel, this method can't be beat. I used it too on the layout of my engine castings.

Dave
 
Nice progress Bob Thm: Just curious, when you milled out all that excess material from the crank, did you notice any distortion in the blank? I don't recall what the material is or if you normalized (annealed) it at any point ???
 
Dave,

No slight was taken, I found it funny and quaint. As an aside what do they do now to stop line loss ???

jthulin,

The materials a lump of flat plate, cut off a bigger lump of same at my mates shipyard. It machines similar to mild steel but is probably boiler plate because it is easy to start the metal tearing rather than cutting. It has not been heat treated in any way and if there was distortion it was minimal.

95% of the materials I use are scrounged from many sources and when your head down base up in someones scrap bin I don't ever recall thinking now is this EN 32 or SAE 1024.

Once it's in the machine you get a handle on its' probable origin e.g. my drilling jig blank.

Best Regards
Bob
 
Honestly Bob,

In the professional shops we have here, I never see anyone mark out a job....

They measure the casting or forging on the CMM and create the part in virtual mode and then fit the finished part to it in computer world.....they start machining from there.

Measuring of the part usually happens right on the machining center with a prop in the tool holder. Occasionally I see my toolmaker do it....and use a 4 jaw too........he's the only one.

Dave
 
Dave,

Thanks for that, and your support. :bow:

I just do what I was taught as the pain of not doing so resulted not only in a job going haywire but the 1950's Navy's sometimes sadistic and always painful punishments were to be avoided where possible, e.g. running around with a tin hat, a backpack full of bricks and a 0.303 Lee Enfield held at the high port shouting, "I WILL MARK OUT MY WORK," to the beat of your hobnail boots, minimum time 30 mins and more if you slowed down.

To be fair, our armed forces at that time, continued to practice the hard lessons learned from WWII and one small boy's feelings did not rate a mention. You either got over it and survived or they got rid of you.

Back to the crankshaft.
wow.gif


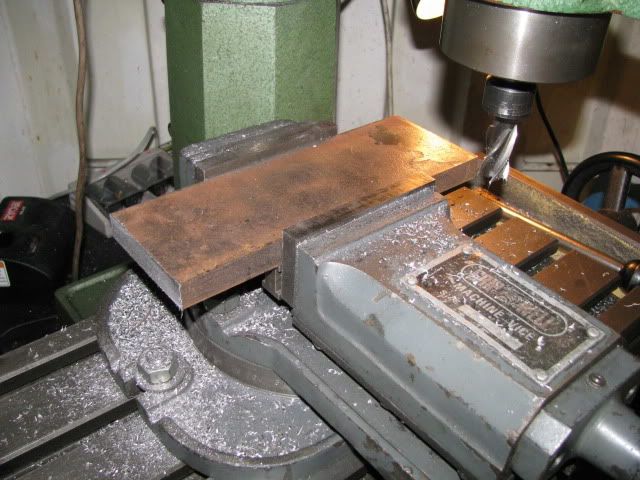
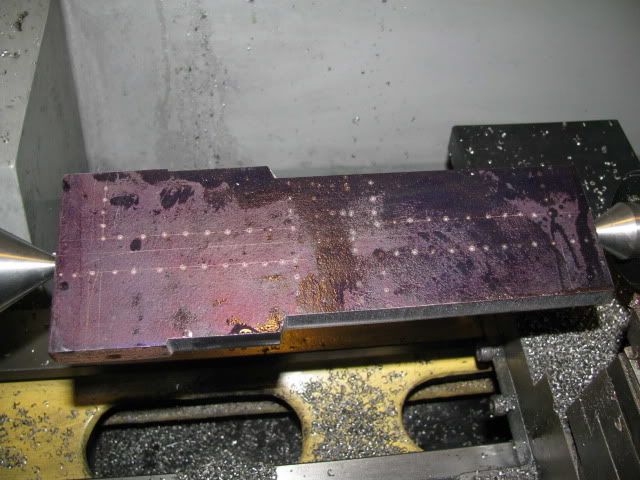
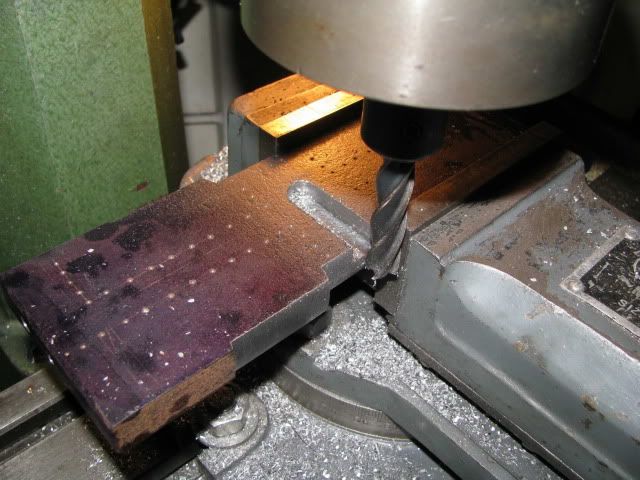
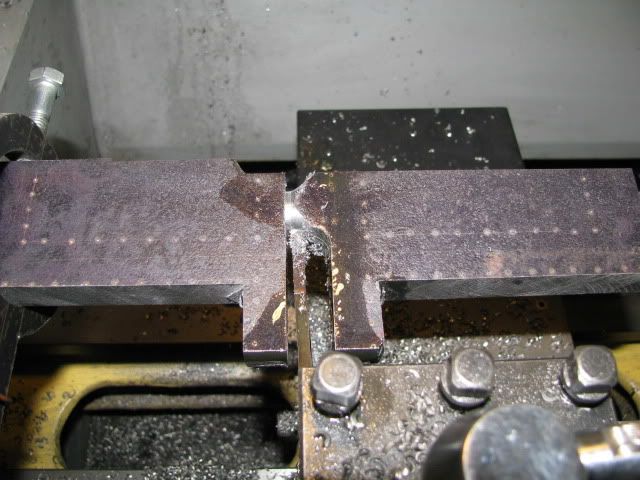
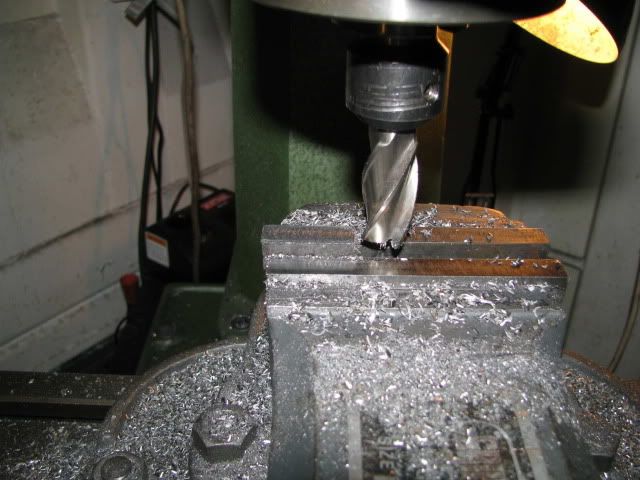
Milling the packer for the web.

IMG_0740.jpg


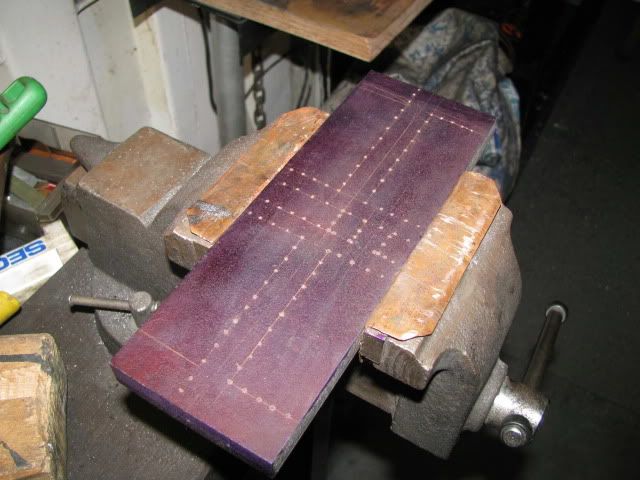
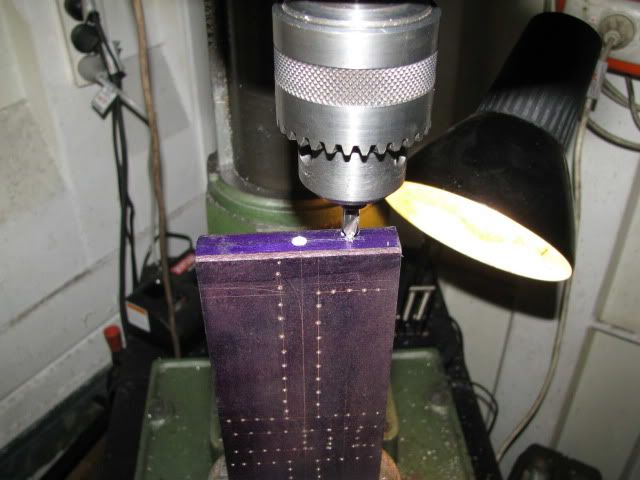
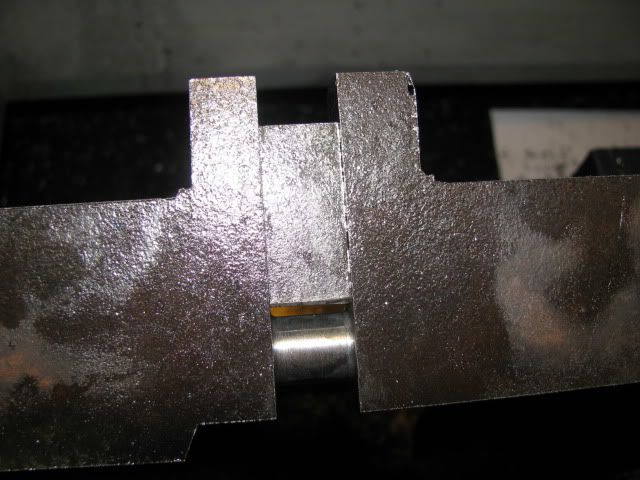
The packer fitted to the web.

IMG_0741.jpg


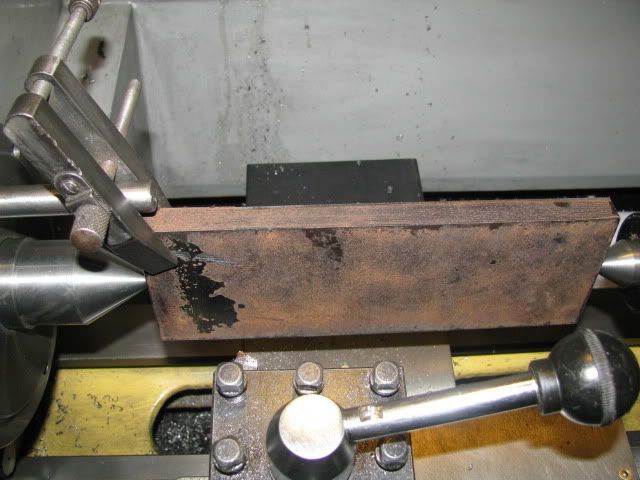
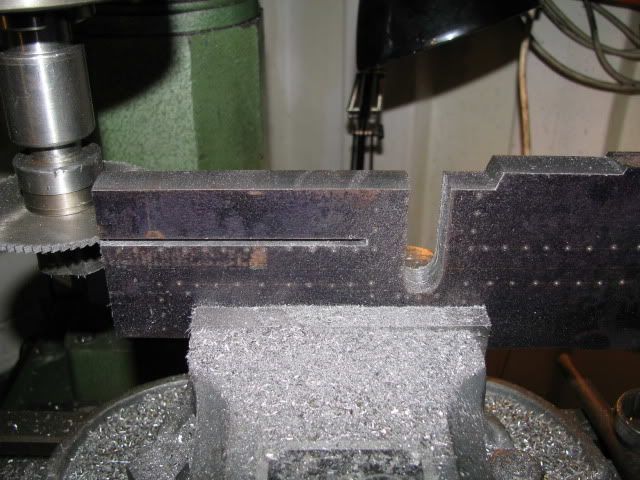
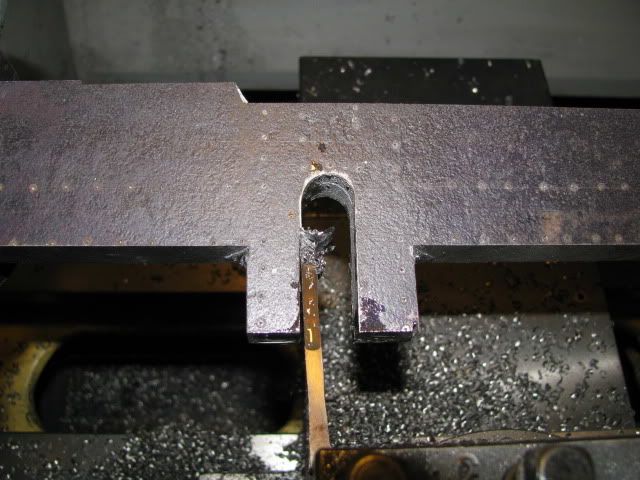
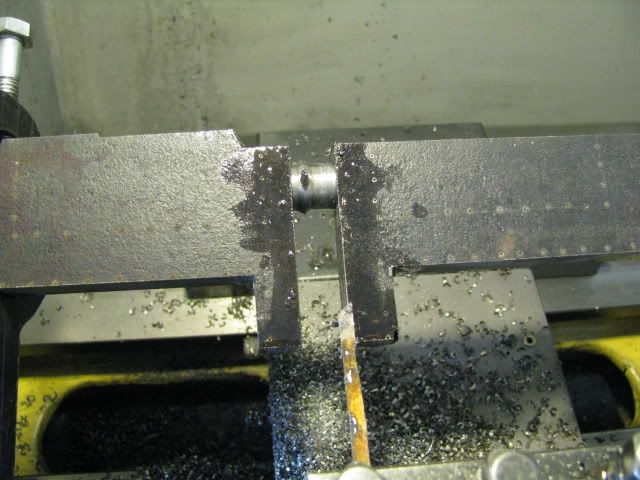
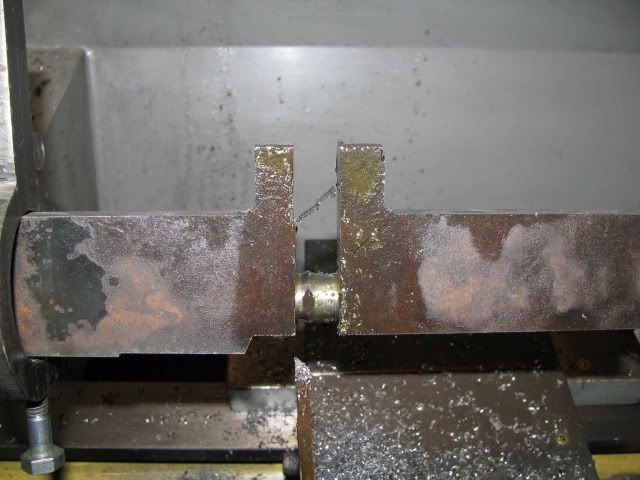
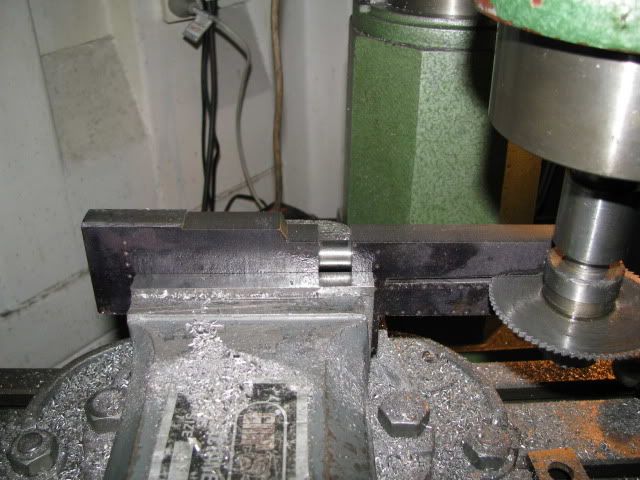
Cutting away the unwanted bits with a slitting saw.

IMG_0742.jpg


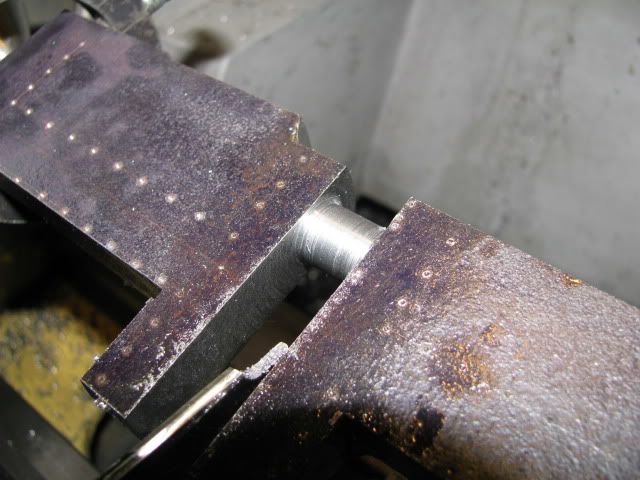
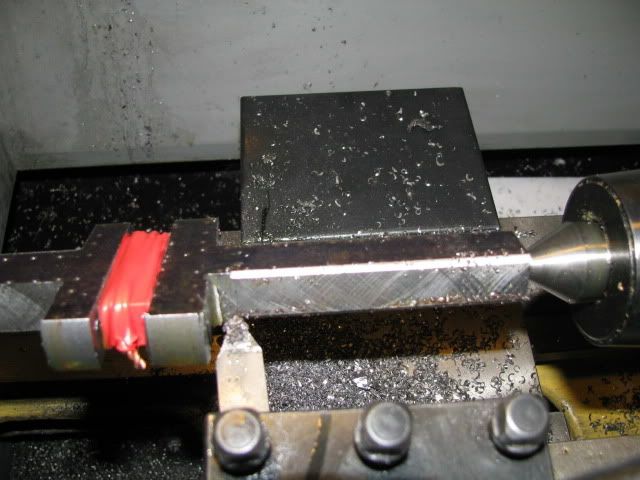
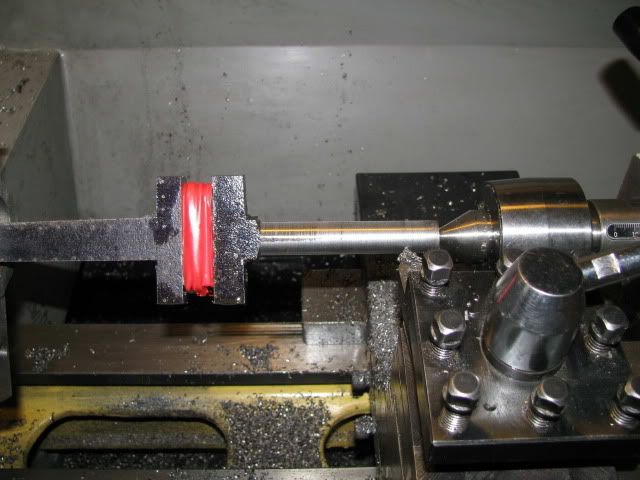
Back to the lathe for the main shafts and web sizing.

IMG_0743.jpg


IMG_0744.jpg


And so ends another week.

Best Regards
Bob
 
Back
Top