Engine transportation and display box

Home Model Engine Machinist Forum

Help Support Home Model Engine Machinist Forum:

This site may earn a commission from merchant affiliate links, including eBay, Amazon, and others.

Brian Rupnow

Design Engineer
Project of the Month Winner
Joined
May 23, 2008
Messages
14,991
Reaction score
8,285
Location
Barrie, Ontario, Canada
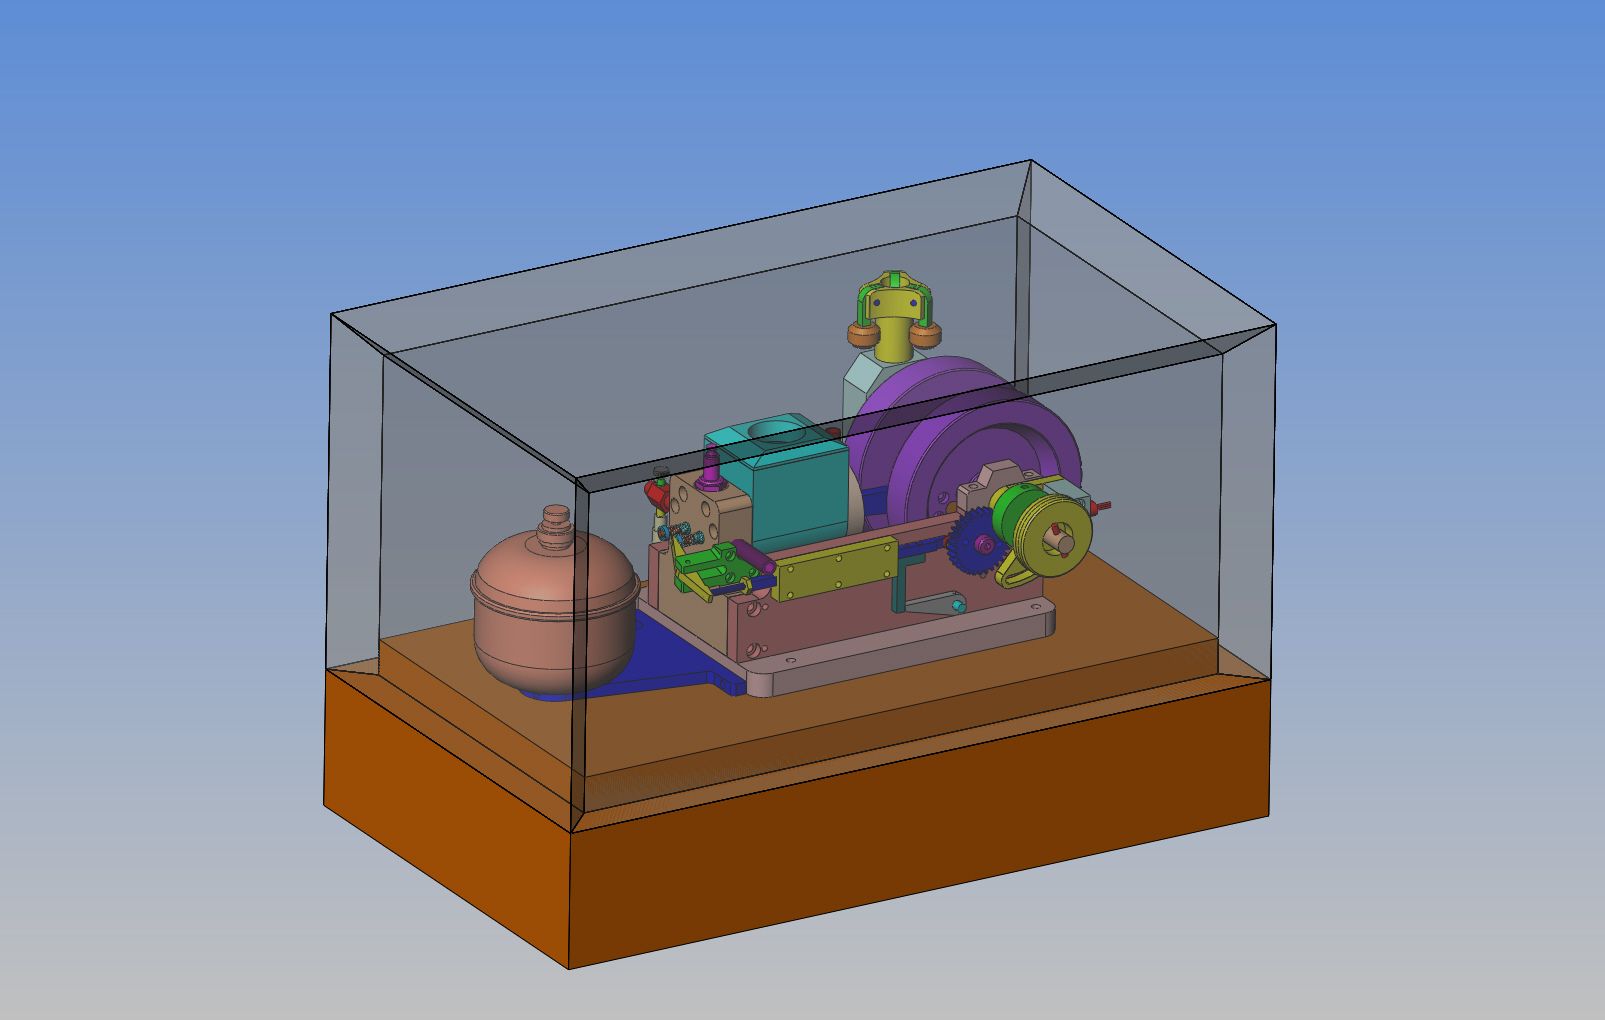
Now we are going to get into a subject in which I claim no expertise at all. Although I am a fair framing carpenter, having built a couple of houses and cottages over a lifetime, fine cabinetry is not my forte' in any way. However, I want the Rupnow engine to be portable for display purposes. It will have an upper and lower compartment and be made so that the engine is mounted and displayed in the "upper compartment" when the top of the box is removed, while the battery pack and CDI unit will be hidden underneath in the "lower compartment". The material for the box will be clear pine with some kind of mahogany stain on it and a few coats of Varathane for water and oil-proofing. I haven't totally sussed out the latch mechanisms yet, but they will probably be 4 threaded rods with knurled brass knobs that pass thru clearance holes in the removable top section of the box and screw into threaded inserts into the bottom section of the box. The removable top section will have a carry handle on the top of it. Since these engines have a tendency to get dirtier than Paddy's Pig after being ran for an hour, I would like to be able to spray it down with Varsol and then blow it off with compressed air while it is still bolted to the bottom of the display box in order to clean it. Of course this means that any seams in the bottom of the display box will have to be sealed so that varsol doesn't leach thru into the area where the battery pack and the cdi reside.---And yet I still have to be able to access the battery pack and cdi. to recharge the batteries. Its plain that there will be a few challenges along the way. I am not going to use biscuit joints or anything fancy, as I have neither the equipment nor the know how to do this. All joints will be square or mitered at 45 degrees and glued with Elmers wood glue. You are welcome to follow along and watch me bumble my way through this.---Brian
 
Last edited:
I have built a few cases for my models. I strongly advise you to use the good plywood known as Baltic Birch. It is stronger than pine, it wont split or check and will be lighter. It comes in metric sizes (probably normal for Canadians) Id use the sheet about 1/2" thick for a box of this size. I give mine a couple coats of polyurethane varnish- the water base kind.

Put you name on the outside of the case. We once had a case get separated from one of our club members at Cabin Fever. Fortunately Gary Schoenly recognized it and it got back to the owner. We noted then that almost none of the guys had ID on the outside of the case.
 
Thank you for all the tips Ron---Much appreciated. I will use 3/4" pine, mainly because that thickness is much more readily available at my local lumber yard, and the 3/4" thickness will give better room for the threaded rods which have to pass through them. The 3/4" width also gives a better footprint for the glue. I will put my name on the outside of the case.
 
Dang--It seems like there's almost enough wood there to build a small house!!! The two short pieces x 1 1/2" thick were freebees. I'm not blessed with much in the way of woodworking tools, at least none that will cut a good 45 degree bevel. I will have to ask around and find a friend here in town with one of those multi swivel radial arm saws.
 
I phoned around town last night and found one of my wife's old co-workers who plays at woodwork, and does indeed have a saw that will lay over and cut on a 45 degree angle, so I'm off to his house at 10:00 this morning to saw all my boards.
 
Brian
Having done a fair amount of furniture building, one tip. If you are going to use any type of stain (versus just a clear poly), be aware that pine is quite "blotchy" at taking stain unevenly. A good sanding sealer (from the home center) will prevent this fairly well. Just saying.
 
Okay Ron Ginger. Now I see why you said to use plywood. Plywood is flat. Pine boards are not--they all have a crown on one side and a dished area on the other. This exercise did not go well at all!!! I have the pine boards all cut out for the top section but---In an effort to hide all of the endgrain of the boards, I mitered everything at 45 degrees on a tablesaw. This works really well in theory.---In practice, not so much!! Due to the warped surface of the boards, they are not going to go together in a pleasing manner no matter how much belt sanding I do. This "make work" project is stalled for the moment. I think I can safely go ahead and finish up the base section, but for now I am rather disgusted with myself so may just let this project set for a while. Ah---POOP!!!
 
Last edited:
Brian,

The only pine I would even remotely consider for transportation/display cases might be southern (loblolly or long leaf) pine which is a hard wood. Other types of pine are way too soft, and a result it is very difficult to get crisp/tight furniture grade corners or joints, and the wood is likely to dent very easily relative to the weight of the engines mounted to the case. As pointed out by Stan, most pines need some sealing coat if stained, else look very blotchy. Most softer pines aren't overly dimensionally stable, so you are could have joints opening up over time.

If using solid wood, I think you would find far greater joy with Poplar, some harder Maple, or Oak. With sharp tools, it is easy to get very good crisp/sharp joints with these woods.

If you have not worked with wood before, you will need to consider how to join the mitered corners given the tools you have. Glue does not work well on end grain.
 
I have worked with wood before, but I'm not that good with it. I don't have the proper tools, and its not really where my talents lie. All of the points you make about hardwood are correct. One of the factors leading to my choosing pine is that it is a fairly light wood, compared to many of the hardwoods. I went back up to the building suppliers this afternoon where I bought the pine and looked at some of the alternative plywoods that are available. Then I priced out a saw that would do the things I would require it to do if I purchased it, and it cost about $700.--I'm thinking that perhaps this engine doesn't really need a transportation and display case, at this point.
 
Brian
Your experience with non-flat boards is akin to building an engine part without squaring up the stock. That's what jointers and planers are for with wood. They flatten the stock. How about this.
Get a decent sheet of plywood (if you have a good independent lumber yard nearby, get it there rather than the home center.)
Option 1: get a 1/2 sheet of hardwood veneer plywood. It comes in cherry, walnut, oak, etc.
Option 2: build the box from pine plywood and get (many places on the Internet) some iron-on veneer. Your choice of wood. Goes right over the plywood with a household iron. Once it's on, burnishing the corners will make the joints virtually invisible. The underlying box does not need miter joints because the veneer will cover them.
 
Hey Brian!

If it helps I just use the plastic bins that are sold at Lowes. The V4 has it's own tote that the base of the display box fits snug into the bottom of the tote. When put in it cannot move at all. I could not find one for the V8 alone but I did find one that is twice as wide and perfect front to back. Both V8's fit into a single tote perfect.

Take a tape measure down to the local tote seller and see if you can find one that fits your motor. Measure right at the bottom as they taper from top to bottom. The best part is that with the top on the tote you can stack them. Nice feature when loading in and out of a show.

http://www.rubbermaid.com/Category/...ubcatId=Roughneck&Prod_ID=RP091418&Redirect=1
 
I would encourage you to use an old fashioned wood 'conditioner' before applying the stain.

Some Boiled Linseed Oil thinned about 50/50 with VM&P Naptha and applied with a brush and wiped off after soaking for a few seconds will leave your wood ready for staining the next day, and will prevent dark splotches, and will keep the stain from acting to fast.
 
Brian
Your experience with non-flat boards is akin to building an engine part without squaring up the stock. That's what jointers and planers are for with wood. They flatten the stock. How about this.
Get a decent sheet of plywood (if you have a good independent lumber yard nearby, get it there rather than the home center.)
Option 1: get a 1/2 sheet of hardwood veneer plywood. It comes in cherry, walnut, oak, etc.
Option 2: build the box from pine plywood and get (many places on the Internet) some iron-on veneer. Your choice of wood. Goes right over the plywood with a household iron. Once it's on, burnishing the corners will make the joints virtually invisible. The underlying box does not need miter joints because the veneer will cover them.
Stan--Tell me a bit more about "burnishing the corners" with the iron on veneer please. I don't know what that means.---Brian
 
The fat lady hasn't sang yet!! Backing up, and taking some advise from others, I sweet talked my local lumber supplier into selling me a 1/4 sheet of birch veneer plywood, x 3/4" thick. Then I ran down another woodworking friend (who happens to work at the local BusyBee Tools--Jeez, what an inbred little world.)-This fine gentleman has a state of the art table saw, and helped me for 2 hours this morning cutting out all of the pieces. I went to Canadian Tire and bought two "corner clamps", then hunted around until I found an assortment of bar and pipe clamps, and then glued and clamped the first stage of the box. --And yes, if my "workbench" happens to look a lot like an old door setting on a pair of aluminum sawhorses, that's because it is!!!--- The chap who kindly sawed these pieces for me refused to take any money, so was promised 2 hours worth of welding or machining work, if he ever needs it.Brian
 
Last edited:
If you have ever heard about "Fred Flintstone-Tech" and wondered what it is----Well, this is it!!! This is a non-woodworkers answer to how to keep the four sides of a box aligned with the flat bottom while the glue dries, so it don't go all "Whoopsy"--(I'm sure there is a more educated word, but I can't think of it right now.) There is a piece of 2 x 12 setting underneath everything on top of that door, and I KNOW that its straight and flat. When I get up tomorrow morning, I expect the glue to be dry, and my semi-completed box bottom to be "straight and flat" to match it. I'm not sure if you can see it or not, but I stole my wife's "saran wrap" out of the kitchen and laid some over that 2 x 12 so it doesn't become glued to the box.
 
Progress is being made---Slowly, but progress, none the less!!! I lay in bed last night thinking about how to make all of my "electronics" waterproof so I could wash the engine down without removing it from the base which it will be mounted on. I can mount everything electronic underneath the piece of board that the engine bolts to. I can drill a small hole, and run the sparkplug wire up thru it (the boot is removable) and silicone around the plug wire. That only leaves the switch vulnerable. So-----I thought, why not epoxy the switch in the end of a tube, and epoxy the tube into the board, and make a cover that fits over the switch and tube to protect it when I wash down the engine. Of course the tube ended up being machined from a solid chunk of 2" diameter aluminum.--Just call me a bear for punishment!!!


The two major pieces of the engine carry and display box are now finished in terms of cutting out and gluing together. The joints are what I would term 85%r's. That means that about 15% of the joints will need a bit of filler, but by and large, for a non cabinet making type, I am satisfied. My next challenge, of course, will be to remove the excess Elmer's wood glue from the outside of the box. The glue I will have to remove prior to staining is completely dry. A quick search through the internet suggests the following: A--Scrub it off with laquer thinners.--Apparently laquer thinners will soften and remove dried Elmer's wood glue.--I didn't know that, and will try it with some trepidation. Fortunately I have some laquer thinners here that I use to remove layout dye from metal. B--Sand it off, using a sanding block and start with a coarse paper, about 100 grit and work up to progressively finer grits. Apparently if you start out with fine sandpaper this will "burnish" the glue into the grain of the wood, making it nearly impossible to remove. I have learned thru bitter experience not to use power sanders while doing this type of work. They take off too much, too quick, and then your project is pooched!!! If I was smart instead of good looking, I would have glued all of the joints without "squeeze-out" but I find that damned near impossible. Internet also suggests "masking off" area you don't want glue on with masking tape, but its too late now to try that approach. Scraping the glue off with a sharp chisel or razor blade is mentioned.--I know what the result of that is--Gouged woodwork and cut fingers. If anybody knows some awesome secrets to excess glue removal, now is the time to enlighten me, thank you.---Brian
 

Latest posts

Back
Top