RManley
Well-Known Member
- Joined
- Jan 6, 2011
- Messages
- 113
- Reaction score
- 38
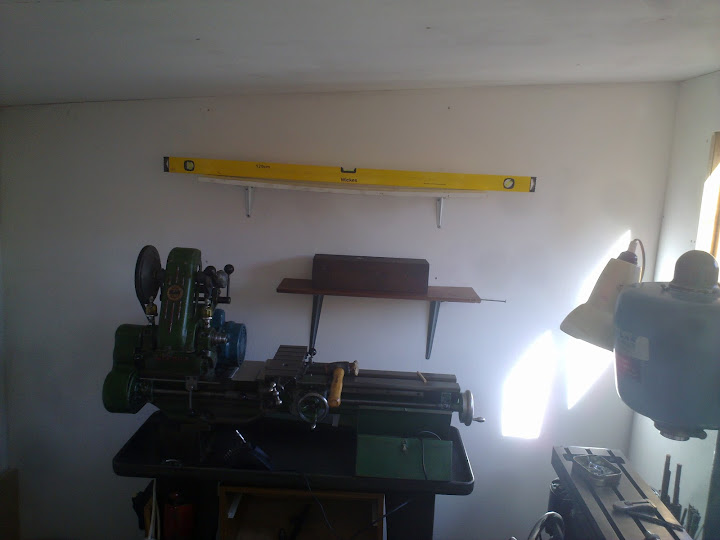
Well, I had to finally bite the bullet and move house. Living in the UK means that finding a house, with a garage or suitably sized garden, is a very expensive proposition and one that I cannot afford. So, I've had to downsize from using my parents garage and garden to building a small workshop in my postage stamp size garden. Sadly I have had to leave allot of my stuff with my parents for safe keeping including my tom senior milling machine :-[
This is why all the projects have come to a sudden stop!
So, here is a small selection of photos of a shed from scratch.
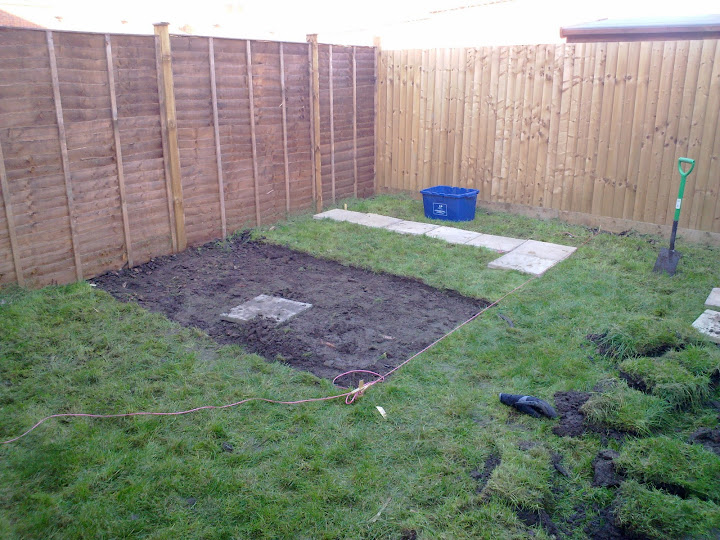
Laying a slab base for my new 10ft x 8ft shed workshop using dry sand and cement (November 2011)
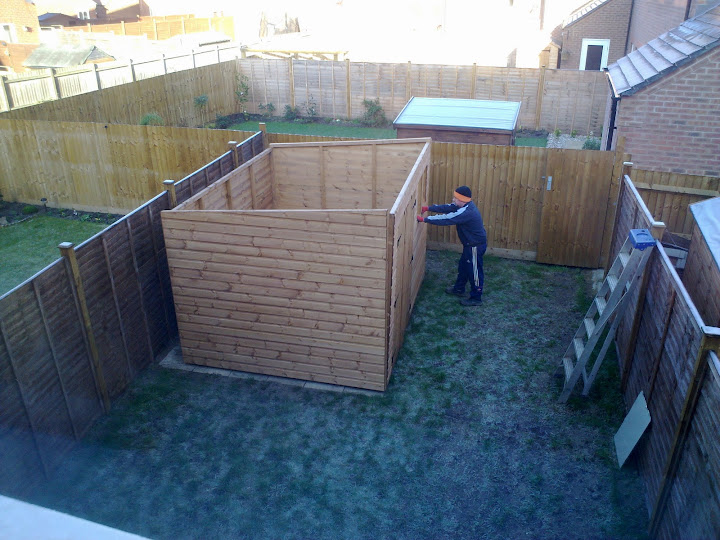
It was cold in January when the shed finally came
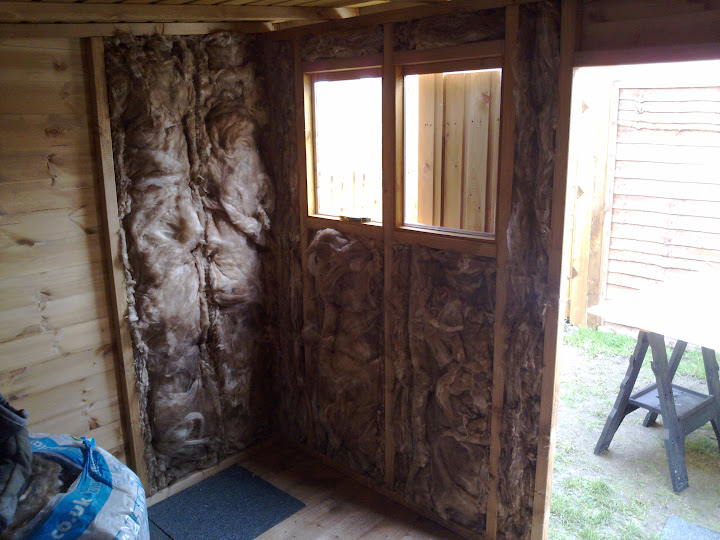
Insulating using rock wool (other brands are available), 3/8 chip board will go over the walls.
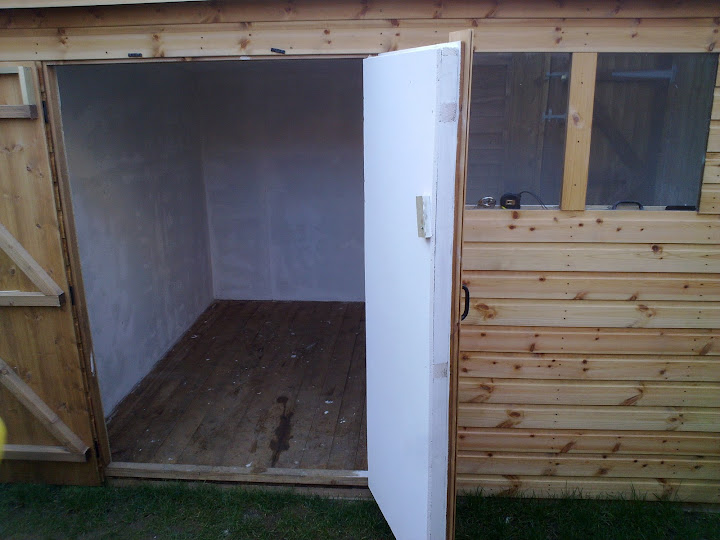
All insulated and painted ready for my second hand floor tiles. The second door is yet to be done but is on the list.
The big move! Going from a 10ft x 12ft workshop to a 10ft x 8ft is tricky. I had to leave my senior mill behind (temporarily I hope) but managed to pick a decent mill up as a sort of replacement. Can you guess what it is yet?
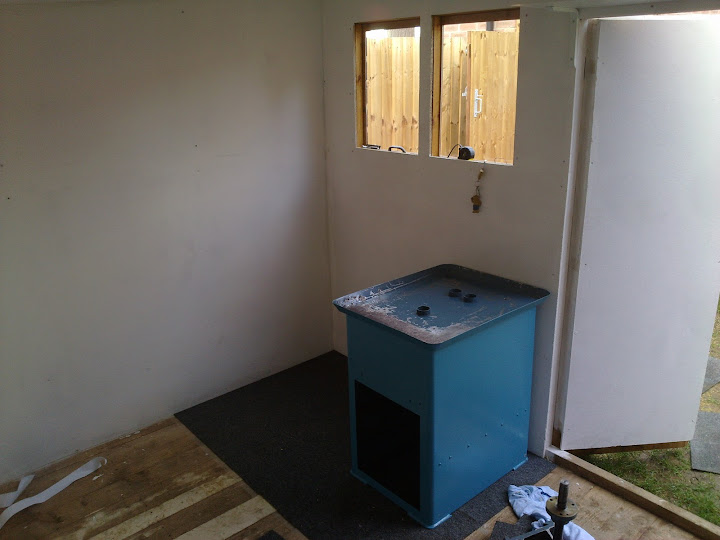
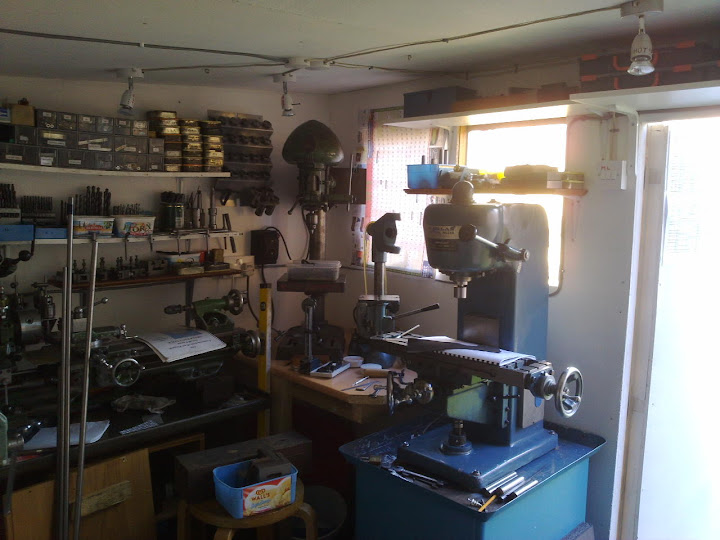
The main machines are moved into place. its a Raglan mill by the way.
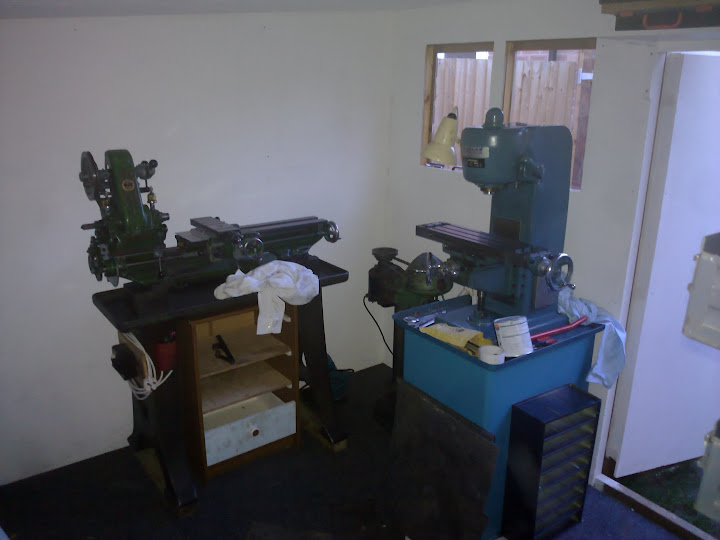
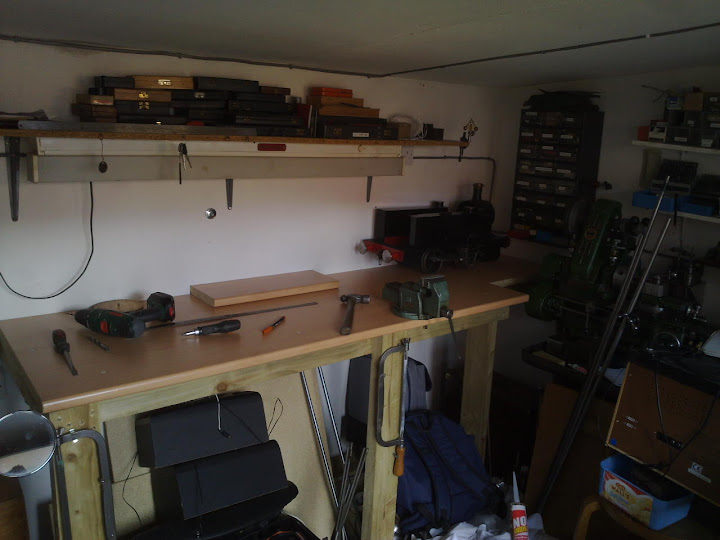
Once the machines were placed, shelves fitted in almost the same place as in the old workshop
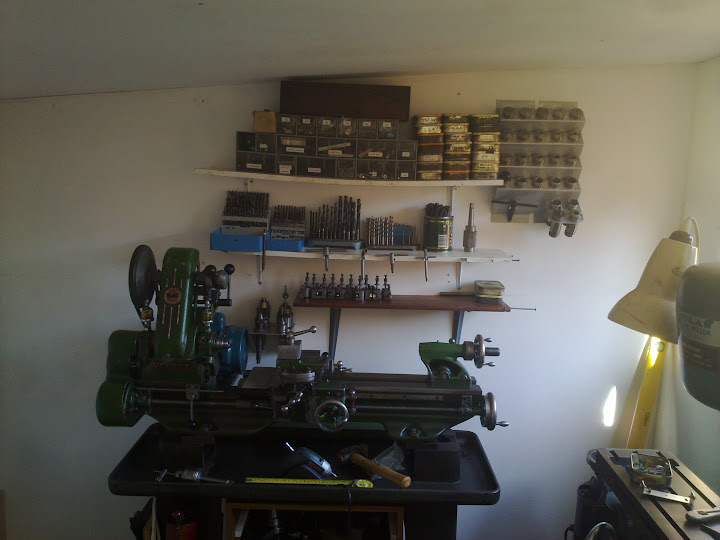
A ring main is installed around the shelves and machines. The benches are made from cheapo b&q kitchen worktop on frames screwed to the wall.
A smaller bench is constructed to mound the pillar drill and tapping machine. Its all a squeeze!
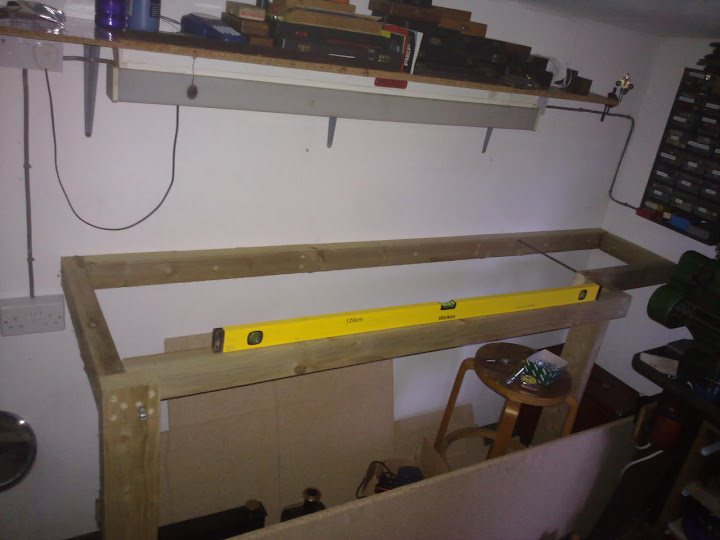
Now that the main bench (approx 2m in length) is fitted, the small vice is fitted and the large vice will be fitted over the led on the end.
The shed is now almost complete. I just have to re-setup the machines to turn true, have no backlash and run quietly. Im currently rubber mounting everything on the mill to make it suitable for urban running.

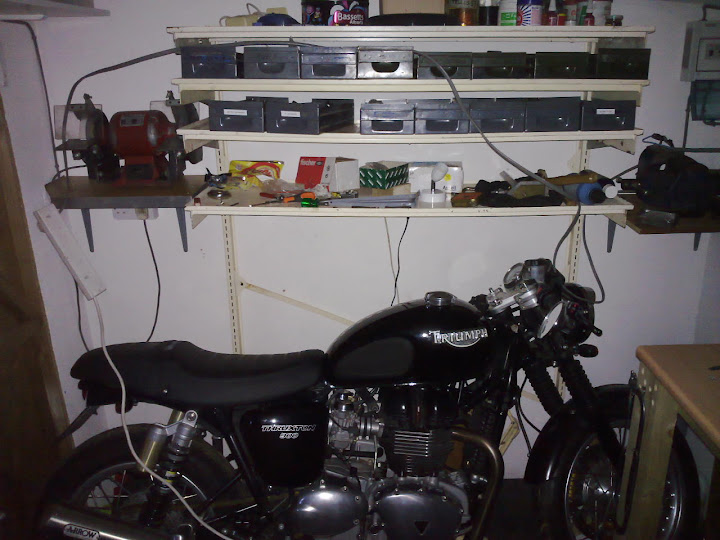
And all of this I have to share with my motorcycle. With such little space inside, it warms up quickly with bodyheat alone!
I hope to get some more proper modelling done soon but before I can I have to convert all my milling kit from 1/2" to 3/8" t slots and a few other things. A little bit of a tidy, workout where tools seem to naturally place themselves and It will be like I've never moved.
So, small spaces can be used!
Rob.
This is why all the projects have come to a sudden stop!
So, here is a small selection of photos of a shed from scratch.
Laying a slab base for my new 10ft x 8ft shed workshop using dry sand and cement (November 2011)
It was cold in January when the shed finally came
Insulating using rock wool (other brands are available), 3/8 chip board will go over the walls.
All insulated and painted ready for my second hand floor tiles. The second door is yet to be done but is on the list.
The big move! Going from a 10ft x 12ft workshop to a 10ft x 8ft is tricky. I had to leave my senior mill behind (temporarily I hope) but managed to pick a decent mill up as a sort of replacement. Can you guess what it is yet?
The main machines are moved into place. its a Raglan mill by the way.
Once the machines were placed, shelves fitted in almost the same place as in the old workshop
A ring main is installed around the shelves and machines. The benches are made from cheapo b&q kitchen worktop on frames screwed to the wall.
A smaller bench is constructed to mound the pillar drill and tapping machine. Its all a squeeze!
Now that the main bench (approx 2m in length) is fitted, the small vice is fitted and the large vice will be fitted over the led on the end.
The shed is now almost complete. I just have to re-setup the machines to turn true, have no backlash and run quietly. Im currently rubber mounting everything on the mill to make it suitable for urban running.
And all of this I have to share with my motorcycle. With such little space inside, it warms up quickly with bodyheat alone!
I hope to get some more proper modelling done soon but before I can I have to convert all my milling kit from 1/2" to 3/8" t slots and a few other things. A little bit of a tidy, workout where tools seem to naturally place themselves and It will be like I've never moved.
So, small spaces can be used!
Rob.